Click here to return to the home page.
Image of a road.
Who's Online Now
2 members (DaveW, flyfisher), 109 guests, and 17 robots.
Key: Admin, Global Mod, Mod
Top Posters(30 Days)
+8Rich 103
John V6 66
Newest Members
BenRoadster, Max5787, Jack Noir, phenompilot52, Orjan
9,638 Registered Users
Newest Topics
Old Book
by Morganmike - 21/09/26 07:54 PM
ABS Unit problems on 2013 Aero Plus 8
by Ambrose2 - 21/09/26 11:23 AM
Factory meet
by Julian BB - 21/09/26 09:25 AM
Diss Festival of Transport
by RichardV6 - 20/09/26 01:35 PM
Goodwood
by waikiore - 19/09/26 02:50 PM
My 4/4 as it was in 1975
by Strathaven - 18/09/26 09:09 AM
US Cars - Metric Threads?
by Paul F - 17/09/26 08:29 PM
Latest Photos
First Morgan as it is now
by Strathaven, September 15
New to me 95 plus 4 daily driver
by SailingTom2, September 12
Bits to give away
Bits to give away
by TigerTim, September 11
1989 Morgan Plus 4 in Ontario, Canada
by Carbuilder, September 5
First anniversary of Plus 4
by Strathaven, September 5
Forum Statistics
Forums39
Topics49,932
Posts838,511
Members9,638
Most Online1,063
Jun 14th, 2026
Today's Birthdays
AlexCreasey
Previous Thread
Next Thread
Print Thread
Page 4 of 4 1 2 3 4
Joined: Jan 2012
Posts: 14,976
Likes: 2
Member of the Inner Circle
Offline
Member of the Inner Circle
Joined: Jan 2012
Posts: 14,976
Likes: 2
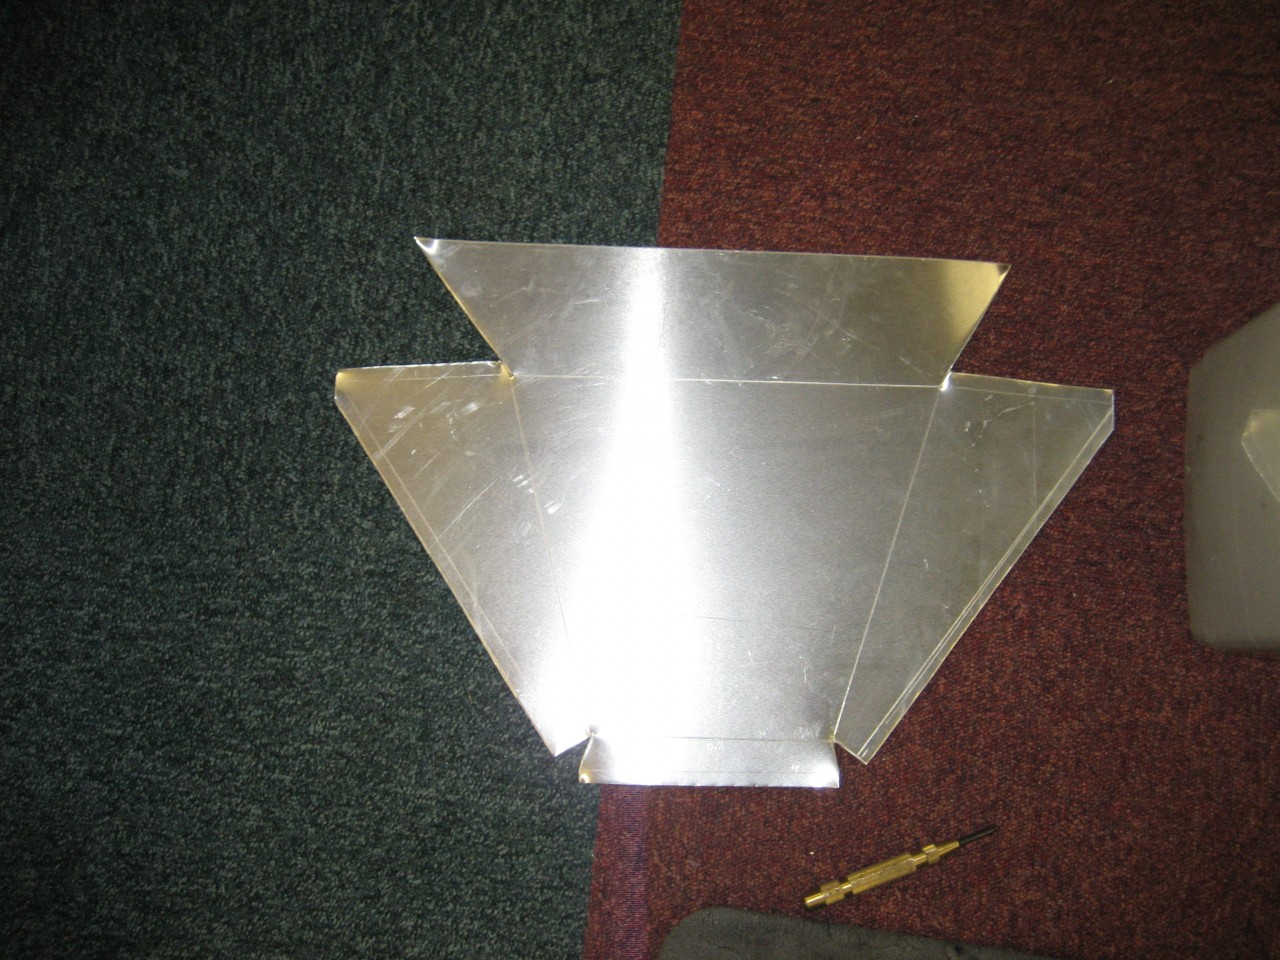
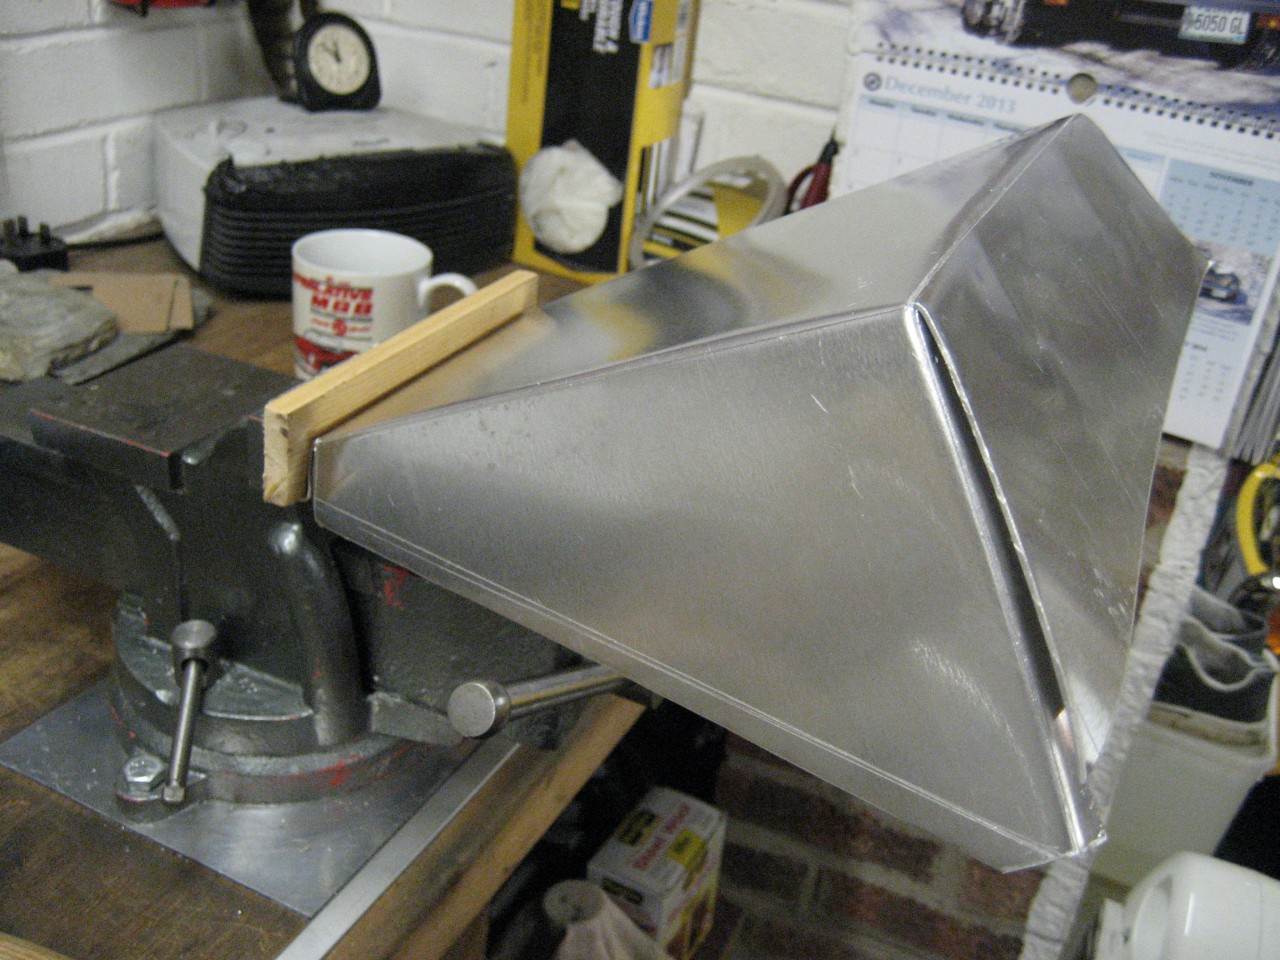
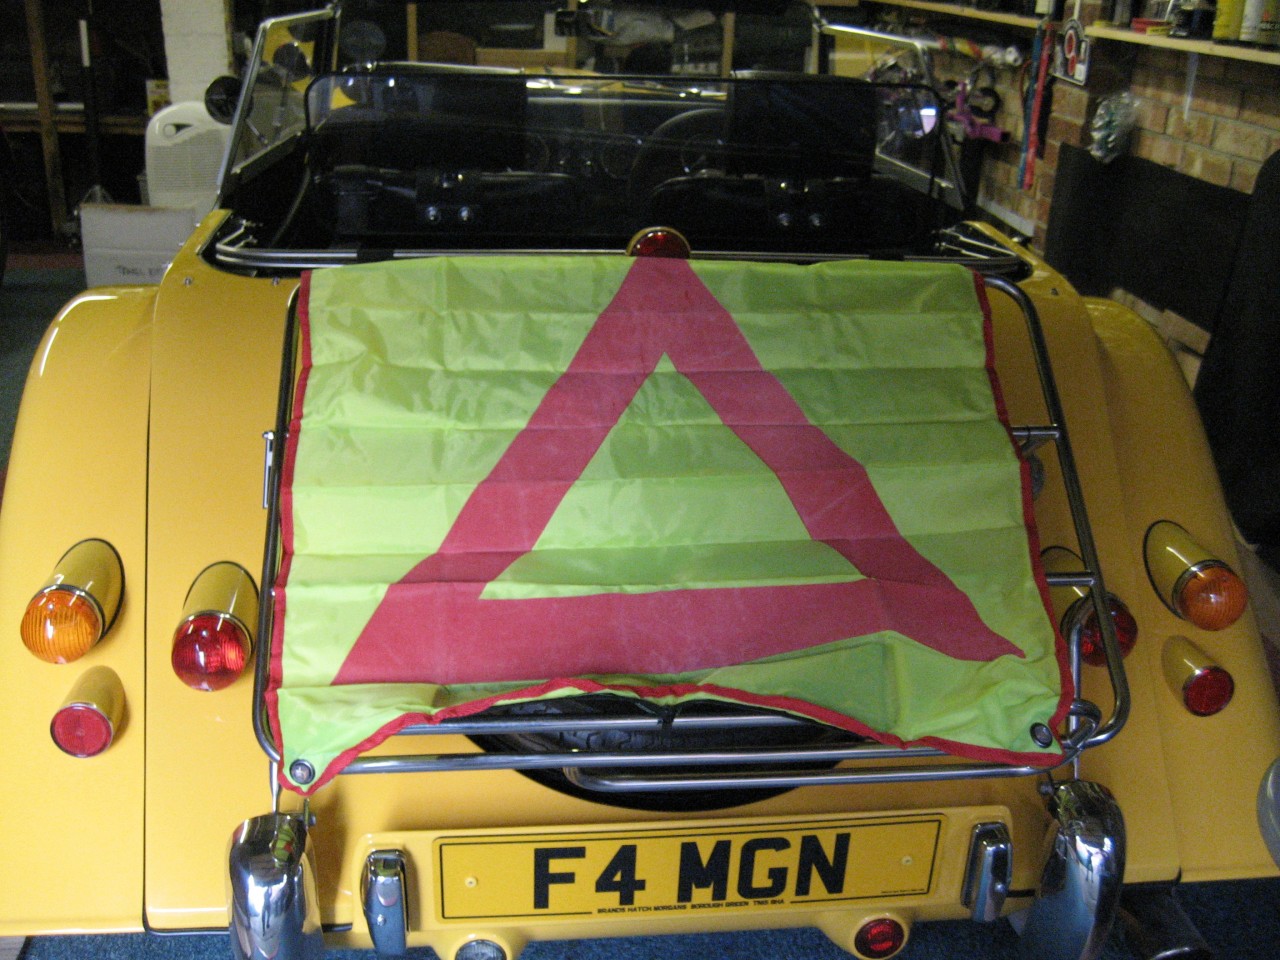
Nice work as ever Dave. Like the "warning triangle".


Richard
1976 4/4 4 Seater
Joined: Dec 2008
Posts: 22,385
Likes: 358
DaveW Online Content OP
Roadster Guru
Member of the Inner Circle
OP Online Content
Roadster Guru
Member of the Inner Circle
Joined: Dec 2008
Posts: 22,385
Likes: 358
Post Photobucket Reboot...........

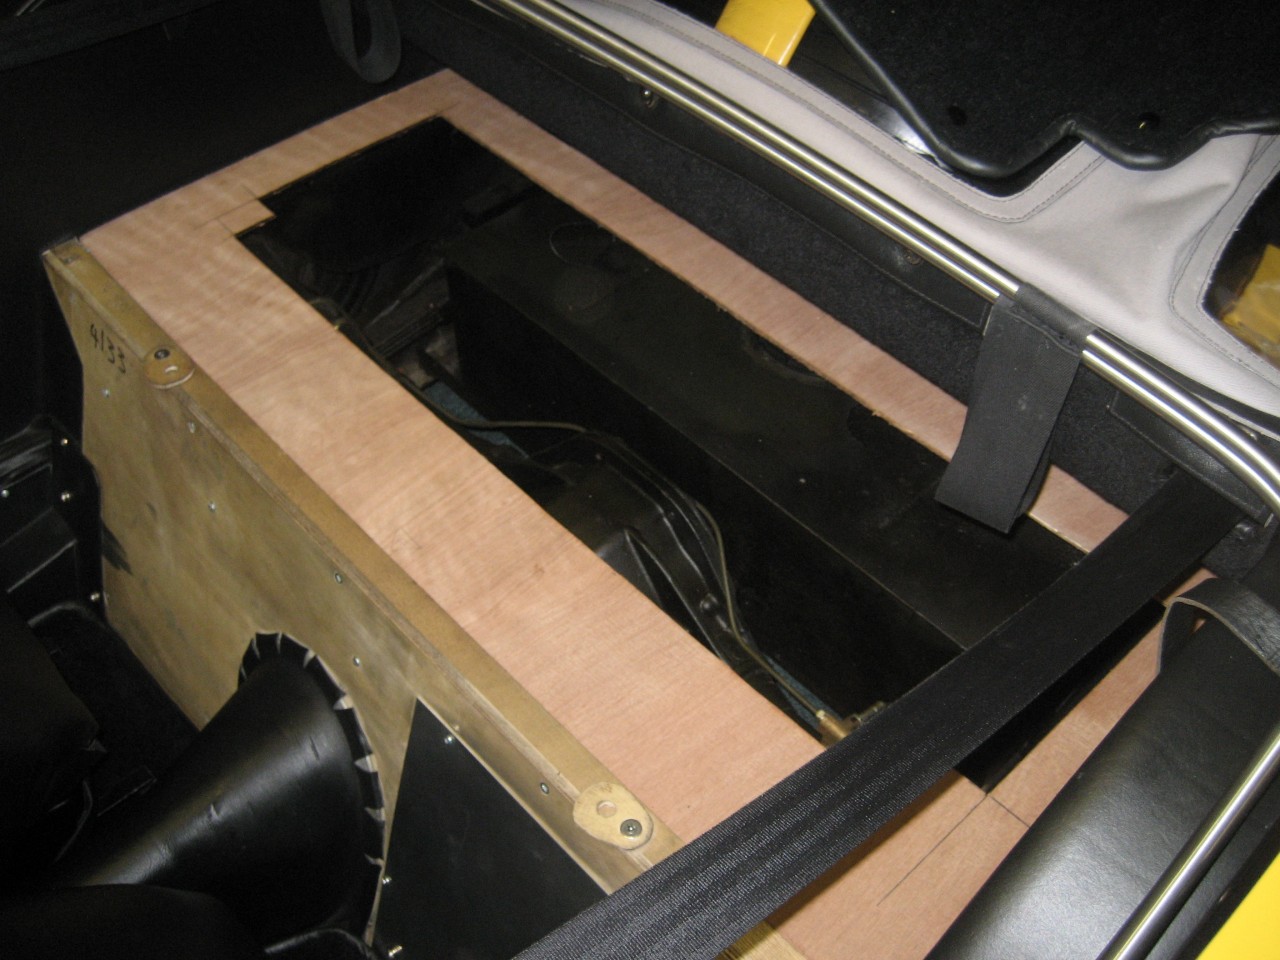
I remember that when I made the wooden tool tray for my Roadster that it was a challenge, and I nearly gave up.
And so it happened again yesterday when I was on the edge of giving up...................
This time though the raw material was aluminium. I pondered this for a while, whether to go for wood again, of a mix of wood and aluminium, or full aluminium. Clearly aluminium gives a bit more depth than wood which has to be thicker for strength.

So first I tried my wooden cap piece for size.
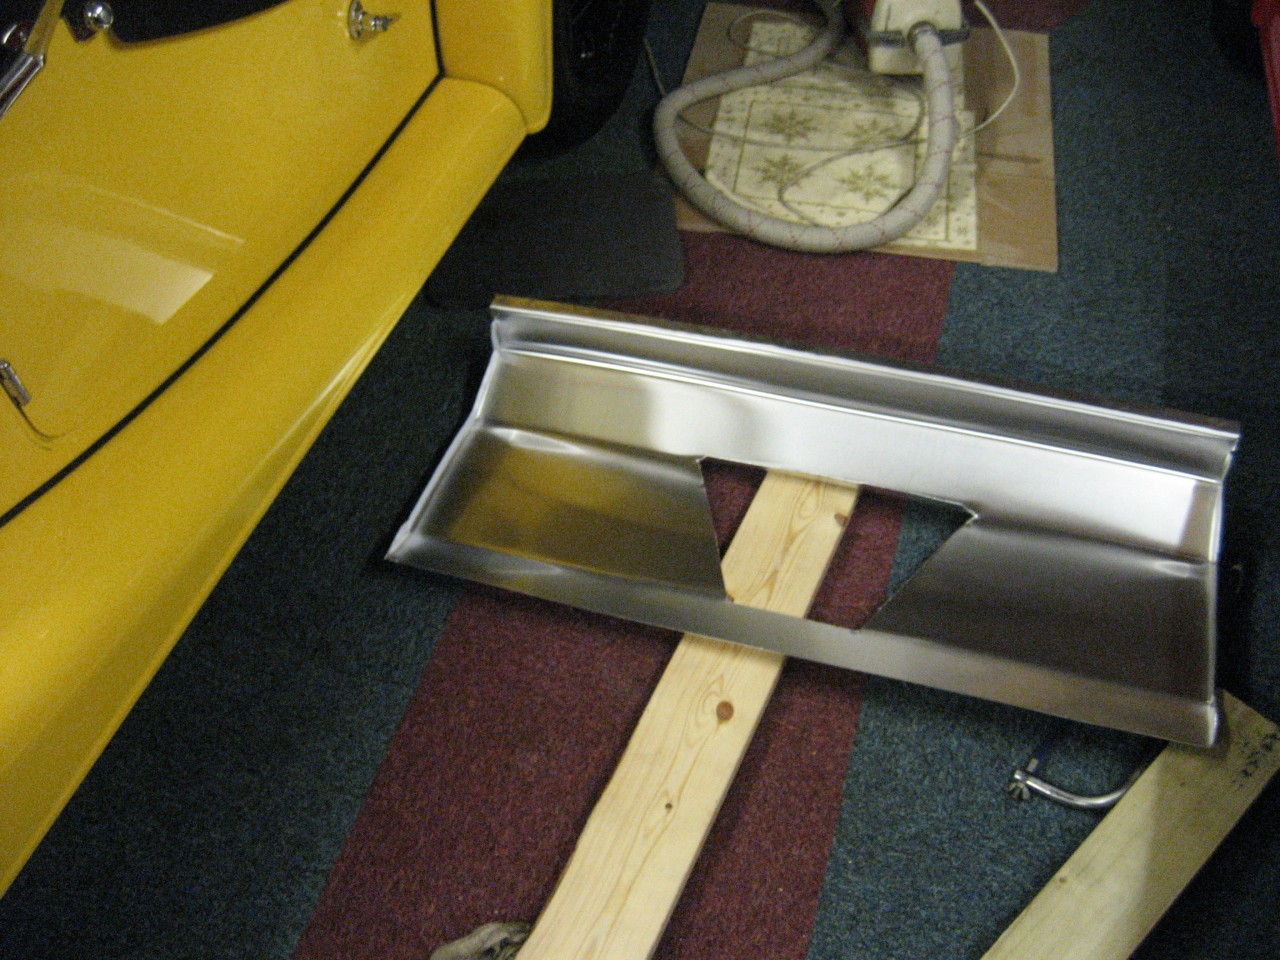
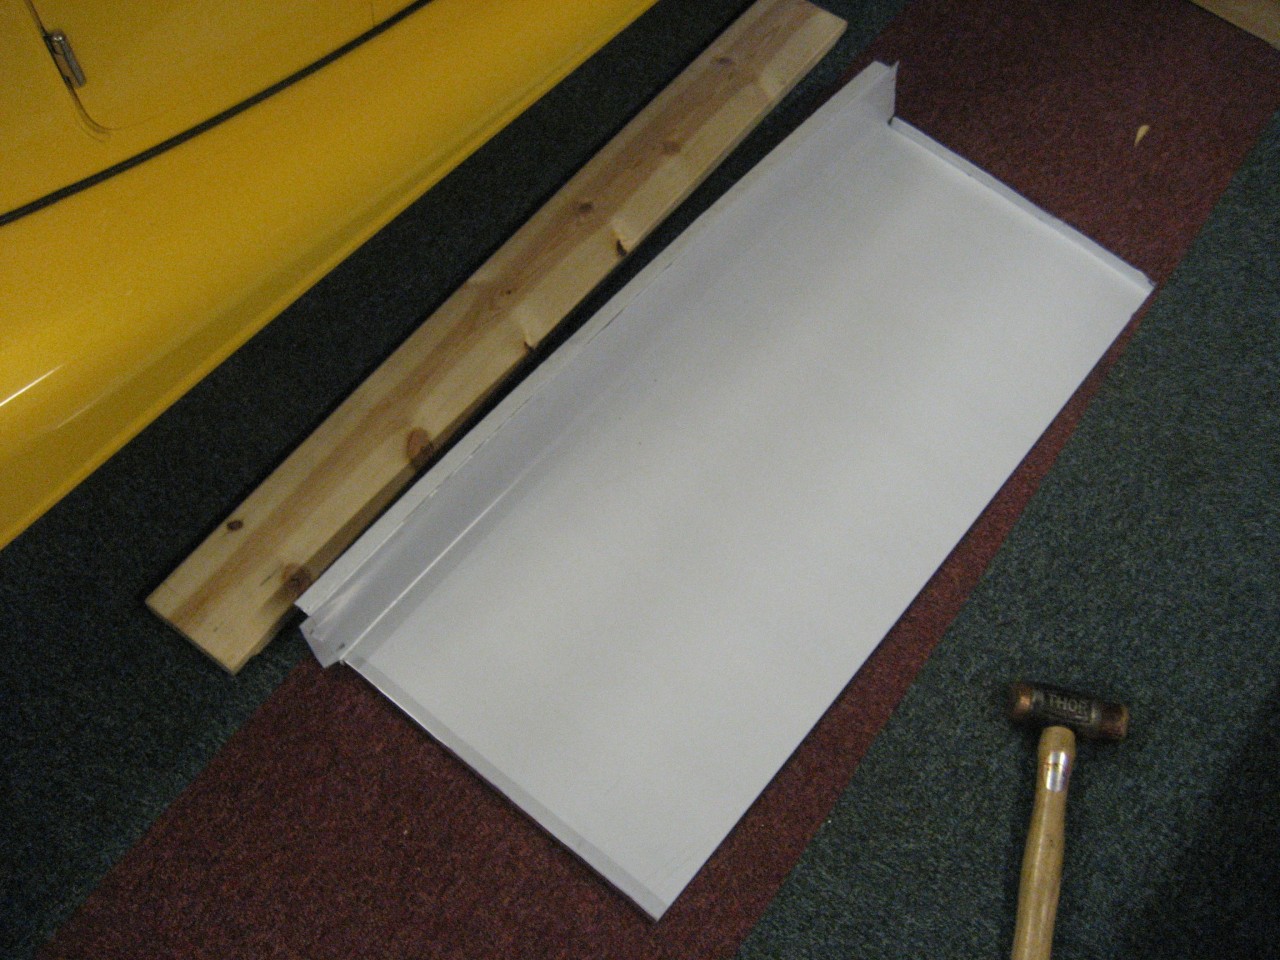
This method was the basis for the Roadster wooden tray, but in the end I decided to try a single aluminium panel, so I didn't use this piece of wood. The aluminium chosen is 1.2mm thick and quite a challenge to bend on a large piece.


This is how it started. I had to run the Morgan onto that piece of wood to hold the aluminium down so that I could bend it. The remainder of the bending was either in the vice or hammered over wood.
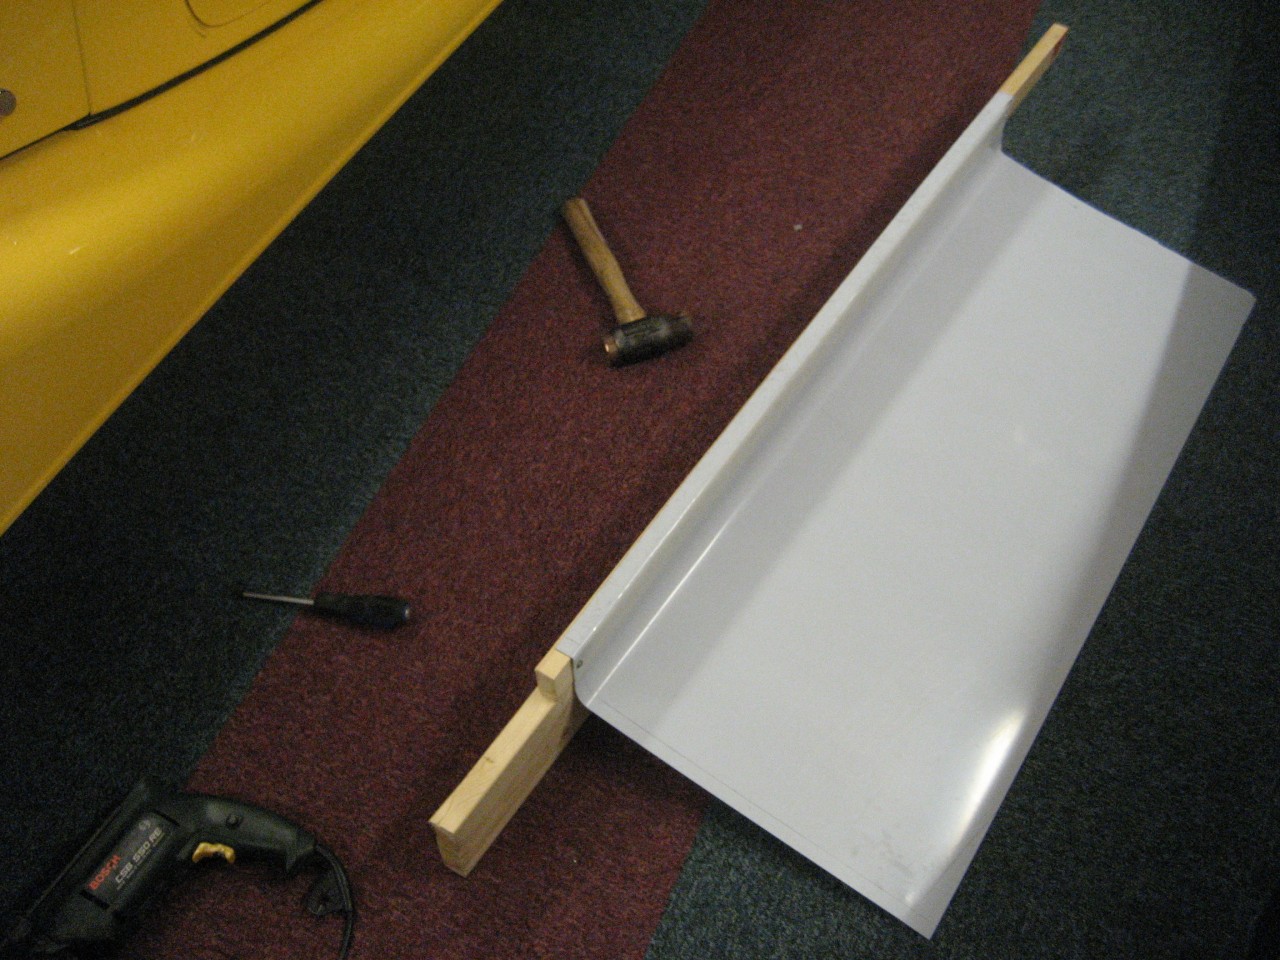


The edges were turned over to provide a flange to attach the sides to, and to give rigidity.


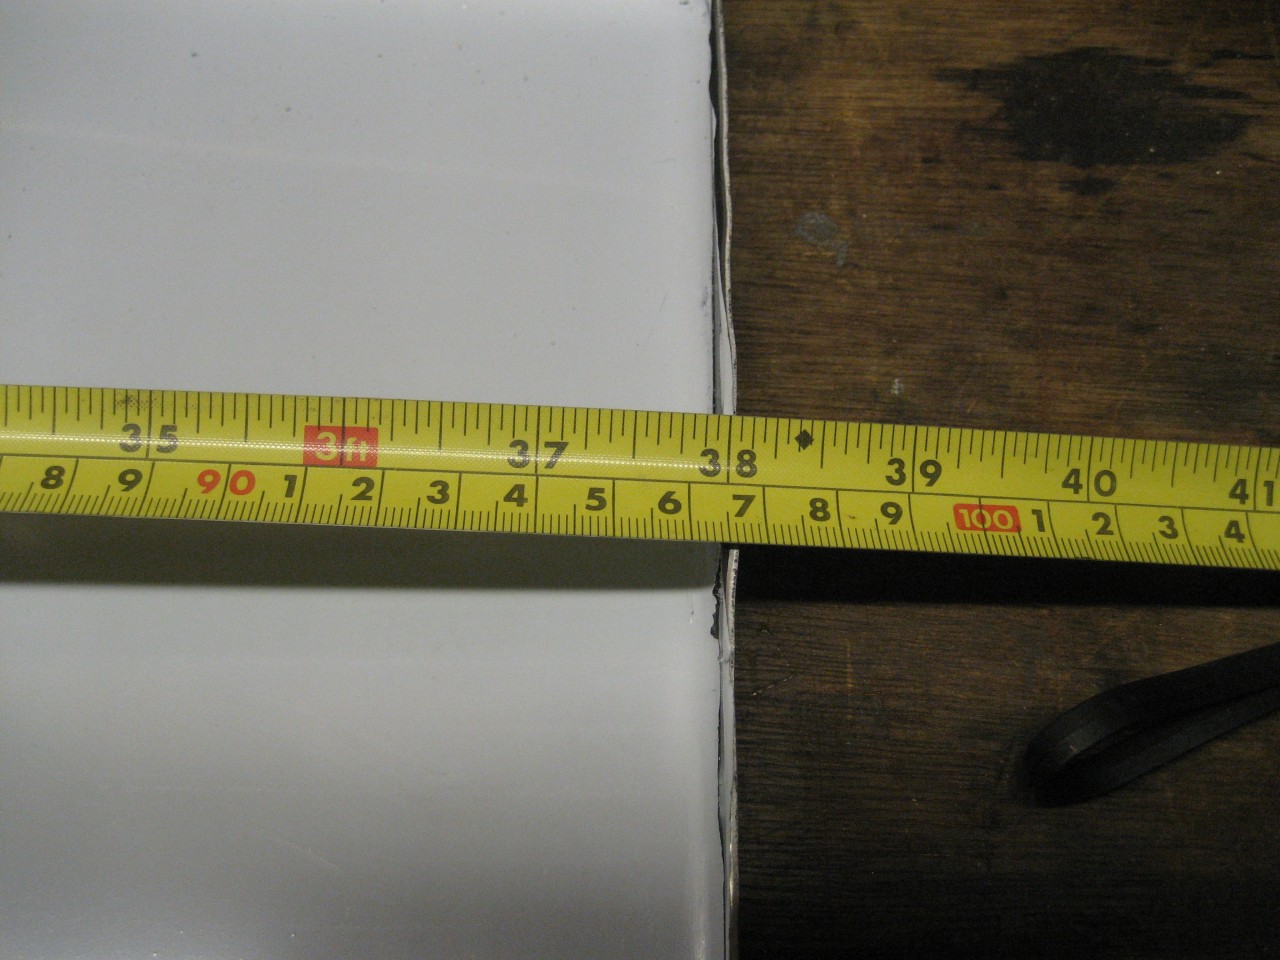
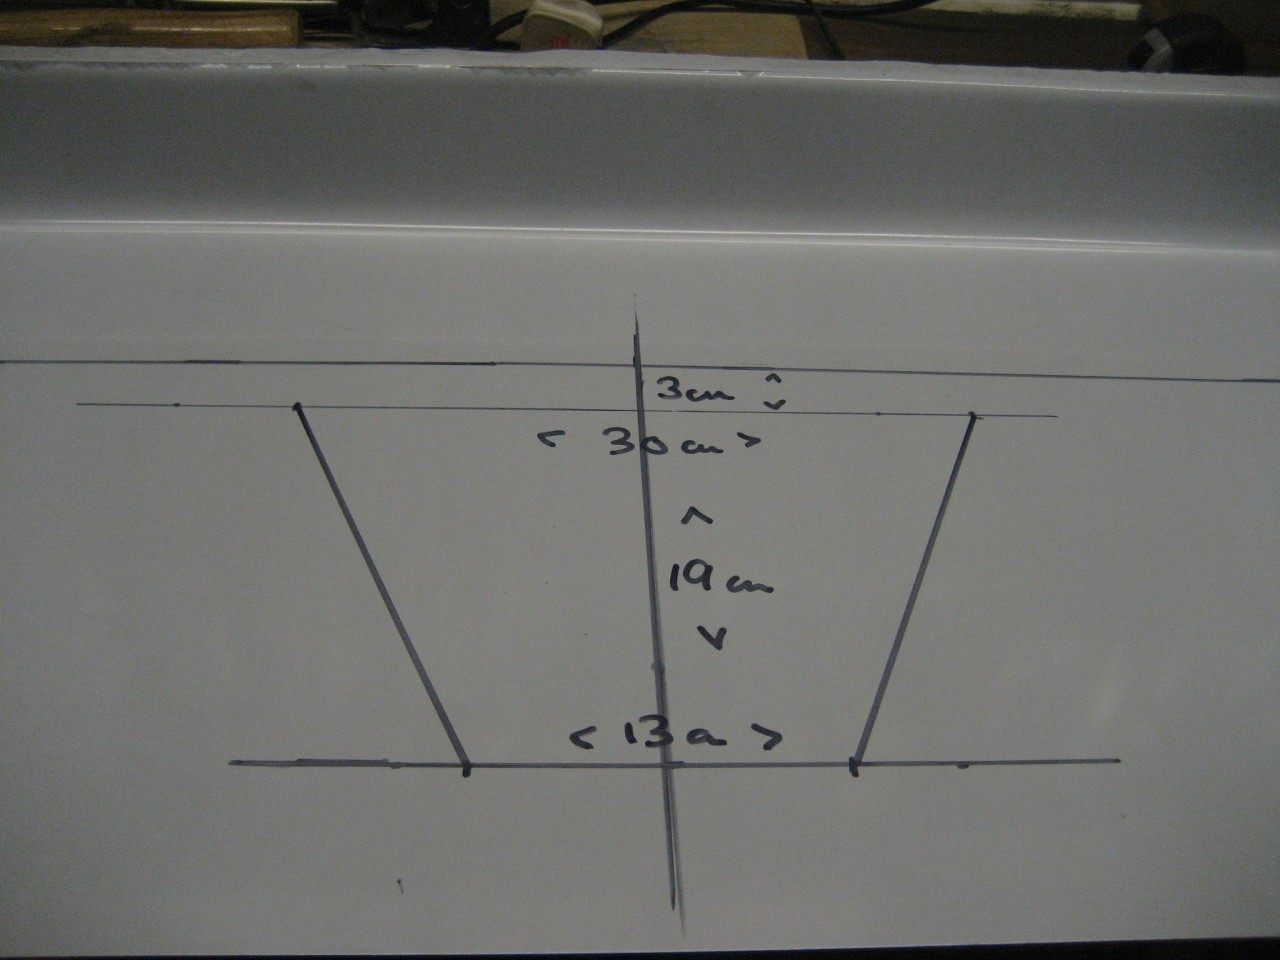
38" is the maximum width.


These measurements were the basis of the cut out for the diff, but the hole was extended to the right as the diff housing is offset.


Initial fit. A protruding bolt in each rear corner makes it a tight fit.
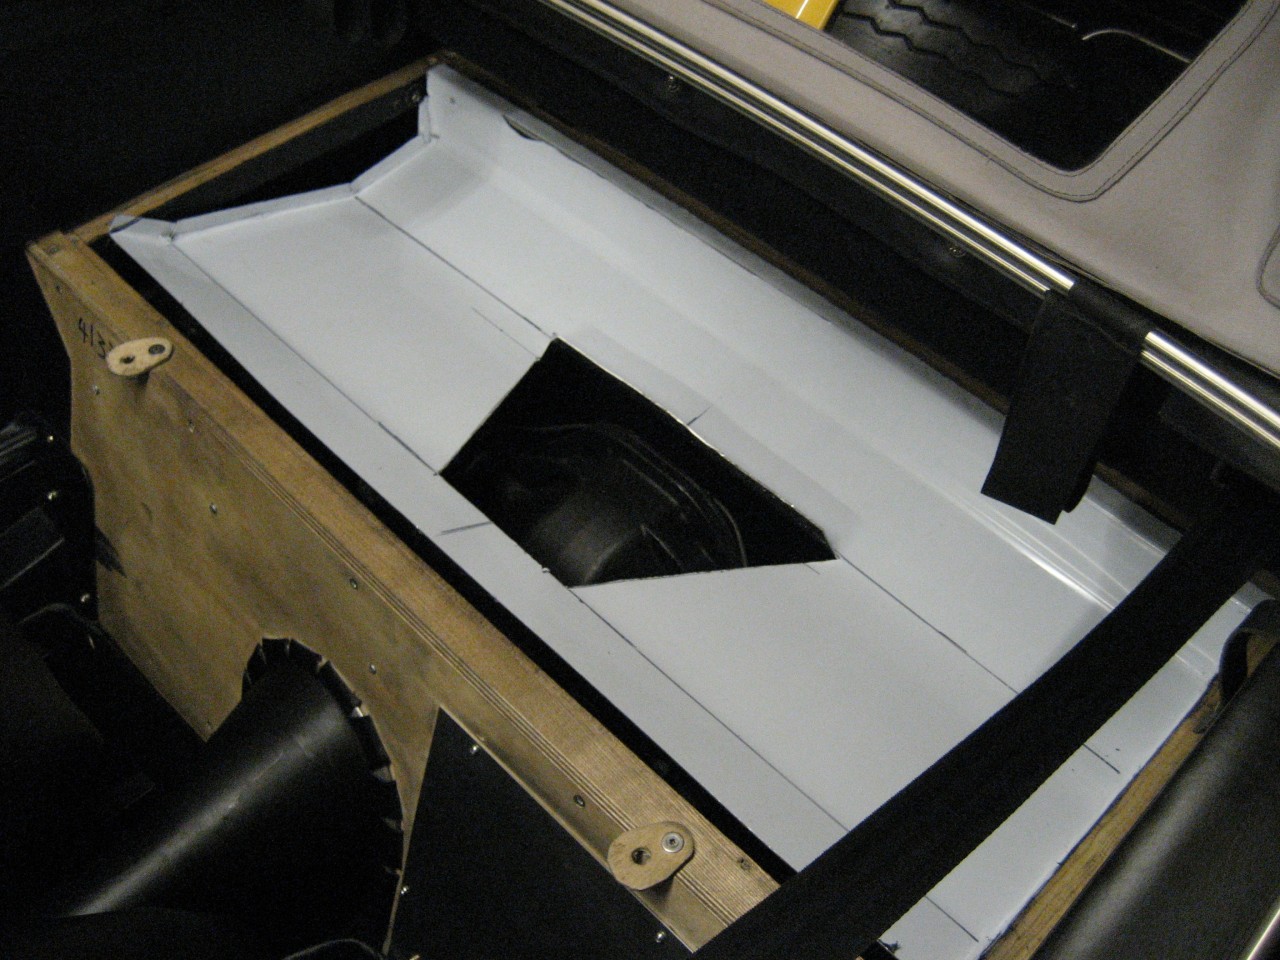


It was at this point I nearly gave up, because it had been really hard to get this far.
Then I removed the protective film............ grin2


Next came the side panels. There's really only one way to do this without a fancy cutter........
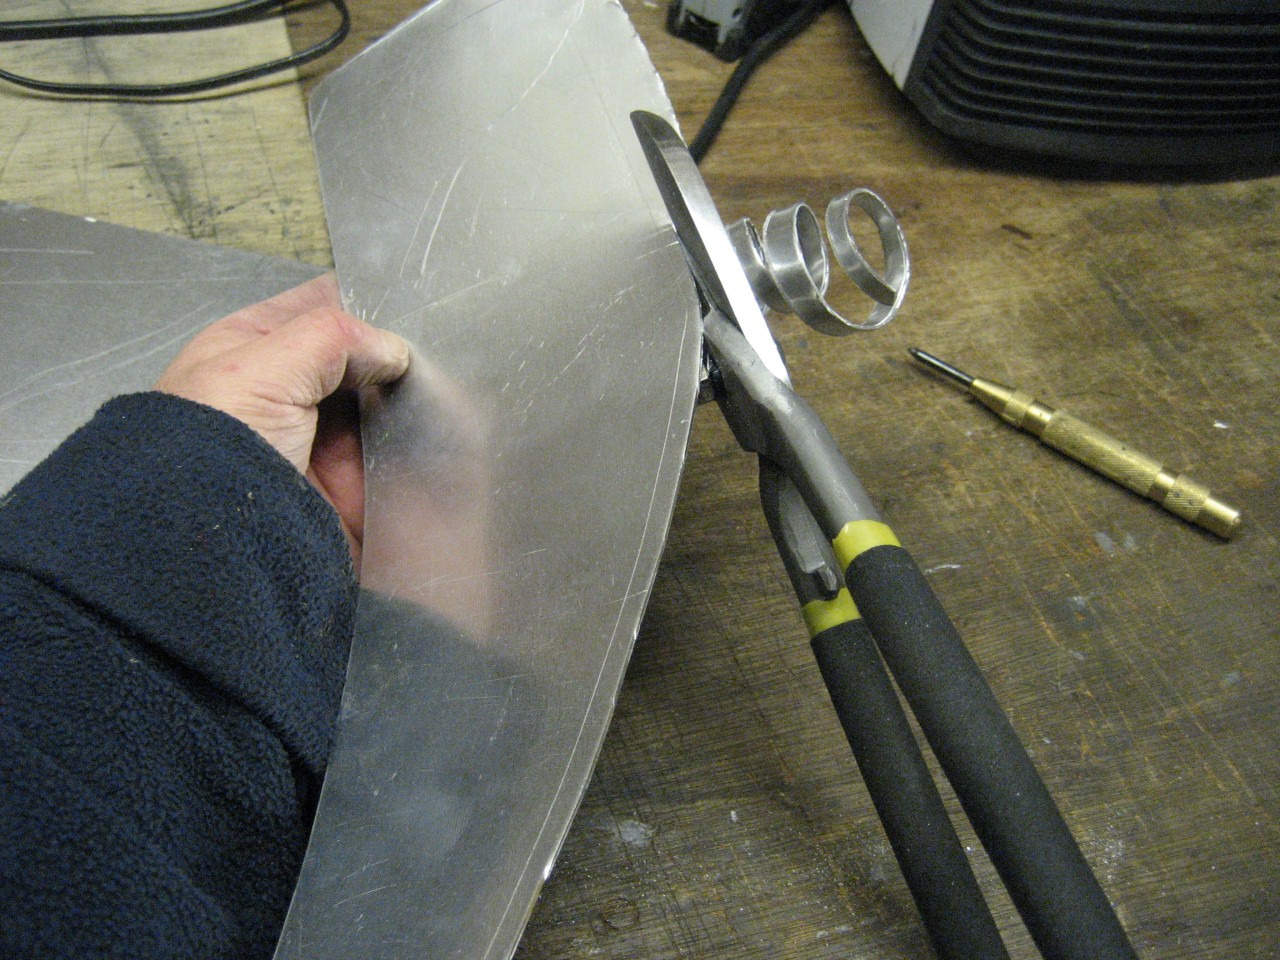


UPDATE - note that I later replaced these tin snips with some much better items.

More to follow.............


DaveW
'05 Red Roadster S1
'16 Yellow (Not the only) Narrow AR GDI Plus 4
Joined: Dec 2008
Posts: 22,385
Likes: 358
DaveW Online Content OP
Roadster Guru
Member of the Inner Circle
OP Online Content
Roadster Guru
Member of the Inner Circle
Joined: Dec 2008
Posts: 22,385
Likes: 358
Post Photobucket Reboot.............
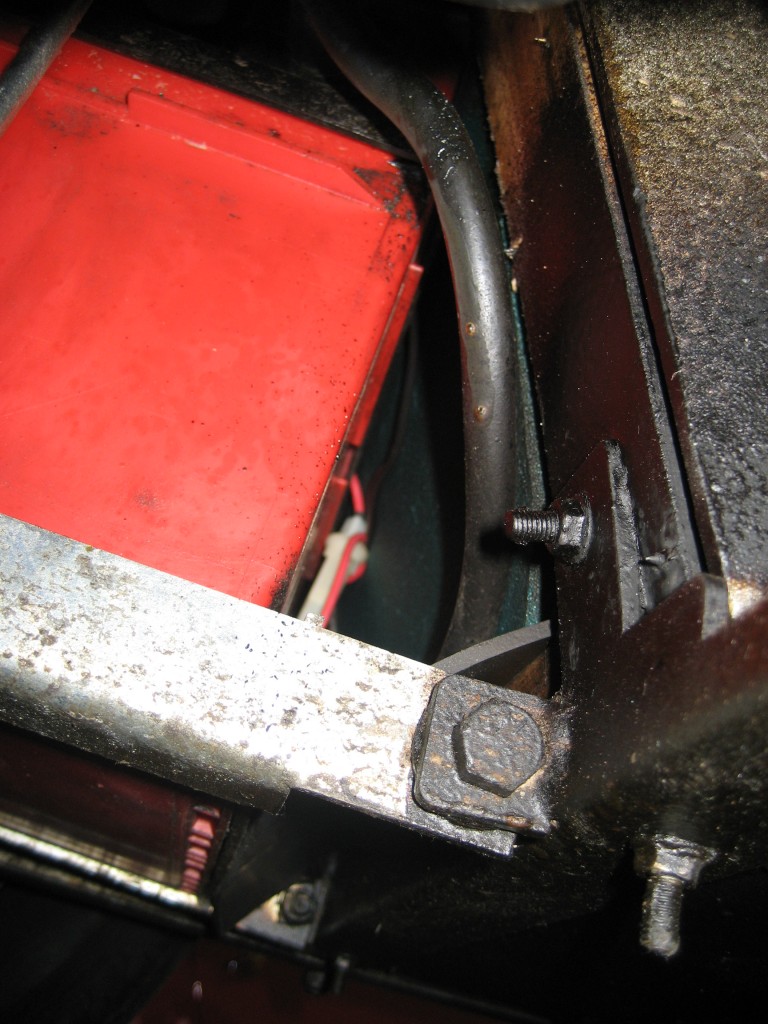
After the sides had been cut, bent and fixed in place (DS tape and nuts/bolts) - Next a trial fit with the sides in place:
I kept this tray symmetrical (except that the hole for the diff is offset). The wooden version has a deeper section on the offside as there's a bit more vertical room, but with aluminium..............


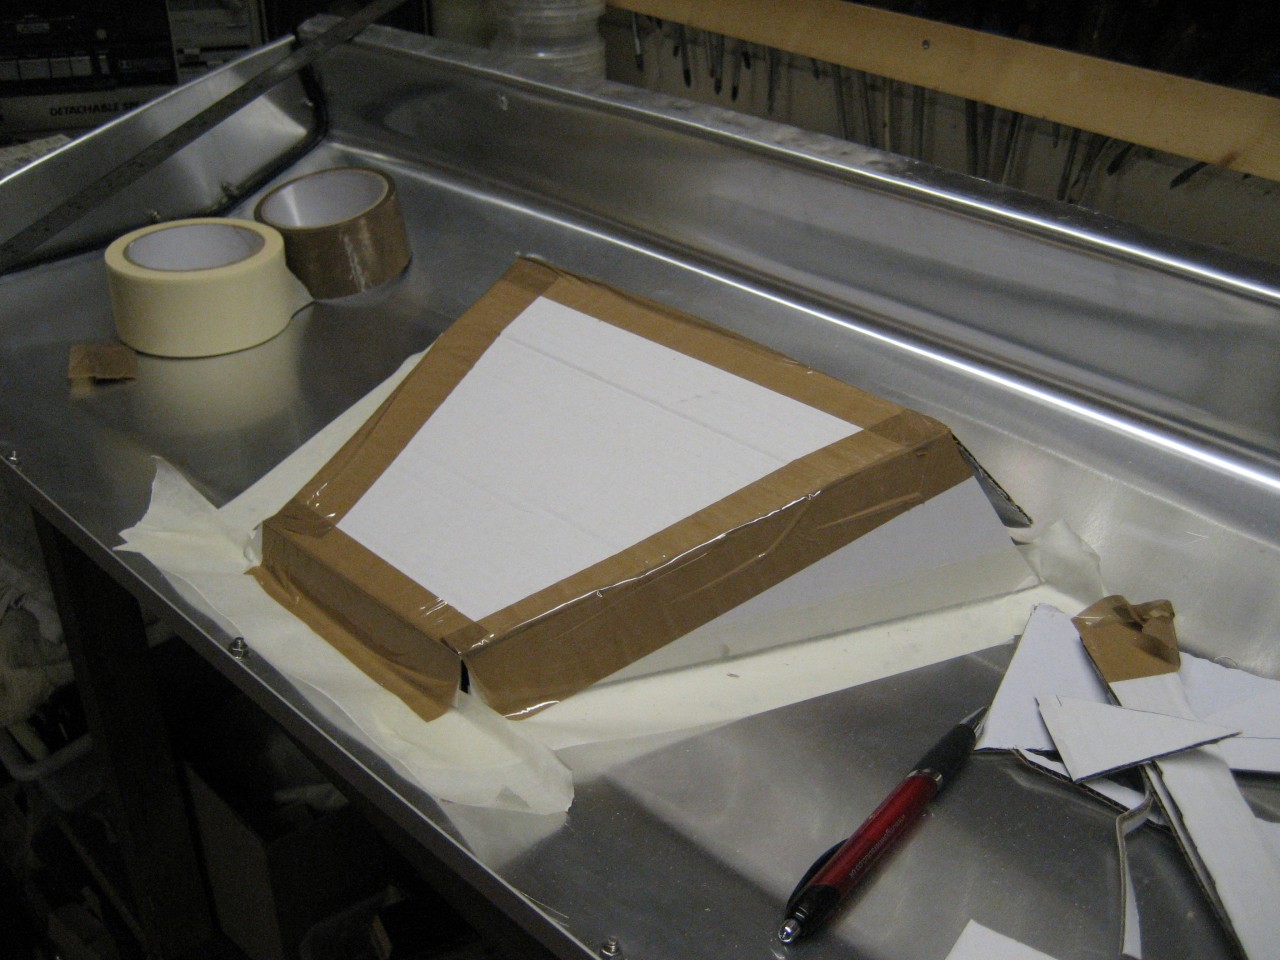
The next job was to mock up a cardboard template for the diff housing.


Many minutes of tinsnip work later:


Bending in progress:


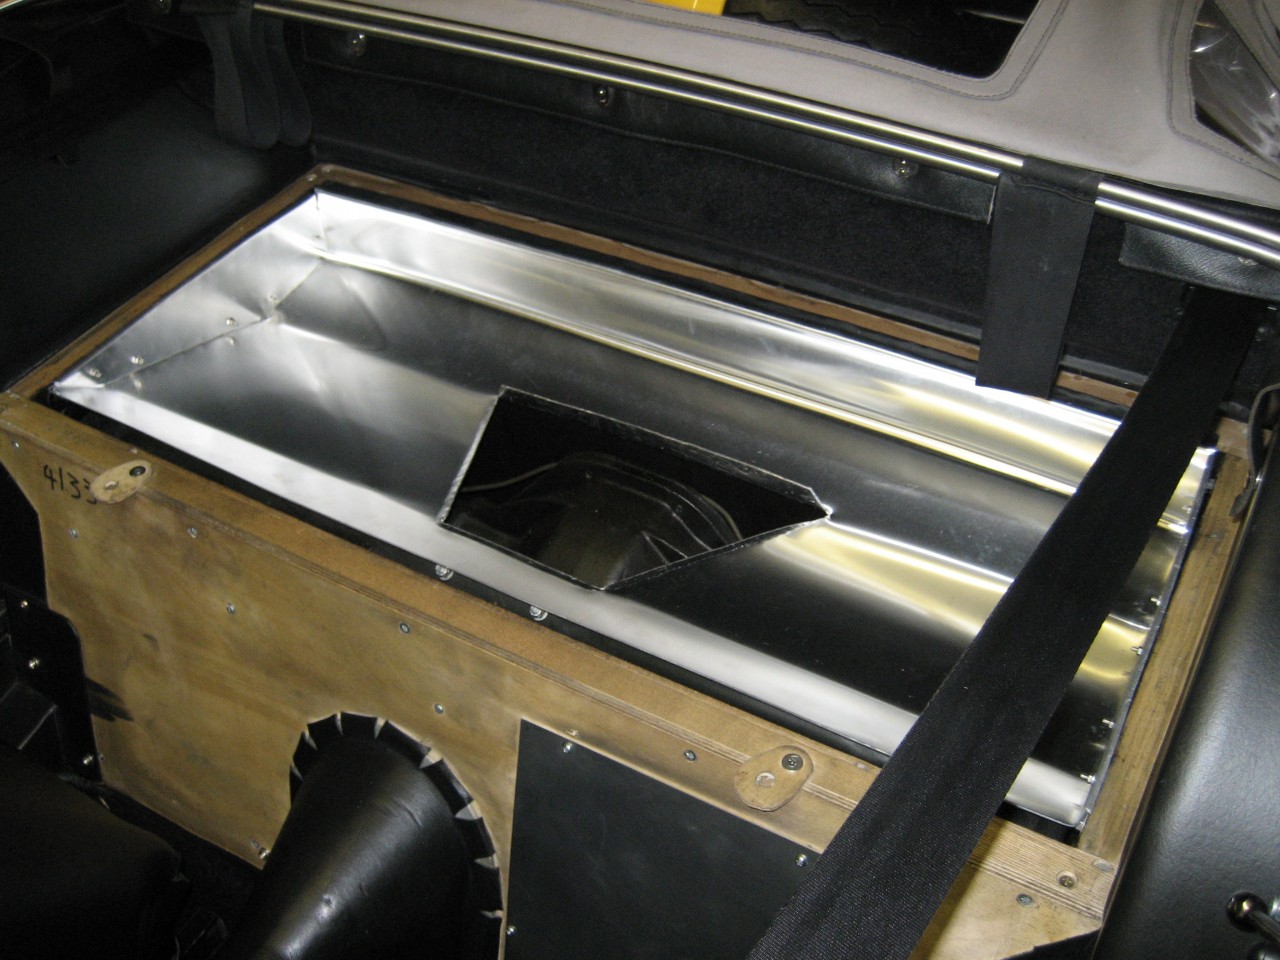
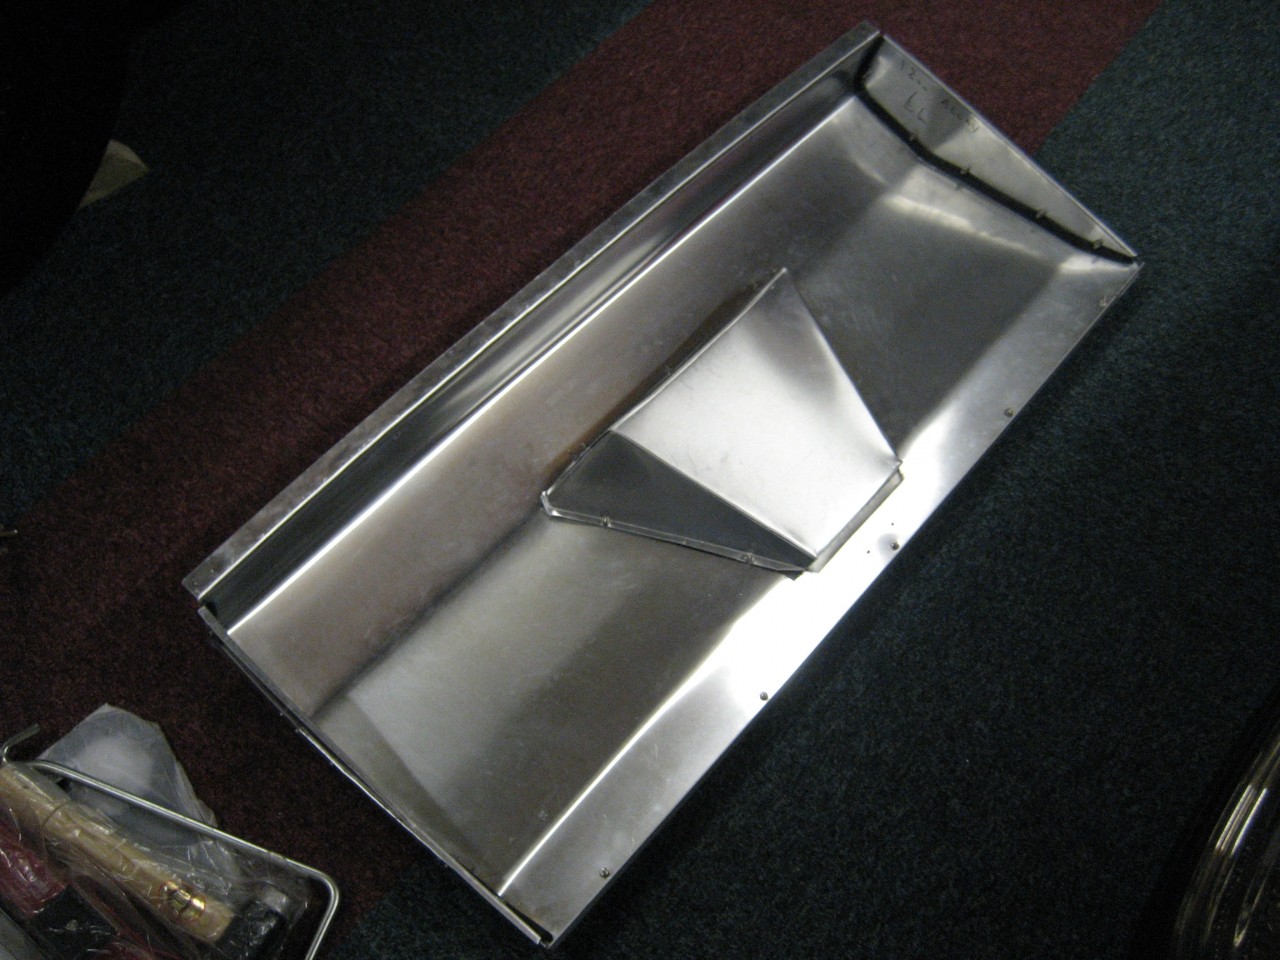
Fitted - DS tape and nuts/bolts again. I reinforced the front edge with some L section aluminium (Wickes).


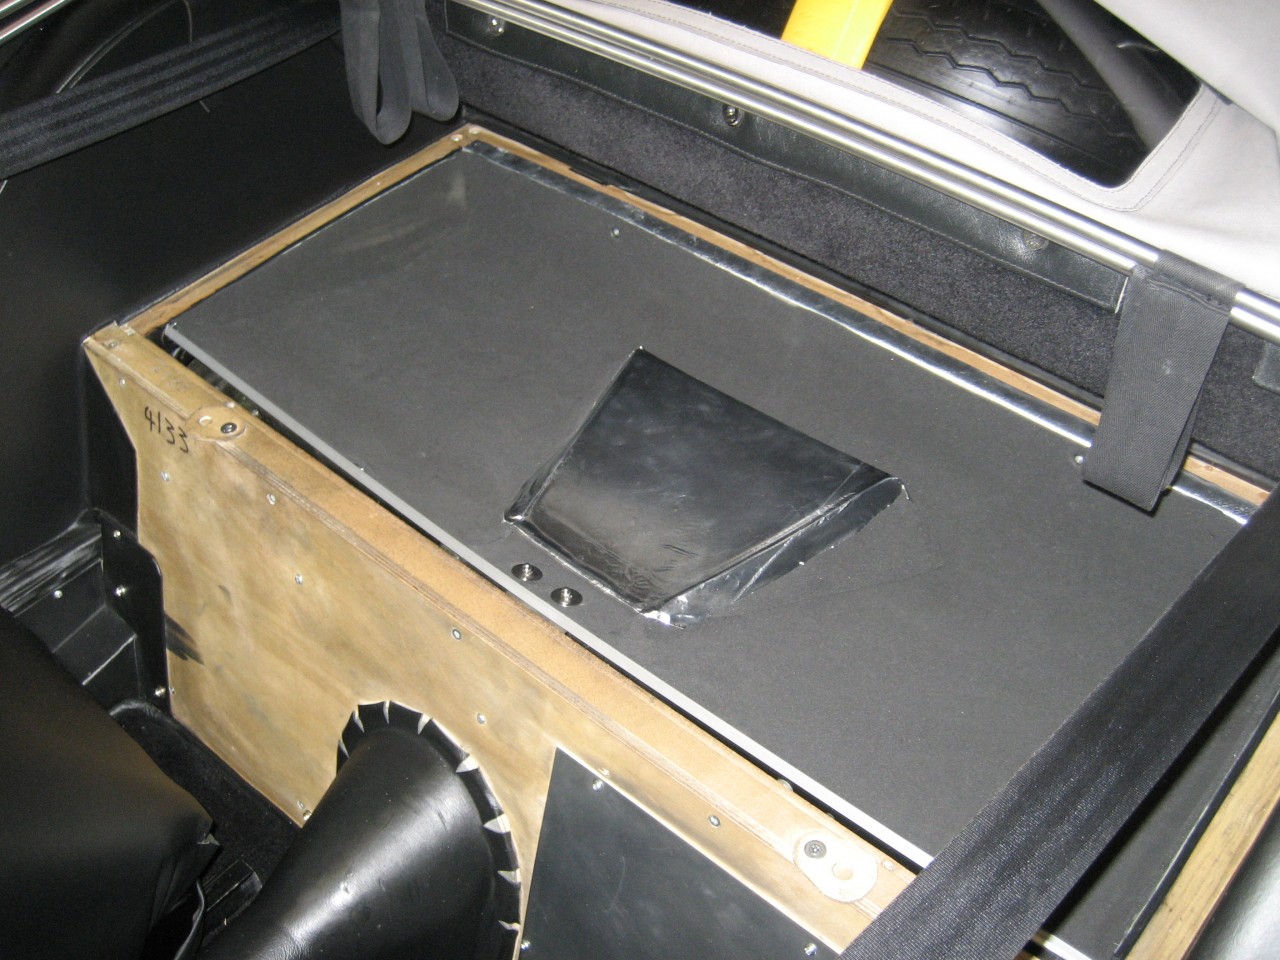
Finally this afternoon - I've glued some O section neopreme along the edges, which should prevent any leakage from underneath. On the rear edge you can make out one screw head, there are two screws into the rear frame, and on the front I've added a bracket and there are two nuts and bolts, one either side of the centreline, mainly to prevent rattles.


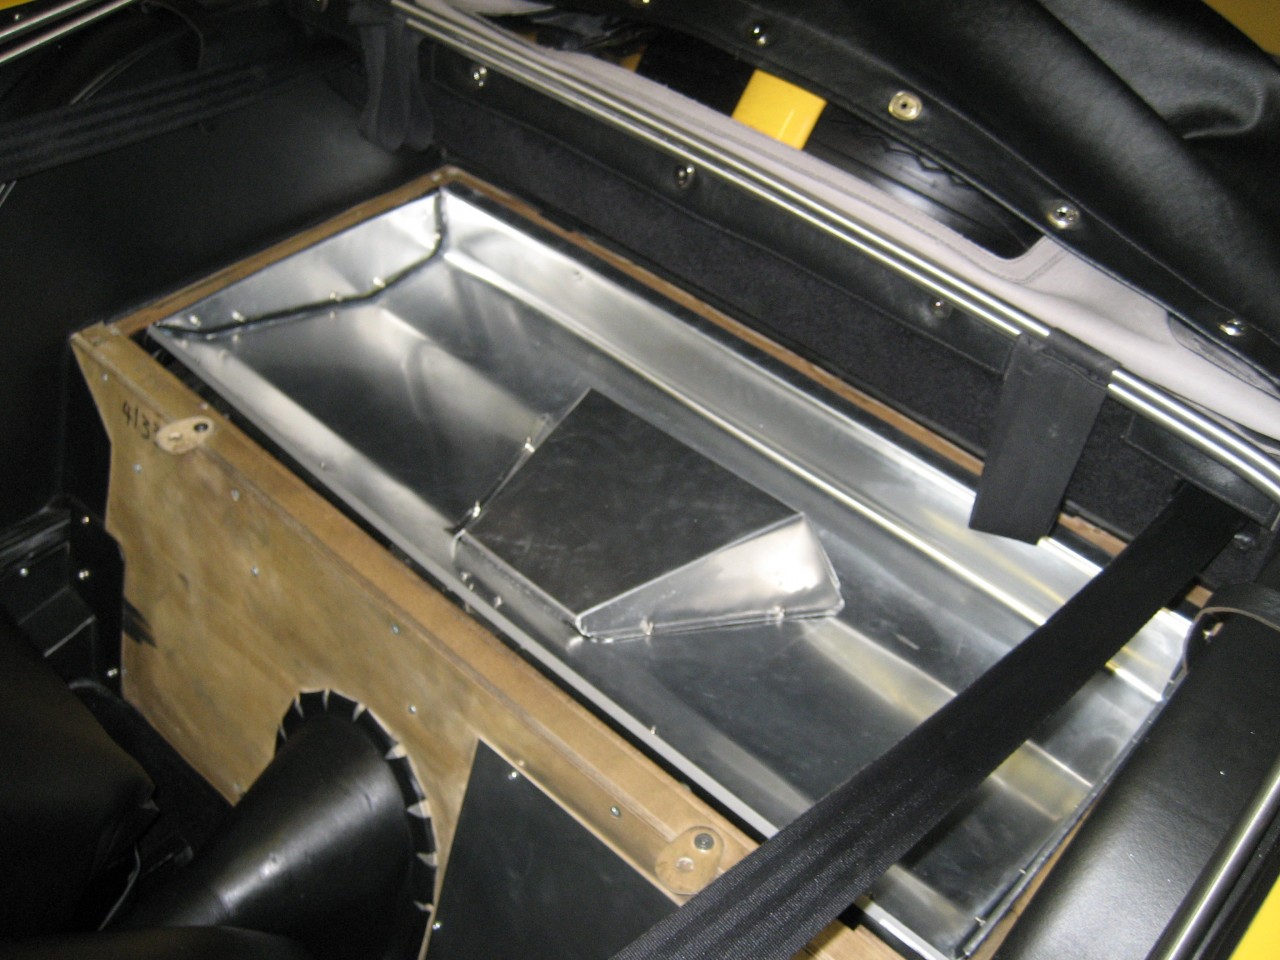
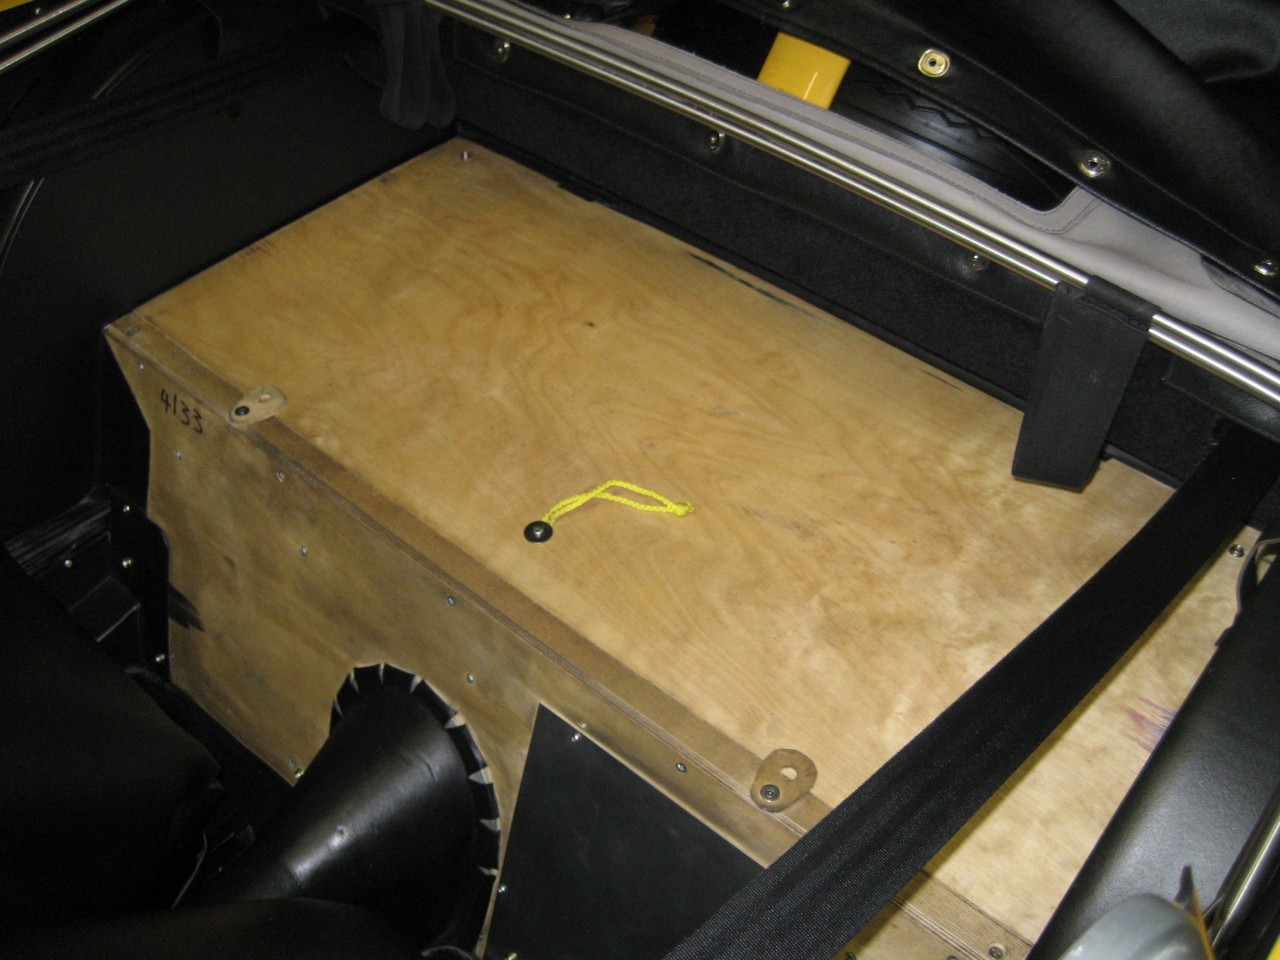
And here's the cover in place. The yellow 'rope' came from a torch.


This is not the end, because I need to finish off the underside, and line the tray with neoprene, so there will be a final instalment next week hopefully.
A word of warning though - unless you have steely resolve, and are competent in forming metal, don't attempt this at home. It looks easy but it's one of the hardest jobs I've done.


DaveW
'05 Red Roadster S1
'16 Yellow (Not the only) Narrow AR GDI Plus 4
Joined: Dec 2008
Posts: 22,385
Likes: 358
DaveW Online Content OP
Roadster Guru
Member of the Inner Circle
OP Online Content
Roadster Guru
Member of the Inner Circle
Joined: Dec 2008
Posts: 22,385
Likes: 358
Post Photobucket Reboot.................
Finished off today..............
First the neoprene:


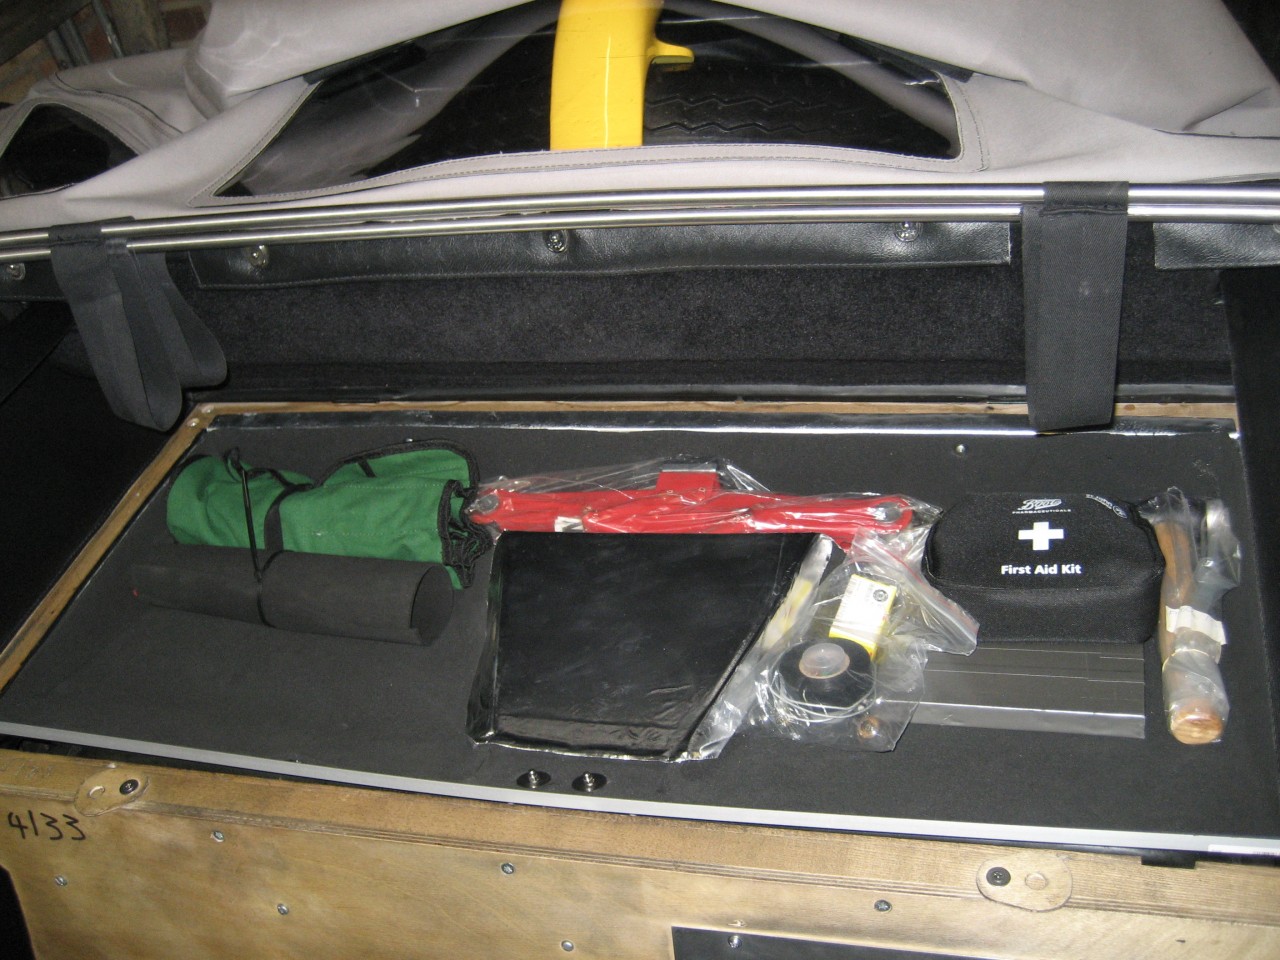
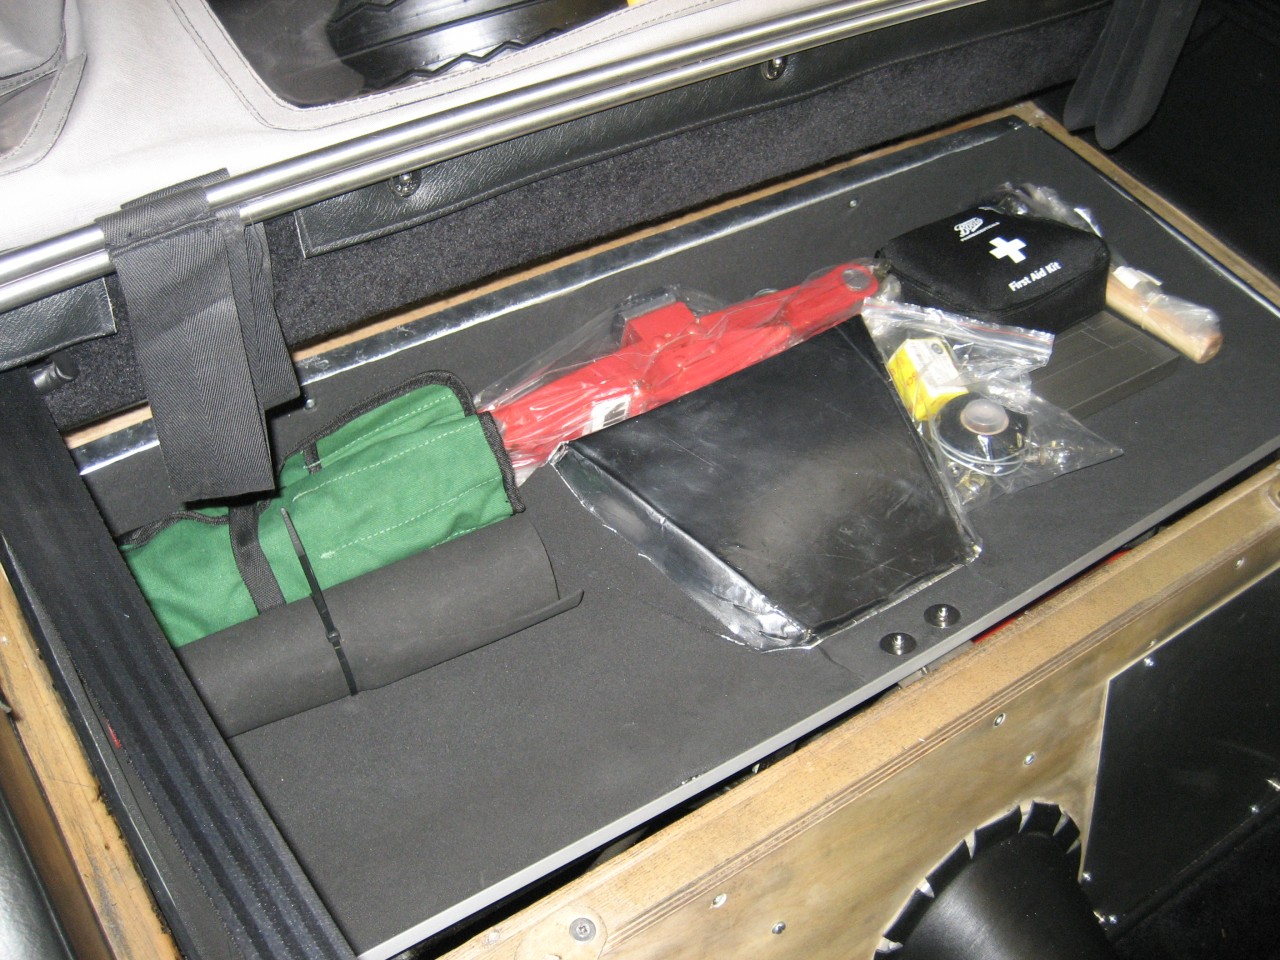
Then the tools. There's more room with this one than with the wooden version. Bags of room in fact.


Very pleased with the outcome!


DaveW
'05 Red Roadster S1
'16 Yellow (Not the only) Narrow AR GDI Plus 4
Joined: Dec 2008
Posts: 22,385
Likes: 358
DaveW Online Content OP
Roadster Guru
Member of the Inner Circle
OP Online Content
Roadster Guru
Member of the Inner Circle
Joined: Dec 2008
Posts: 22,385
Likes: 358
Post Photobucket Reboot......................

A few more pics from below, taken today.
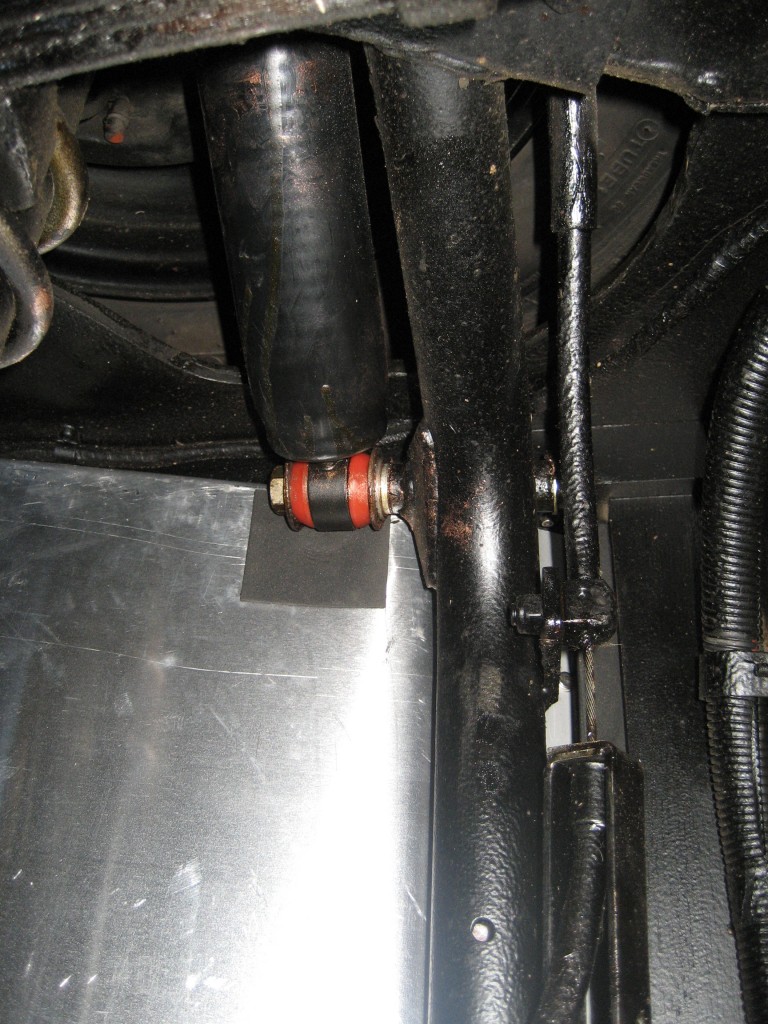
Offside, looking up! I had to hammer a slight bulge to clear the damper tops and covered it with neoprene just in case there was contact, but it's OK. I used a ball pein hammer over a large socket...............


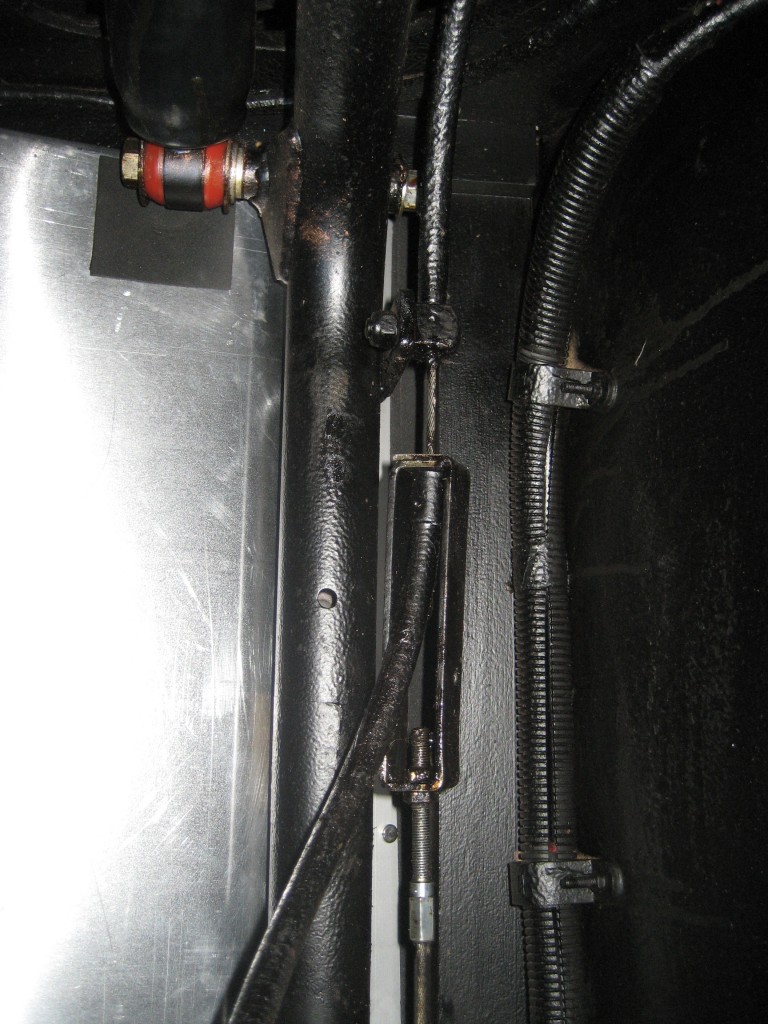
Nearside: This also shows handbrake adjuster.


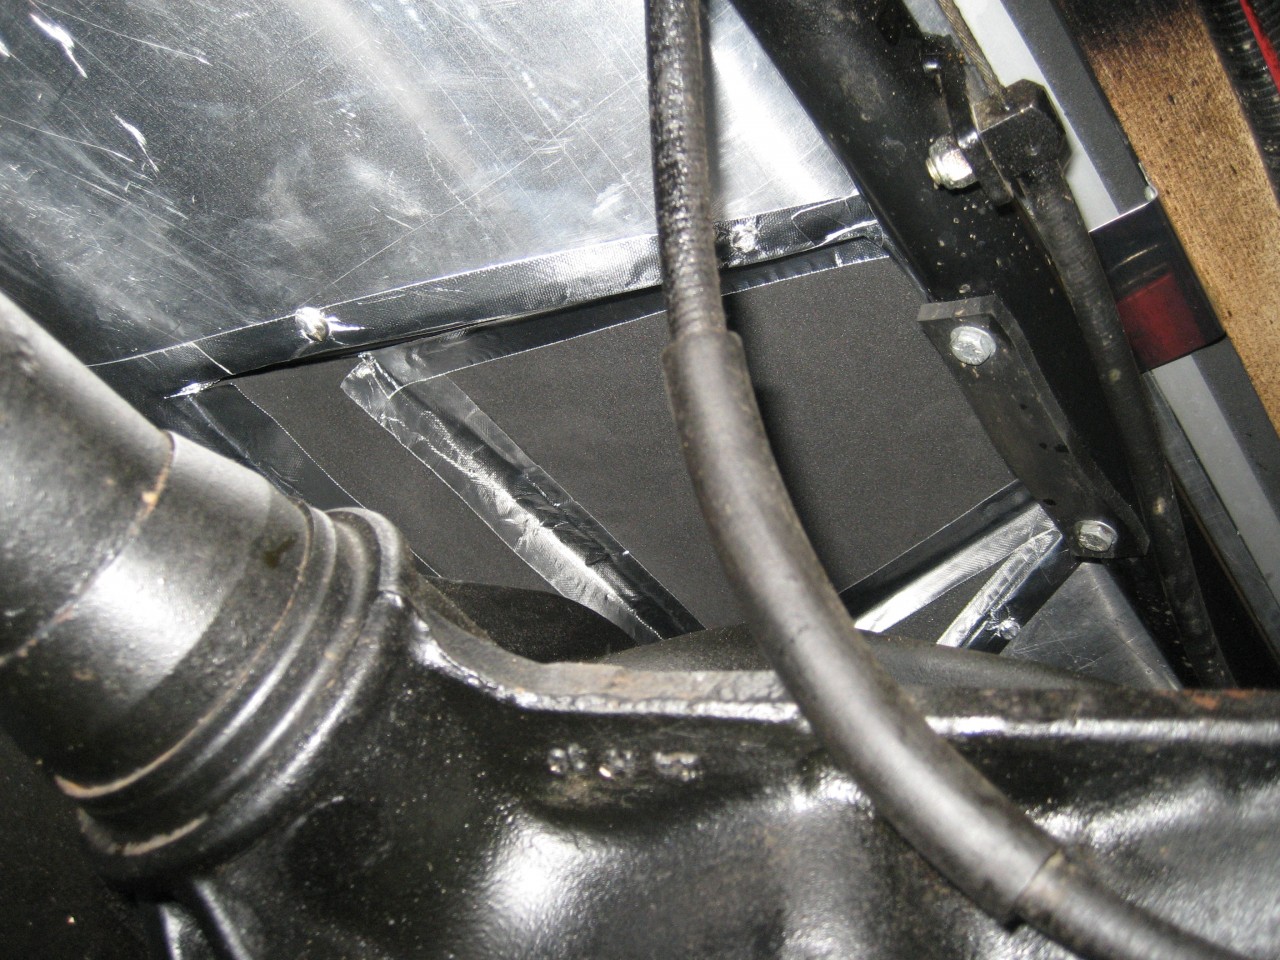
This shows the padded cover for the diff case:
Note also the 'bump stop' on the tube in case the diff deflects that far up. To the right is my stainless bracket which holds the tool tray at the front.


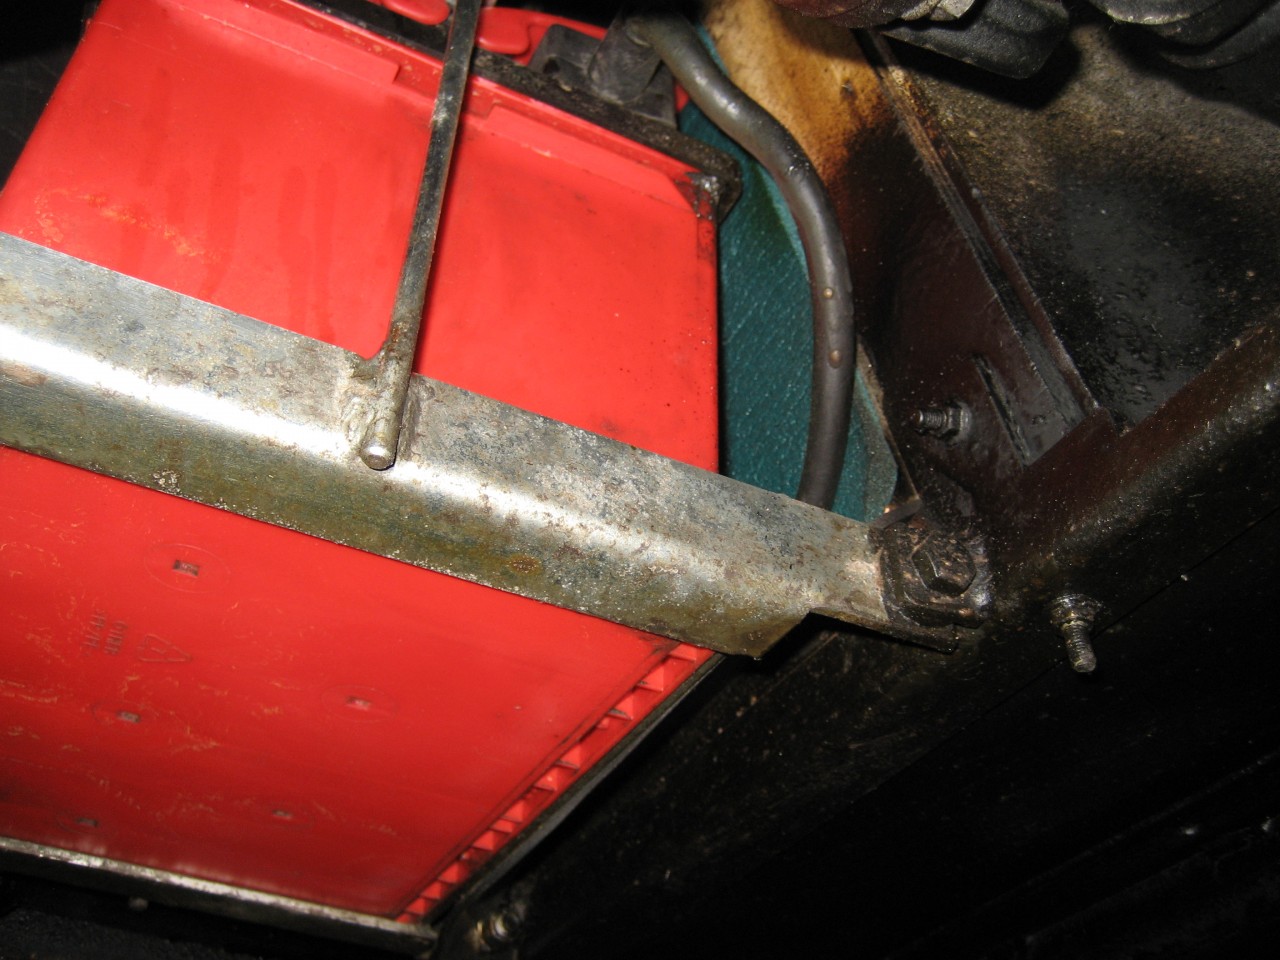
I lined the inside of the battery hatch with green camping mat - visible here:


And here you can see the neoprene flap I fitted at the base of the battery hole - to stop road dirt splashing up. You can also see my battery charger in-line fuse!


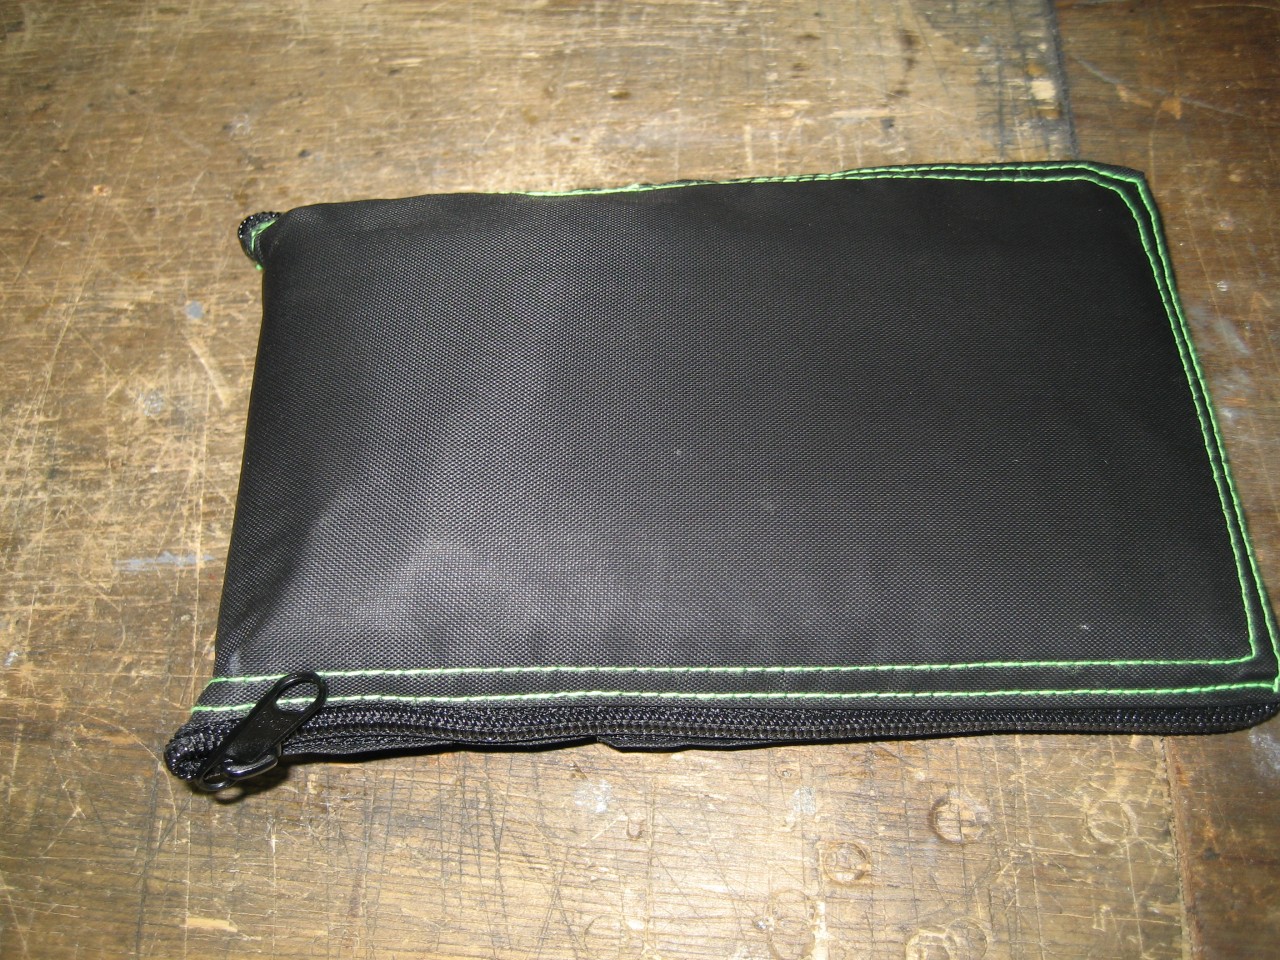
Finally I bought this from my local garage about five years ago..............it's the size of a fancy phone,


But unzips into this, with four suckers if required.
Its reflective and if stuck on a dark road, might just make a difference. No makers name or any reference on it though. It was about £2 as I recall.


That's all. thumbs


DaveW
'05 Red Roadster S1
'16 Yellow (Not the only) Narrow AR GDI Plus 4
Page 4 of 4 1 2 3 4

Moderated by  TalkMorgan 

Link Copied to Clipboard
Powered by UBB.threads™ PHP Forum Software 7.7.5