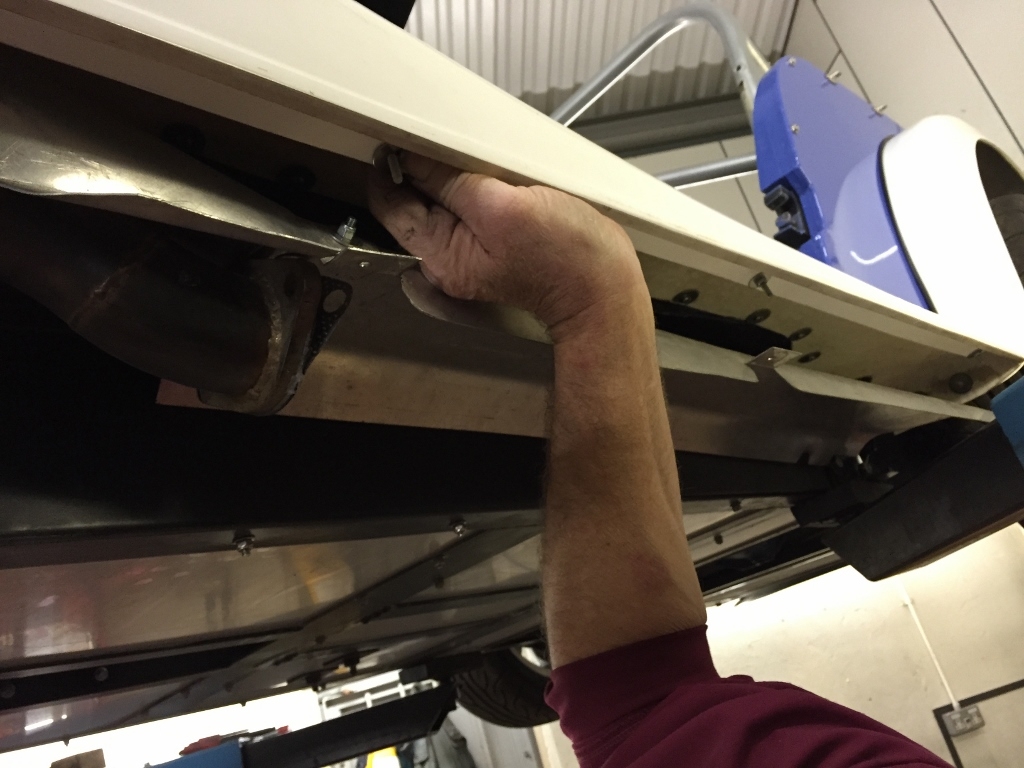
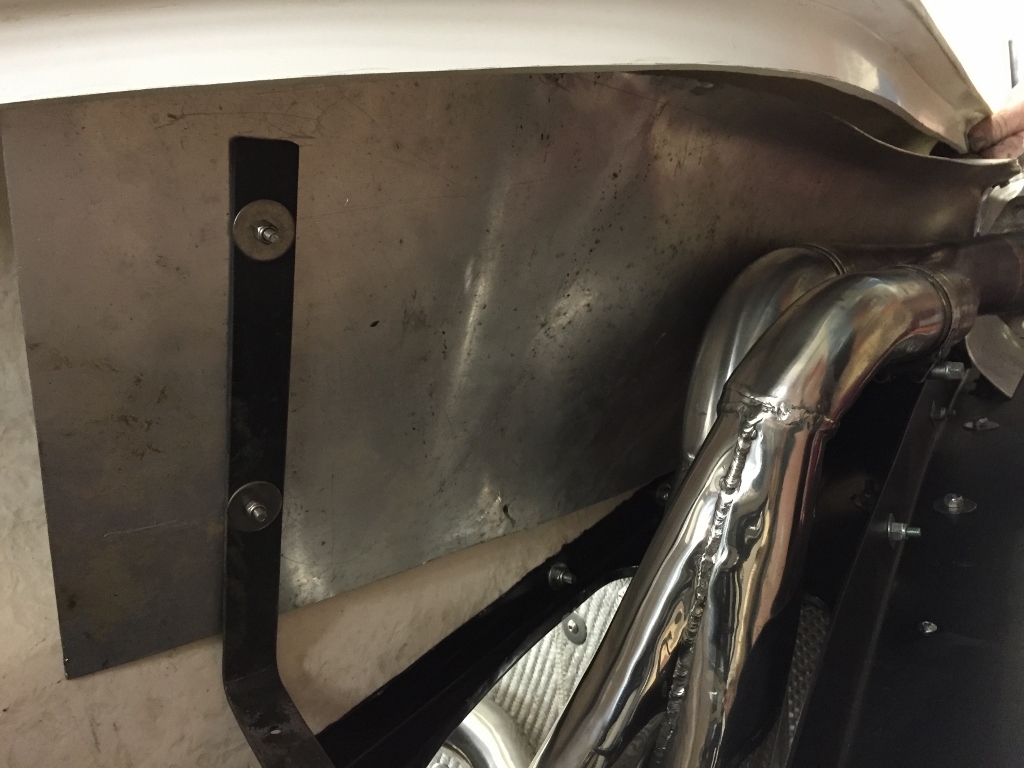
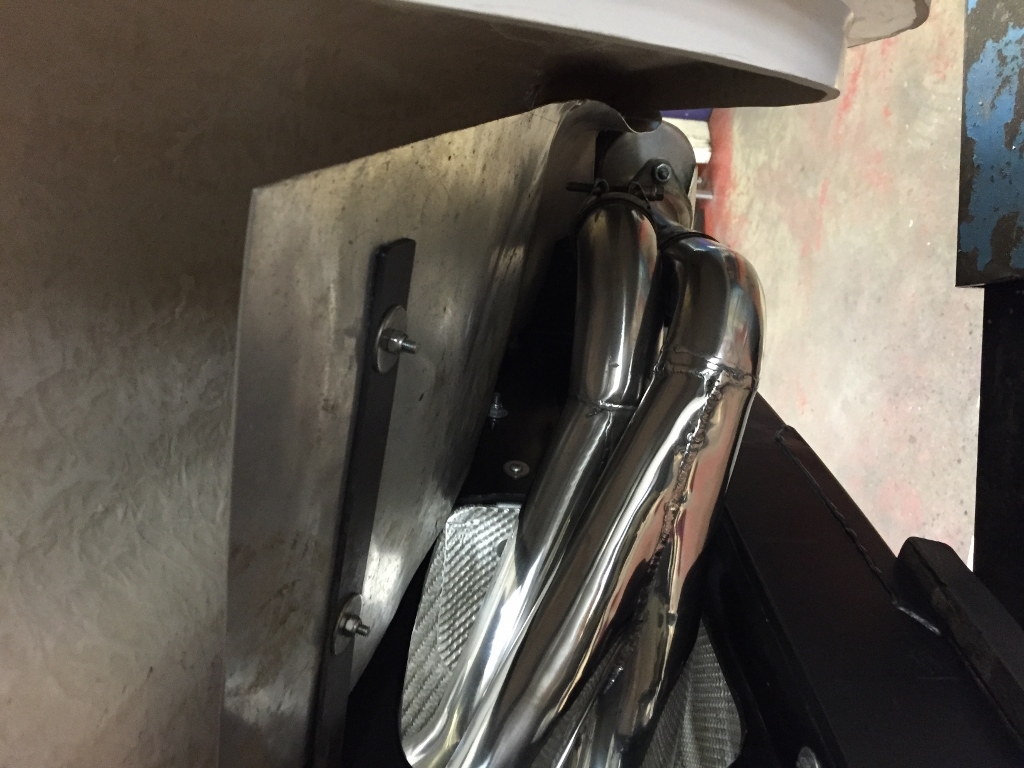
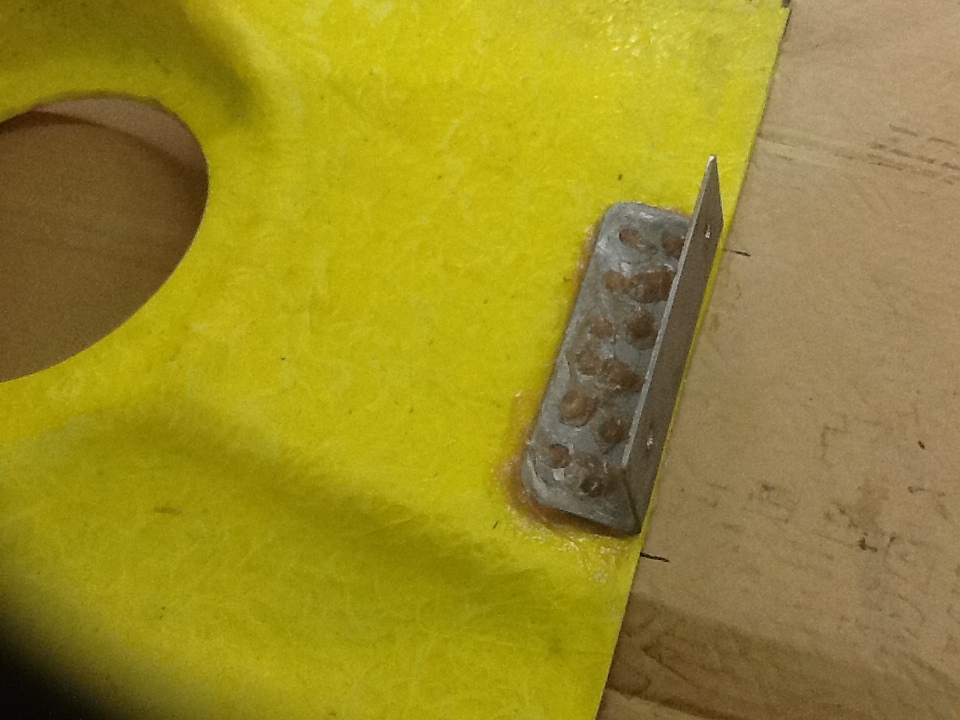
Click here to return to the home page.
Image of a road.
Who's Online Now
7 members (IcePack, Dek, Moggo, 42w203, SCX358G, nick w, verysideways), 278 guests, and 42 robots.
Key: Admin, Global Mod, Mod
Top Posters(30 Days)
John V6 79
+8Rich 70
DaveW 67
Luddite 55
Newest Members
Ulfulf, Wilfried, Classic-Line, BrunswickGreen44, Franco Morgan
9,203 Registered Users
Newest Topics
Supermax sprocket
by Laurens - 21/07/25 08:26 AM
Morgan 3 Wheeler song
by Dutch - 21/07/25 12:31 AM
Technical drawings, dimensions, 3D model M3W
by Oskar - 20/07/25 04:13 PM
Goggle eyed
by Roady - 19/07/25 06:16 PM
FOR SALE AERO8 series 1 WHEELS
by t50 - 19/07/25 12:07 PM
Lions Tour
by OZ 4/4 - 19/07/25 11:55 AM
Morgan rebuild on Facebook
by TBM - 19/07/25 10:50 AM
Latest Photos
Motorworld München
Motorworld München
by Oskar, July 20
visit to Classic Remise Düsseldorf
my book
my book
by Oskar, July 20
More Pictures of the MHR Visit
by DaveK, July 19
Visit to the Factory- Historic Morgan Group
Forum Statistics
Forums34
Topics48,337
Posts812,915
Members9,203
Most Online1,046
Aug 24th, 2023
Today's Birthdays
toitoine
Previous Thread
Next Thread
Print Thread
Page 33 of 41 1 2 31 32 33 34 35 40 41
Joined: Oct 2006
Posts: 2,403
C
Talk Morgan Expert
OP Offline
Talk Morgan Expert
C
Joined: Oct 2006
Posts: 2,403
Update 42 - Painting Woodstock

Next up was painting Woodstock - we stripped the tub down and before sending off for painting we fibre glassed on the aluminium tabs onto the inner wing we want to use to help mount the front valance.


Setting them up to dry overnight


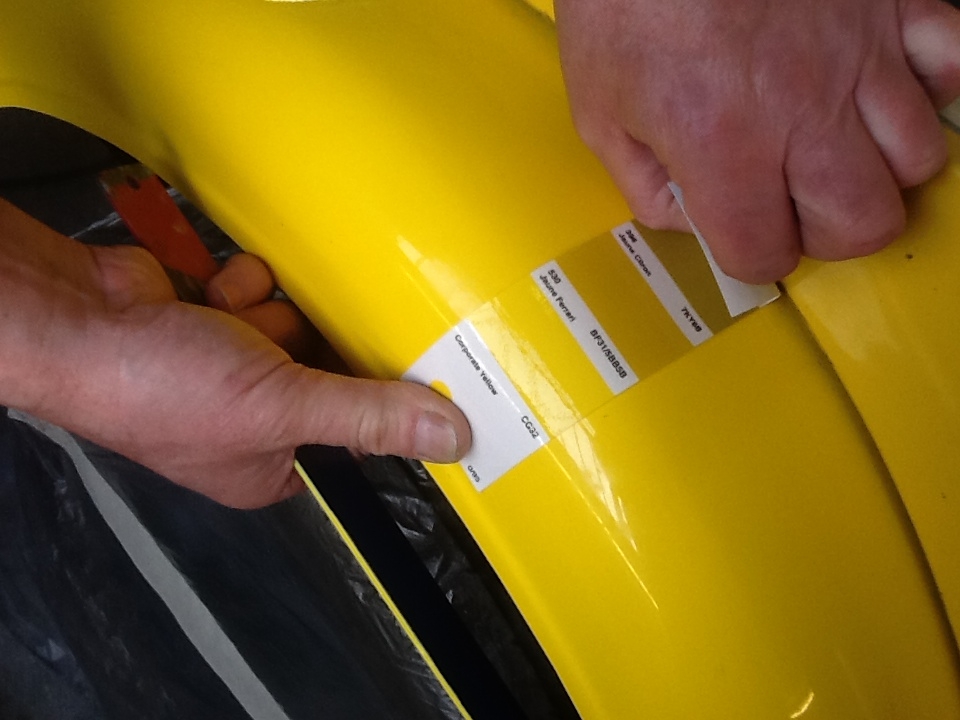
Next up was sorting the right yellow - our original idea was to paint the whole car the Citroen DS3 yellow... we even had a sample painted up which we liked.

The problem we have had was that in the mean time we have powder coated a load of parts in grey... now initially that does not seem a problem until you hold the orangey yellow up against a bluey grey.. yuck.

Having mounted the wings we found that the more zingy yellow worked well so we needed to find a new yellow that was going to work with the roll-bar and wheels.

Dad had an initial go with David to see if they could find a similar yellow to the wings that would work....


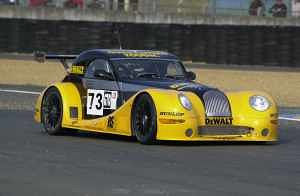
Back at home though we were having other ideas.... the two tone thing looks cool and I've seen a gun metal grey metallic Class A racer with accents in dyno rod orange that looked cool.. also there was Boshly's Series 2 Dyno Rod special... the Black Aero with orange perl wrapped wings. There was also this car - the Dewalt Aero racer... yellow and dark grey


With that seed planted and wanting to make sure we got colours that we were not going to complain about for a lifetime - I talked Anne into going to see David along with Dad to choose the colours which she liked.


You can see Anne here with the picture of Woodstock in one of the Morgan books in his hay-day being raced by TalkMorgan's very own Martyn Culling.

In the end a grey similar to the interior was picked along with a slightly louder zesty yellow for the accents.

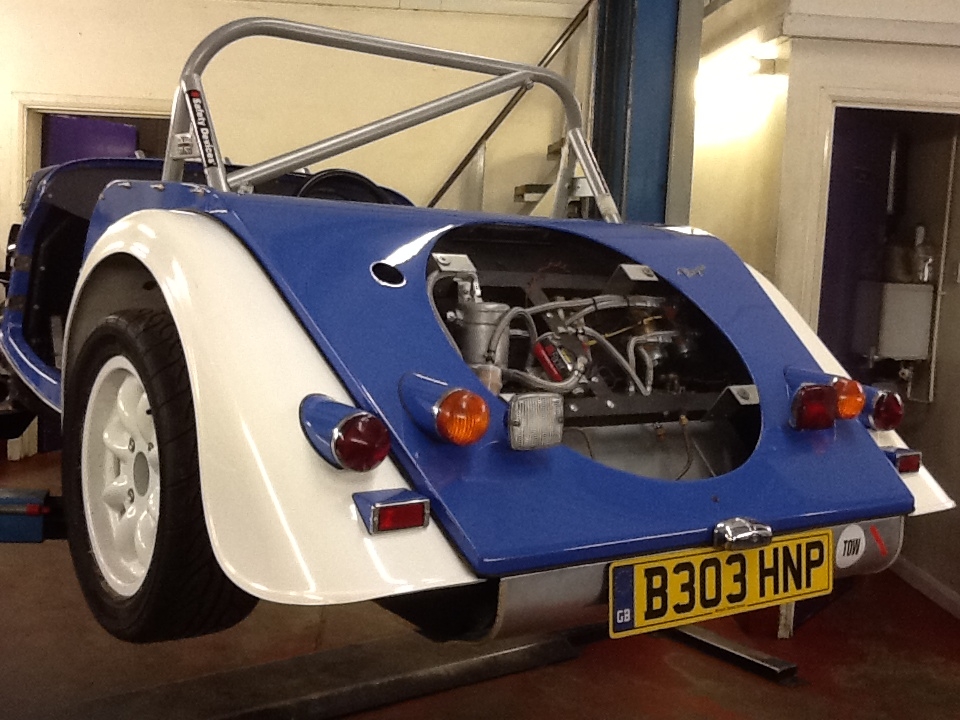
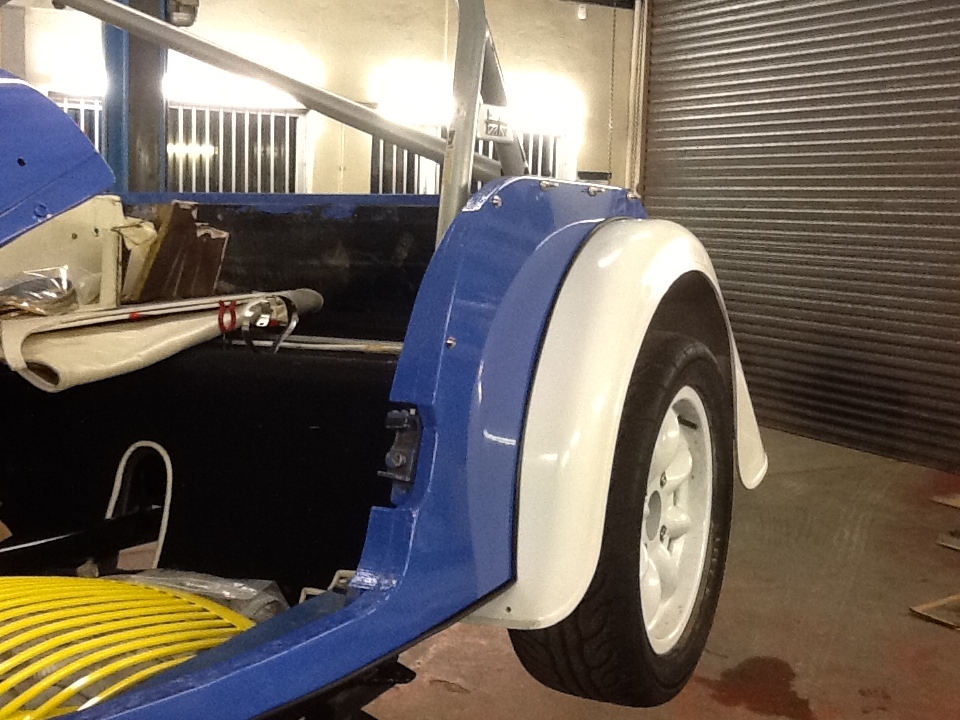
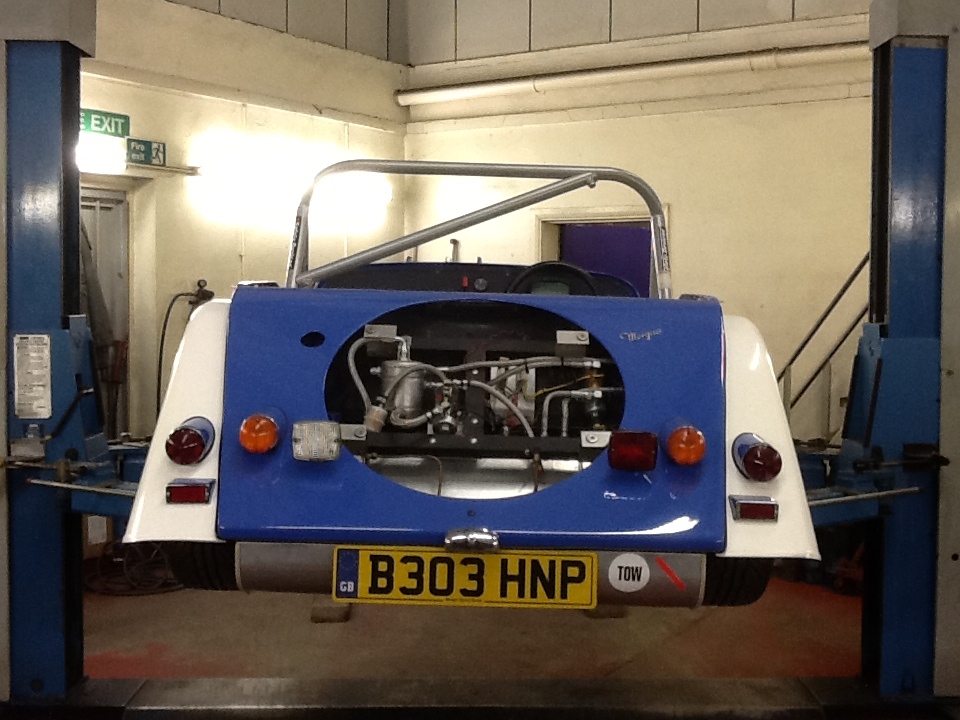
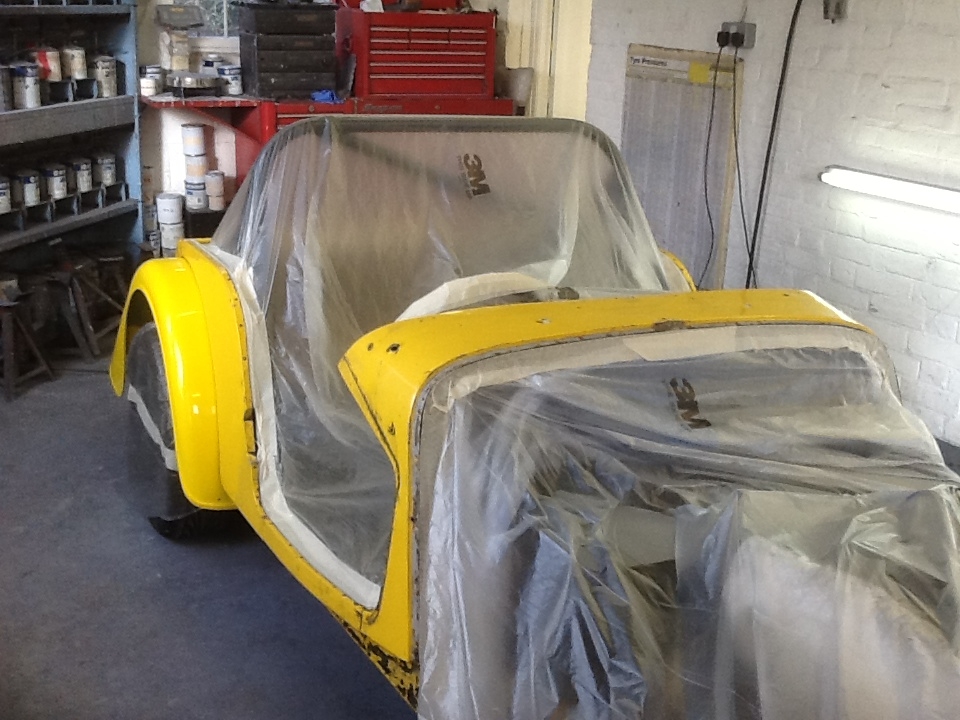
As with the Blue and White car Woodstock underwent a complete strip to the metal and clean up... on this tub however there were ripples in the metal, holes in the wrong place and the odd shaping of the O/S rear wing aperture on the leading lower corner.

David spent some time cleaning all this up to the point where it was all straight and looking like new.

Looking at the O/S rear wing alignment


Assessing the back panel.


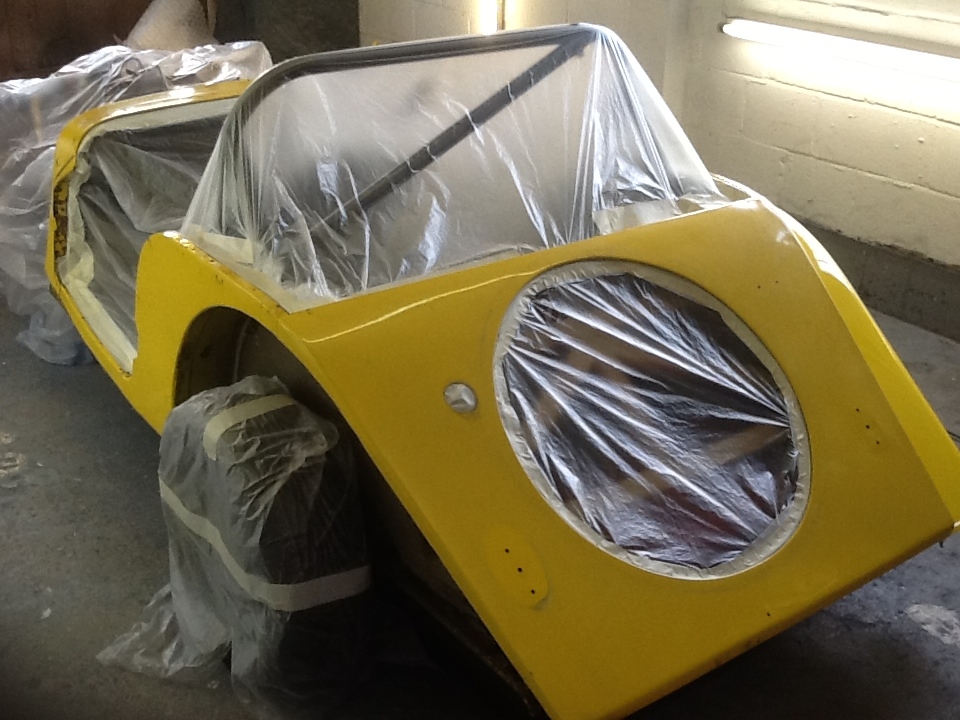
Stripping it back to the metalwork.. again several layers of paint since 72.


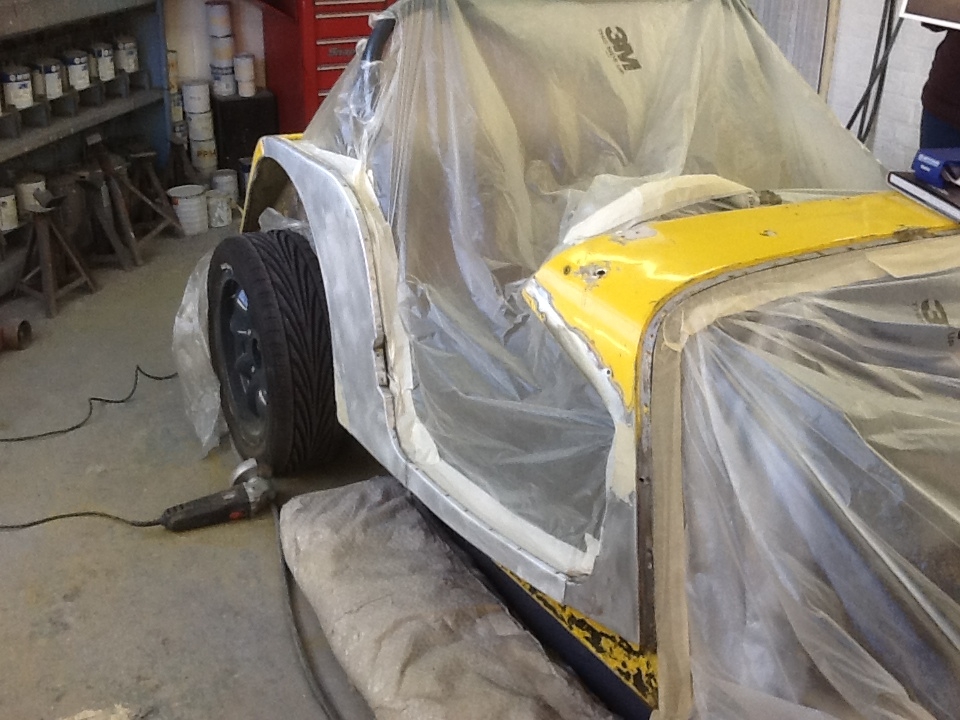
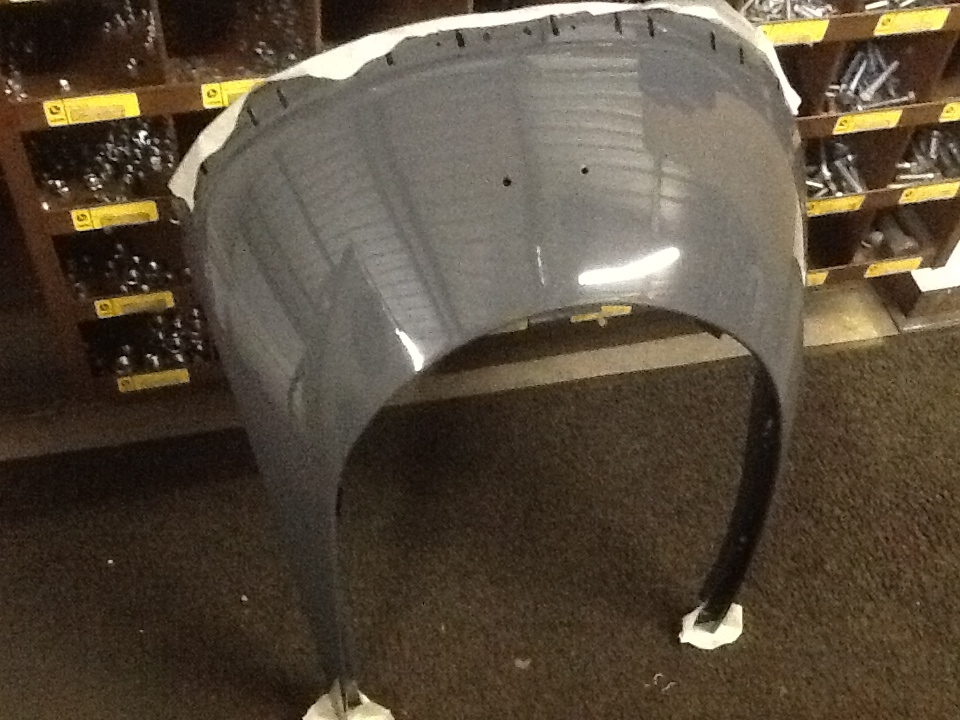
The cowl was cleaned up, sand blasted and any fatigue cracks welded up... the grey was tested out to see what it looked like... matches up nicely.


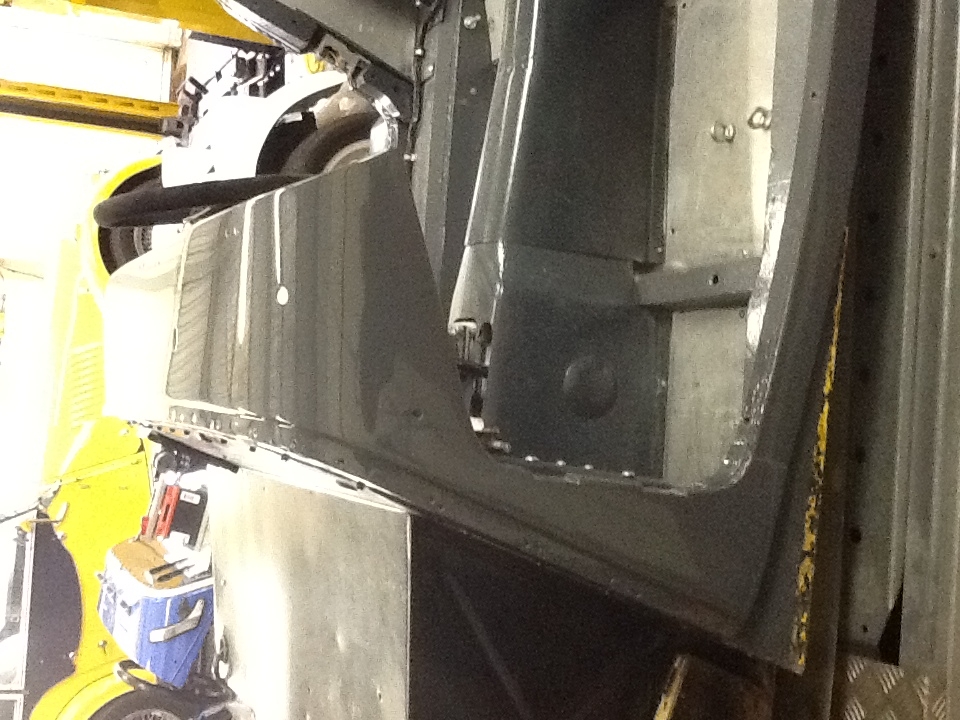
Another nice straight shiny tub - David did a great job - much better than expected


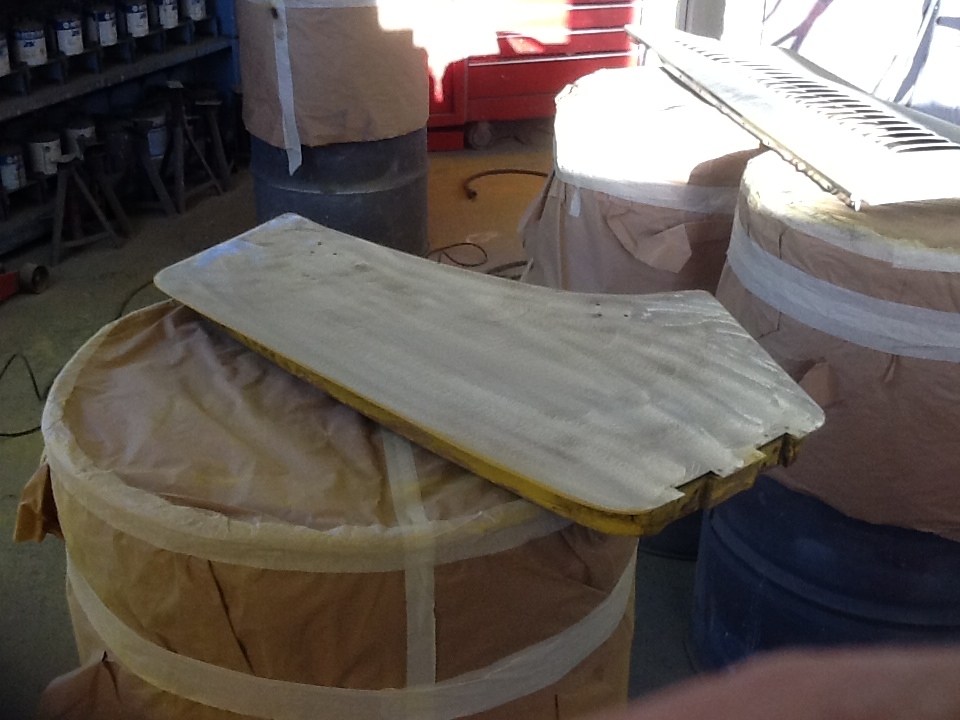
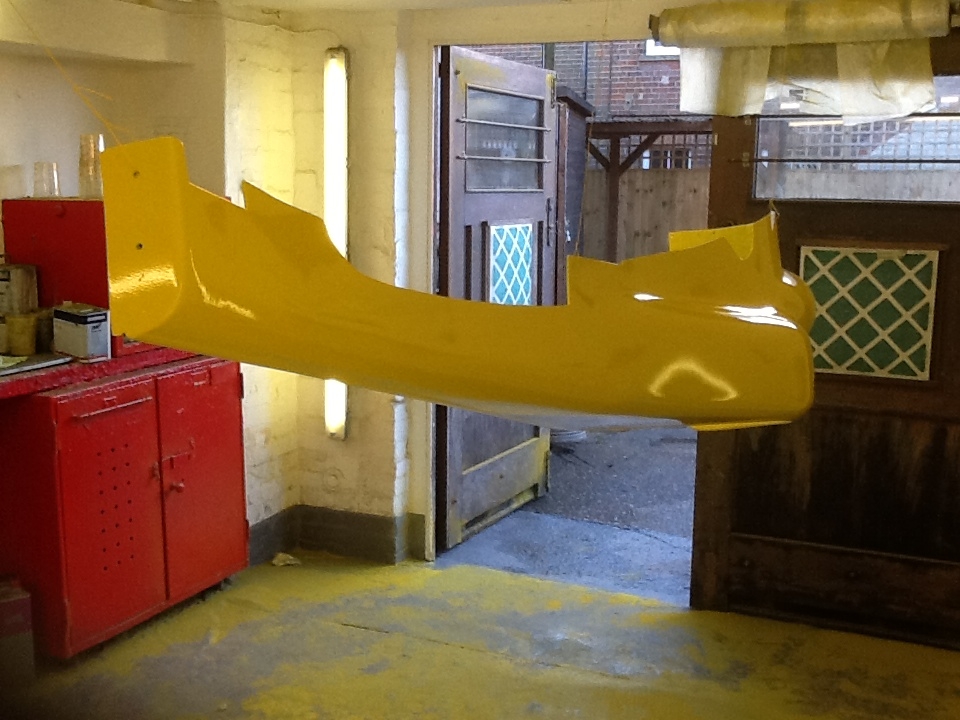
David also painted the yellow accent pieces... apparently the yellow was very watery so quite a few coats were needed to get the coverage we wanted... still again it looks great.

First teaser


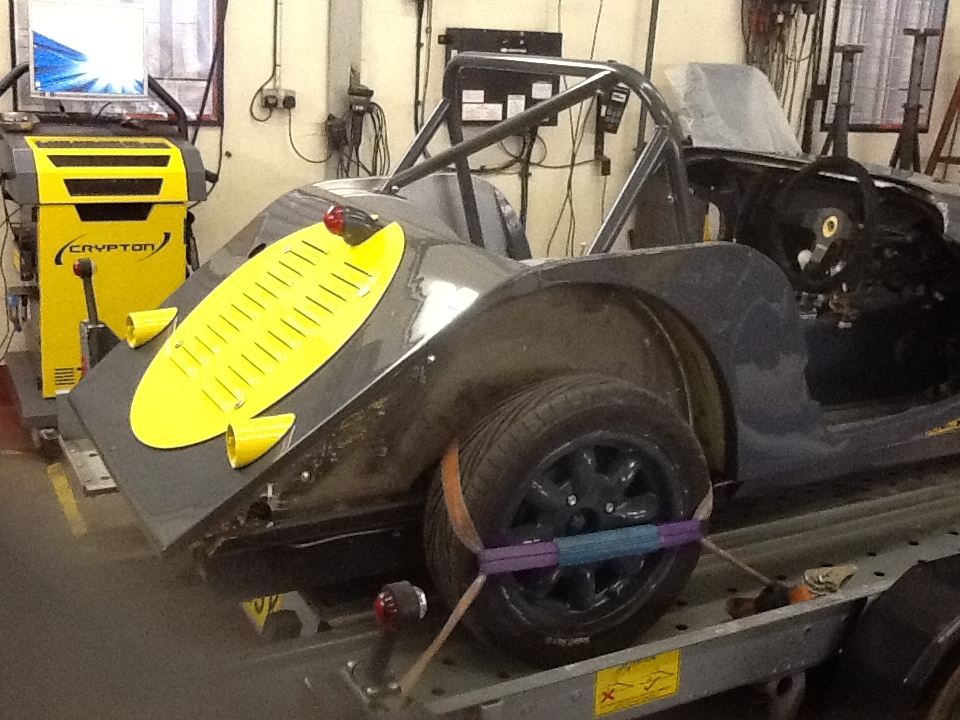
That is one slap your face loud contrast

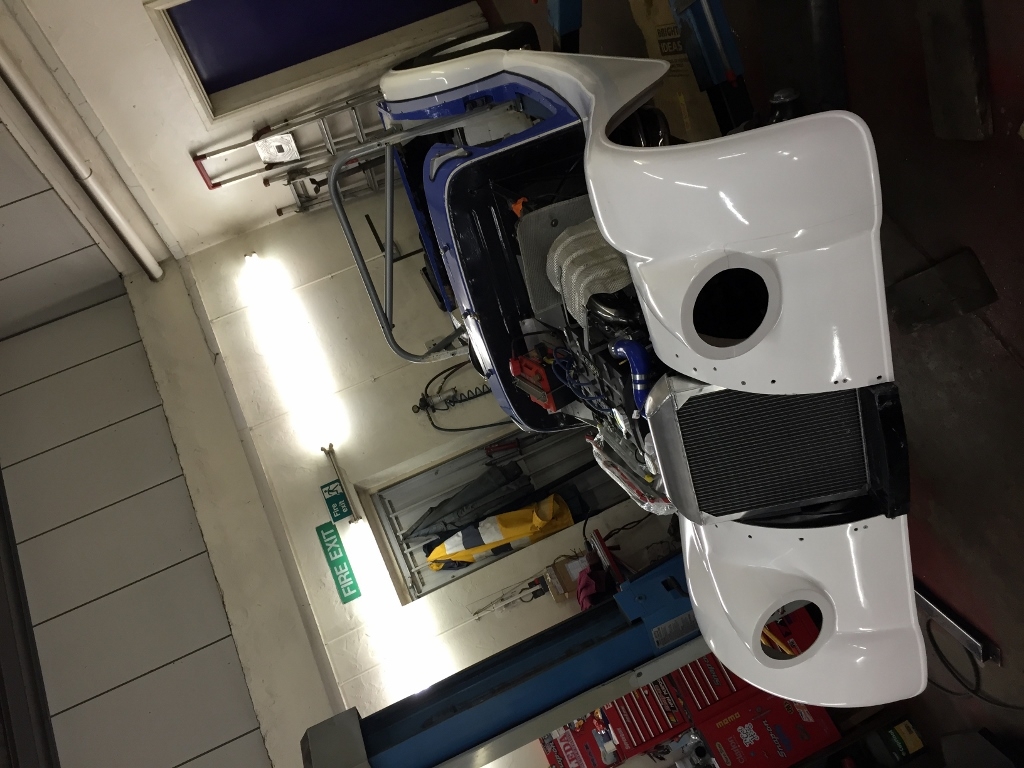
The bonnets and doors were painted next...


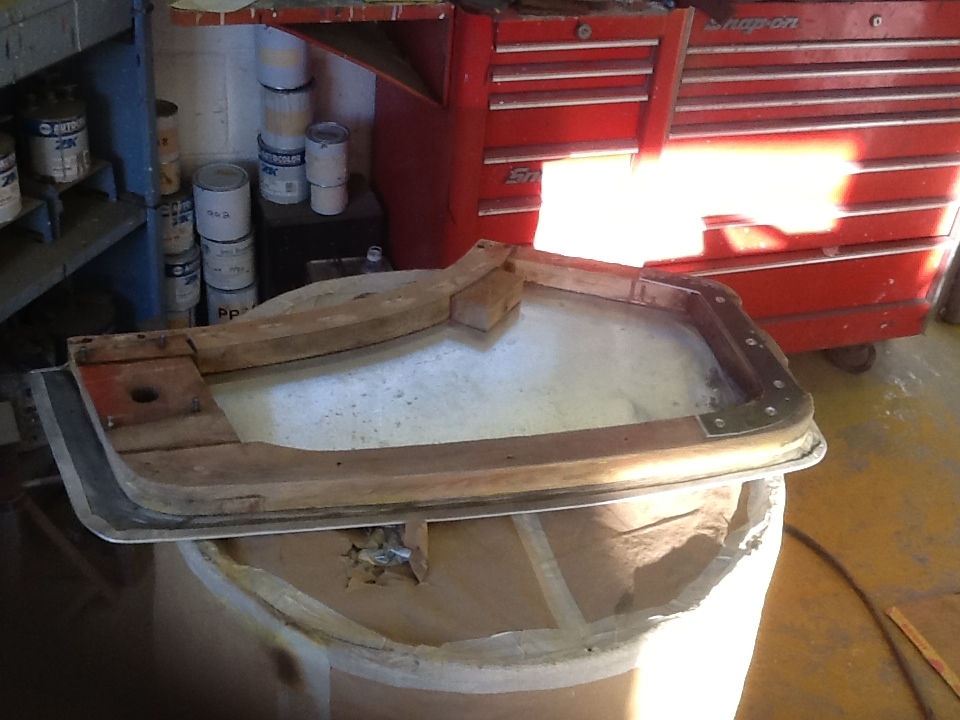
Again the doors were stripped right back to get a good finish.

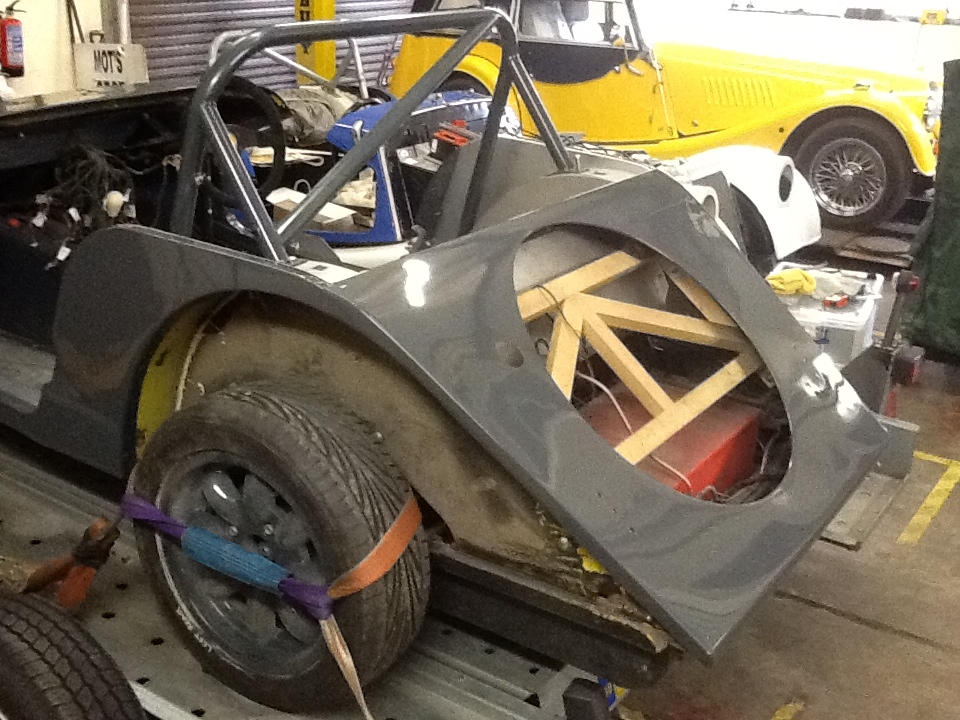
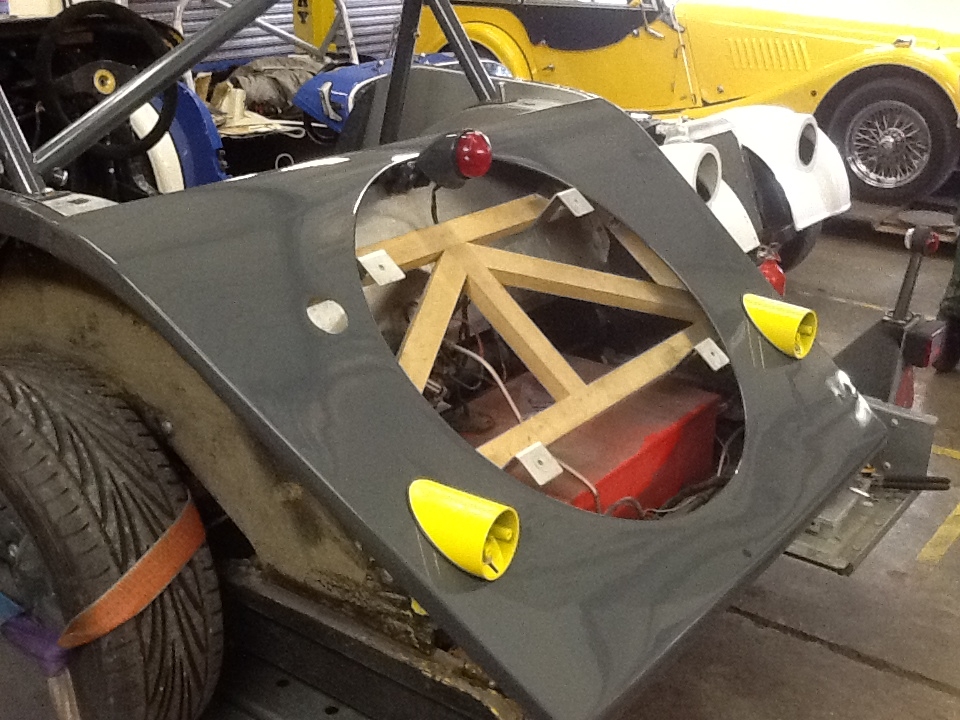
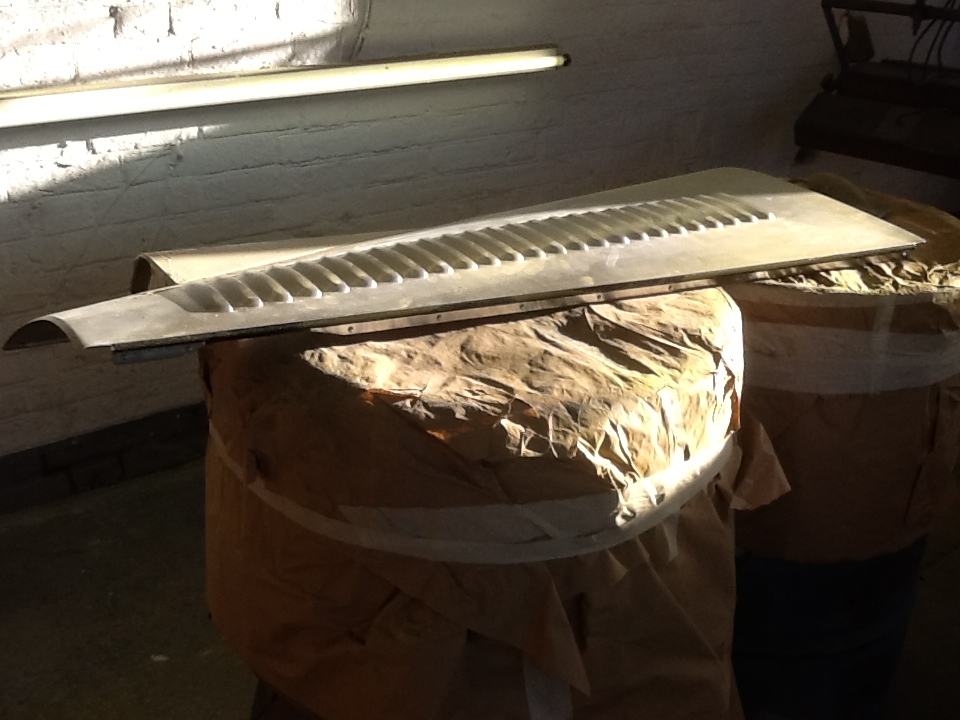
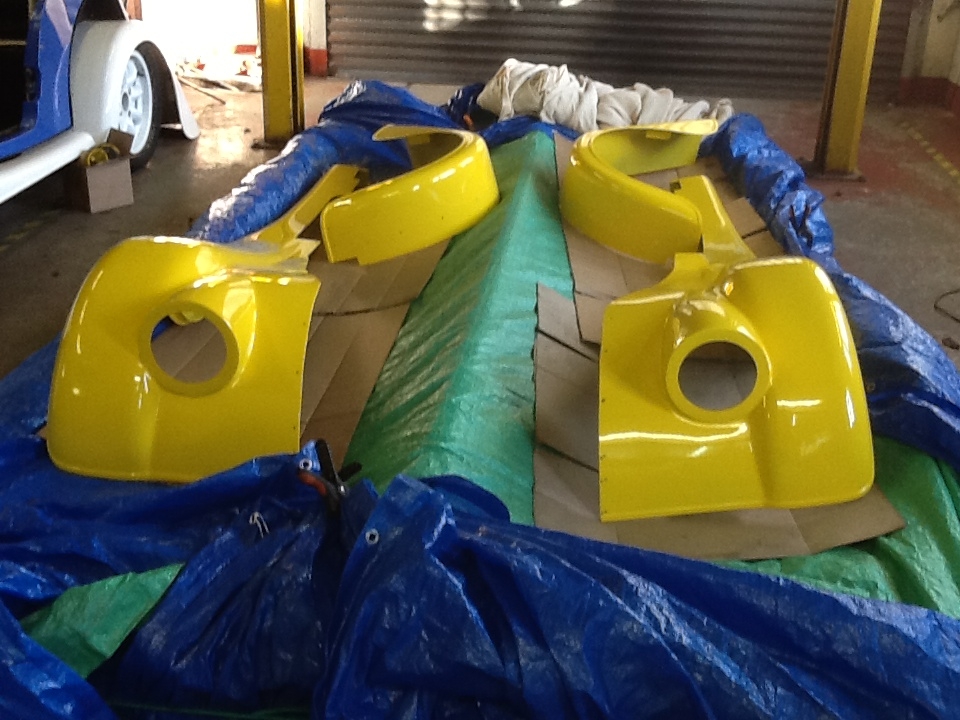
Unlike the Blue and White car - we decided to paint the wings so they went through the paint shop individually


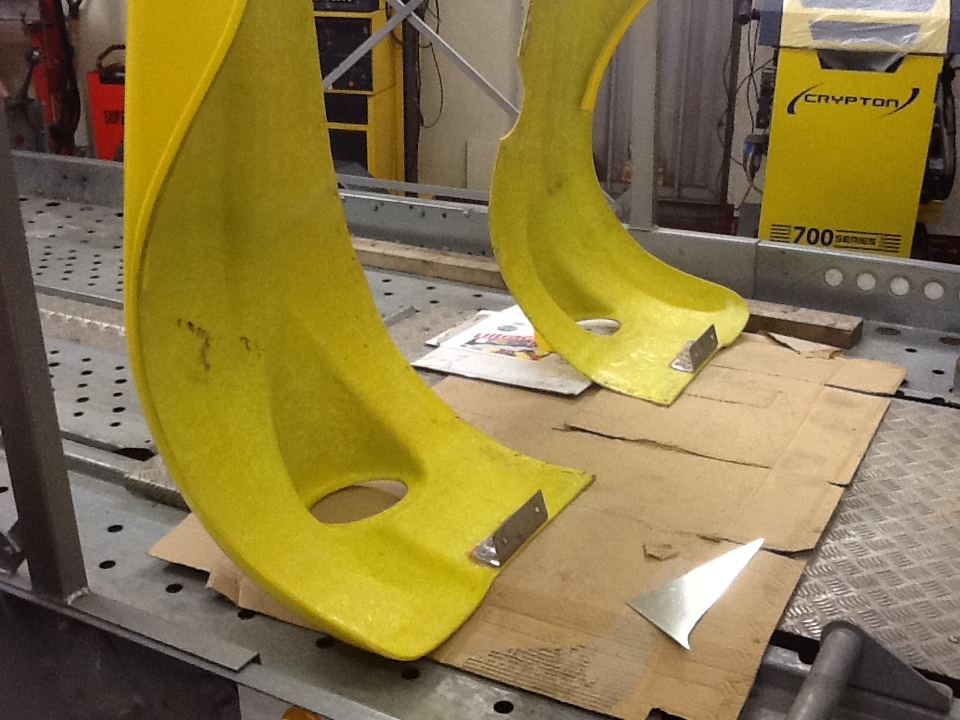
Here is the full set of painted wings ready to be fitted.


Whilst I don't have a pic of the grill - this is also yellow!!


Joined: Oct 2006
Posts: 2,403
C
Talk Morgan Expert
OP Offline
Talk Morgan Expert
C
Joined: Oct 2006
Posts: 2,403
We have some Peanuts Vinyl stickers from our recent trip to Japan to put on the car once it's finished.... the Japanese are all over Peanuts the cartoon and there is quite a lot of merchandise available.

Key rings, lanyards etc.. etc..


Joined: Jan 2012
Posts: 14,976
Likes: 1
Member of the Inner Circle
Offline
Member of the Inner Circle
Joined: Jan 2012
Posts: 14,976
Likes: 1
Looking great - the paint finish looks superb and personally I like the colours.


Richard
1976 4/4 4 Seater
Joined: Jul 2007
Posts: 28,414
Likes: 177
Salty Sea Dog
Member of the Inner Circle
Offline
Salty Sea Dog
Member of the Inner Circle
Joined: Jul 2007
Posts: 28,414
Likes: 177
That photo of Martyn in Woodstock is at Prescott. He didn't know about the photo until I mentioned it some years ago... smile

Both cars will stand out in a paddock full of Mogs, one a little more than the other grin2 thumbs


Graham (G4FUJ)

Sold L44FOR 4/4 Giallo Fly
'09 Gen2 MINI Cooper ragtop
'90 LR 90 SW
Joined: Oct 2011
Posts: 1,947
Talk Morgan Enthusiast
Offline
Talk Morgan Enthusiast
Joined: Oct 2011
Posts: 1,947
And thanks to a Talkmorganer, I now have a copy of the book.

cheers


1930 Super Sports Aero 'The Elk'
Joined: Jul 2007
Posts: 28,414
Likes: 177
Salty Sea Dog
Member of the Inner Circle
Offline
Salty Sea Dog
Member of the Inner Circle
Joined: Jul 2007
Posts: 28,414
Likes: 177
thumbs


Graham (G4FUJ)

Sold L44FOR 4/4 Giallo Fly
'09 Gen2 MINI Cooper ragtop
'90 LR 90 SW
Joined: Aug 2010
Posts: 363
Learner Plates Off!
Offline
Learner Plates Off!
Joined: Aug 2010
Posts: 363
Cerealsurfer, if you've managed to unearth a paint code for the Jubilee Blue I'd be very grateful if you could post it here. My car is that colour (or was, it's had parts touched up and resprayed at various points in its history, none of which were a completely perfect match for the original). It's probably going to need some TLC to the paintwork in the not-too-distant future, and it would be an interesting exercise, at least, to start off with the original code!


Doug
1985 4/4 4str, Jubilee Blue
Joined: Oct 2006
Posts: 2,403
C
Talk Morgan Expert
OP Offline
Talk Morgan Expert
C
Joined: Oct 2006
Posts: 2,403
Will hook it out....


Joined: Aug 2010
Posts: 363
Learner Plates Off!
Offline
Learner Plates Off!
Joined: Aug 2010
Posts: 363
Much obliged - thanks!


Doug
1985 4/4 4str, Jubilee Blue
Joined: Oct 2006
Posts: 2,403
C
Talk Morgan Expert
OP Offline
Talk Morgan Expert
C
Joined: Oct 2006
Posts: 2,403
Update 43 - Final fit of White wings

Now we have the Blue and White car back from paint we need to final fit the wings. Like the first fit of Woodstock this starts from the back going forward.

We have new rubber trims to go round the whole car. All the rear lights are new and the plinths positioning need to be right first time.

Using the same SS nut headed 3/4 inch screws the rear wings were mounted with windscreen sealant around the inner wheel-arch and a small amount on the rubber beading to keep an edge seal to stop water ingress between the wing and the tub.


You can see a sneak peek of Woodstocks grill laying in the passenger footwell.

All the radiator, exhaust manifold and intake has also been final fit - we have also fitted heat shielding around the starter, crank timing electricals and finally the over the top of the exhaust to stop radiating heat from blistering the bonnet paint.

We will also be wrapping the exhausts - but not at this point.


For the front wings the outline positioning holes were already in place from first fit. So our focus just needs to be on putting the screws that go in under the wings in to the sills.

You can see the neat line of SS screws in the photo below - you need to be very careful how you put these screws in given the increasingly small overlap with the main tub as you come towards the bulkhead.


Next job was the fitment of the exhaust side pipe and the heat shielding to that goes over the top of the exhaust.

We managed to rescue the heat shielding ready to go again... you can see the longer of the two parts being slid into place.


The front section has a floating bracket to hold it over the top of the end of the exhaust manifold.


You can see the stand-off distance as it runs along the length of the wing.


Given the wings are gel coat there a few mould lines around the front light pods. 30 mins with some 2000 grit wet and dry has removed them and an orbital polishing mop and buffed the shine back into the wing.


All done for another week - next up - ECU swap and wiring loom modifications.


Page 33 of 41 1 2 31 32 33 34 35 40 41

Moderated by  TalkMorgan 

Link Copied to Clipboard
Powered by UBB.threads™ PHP Forum Software 7.7.5