Click here to return to the home page.
Image of a road.
Who's Online Now
2 members (DaveW, flyfisher), 109 guests, and 17 robots.
Key: Admin, Global Mod, Mod
Top Posters(30 Days)
+8Rich 103
John V6 66
Newest Members
BenRoadster, Max5787, Jack Noir, phenompilot52, Orjan
9,638 Registered Users
Newest Topics
Old Book
by Morganmike - 21/09/26 07:54 PM
ABS Unit problems on 2013 Aero Plus 8
by Ambrose2 - 21/09/26 11:23 AM
Factory meet
by Julian BB - 21/09/26 09:25 AM
Diss Festival of Transport
by RichardV6 - 20/09/26 01:35 PM
Goodwood
by waikiore - 19/09/26 02:50 PM
My 4/4 as it was in 1975
by Strathaven - 18/09/26 09:09 AM
US Cars - Metric Threads?
by Paul F - 17/09/26 08:29 PM
Latest Photos
First Morgan as it is now
by Strathaven, September 15
New to me 95 plus 4 daily driver
by SailingTom2, September 12
Bits to give away
Bits to give away
by TigerTim, September 11
1989 Morgan Plus 4 in Ontario, Canada
by Carbuilder, September 5
First anniversary of Plus 4
by Strathaven, September 5
Forum Statistics
Forums39
Topics49,932
Posts838,511
Members9,638
Most Online1,063
Jun 14th, 2026
Today's Birthdays
AlexCreasey
Previous Thread
Next Thread
Print Thread
Page 4 of 5 1 2 3 4 5
Joined: Apr 2014
Posts: 3,550
Likes: 5
Talk Morgan Addict
Offline
Talk Morgan Addict
Joined: Apr 2014
Posts: 3,550
Likes: 5
I have a selection of bolt lengths that I use (also have put angled seat batons under the runners) - I just have the nyloc protruding on the underside - originally it was like some nightmarish bunny rake!


Mark - No Longer driving
Archie the Old English Sheep Mog...........
2010 Roadster 3.0 V6 (S3) wink
Joined: Dec 2011
Posts: 1,943
B
Talk Morgan Enthusiast
Offline
Talk Morgan Enthusiast
B
Joined: Dec 2011
Posts: 1,943
I use long bolts to fit the seat. After I am done, I cut the end of the bolts off with a Makita Angle Drive with thin metal cutoff blade (abrasive).

Button
Seattle


Button
Joined: May 2010
Posts: 9,554
Likes: 134
S
Needs to Get Out More!
Offline
Needs to Get Out More!
S
Joined: May 2010
Posts: 9,554
Likes: 134
I removed the seat wooden spacers on my drivers side ( swmbo insisted leaving her side in place) but left thin spacers to allow the centre bolt head some clearance to the floor.. Subsequently the bolts were then sticking through much further. I replaced them with new shorter ones and retained the originals in case I return the spacers.
I used a socket head bolt in the rear location in the runners with a washer as it is awkward to fit a socket/spanner. I have a small "Stilson" type wrench that would fit a hex head but opted for socket heads. I trimmed the bolts back to 2 threads past the nylocs and touched them up with Dinitrol underseal.
The original bolts were quite long but no signs of grounding, the cross member did have marks though. It's a Plus8 so not huge clearance.


Plus Four MY23 Furka Rouge
Joined: Dec 2008
Posts: 22,385
Likes: 358
DaveW Online Content OP
Roadster Guru
Member of the Inner Circle
OP Online Content
Roadster Guru
Member of the Inner Circle
Joined: Dec 2008
Posts: 22,385
Likes: 358
Post Photobucket reboot from January 2010

I finally found time today to do this job so that I could Danish oil the floor. The following relates to a 2005 Roadster, but I guess most are similar.

First job is to take the roof down.........

Then remove the cap over the seatbelt bracket and take the bolt out. Make a note of it's position.
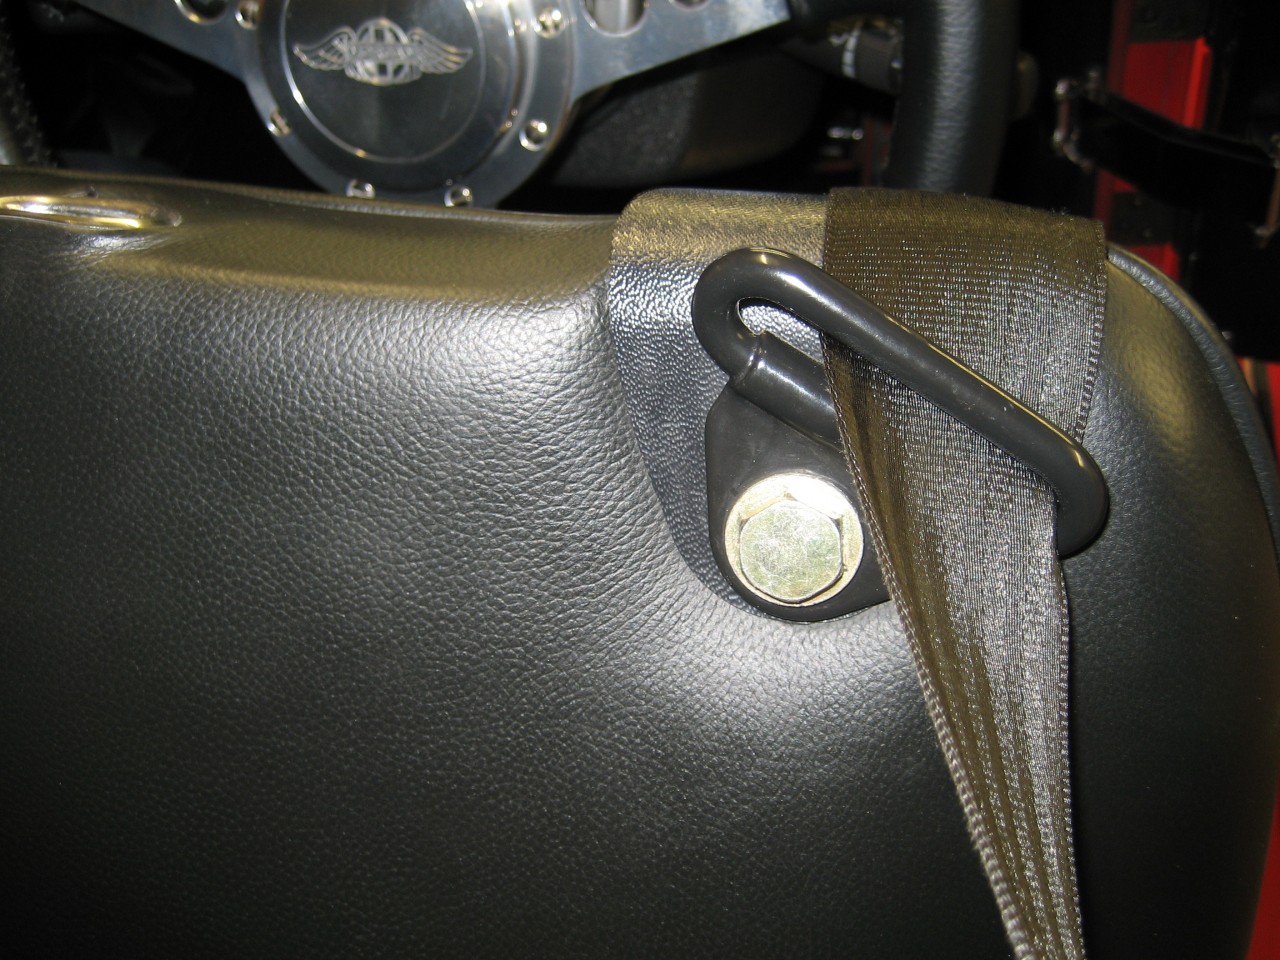


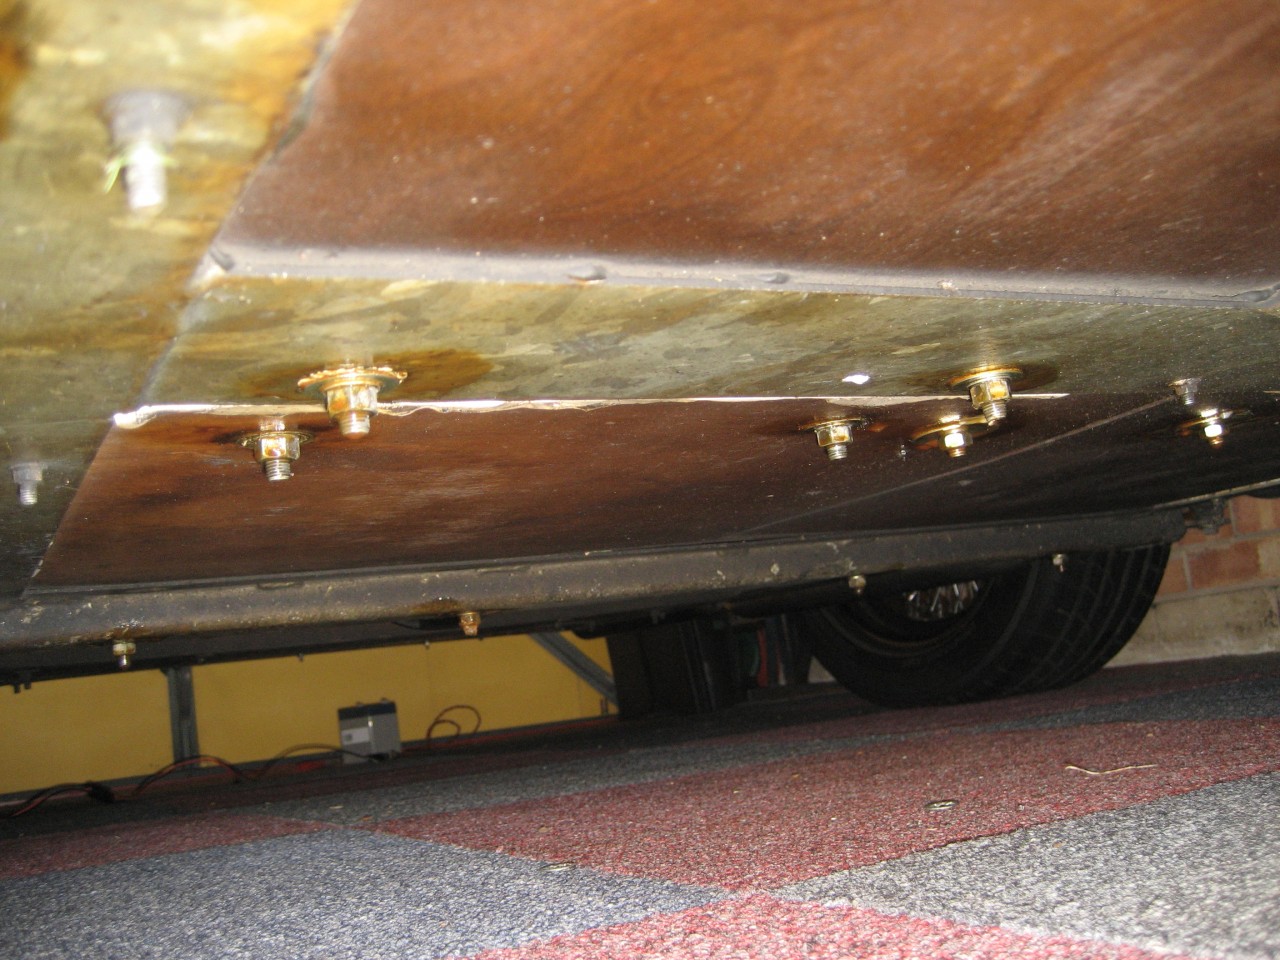
The seat is held by six bolts. The first two go through the crossmember and are 8cm over the heads. The second pair, also in front of the seat itself are 7.3cm and go through the wooden floor. The third pair are at the rear of the runners and go through the crossmember level with the front of the leaf spring. These are 9.25cm over the heads. All appear to be AF with 1/2" heads.

The carpet was a mess...........(Drivers side).....
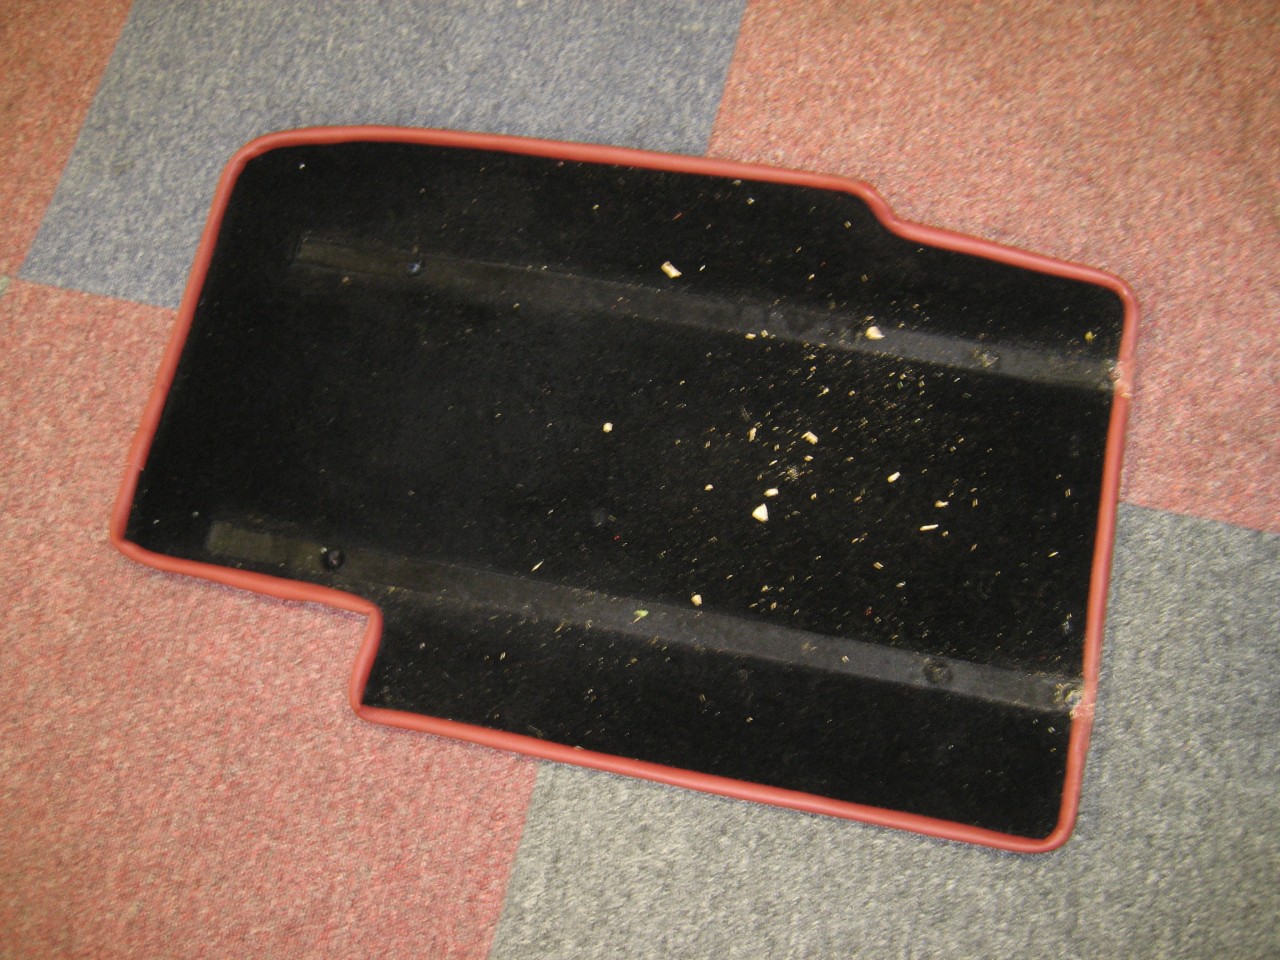


It was held down with half a dozen tacks, I bet they do that so that it doesn't move while they drill the holes. I've pulled the tacks out, because.........
They are tacky... grin2

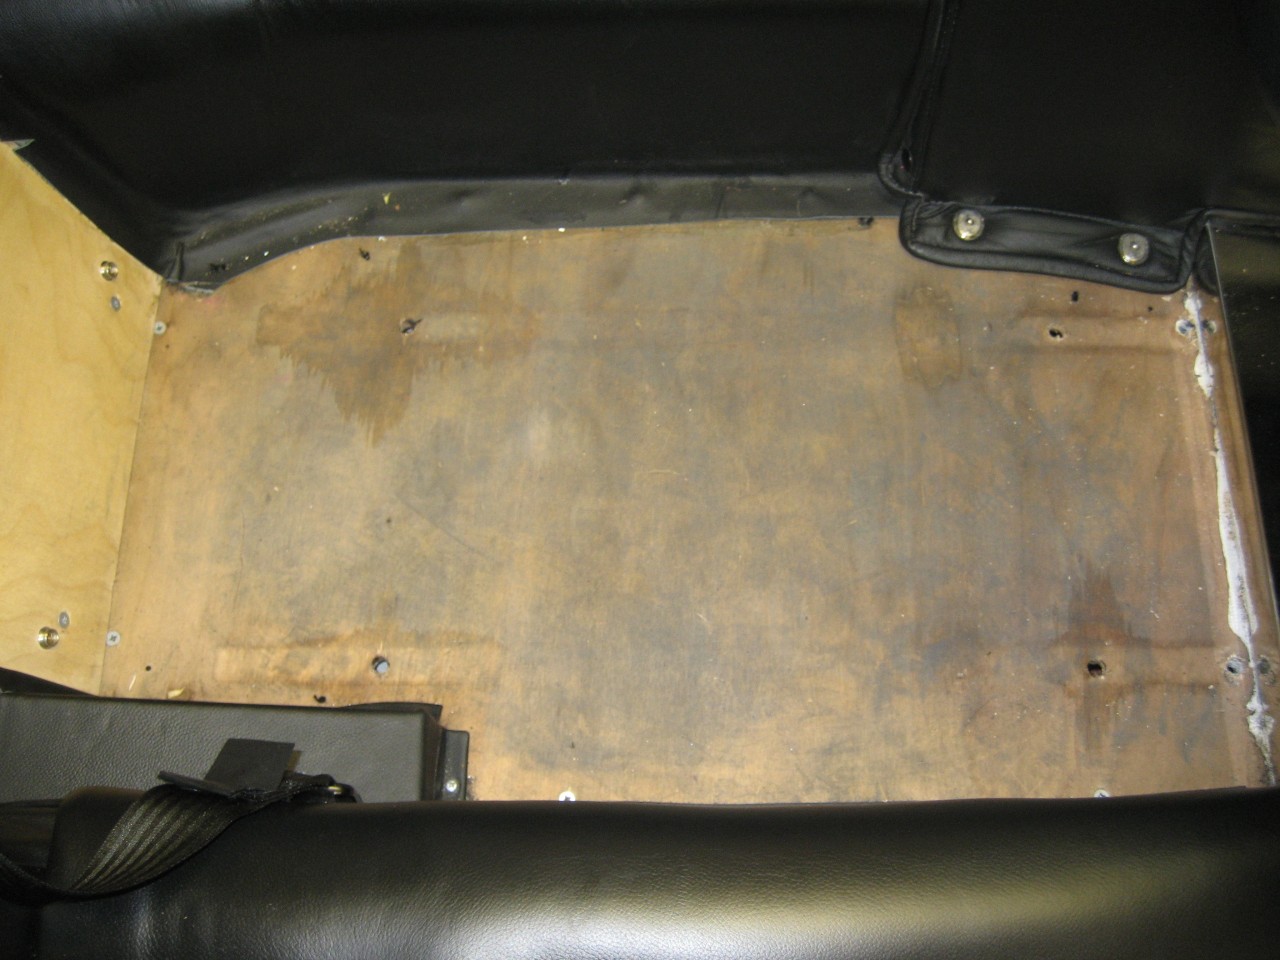
The floor is in good shape and was treated to two coats of Danish oil. (I did all the rest on an earlier thread).


Here's the side view of the wooden batterns. I assumed they would be of uniform thickness but no........
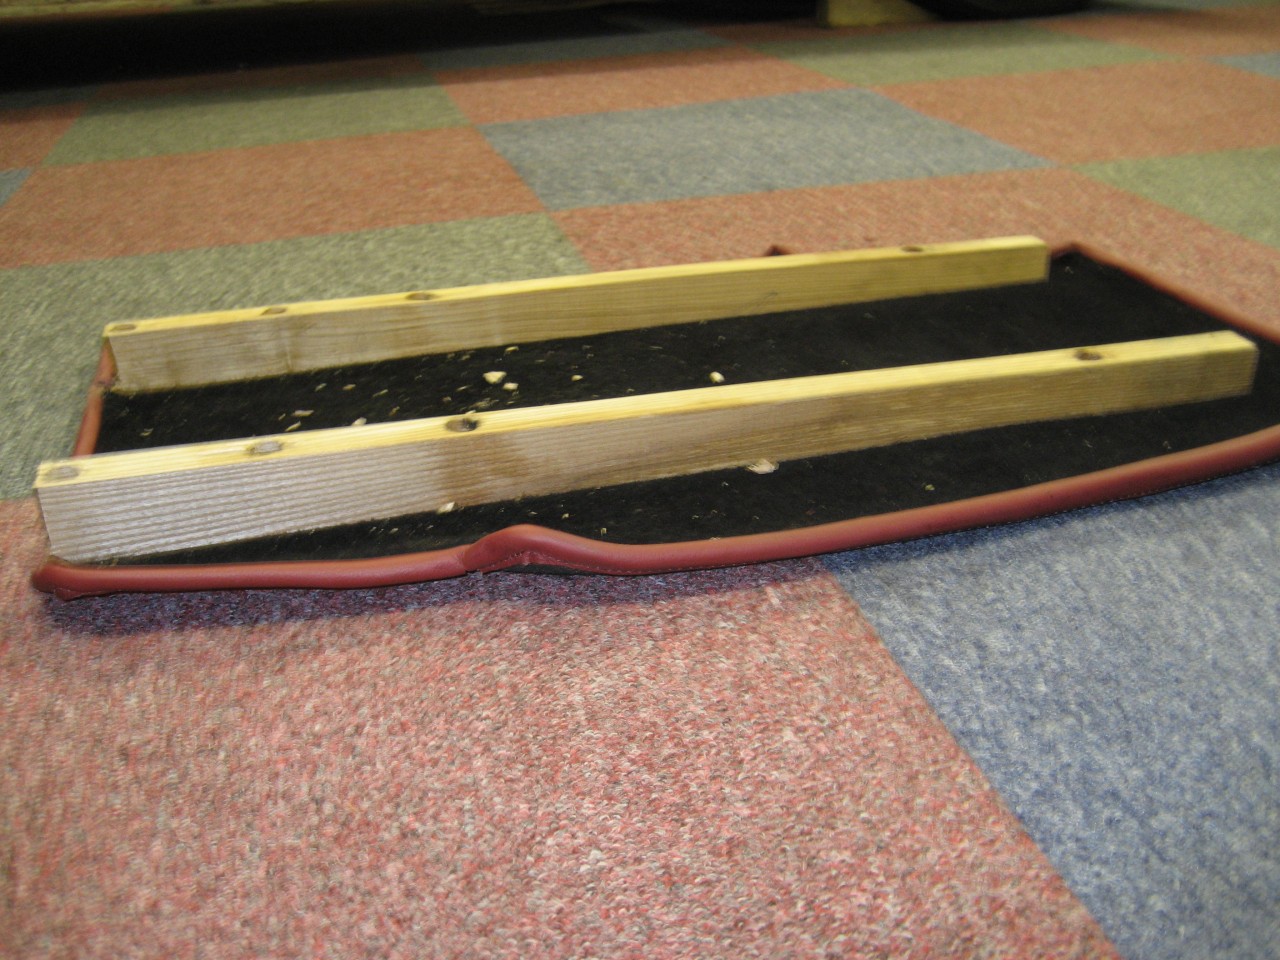


They taper front to rear from 4cm to 2.5cm and it's very obvious here....
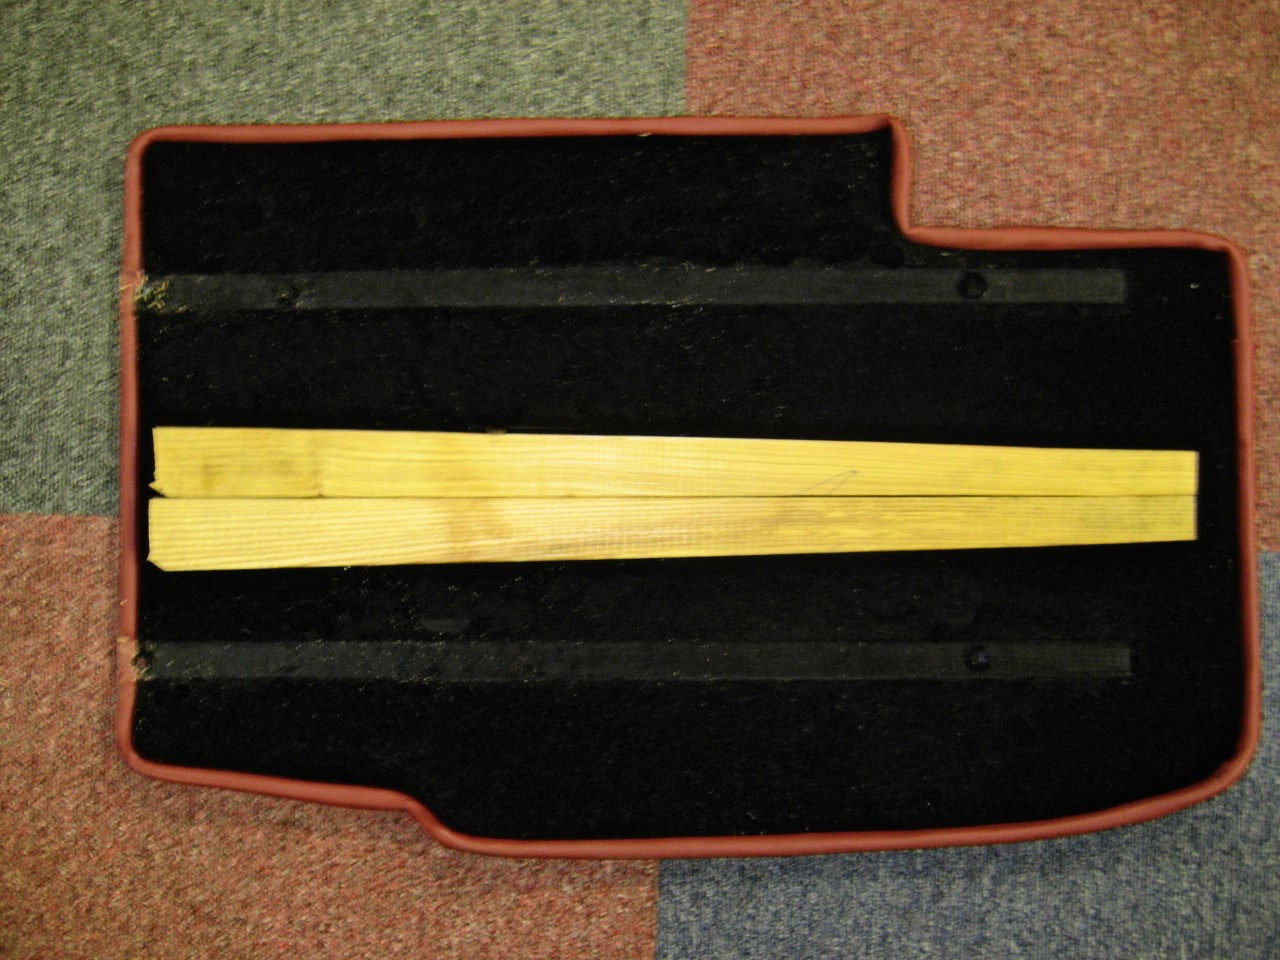


Newer Morgans don't have these batterns, and it's easy to assume that the seats are lower, but I would need to check the frame....it might be different. If the seats are the same then on later cars the seat base will not tilt back so much if it's bolted to the flat floor.
Either way, you can modify the seat height fairly easily to suit you if you're not happy.

2017 note: Later cars with the deeper dashboard don't have the wooden spacers. Replacement spacers are easy enough to make up and can be made the right thickness to suit personal tastes.

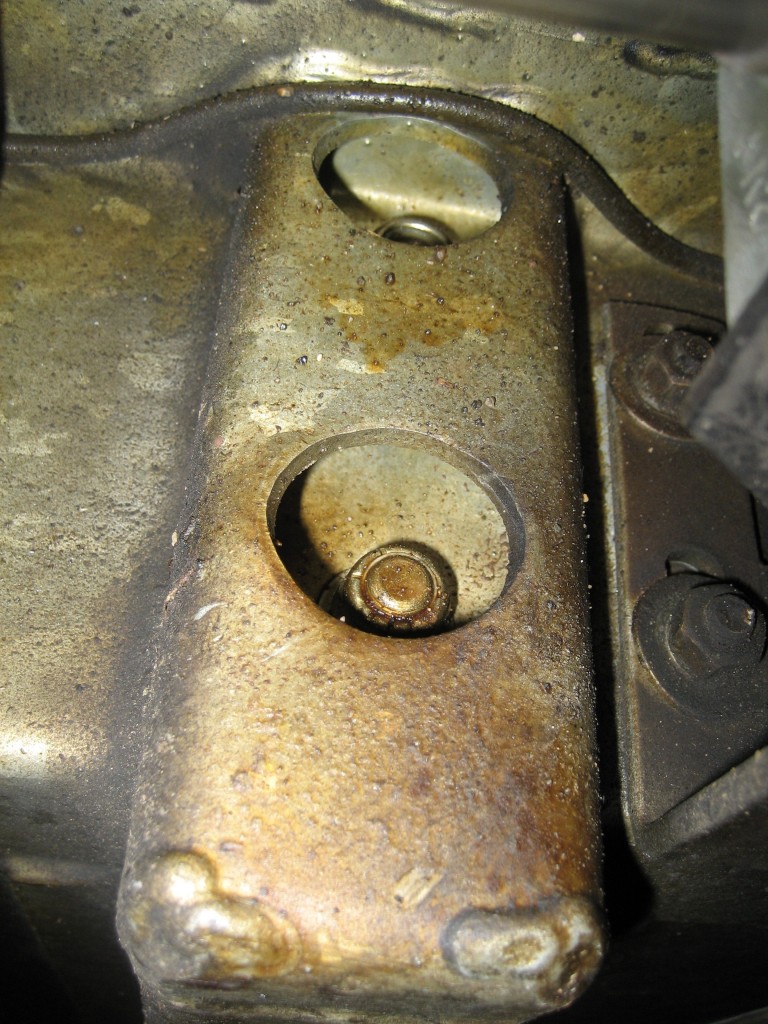
The next two pictures show how two holes were drilled in the wrong place for the gearbox remote bracket - they were too far forward.
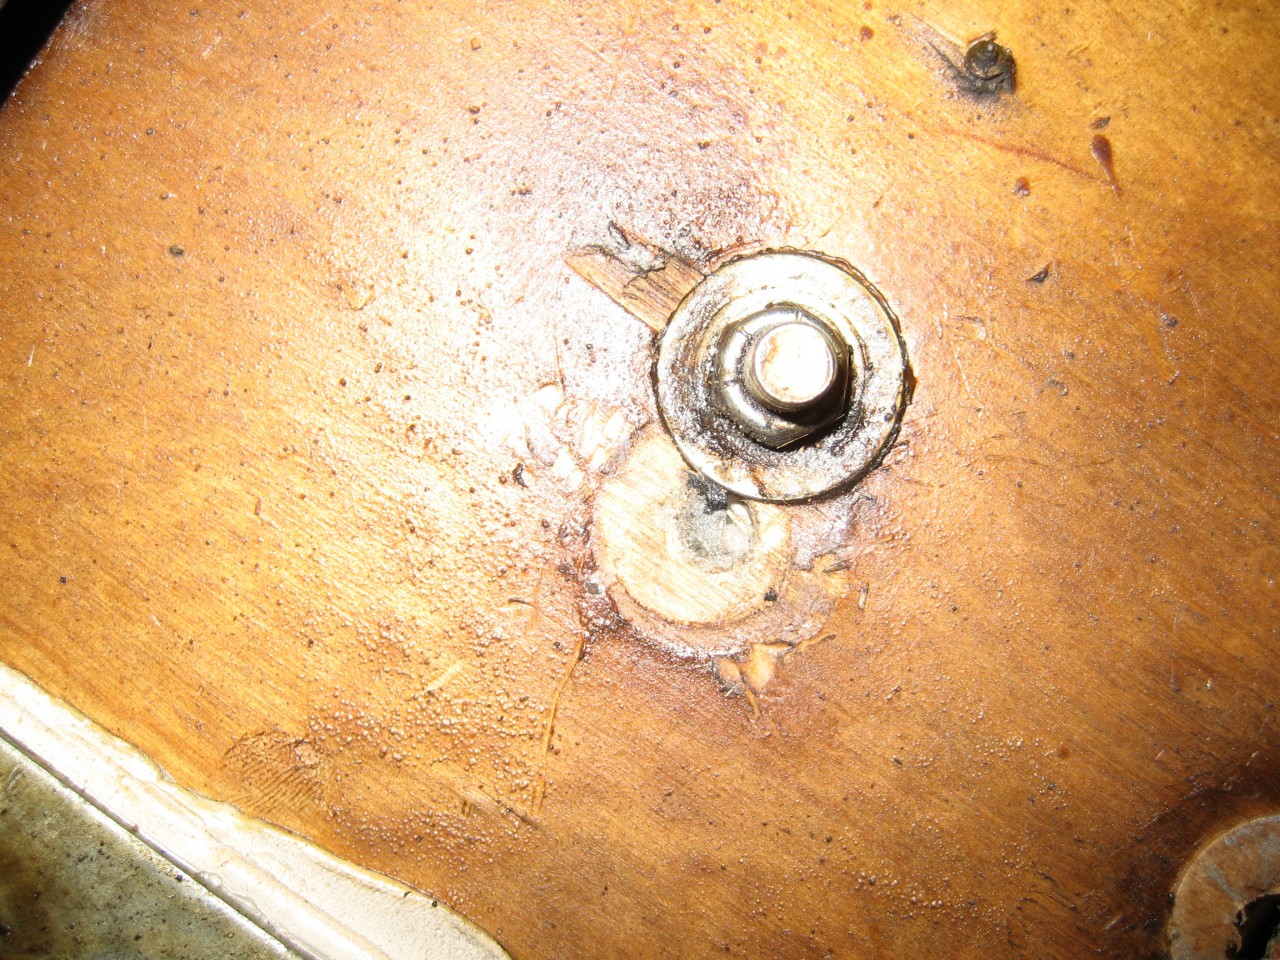
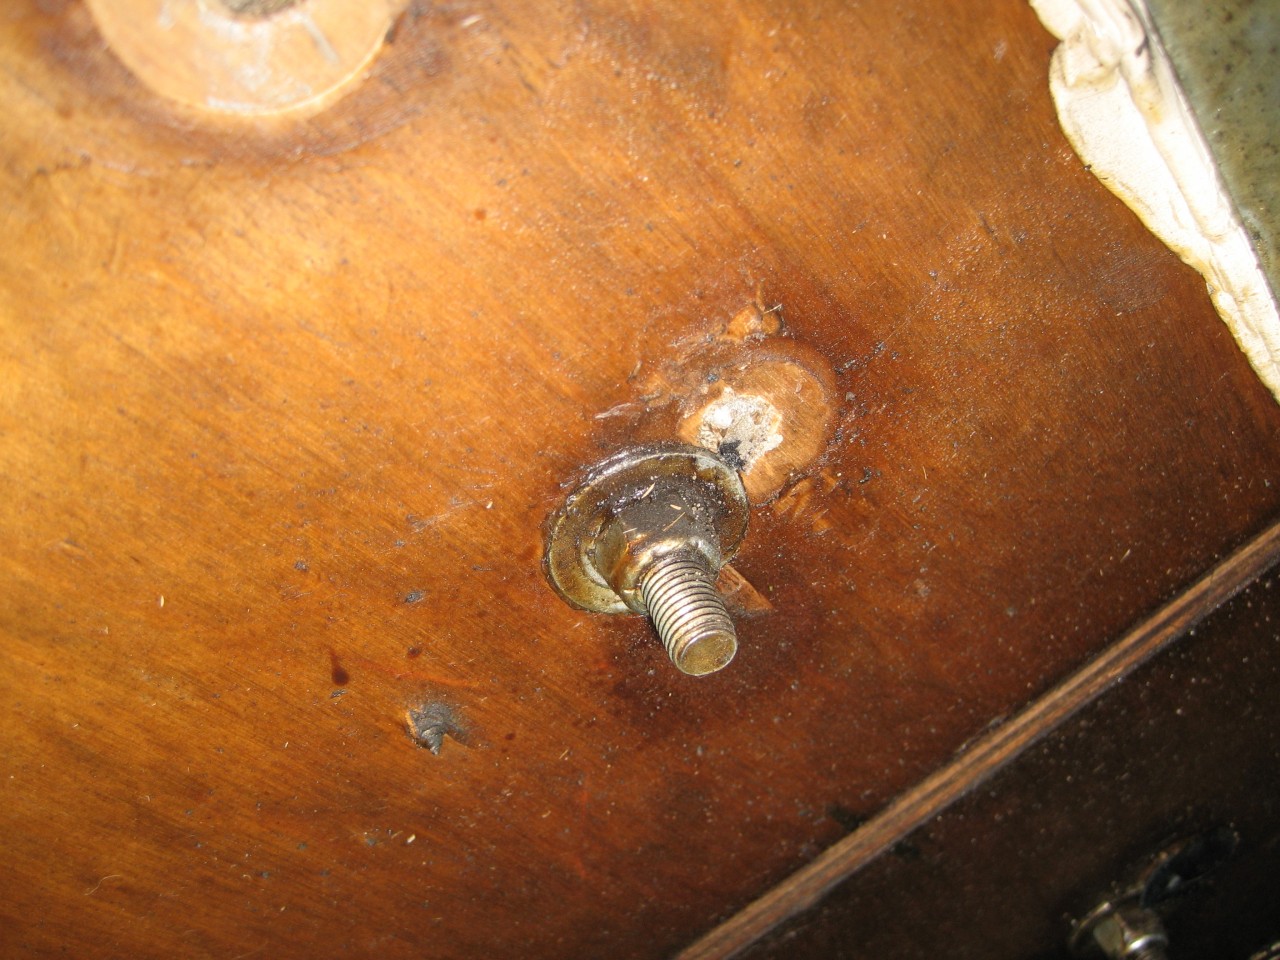


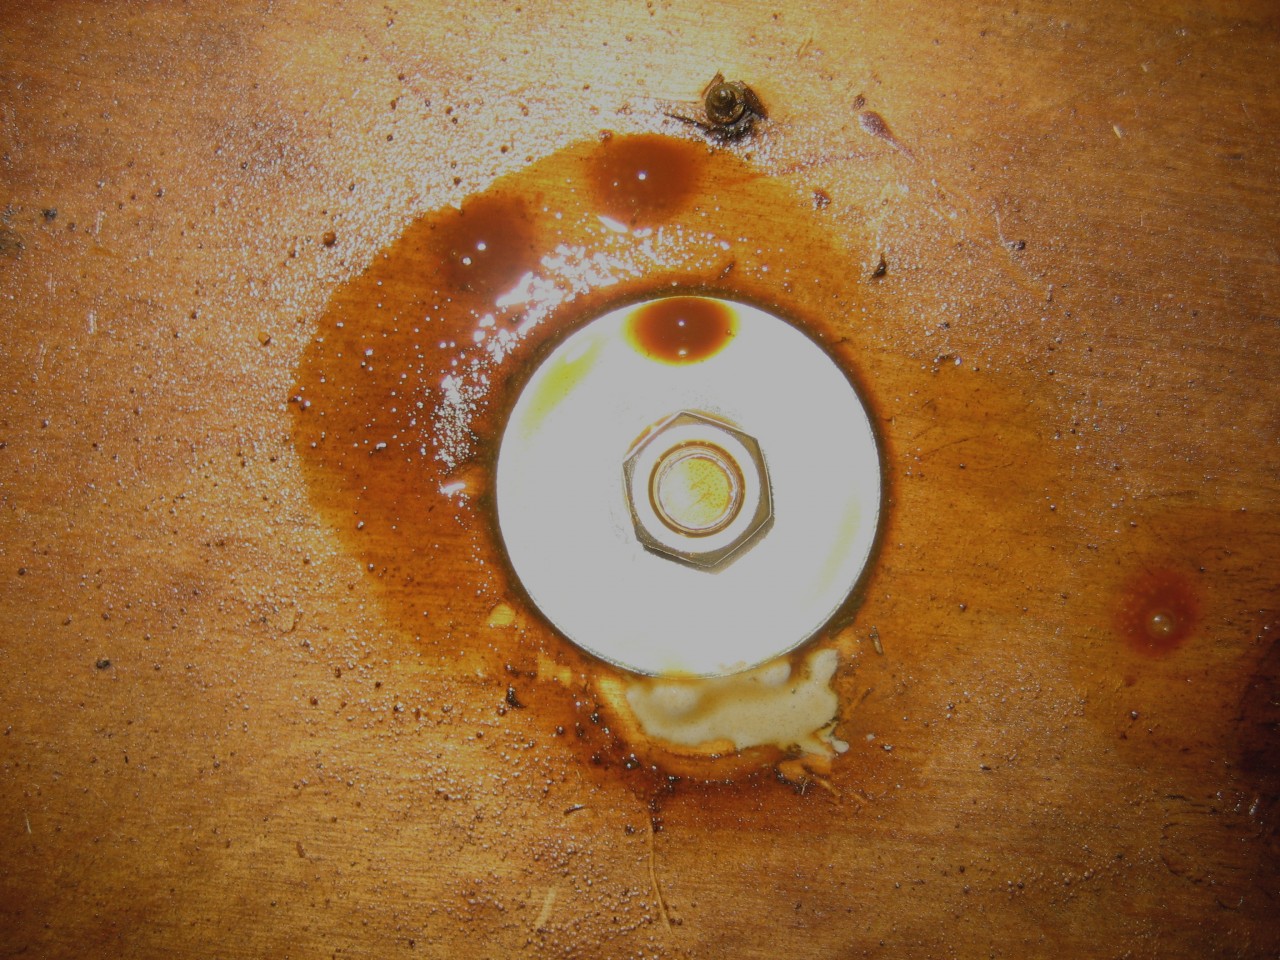
Fortunately you can get at the bolt heads here.......(Centre of picture)...
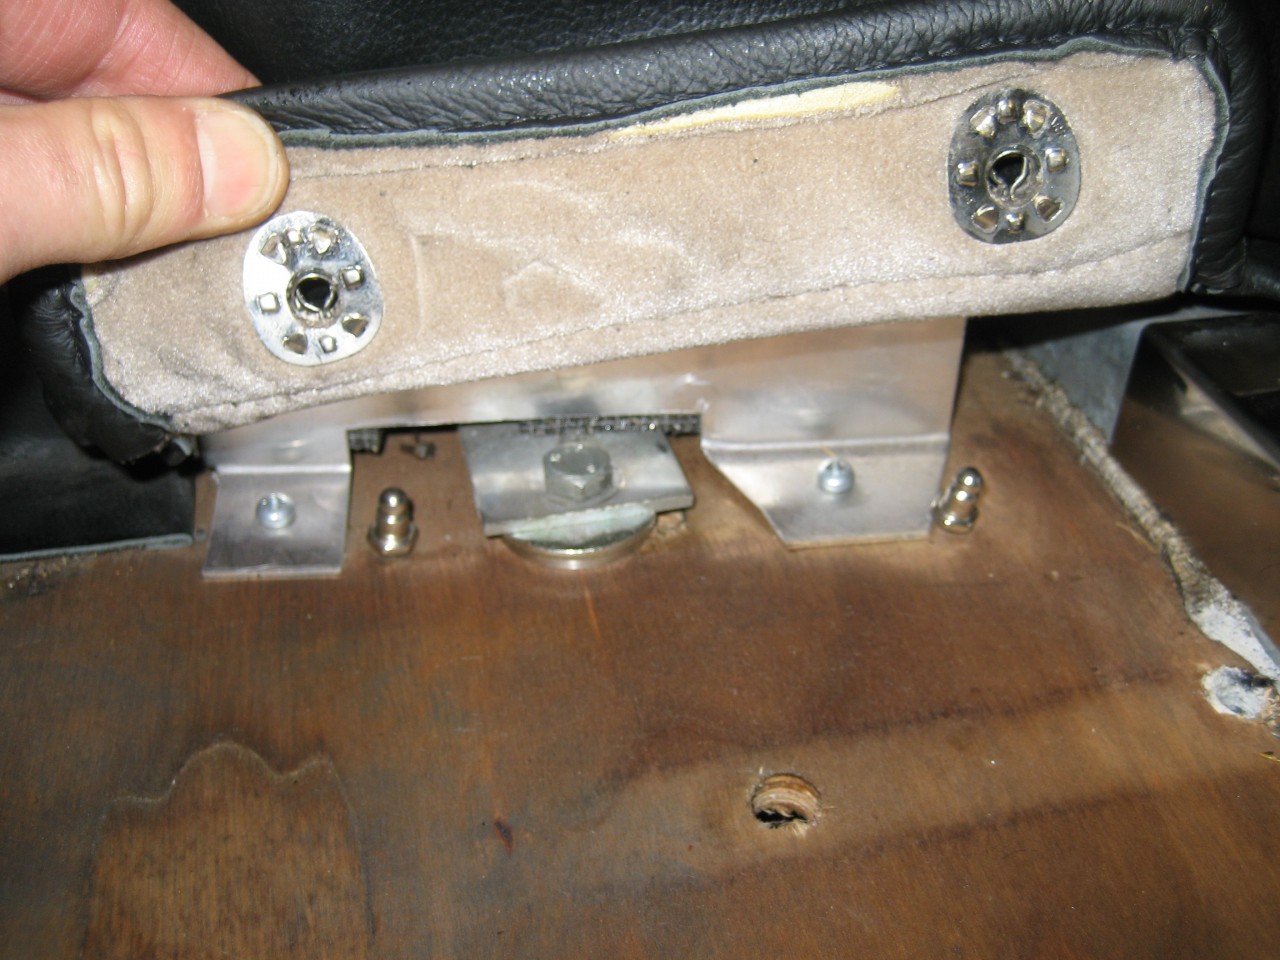


I filled the holes with JB Weld and used some penny washers underneath. Much tidier.


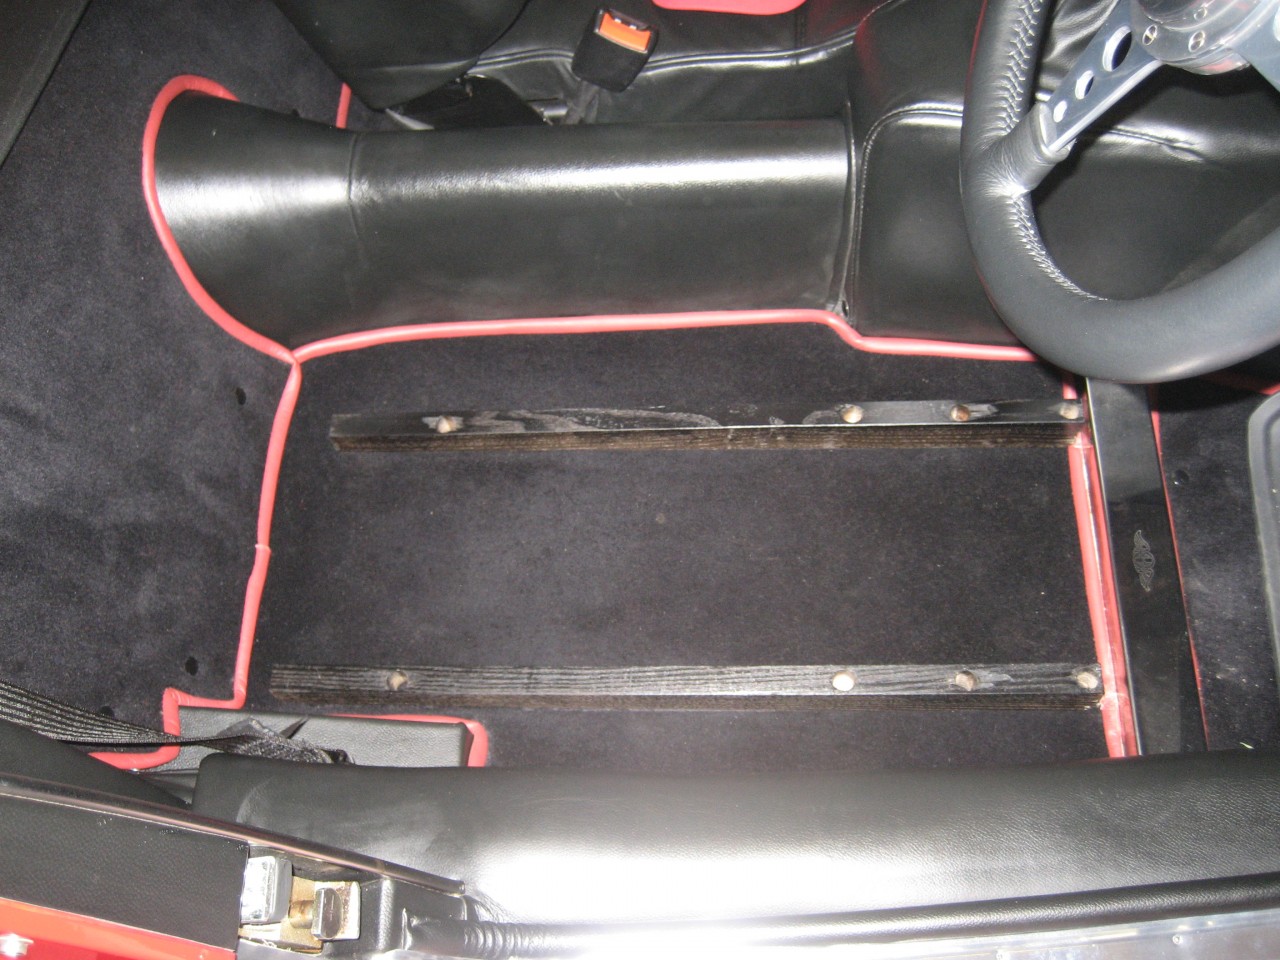
Carpet back in. I've blown the wood over with a bit of black paint.


More to follow>>>>>>>>>>>>>>>


DaveW
'05 Red Roadster S1
'16 Yellow (Not the only) Narrow AR GDI Plus 4
Joined: Dec 2008
Posts: 22,385
Likes: 358
DaveW Online Content OP
Roadster Guru
Member of the Inner Circle
OP Online Content
Roadster Guru
Member of the Inner Circle
Joined: Dec 2008
Posts: 22,385
Likes: 358
Post Photobucket reboot from January 2010 Continued.......

This was the passenger side.....


Under the seat is a metal plate which I'm guessing is for protection if anything comes through the floor......


These are the seat bolts.....two matching pairs at the front and the rears just visible...


Rears.....


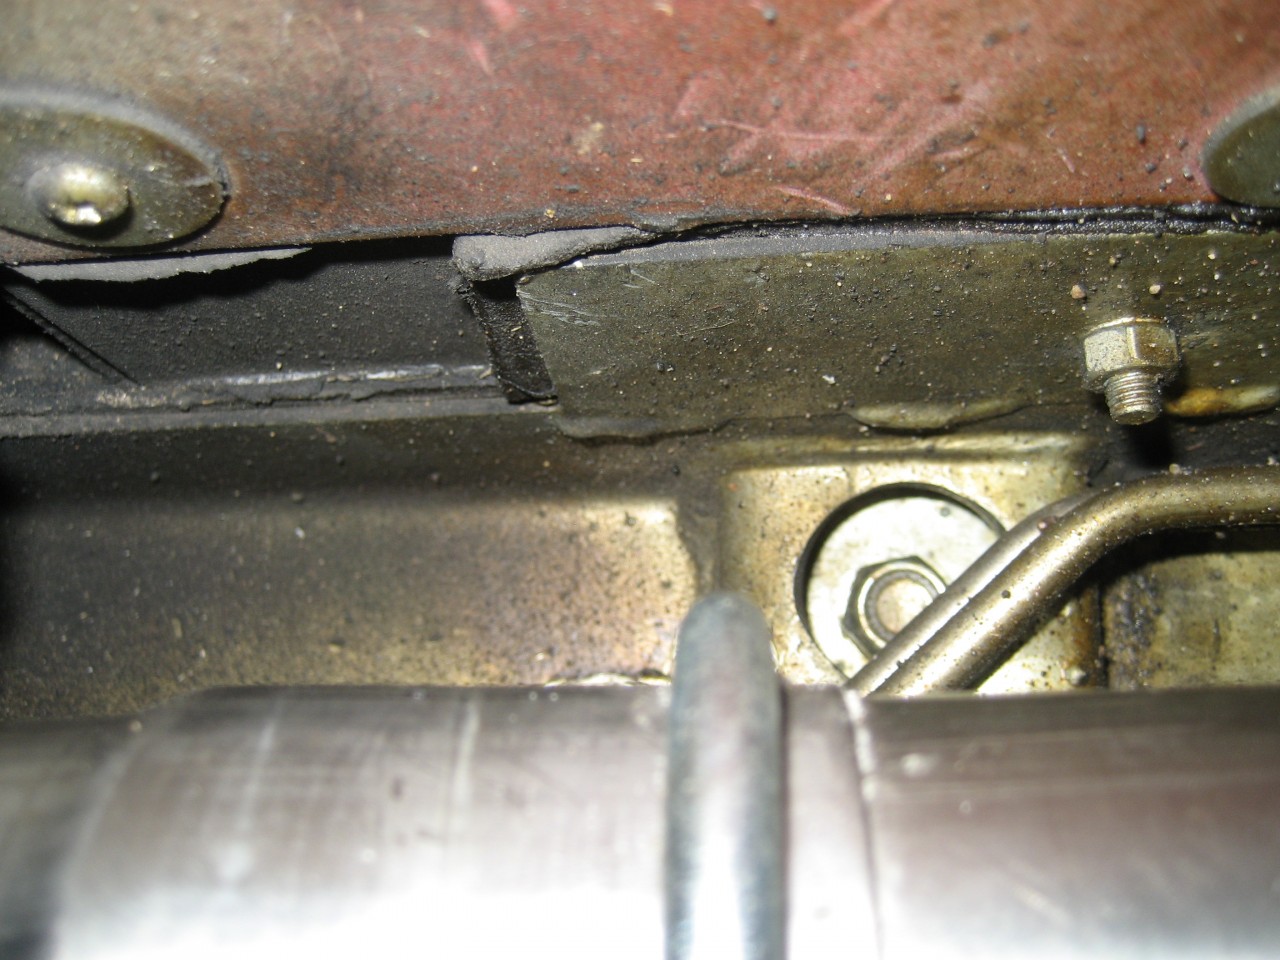
Finally...this is the end of that crossmember (this is nearside). The lower bolt is the front leaf spring, and the upper one is the seat belt mounting.


The offside is obscured by the fuel lines, but is just accessible.


The whole job took four hours. Replacing the bolts is fiddly but nothing in this job is difficult.


DaveW
'05 Red Roadster S1
'16 Yellow (Not the only) Narrow AR GDI Plus 4
Joined: May 2019
Posts: 89
Likes: 8
A
Just Getting Started
Offline
Just Getting Started
A
Joined: May 2019
Posts: 89
Likes: 8
DaveW and others who contributed to this chain

I just wanted to say thanks for the extremely helpful guide. We have had our Plus4 for 10 weeks (our first Morgan after 10 years in MX5s) - my wife was finding the seat uncomfortable and I could hardly move the drivers seat back and forward it was so stiff on the sliders. Following your guide and the other helpful suggestions I cut some tapered wooden wedges 30mm front to 7mm rear for both seats and refitted with these. Seats are more comfortable and drivers seat slides easily thanks to the extra hole suggested. Took me best part of a day start to finish including trimming the overlong bolts from the underside at the end.

Great to get some confidence in working on the car and achieve a more comfortable seat in the process.,,

Anyway, just wanted to say thanks.

AlyMatt


AlyMatt
2019 Ivory Plus4
Joined: Dec 2008
Posts: 22,385
Likes: 358
DaveW Online Content OP
Roadster Guru
Member of the Inner Circle
OP Online Content
Roadster Guru
Member of the Inner Circle
Joined: Dec 2008
Posts: 22,385
Likes: 358
Always happy to help AlyMatt!

A job well done!!


DaveW
'05 Red Roadster S1
'16 Yellow (Not the only) Narrow AR GDI Plus 4
Joined: Jul 2007
Posts: 27,860
Likes: 774
Member of the Inner Circle
Offline
Member of the Inner Circle
Joined: Jul 2007
Posts: 27,860
Likes: 774
Well done. That is the fun or Morgans.


JohnV6
2022 CX Plus Four
2025 Renault Scenic Alpine etech "Yvette"
Joined: Mar 2010
Posts: 3,705
Likes: 138
Moderate or good, occasionally poor
Talk Morgan Addict
Offline
Moderate or good, occasionally poor
Talk Morgan Addict
Joined: Mar 2010
Posts: 3,705
Likes: 138
I removed the seats from my car earlier this month to have them reupholstered and, being the second time I'd had them out, I was aware of the potential pitfall. Dave describes above how the wooden battens are not uniform, do not underestimate the importance of this statement on an older car!

On my 1980 4-seater the battens are larger and there is no visible taper but they are all subtly different, in particular in relation to the fixing holes. I suspect during the build they aligned the seats on the battens and then drilled down through the seat runner, batten and floor to fix them. In any case, the important point is that the holes are not all in the same places. When you reassemble you must get the seats on their original battens in the original orientation.

If you have set the battens aside thinking they are just 4 blocks of wood you will then spend a fun afternoon working out exactly which one goes where and which way round. You may even have fixed one seat back in position before realising that there's no way the holes in the other one will align.

Paranoid from my previous attempt, this time I carefully stored each batten the correct way round on the floor, complete with a new bolt, and just for good measure I labelled them!

[Linked Image]

[Linked Image]


2011 Morgan 4/4
1932 Austin 7 Chummy
Joined: Aug 2006
Posts: 1,124
Likes: 17
F
Has a lot to Say!
Online Content
Has a lot to Say!
F
Joined: Aug 2006
Posts: 1,124
Likes: 17
Anyone know what replacement bolts and nuts to use?

Page 4 of 5 1 2 3 4 5

Moderated by  TalkMorgan 

Link Copied to Clipboard
Powered by UBB.threads™ PHP Forum Software 7.7.5