Sorting out the DashSo onto the main job for the weekend getting the dash in.
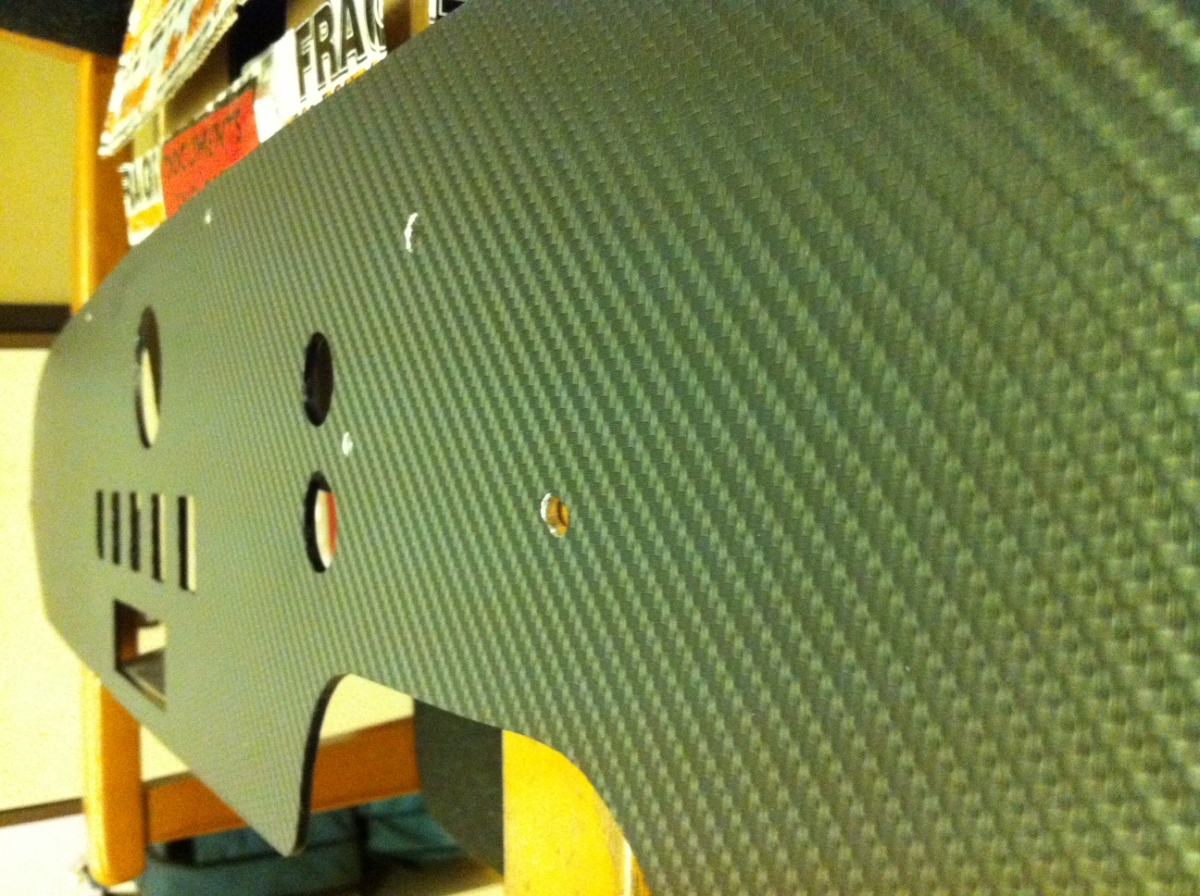
This is how we left the dash... as a black cut out covered in carbon effect vinyl.
So we need to take things forward, I've dummied the gauges and switches up to the dash blank so really the next job it so graft on the RaceTechnology Dash2 harness to the original Morgan loom.
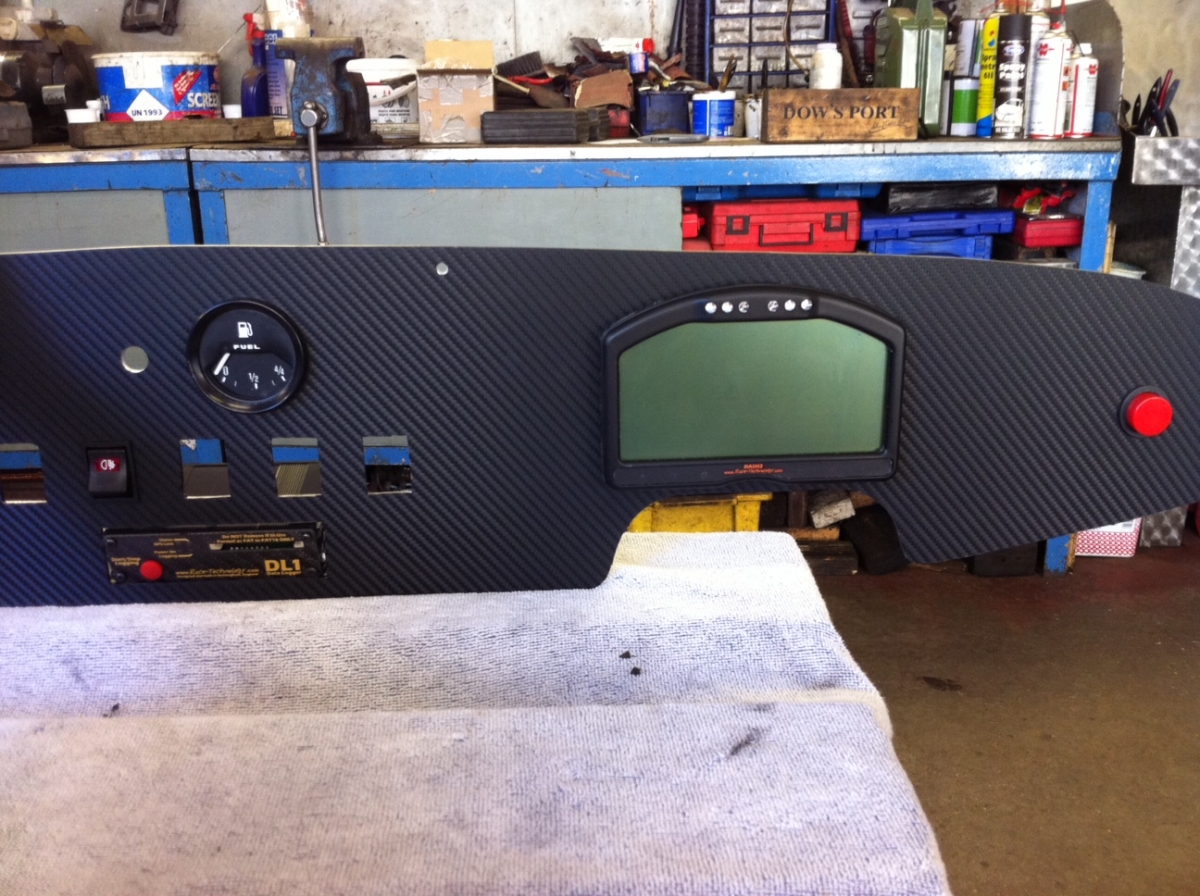
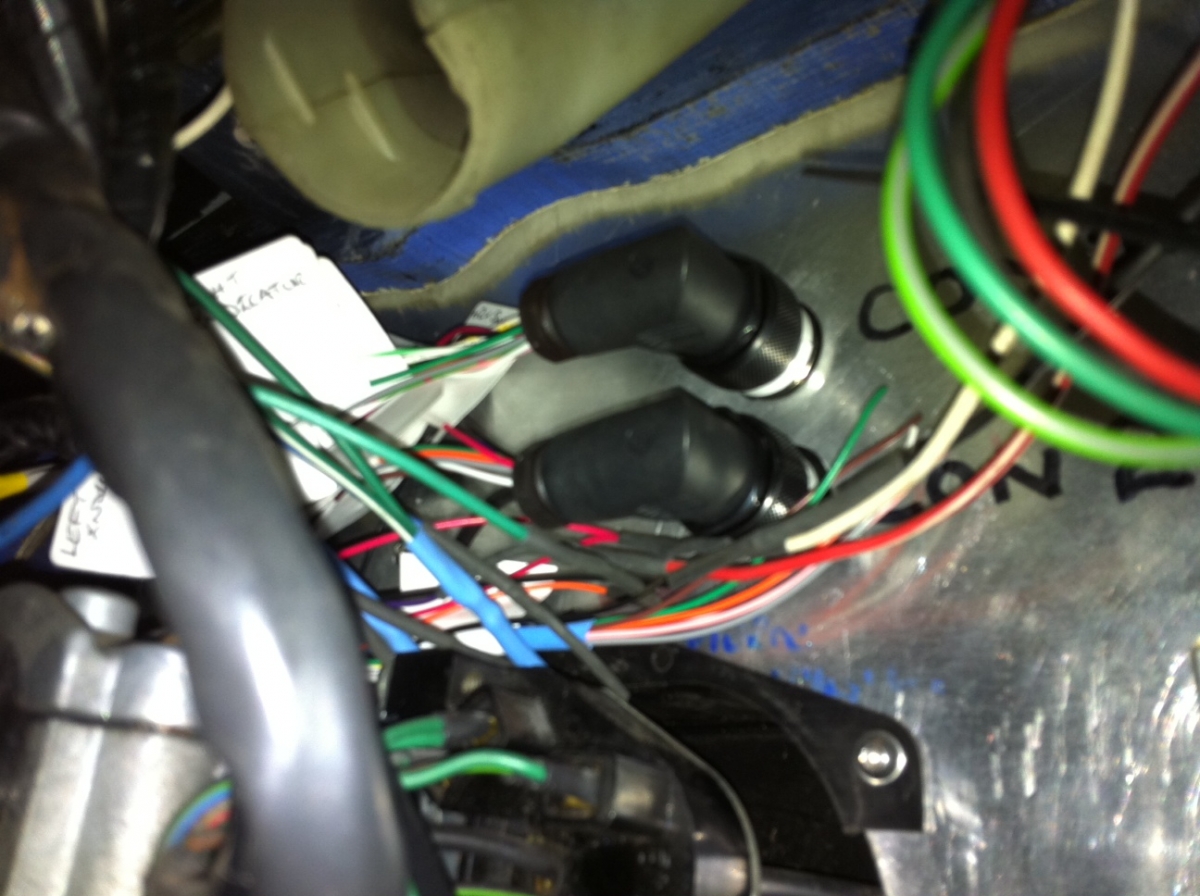
Most of the original gauges and warning lights are all integrated into the single Dash2 chassis so there is going to be a lot of soldering. The Dash2 also has channel expanders which allow the addition of 4 Analogue inputs to be wired directly into the Dash display and passed back to the RachTechnology DL1 for logging purposes. I happen to have spares left on the DL1 but this could be used for Engine Temp, Battery Voltage, Oil Pressure etc... It does also do Fuel gague function but apparently it can be hard to calibrate so I've decided to stick with the original gauge. In my case the DL1 will also feed a GPS speed to the dash for display. I've invested in a special cable which connects the RaceTechnology DL1 Data Logger to the Dash2 but also has a connector for the Omex 100 ECU allowing RPM etc to be fed directly from the ignition controller.
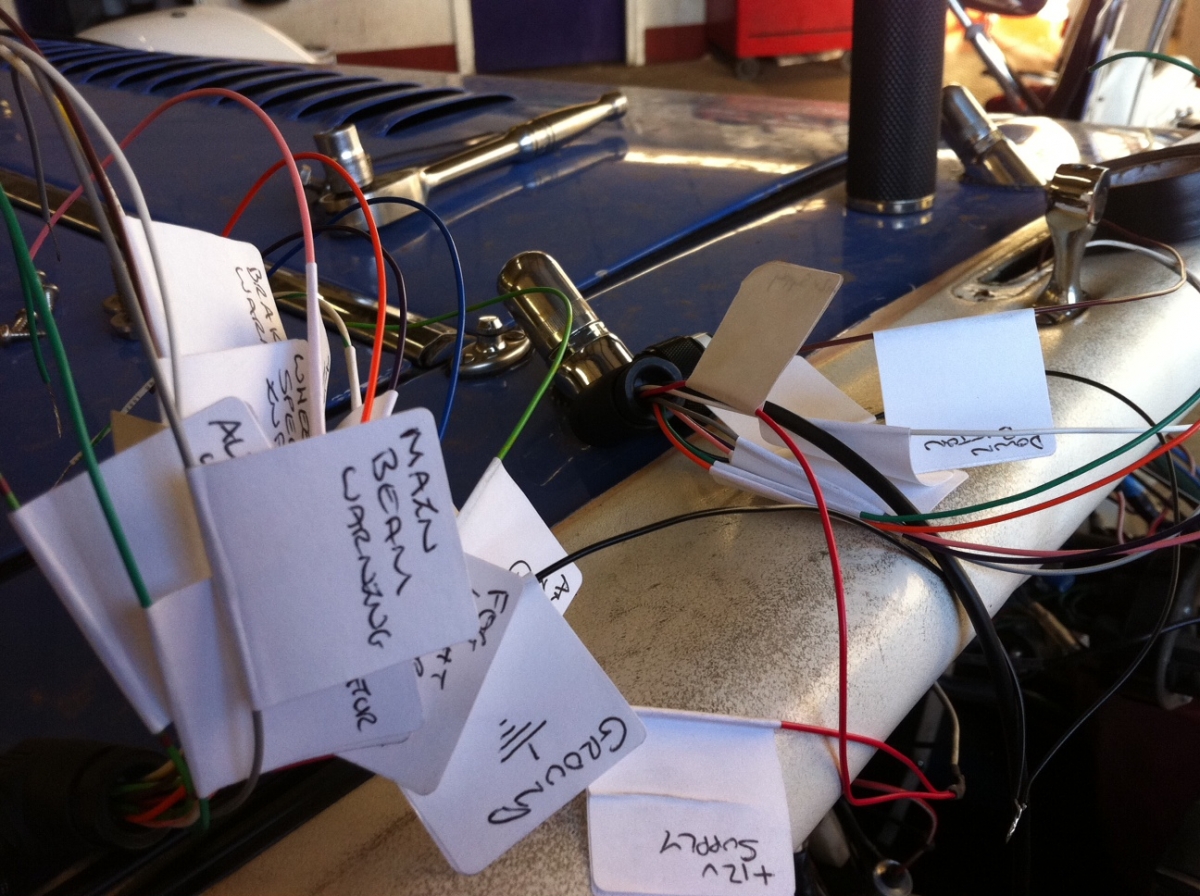
Having labelled up the multi-pin connectors it was time to start cutting down the redundant parts of the original Morgan Loom and soldering on the main connectors. This was done as sympathetically so we could save/re-use as many of the connectors or laps as possible if we needed to in the future. We also shrink wrapped the joins to protect them from corossion.
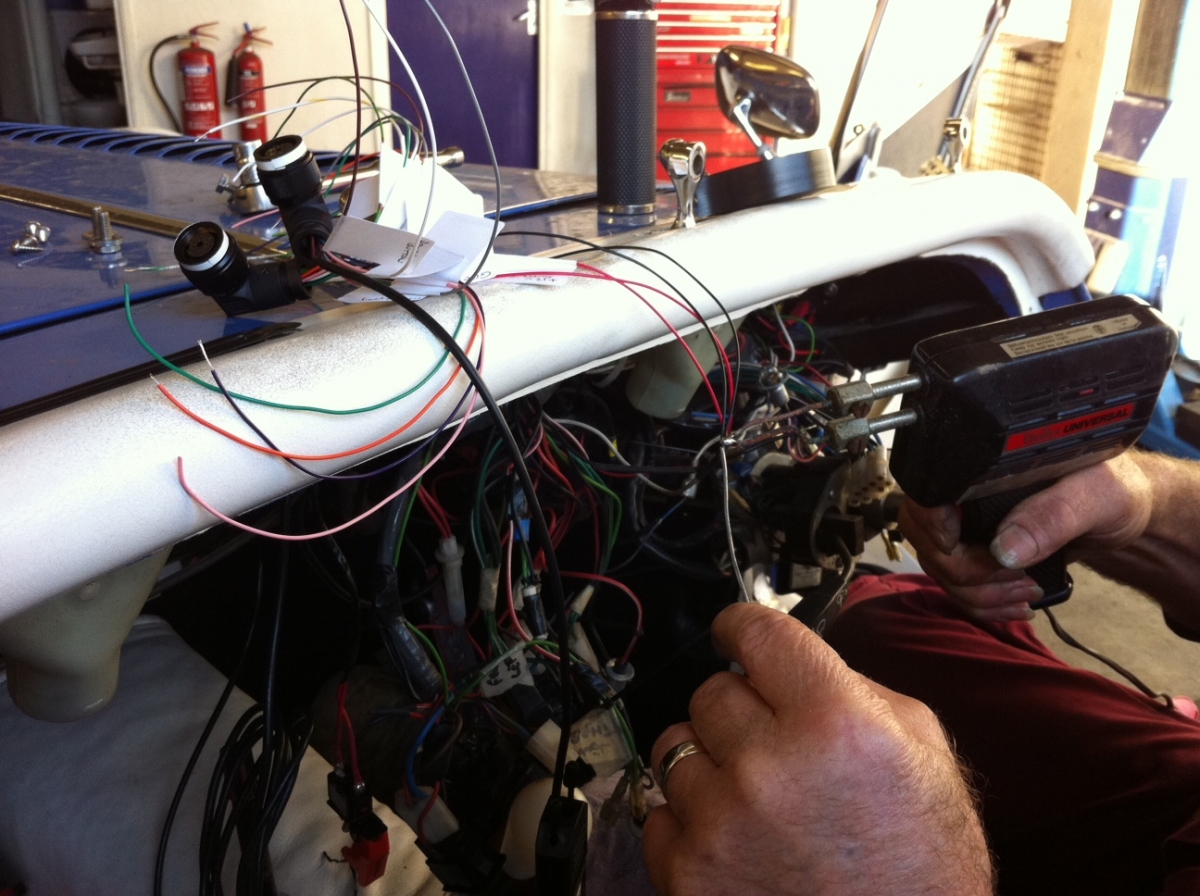
You can see this is going to be a long job with 20 or so connectors to get through... Dad and I settled in for the afternoon. The result of a lot of soldering and use of a heat-gun can be seen in the pics below.
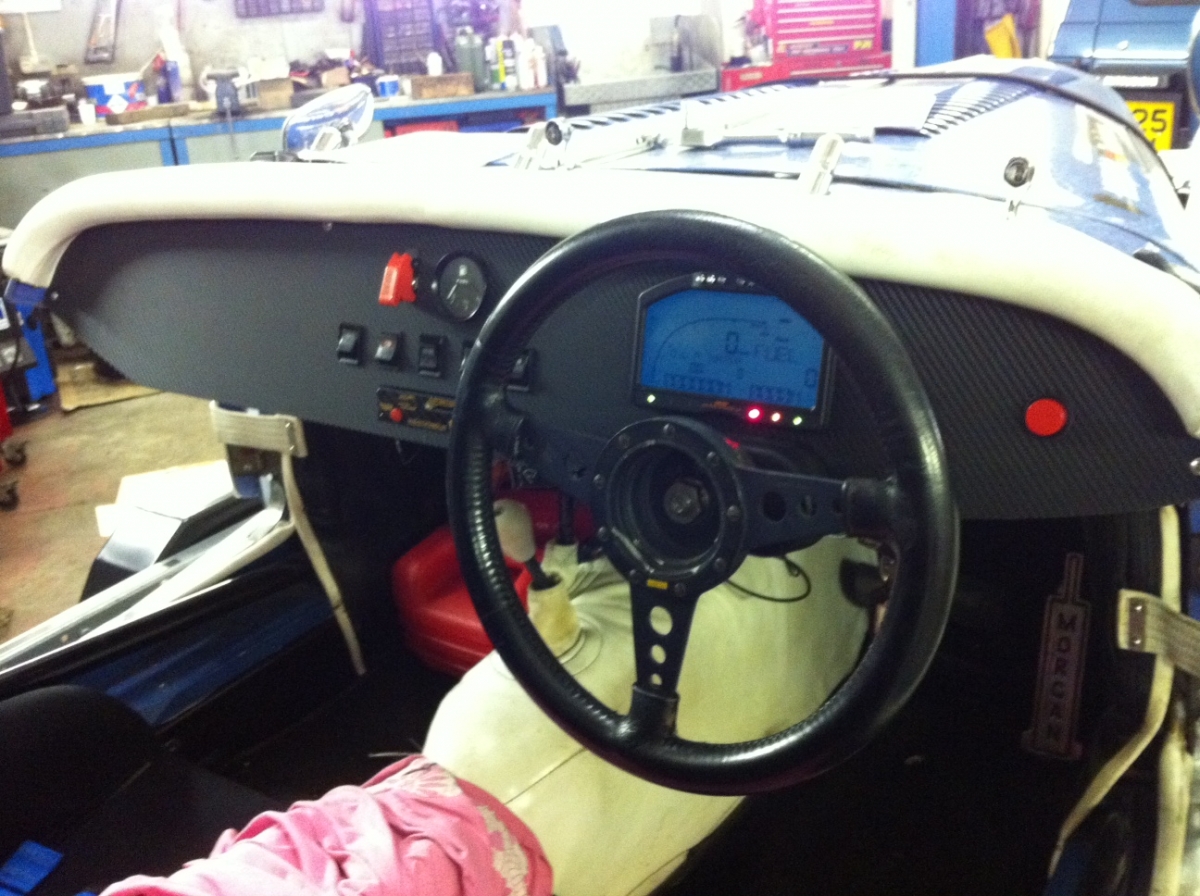
.... several hours later.....this was all sorted. So now to offer up the dash to the car and get it mounted.... the first fit can be seen below.
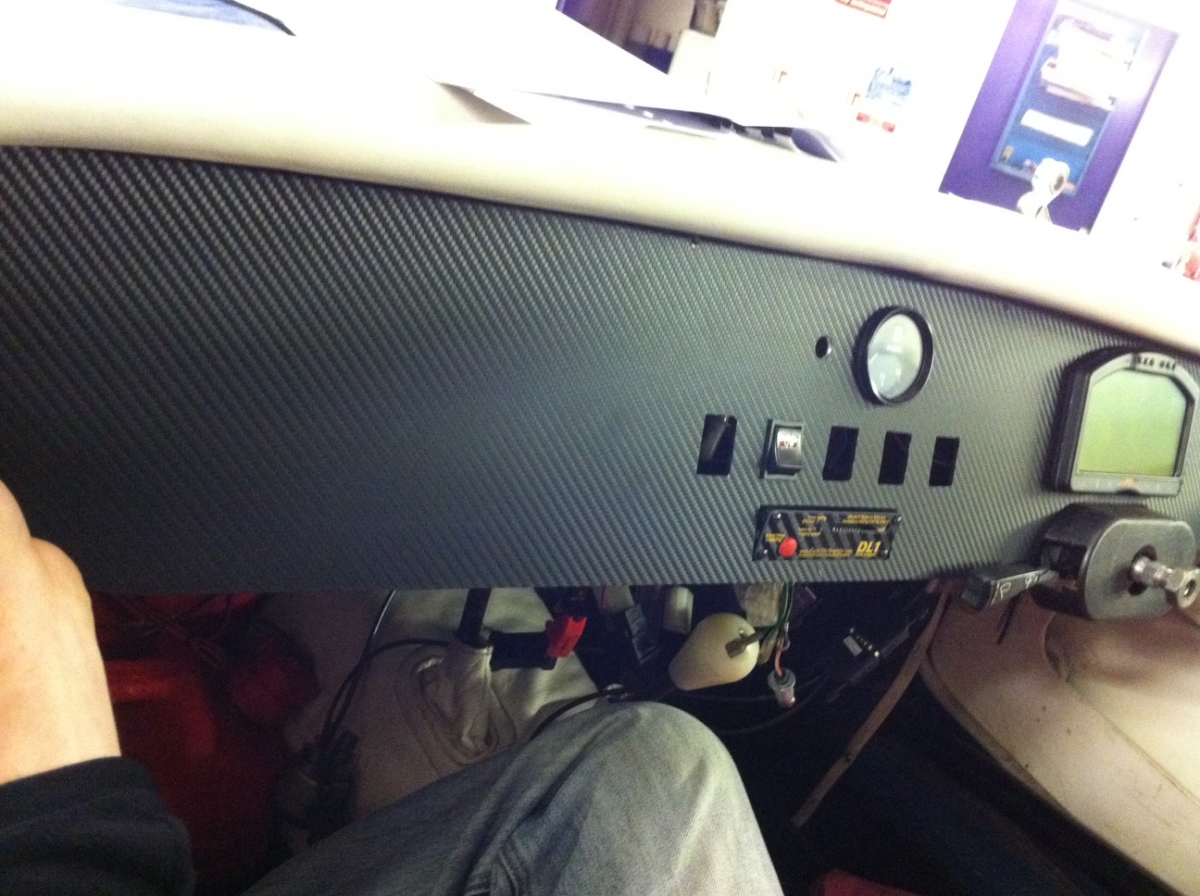
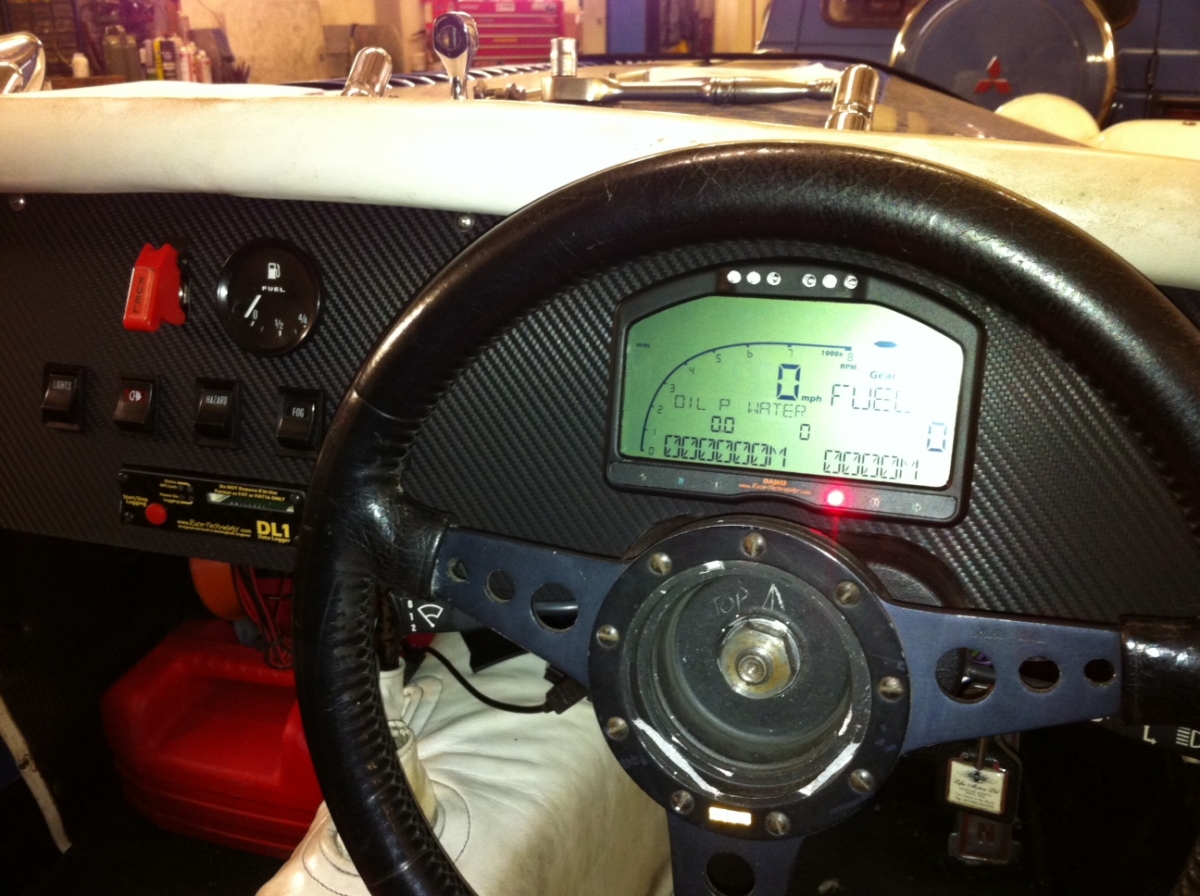
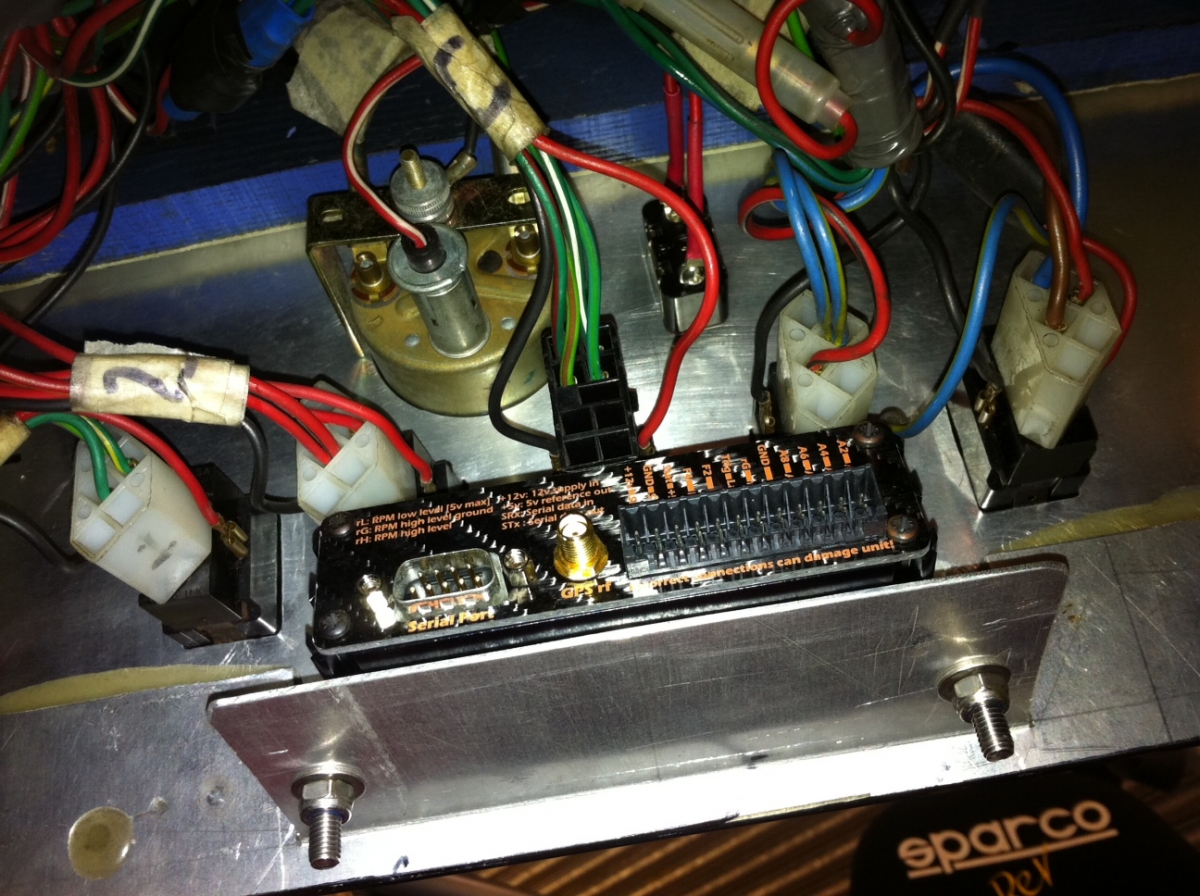
You can see the DL1 on the mount we bonded onto the dash last weekend. It seems to be working out great. There were a few extra holes to drill to mount the dash up as we had intended to put screws across the top not just the sides.
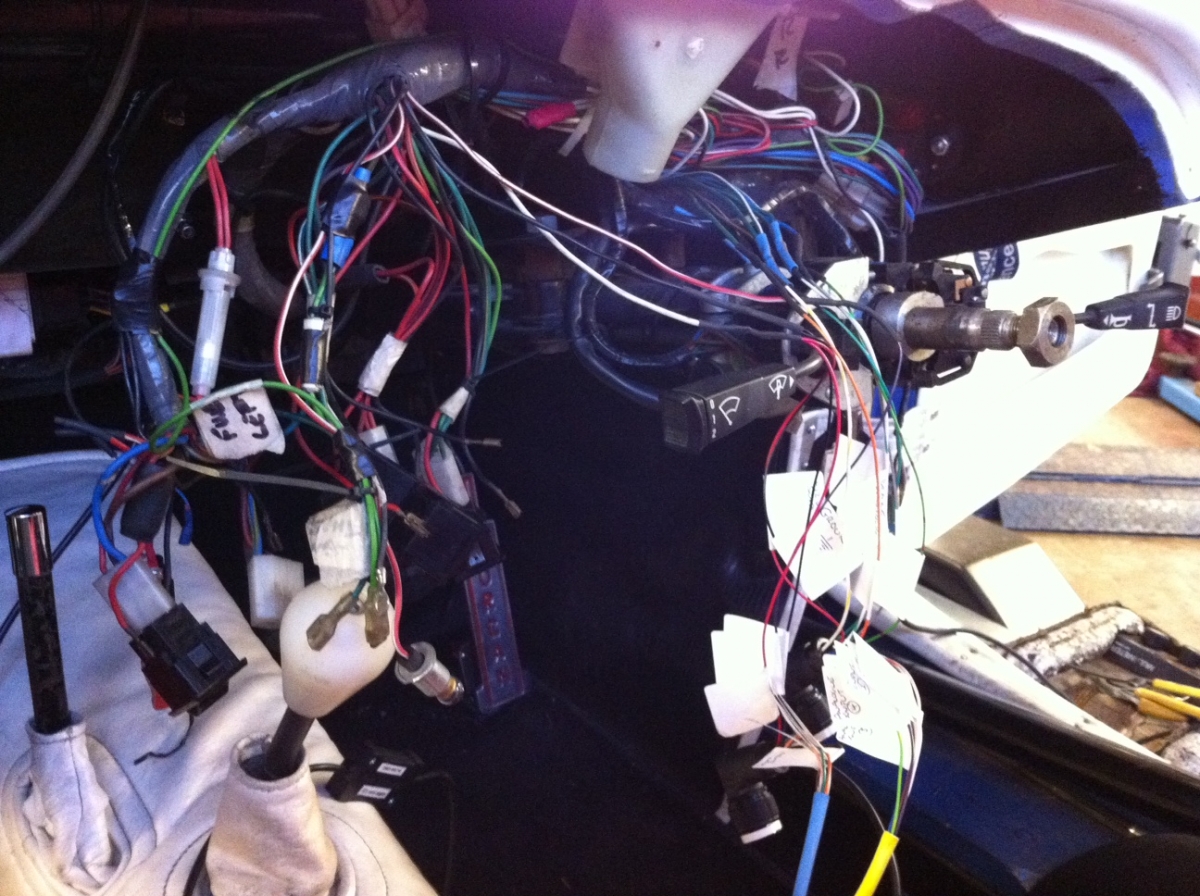
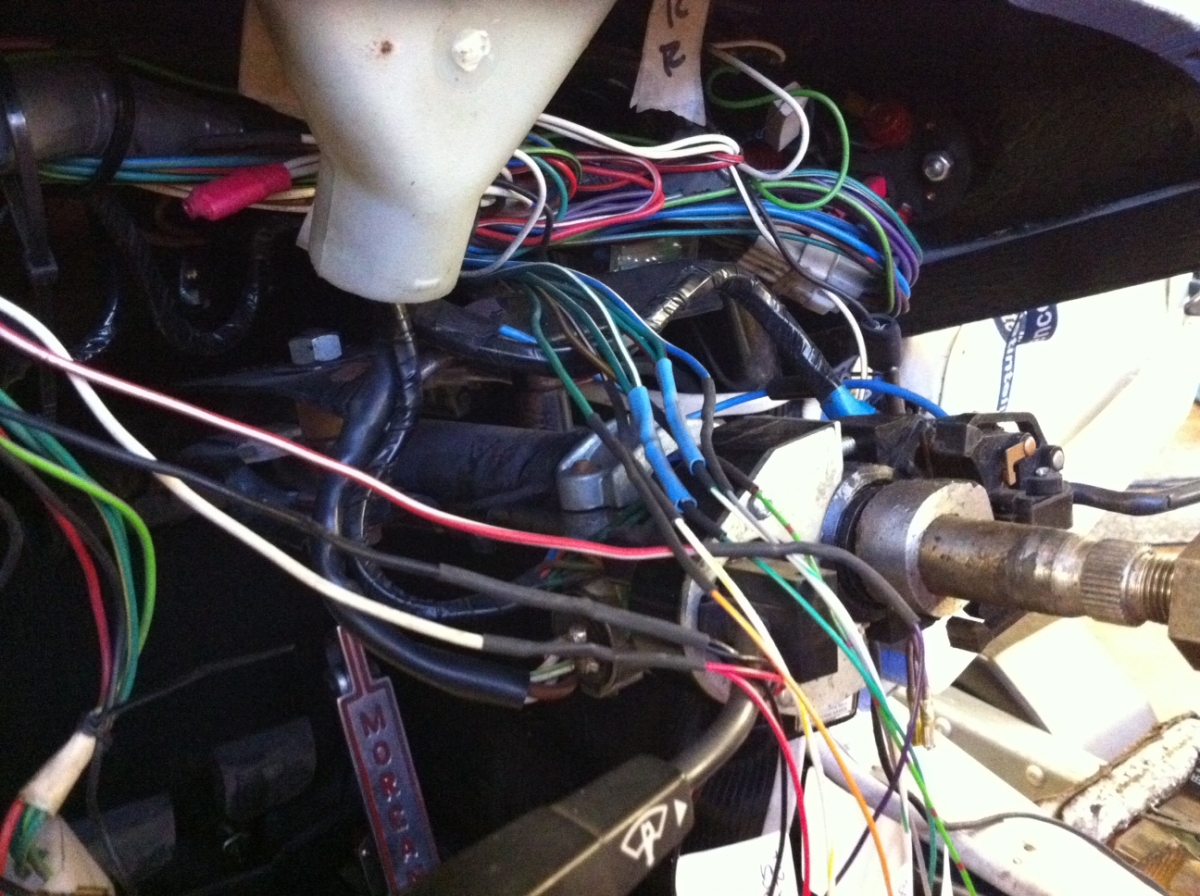
You can see by looking at the back of the dash how the RactTechnology loom cleans up the harness. You can also see the DL1 with it's sensor set wired in.
Back of the rocker switches and DL1.. you can really tell there are less dash items to wire in.
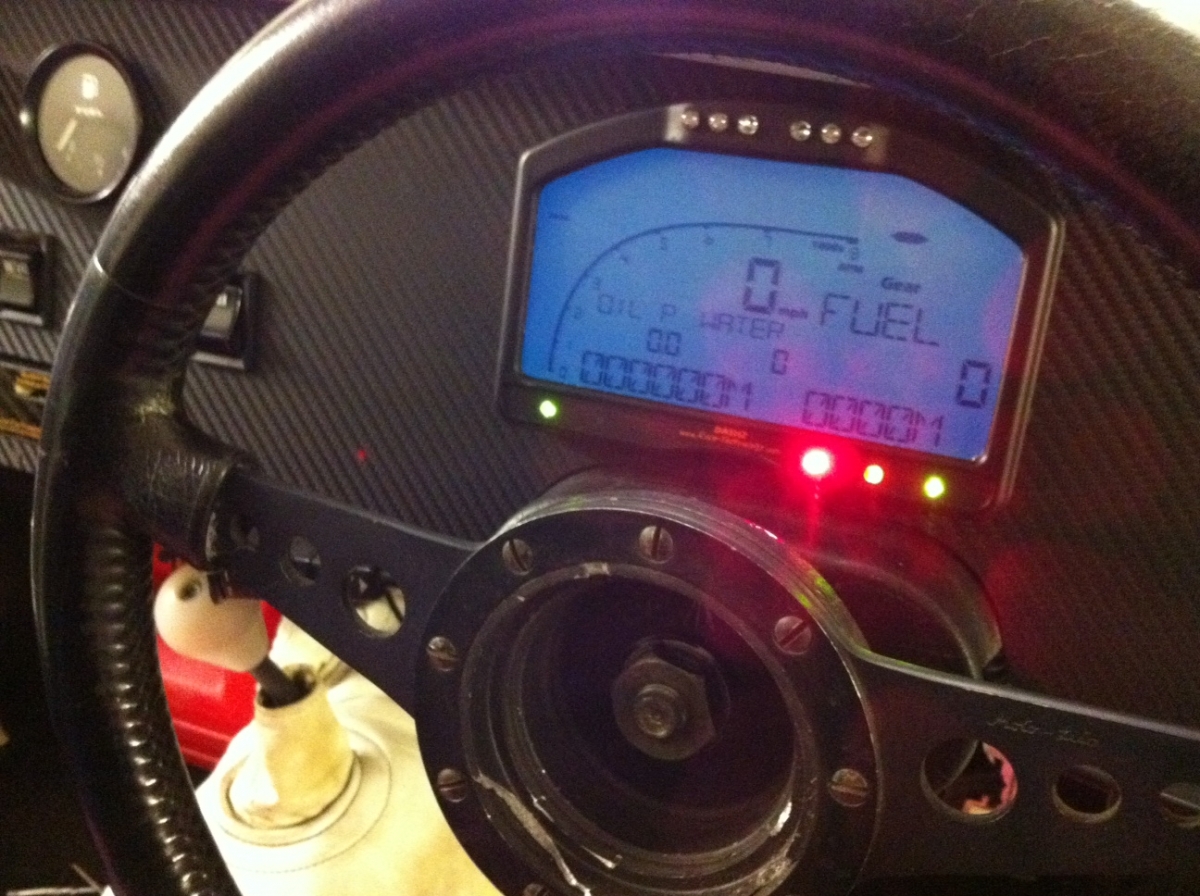
So.. what does all this hard work look like...? time for the reveal.
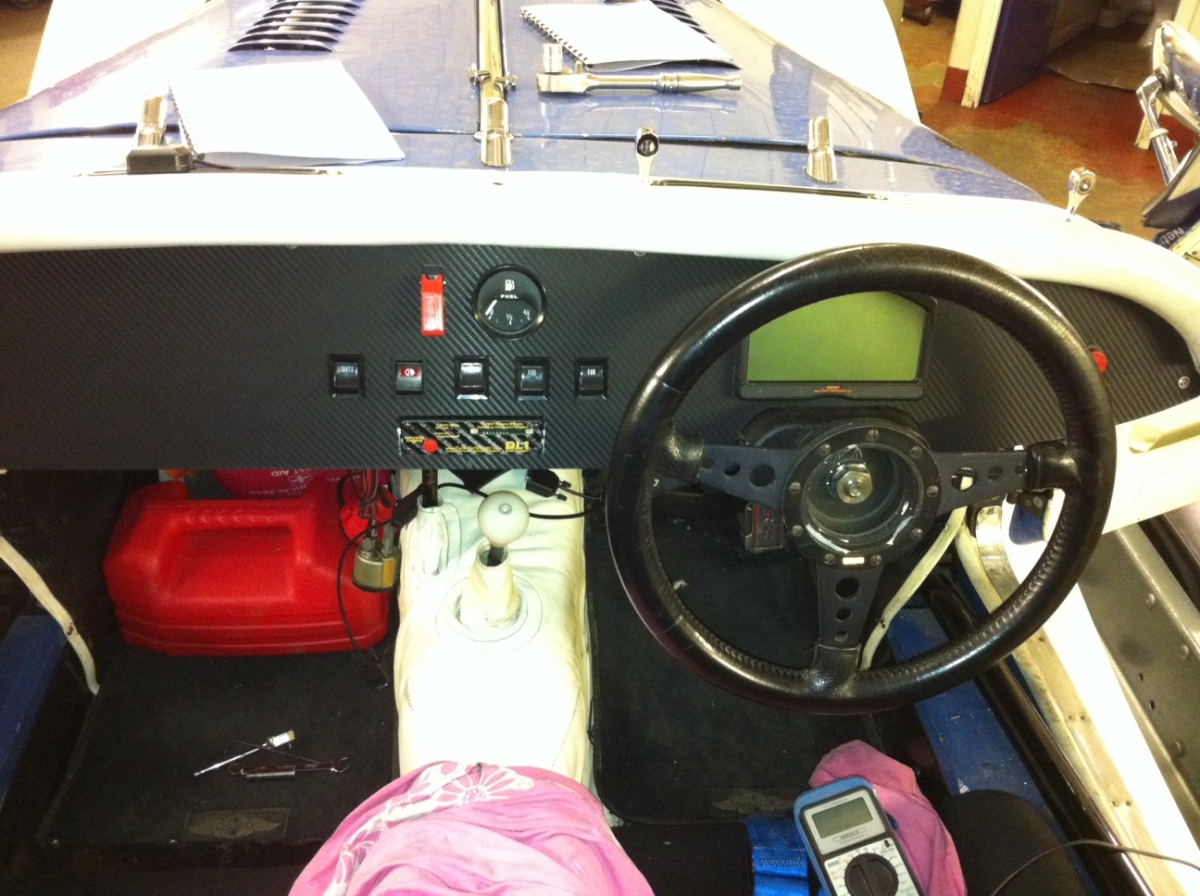
I'm pretty happy with the look, nice and sharp and pretty minimalist which is a good thing considering you want all the important information right in front of you.