James,
Brian Miller sent me a easy step guide for servicing which I found usefull
David..
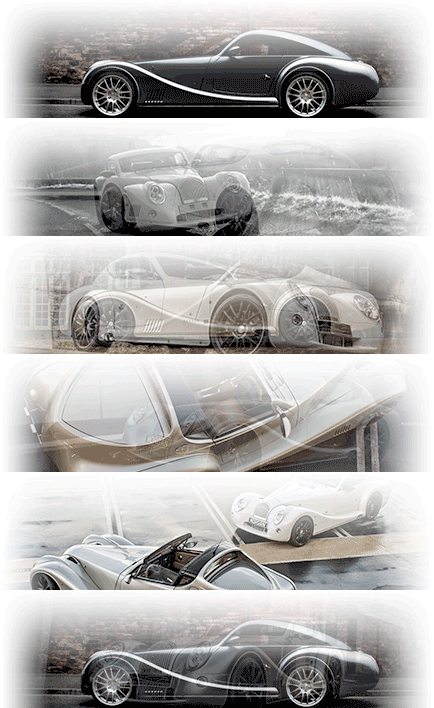
Morgan Aero 8
Removal of bonnet, cowl, and front wings for servicing / full engine access
First a warning – during this process you are going to be removing body panels from your Aero – it will be easy to make an error and damage the panels. Please make sure you have enough materials to protect the adjacent panels, and to safely store the removed panels. It is also advisable to have another person available to assist in the safe removal (and refitting) of the panels.
For this operation a fairly large flat unobstructed area that can be protected with blankets or dust sheets is required to lay out removed body parts to avoid damage.
1. Bonnet Removal
We are going to remove the bonnet, during this operation there will be opportunities to damage the bodywork – you may wish to cover the wing areas and cowl to protect them from damage.
Raise the bonnet and allow it to lie over so as to provide access to the fixing screws, do not use bonnet props (if fitted). Remove the front and rear fixings, there are two screws each side (countersunk machine screw at front, countersunk wood screw at bulkhead.) then allow the bonnet side to just lay down in it’s normal closed position, but do not secure it. Carry out the same operation on the other side of the bonnet. At this stage another pair of hands would be handy before the last fixing is removed, as the bonnet will need to be lifted clear of the vehicle. Make sure that the loose front fixing plate does not fall out and onto body. The bonnet assembly should now be laid onto a protective surface in a safe area, far enough away from the vehicle so you are not going to trip over it.
2. Cowl and grill removal
Remove the four stainless steel pan head screws from the grill; the mesh is not an integral part of the grill, so care should be taken to support this as the screws are removed in order to avoid damage to adjacent bodywork. The main cowl can now be removed; there are two lower cap screws with internal hexagon heads and two upper countersunk machine screws with 7mm nuts under the wing bracket. These must be removed to allow the cowl to be lifted slightly rearwards and up, clear of lower front spoiler. It should be noted the cowl clips over the top edge of the spoiler. Lay the grill and cowl, along with their fixings, in a safe area.
3. Headlamp and side repeater removal
The left hand front wing is all that you need to remove if an oil and filter change is all that’s to be undertaken. The next step is to remove the headlamp; there is a fixing brace with a large wing nut on it, this is accessed from under the wing. The job is made slightly easier with the wheels turned on a full lock. Release the lock nut and spin the plastic wing nut undone enough to allow the fixing brace to drop down away from the rear of the head lamp mounting bracket. The brace now unclips completely away from head lamp body by springing it slightly apart. On early cars the brace clips over two round pegs which are integral in the headlight body, on later Mk1 cars the pegs are part of the brace and locate into holes in the body of the lamp. Unplug the wiring loom to the headlamp, the headlamp assembly can now be removed from wing slightly pushing from under the wing and guiding from outside, the headlamp should now slide out of its guides to be placed with other components. The side repeater flasher is best disconnected by rolling back the bulb holder waterproof sleeve under the wing, this will then just pull out from lamp .
4. The main wing removal
-This procedure will apply to both front wings.
The wing is secured to the vehicle with two countersunk machine screws located at the front bonnet catch plate, these also have nuts fitted on the engine side. Next the two stainless steel speed screws need to be released; these are located at the lower edge of the wing, turning them anti clock wise will allow the fixings to be fully removed. This only leaves the bar holding the front section of wing secured to the lower spoiler. Looking through the headlamp aperture, and in toward the radiator below the headlamp mounting bracket, a link bar joins the two panels, remove the nuts and bar completely, (note: do not remove the bar at the flasher lamp). The next operation depends on how long it is since the wings were last taken off and whether the seals were cleaned and lubricated. However this aside, with one hand in the headlamp aperture and the other under wheel arch, lift the front edge of the wing off from the lower spoiler, taking care not to lift it beyond its top edge. A small amount of WD40 sprayed along this joint seems to help. Using at best another pair of hands ease the wing forward and off from the running board, WD40 or similar may help here also. Once this is successfully completed lay the wing section with other body parts.
5. Refitting
Before refitting the removed body panels carry out some good housekeeping by, cleaning behind the front lower spoiler mesh, top of radiator, lower side panels, and any other places that need vacuuming to remove stones, flies and other unwanted debris. Clean and lubricate the seals and lips on the front wing, lower spoiler and the running board front edge.
Care should be taken when refitting all the removed body panels. You need to be careful to get the correct alignment, and to ensure you do not damage adjacent panels. You will find it useful to have an extra pair of hands, these will be invaluable. Start all bolts, screws and fixings in each panel before final tightening. Secure each panel before moving on, DO NOT OVER TIGHTEN, remember the panels are only very light gauge and may be easily stretched at the fixing point. Also do not over tighten the head lamp securing clamps. A check for bonnet catch alignment should be made and any adjustment carried out, also check that head lamp wiring looms don’t foul road wheels when on a full lock. The looms can be repositioned and secured using cable ties After this a bucket, sponge and chamois should see your AERO looking good, and following your service or repair work it should also be sounding good.
& hopefully this will help you remove your wings
best of luck
Brian
--------------------------------------------------------------------------------
I am using the Free version of SPAMfighter.
We are a community of 6 million users fighting spam.
SPAMfighter has removed 2079 of my spam emails to date.
The Professional version does not have this message.