Click here to return to the home page.
Image of a road.
Who's Online Now
0 members (), 303 guests, and 55 robots.
Key: Admin, Global Mod, Mod
Top Posters(30 Days)
+8Rich 64
Newest Members
Carbuilder, Scot_SJI, Jimmers, Breen60, Davidmog
9,597 Registered Users
Newest Topics
New Morgan owner - 1989 Plus 4
by Carbuilder - 05/09/26 05:21 PM
Oil level reading
by moggin - 05/09/26 01:58 AM
Wanted - exhaust manifold and down pipe
by Tom Sayles - 04/09/26 03:33 PM
Henry Catchpole on the SS 400 vid
by Luddite - 04/09/26 02:24 PM
Cars and boats vid
by Luddite - 04/09/26 09:04 AM
Boats alongsidish last night
by +8Rich - 03/09/26 11:57 PM
Steering bearings
by Ricosan - 03/09/26 06:30 PM
Latest Photos
1989 Morgan Plus 4 in Ontario, Canada
by Carbuilder, September 5
First anniversary of Plus 4
by Strathaven, September 5
Wales
Wales
by Joske Vermeule, September 1
Engine/Gearbox Separator CX Models
by number thirteen, August 30
tow bar
tow bar
by G Walker, August 24
Forum Statistics
Forums39
Topics49,880
Posts837,761
Members9,597
Most Online1,063
Jun 14th, 2026
Today's Birthdays
There are no members with birthdays on this day.
Previous Thread
Next Thread
Print Thread
Page 4 of 6 1 2 3 4 5 6
Joined: Dec 2008
Posts: 22,366
Likes: 354
DaveW Offline OP
Roadster Guru
Member of the Inner Circle
OP Offline
Roadster Guru
Member of the Inner Circle
Joined: Dec 2008
Posts: 22,366
Likes: 354
Frank, the unit above came from E-bay but Car Builder Solutions stock similar units.


DaveW
'05 Red Roadster S1
'16 Yellow (Not the only) Narrow AR GDI Plus 4
Joined: Apr 2014
Posts: 32
F
Just Getting Started
Offline
Just Getting Started
F
Joined: Apr 2014
Posts: 32
Dave

Many thanks


Frank

2014 Brooklands Roadster
1953 Jaguar XK120 DHC
Joined: Apr 2014
Posts: 32
F
Just Getting Started
Offline
Just Getting Started
F
Joined: Apr 2014
Posts: 32
Thanks richard, amazing to get good sourcing advice in the UK all the way from Australia


Frank

2014 Brooklands Roadster
1953 Jaguar XK120 DHC
Joined: Sep 2016
Posts: 86
Just Getting Started
Offline
Just Getting Started
Joined: Sep 2016
Posts: 86
I’ve only just registered and started viewing these posts - so the “missing” photos is possibly not a new problem.........

Any feedback on how to view would be good.


ArthurSBell
N44MOG Rolls Royce Green +4
M22ASB Grey Renault Megane Cabriolet
M10SAB White Fiat 500
Joined: Dec 2008
Posts: 22,366
Likes: 354
DaveW Offline OP
Roadster Guru
Member of the Inner Circle
OP Offline
Roadster Guru
Member of the Inner Circle
Joined: Dec 2008
Posts: 22,366
Likes: 354
Hi Arthur. It's basically when I get the time to repost!


DaveW
'05 Red Roadster S1
'16 Yellow (Not the only) Narrow AR GDI Plus 4
Joined: Dec 2008
Posts: 22,366
Likes: 354
DaveW Offline OP
Roadster Guru
Member of the Inner Circle
OP Offline
Roadster Guru
Member of the Inner Circle
Joined: Dec 2008
Posts: 22,366
Likes: 354
Post Photobucket Reboot from February 2010

Solving this issue has been on my list for a while, and I bought an LED unit off e-bay before Christmas. There's also been a run of chat on Mogtalk recently about driving in France and the conclusion seems to be that if the centre brake light is fitted, it must not be obscured by luggage and must work. There are those who remove the centre brake light to maintain the Trad look, but I wouldn't do this for two reasons. First is that the high level brake light might just make the difference between being rear-ended or not. The second reason is that any modification from standard must be notified to your insurer. The truth is that this probably makes no difference, but I wouldn't want to find out that it did after a rear end shunt. Anyway, that's Dave's sermon over for today, so on with the plan.

First job was to remove the luggage carrier and spare wheel. While the spare was off the car I put 30psi in it. Much easier than when it's on the car.

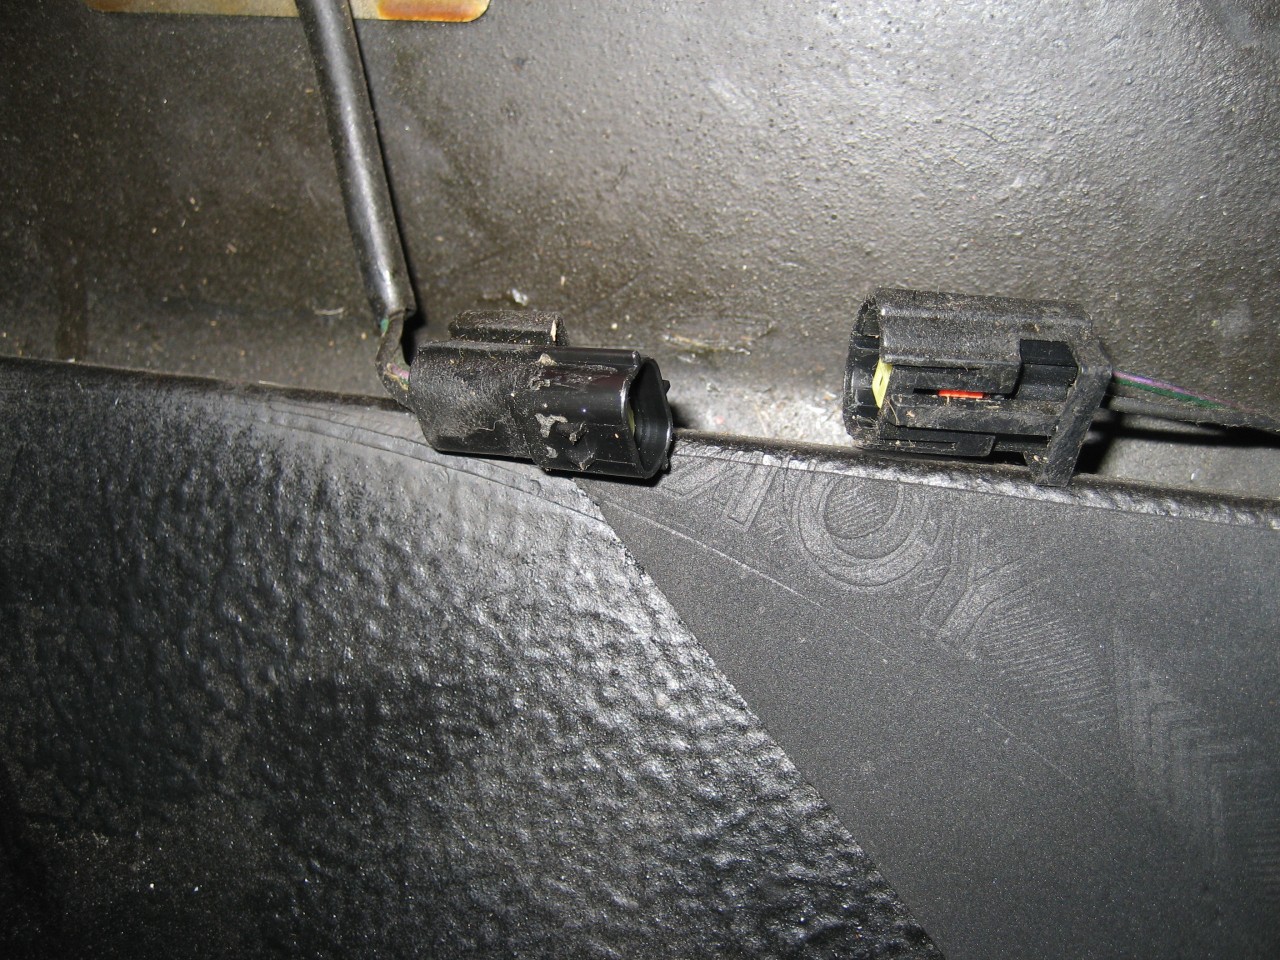
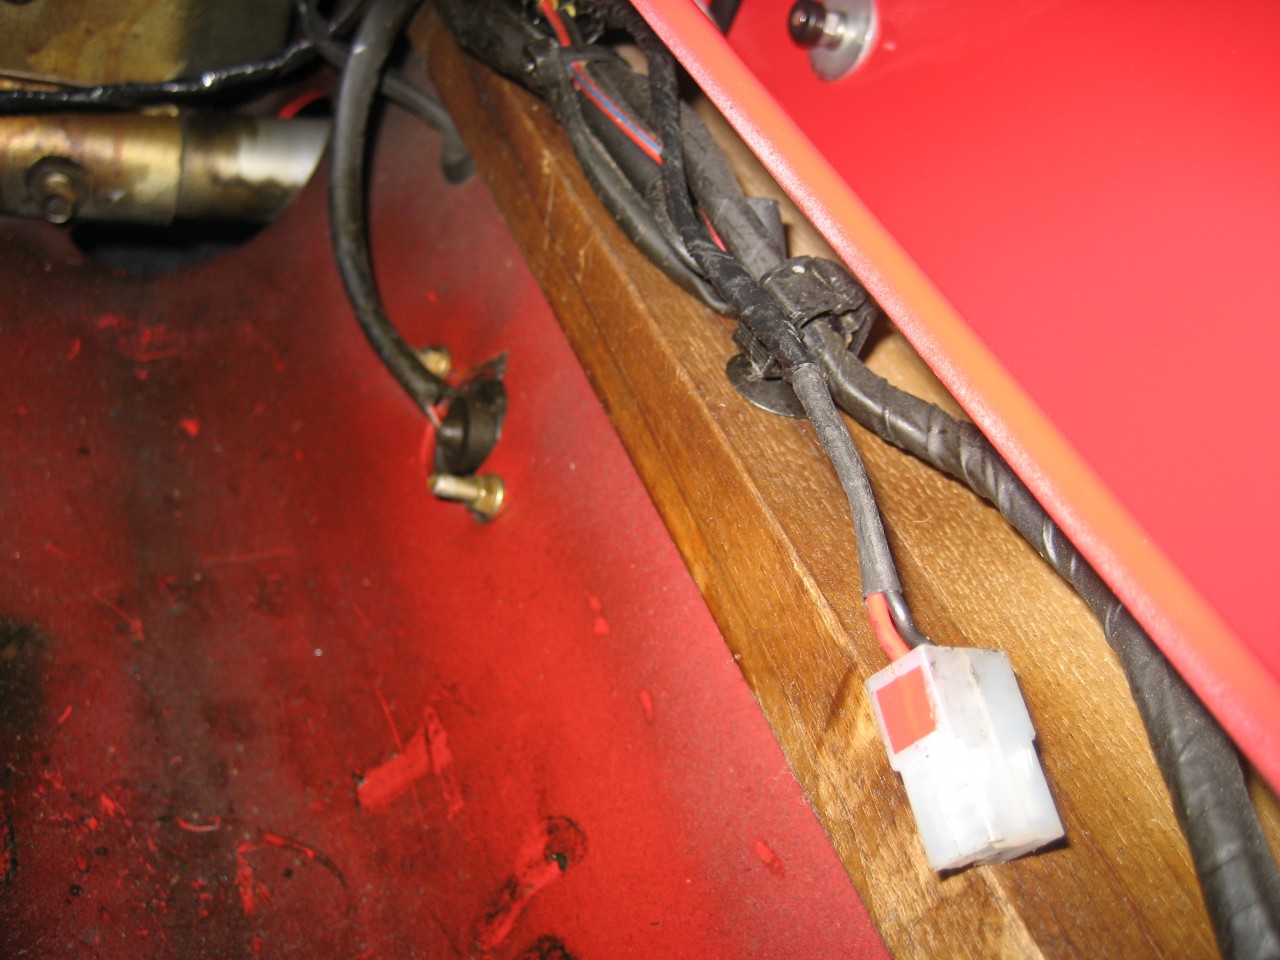
My plan was to unplug the light and leave the car loom unaltered. This is the plug, just under the stalk. It has a simple securing clip and comes apart easily.


The stalk is secured with four wood screws. Not surprising really, but I would have fitted them a bit straighter........


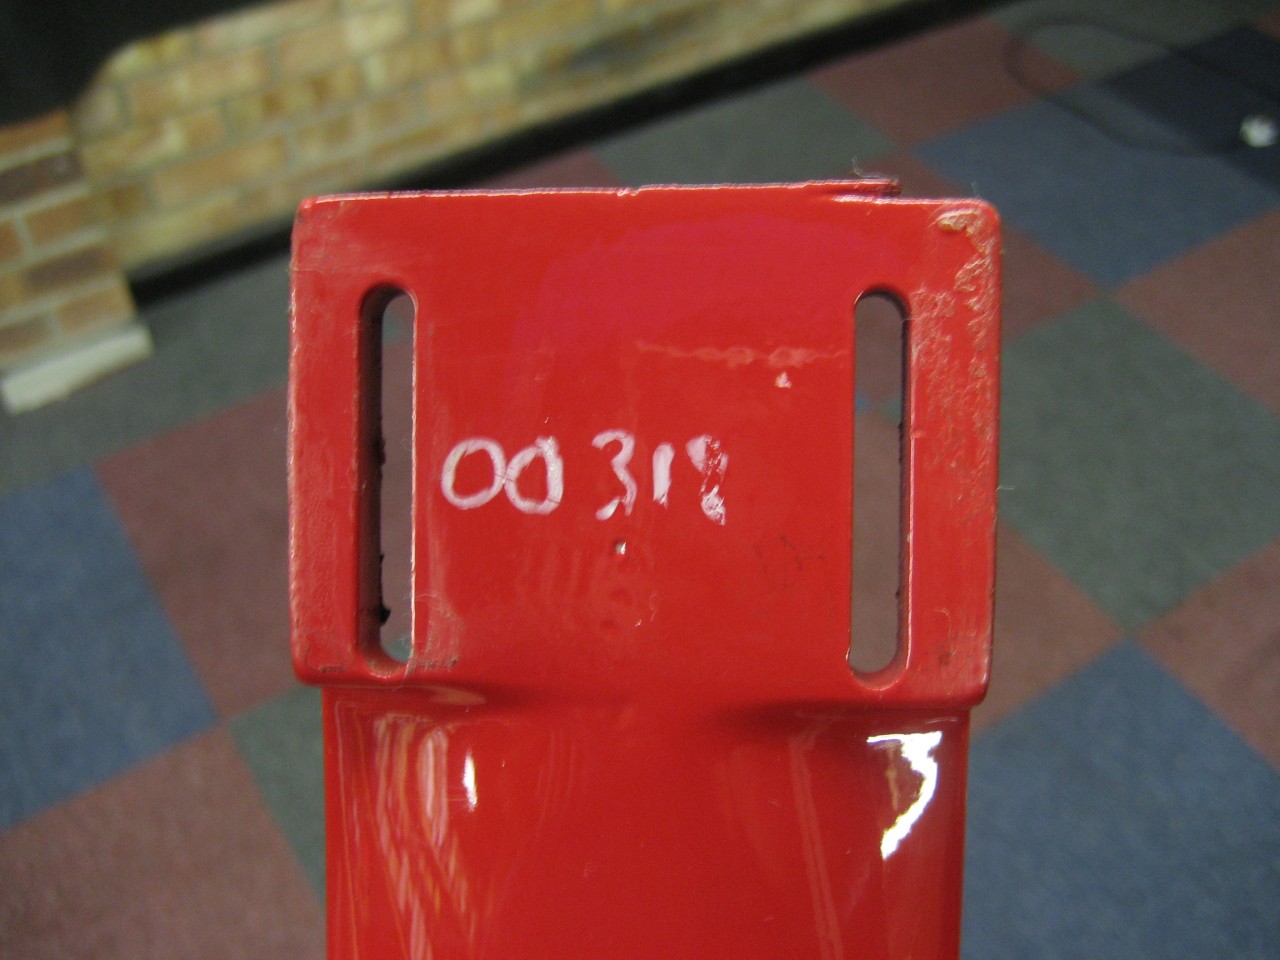
Once off, I found the chassis number 'chalked' on the base. More like Tippex really. Note the rough top edge, and I had assumed that this stalk was plastic. It's metal.


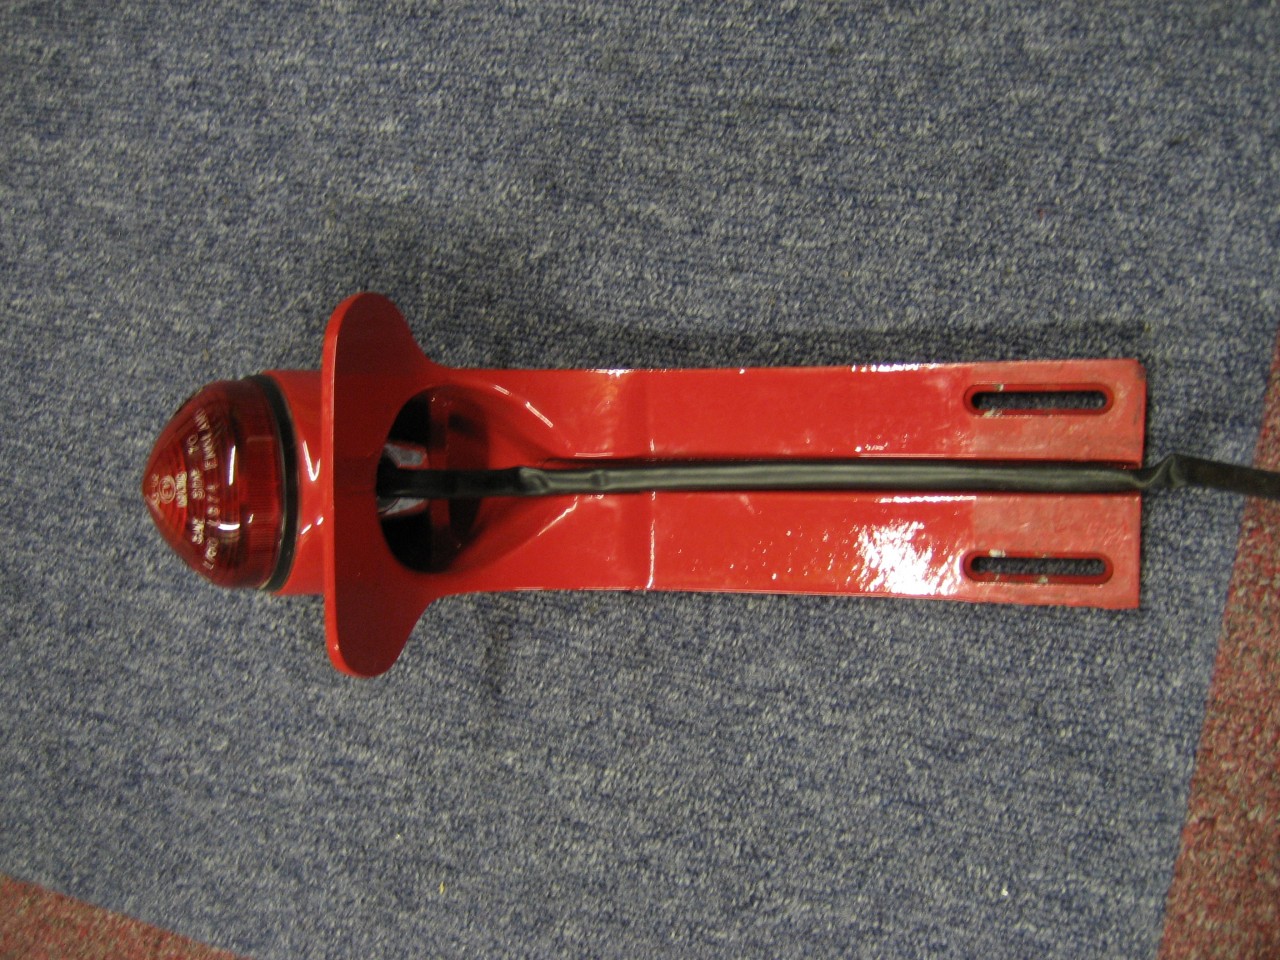
This photo shows how the cables run down in a slot, and should be compared with the next picture - after fettling.


So now we see a black neoprene plug under the lamp, to keep damp at bay, and red insulating tape stuck over the wires, just to make it tidier. You can also see the white plug which I've put in to allow a second set of wires to run to the luggage high level lamp. All connections have been soldered. It's a while since I had the soldering iron out, so I quite enjoyed that. It's very relaxing.


More to follow.......................


DaveW
'05 Red Roadster S1
'16 Yellow (Not the only) Narrow AR GDI Plus 4
Joined: Dec 2008
Posts: 22,366
Likes: 354
DaveW Offline OP
Roadster Guru
Member of the Inner Circle
OP Offline
Roadster Guru
Member of the Inner Circle
Joined: Dec 2008
Posts: 22,366
Likes: 354
This is how it looks refitted, and with some red tape over the screw heads. Compare with the second photograph from the top and you'll see the difference.


The two extra wires are wrapped in loom tape and go down the offside, linking with the existing loom in the rear corner and secured with cable ties. The idea is that the plug can be fished out from the hole between spare wheel and bodywork and connected to the extra lamp when needed. I'll do a picture of that in the final stages when hopefully it will be clearer.

Next step was the lamp bracket. I wanted stainless, but given how hard it is to work, I started with an offcut of approximately the right size. It's 0.7mm, so a bit thinner than I would like, but was a snip (Hah! a pun) at 70p.


This was the initial shape, bent over various bits of wood. I bent the edges at about 30degrees in the vice to stiffen it up, and that worked quite well. I also drilled the two holes you can see with a fancy new drill bit, which was good considering how tricky stainless can be.


The idea is that the bracket simply clips onto the rack and is held by the luggage........ no extra holes in the Mog - remember?
The white is the plastic protective cover which I'll leave on until it's finished.


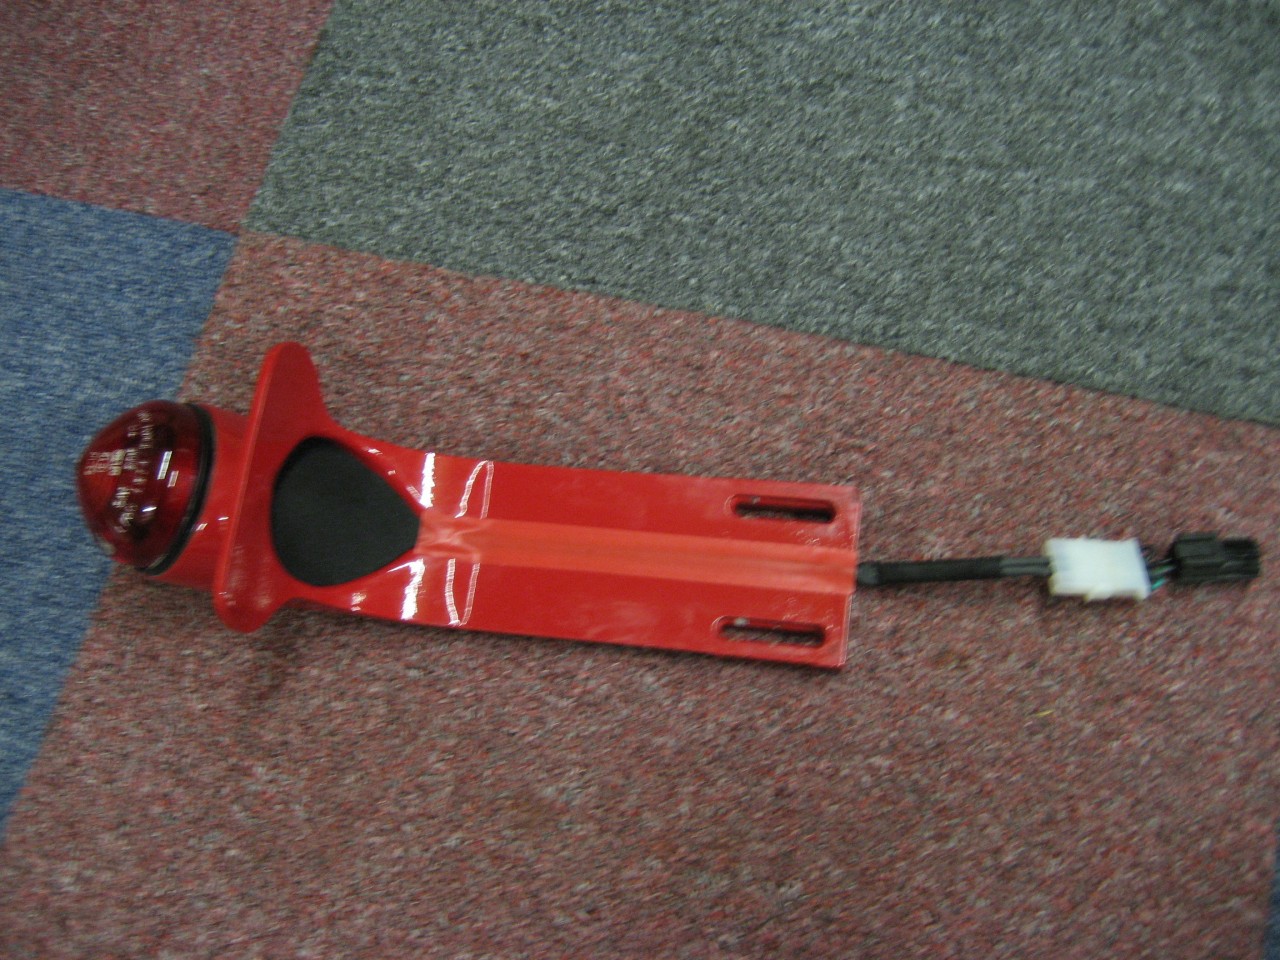
This is how it looks with the light unit added..........
Plus two more bends to get the light level. Spot the neoprene edging.


Here's the underside. I've lined it with 3mm standard density neoprene, and left a slot for the wires. The neoprene will 'grip' the luggage cover and limit lateral movement. I'm hoping that there will be enough space for another thin layer of neoprene so that the wires are hidden completely.


Here's the rub though. Two of the LED's in this unit are faulty, so I can't finish & fit it. I have another unit on the way, so by next weekend I should be able to finish it off.

So for now, here's how the unfinished article looks in place.........


When the white plastic comes off, I think it should look OK.


DaveW
'05 Red Roadster S1
'16 Yellow (Not the only) Narrow AR GDI Plus 4
Joined: Dec 2008
Posts: 22,366
Likes: 354
DaveW Offline OP
Roadster Guru
Member of the Inner Circle
OP Offline
Roadster Guru
Member of the Inner Circle
Joined: Dec 2008
Posts: 22,366
Likes: 354
The replacement high level light arrived, and it's much neater than the first one. So as ever I'm evolving the plan........
This is the back and I'm still undecided whether or not to fit another thin layer of neoprene to hide the wire.


This is how the wire exits the bracket, a bit blurred as it's very close up.


Here's the front, now with protective plastic removed.


And a close-up of the unit, which has a much bigger red lens than the first one.


And here it is fitted but without the luggage. This photo is taken level, and as you can see, the new lamp is at the same height as the stalk lamp. A result which wasn't factored in, but is a pleasing outcome.


So all that's left now is to solder the terminals, fit the plug and decide whether or not to fit the extra neoprene. Then I'll road test it with the luggage fitted and take a couple of photo's outside to finish this thread off.


DaveW
'05 Red Roadster S1
'16 Yellow (Not the only) Narrow AR GDI Plus 4
Joined: Dec 2008
Posts: 22,366
Likes: 354
DaveW Offline OP
Roadster Guru
Member of the Inner Circle
OP Offline
Roadster Guru
Member of the Inner Circle
Joined: Dec 2008
Posts: 22,366
Likes: 354
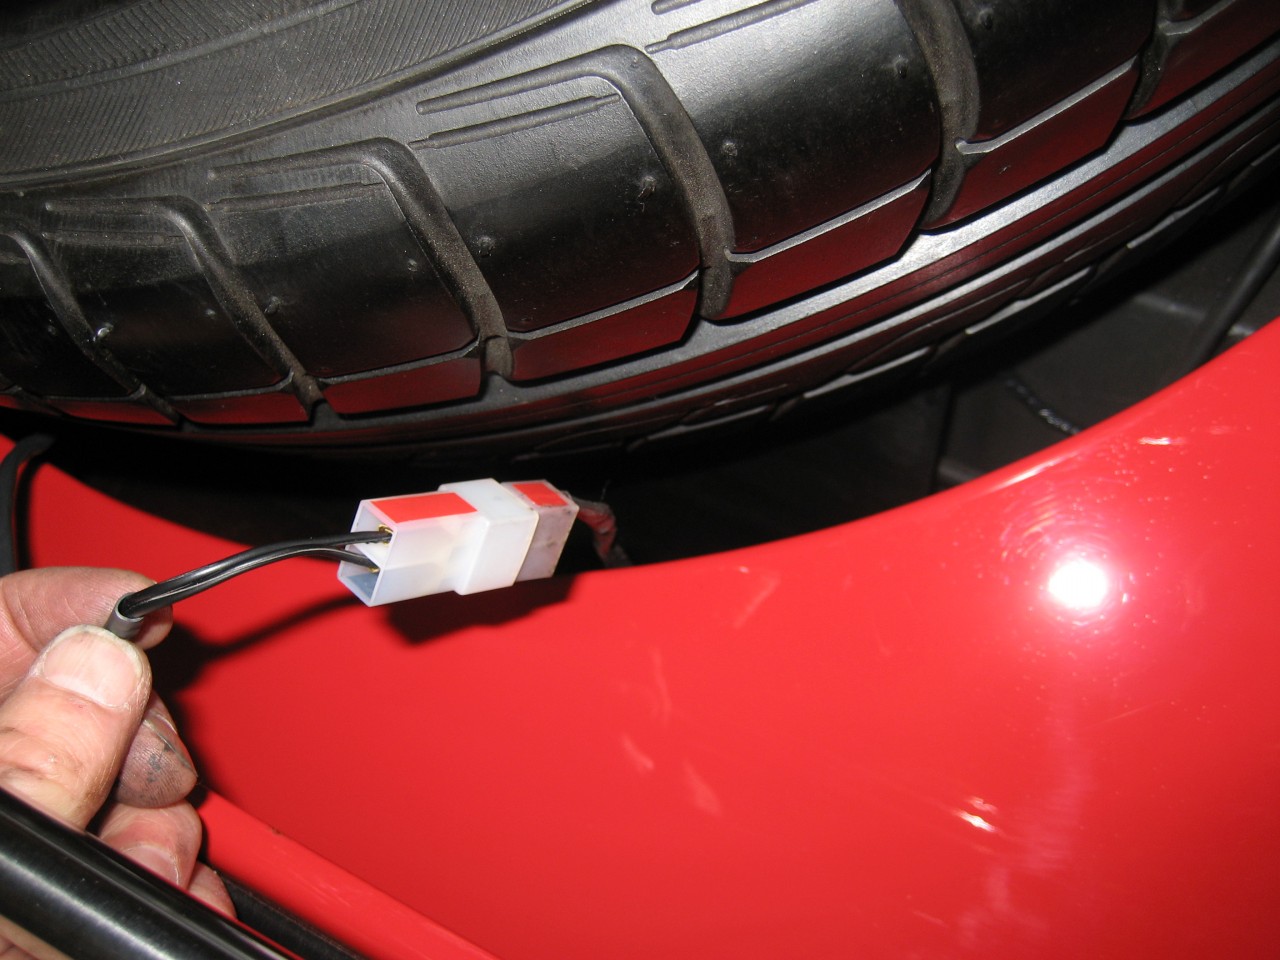
This is the plug in the spare wheel well. The red square patch shows which side is live.


And this is how I fish it out to connect........


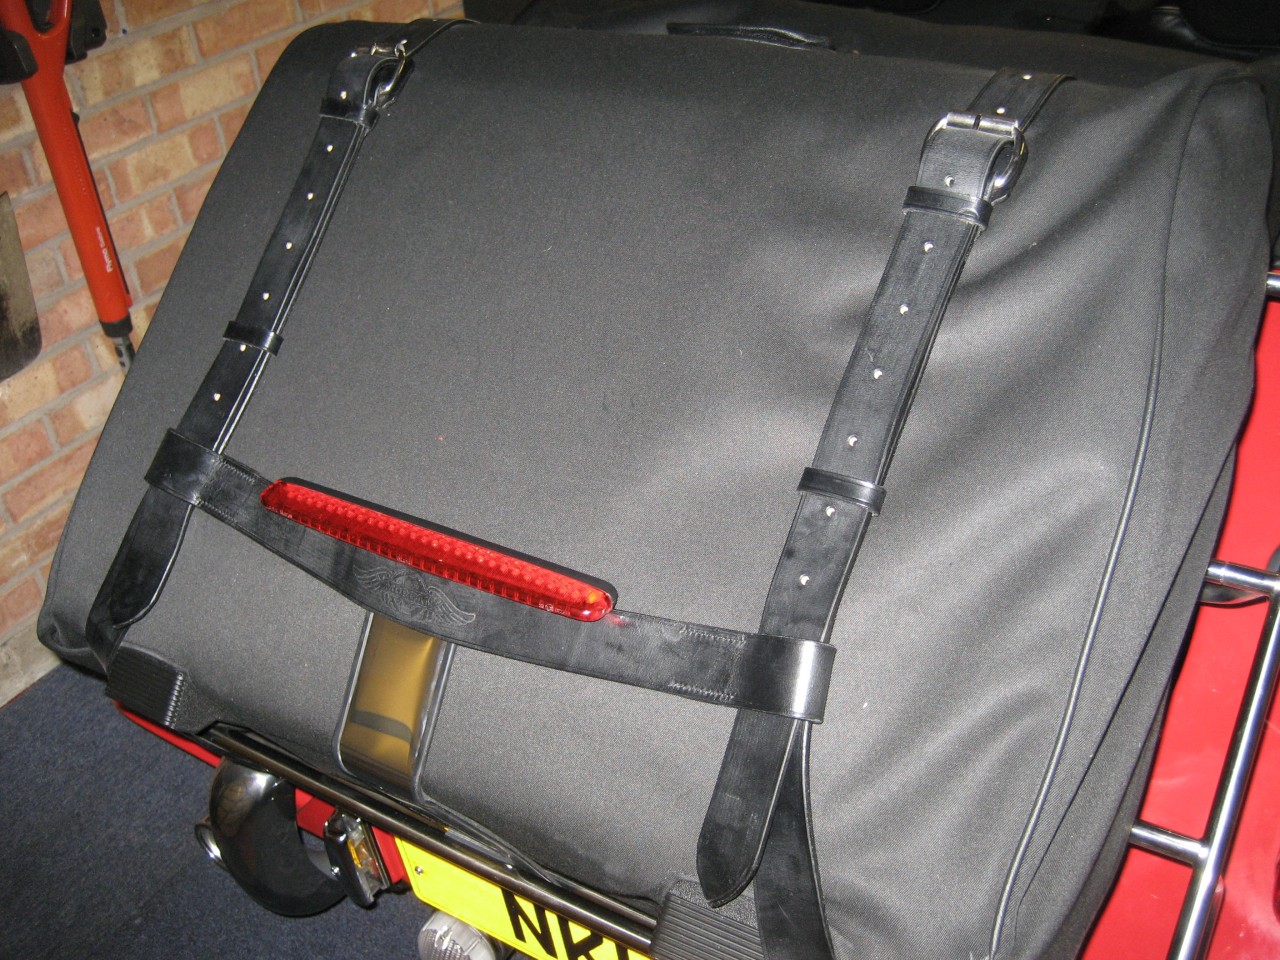
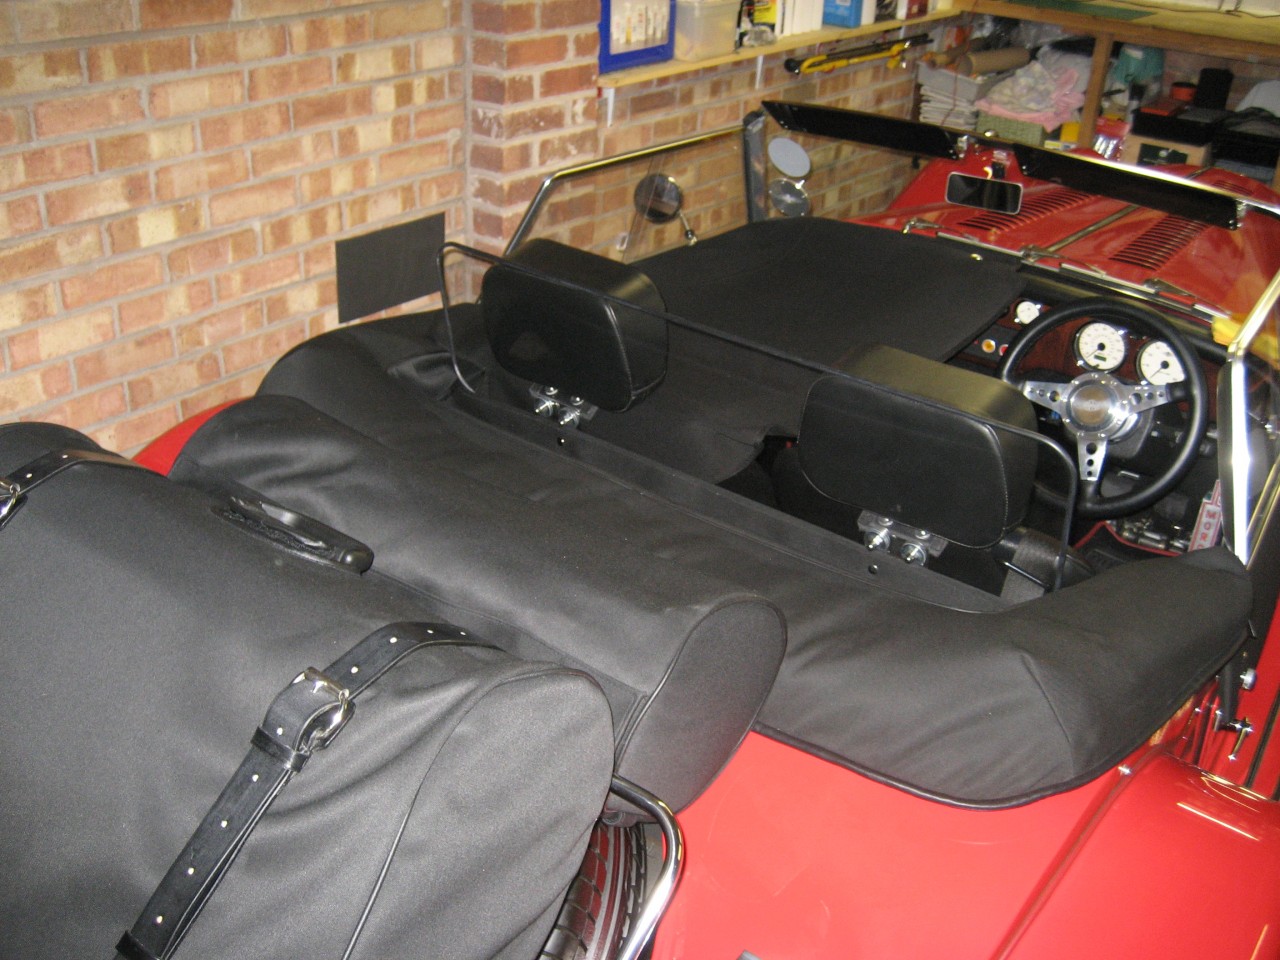
I fitted the luggage tonight.......
The stainless bar is picking up the yellow reflection from the door insulation.


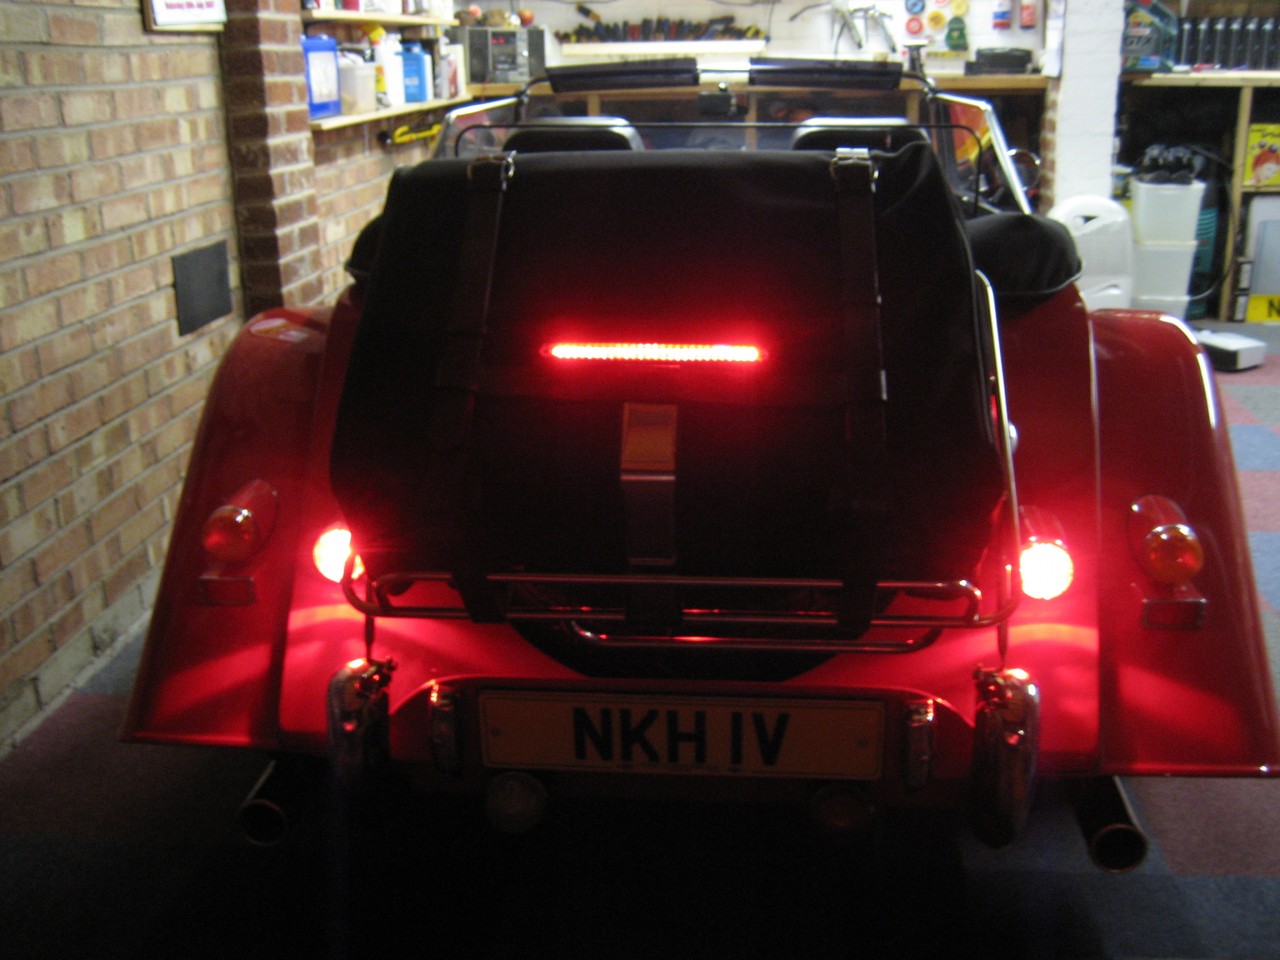
Here's how it looks in the dark.......
I feel much happier with this - you can see that it's also a big improvement on the standard round high level light, which is totally hidden under the boat bag!!!!!


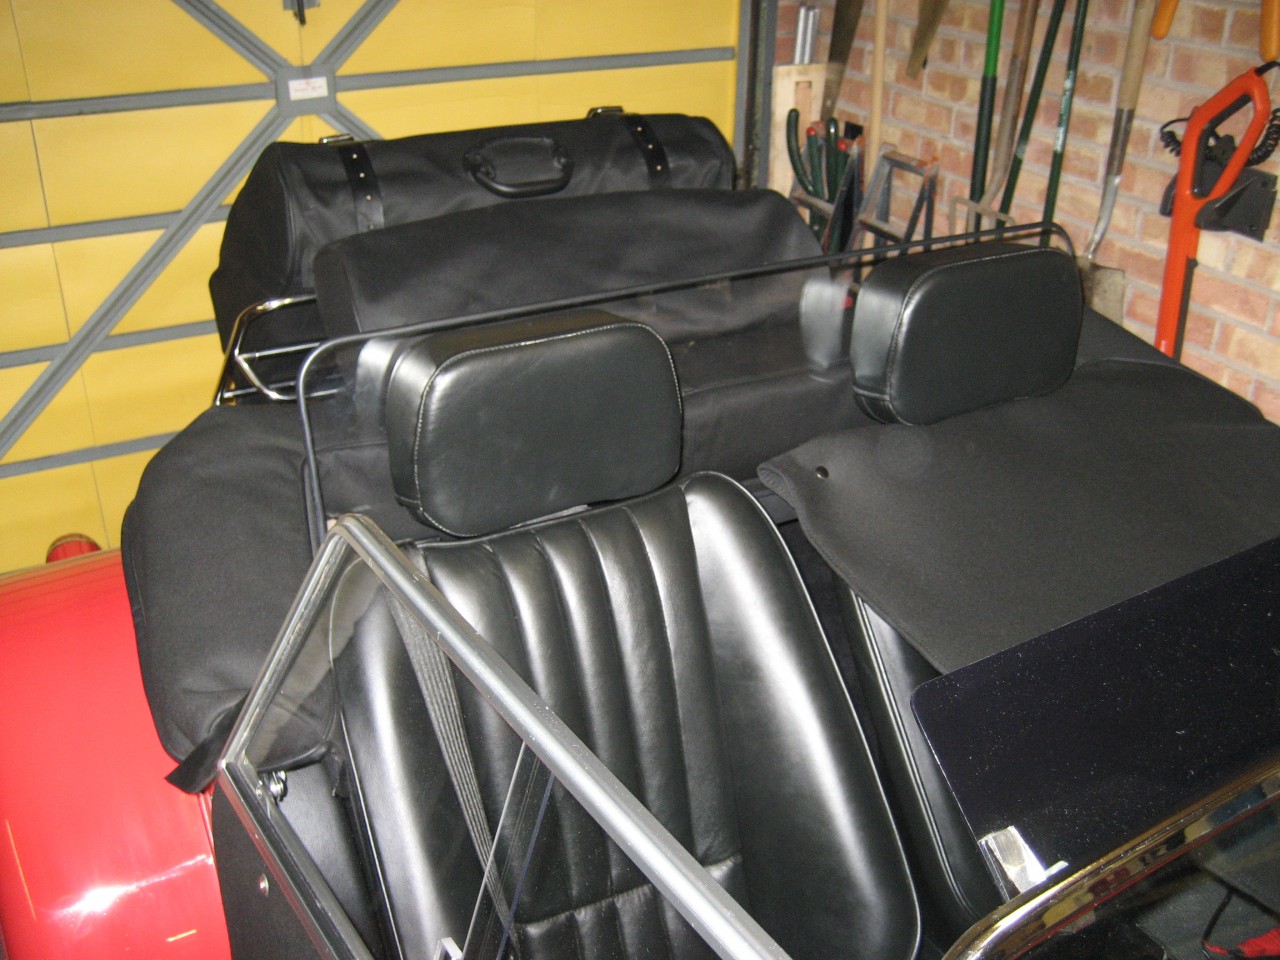
Not very clear in these two photos, but the top of the case is level with the top of the windstop, so visibility to the rear is better than I remember.


Outside photos will follow to finish the story, but maybe not tomorrow, since something has cropped up.

PS - I did fit another thin layer of neoprene to the back, but forgot to take a picture!!!


DaveW
'05 Red Roadster S1
'16 Yellow (Not the only) Narrow AR GDI Plus 4
Joined: Dec 2008
Posts: 22,366
Likes: 354
DaveW Offline OP
Roadster Guru
Member of the Inner Circle
OP Offline
Roadster Guru
Member of the Inner Circle
Joined: Dec 2008
Posts: 22,366
Likes: 354
I had a run out this morning, and as promised, took a few photos.

First - here is the back of the light unit now there's a neoprene layer to cover the wiring.


You can see how cold & damp it was - the sidescreens were misting up.


And here's the rear view. And the end of this story.


DaveW
'05 Red Roadster S1
'16 Yellow (Not the only) Narrow AR GDI Plus 4
Page 4 of 6 1 2 3 4 5 6

Moderated by  TalkMorgan 

Link Copied to Clipboard
Powered by UBB.threads™ PHP Forum Software 7.7.5