Click here to return to the home page.
Image of a road.
Who's Online Now
1 members (Montegue), 367 guests, and 47 robots.
Key: Admin, Global Mod, Mod
Top Posters(30 Days)
+8Rich 93
Newest Members
Scot_SJI, Jimmers, Breen60, Davidmog, Stevecarr
9,596 Registered Users
Newest Topics
3.7 Roadster Greasing Q
by ScottMellor - 26/08/26 05:31 PM
Goodbye Dolly
by Clipper - 25/08/26 09:57 PM
Hot start .... vapour lock
by Pittsartist - 25/08/26 08:00 PM
Immobiliser
by Clipper - 25/08/26 12:42 PM
Monza style fuel cap
by Lionel Mandrake - 25/08/26 09:01 AM
UK car tax on CX Plus Four - bit of a rant
by Neil A - 25/08/26 07:33 AM
tow bar
by G Walker - 24/08/26 06:52 PM
Latest Photos
tow bar
tow bar
by G Walker, August 24
Prescott double anniversary
by CooperMan, August 18
Air Crash Sites: Cairngorms
by RedThree, August 13
Four-seater luggage rack
by Soleng, August 9
New M3W orange 2012
New M3W orange 2012
by jejemek, August 7
Forum Statistics
Forums39
Topics49,836
Posts837,277
Members9,596
Most Online1,063
Jun 14th, 2026
Today's Birthdays
There are no members with birthdays on this day.
Previous Thread
Next Thread
Print Thread
Page 9 of 9 1 2 3 4 5 6 7 8 9
Joined: Dec 2008
Posts: 22,356
Likes: 353
DaveW Offline OP
Roadster Guru
Member of the Inner Circle
OP Offline
Roadster Guru
Member of the Inner Circle
Joined: Dec 2008
Posts: 22,356
Likes: 353
Being able to mess around with Morgans is a huge attraction which is not really available on most cars - other than classics.
Today we went for a top down run of about 40 miles. Obviously it's a bit early to pass too much comment on the GDI but my early impressions are holding up.

The throttle is very very sensitive and this takes some concentration to get right. But response is super quick and it really does feel much punchier than the duratec.
I filled up today at a rough calculation shows 28mpg on the run back from Kent. Not too worried about this because the engine will be tight for a few miles. The exhaust is slightly sooty. I think this may be a function of quick response = squirt of fuel = lower mpg = sooty exhaust. Like an accelerator pump on a Ford carb.
The dash is a big improvement on the 2012 dash, but I would have liked an oil pressure gauge!
Starting from cold there's no fast idle. It pops to about 2000rpm but immediately drops to a fairly lumpy 800, slowing to 750 when hot.
I tested the fan today because when we were stuck at Dartford, I didn't hear it. The reason is that at low speed it's inaudible.
The gearbox is rifle bolt tight, very different to the gearbox in the 2012 car, and the clutch bite point is high.
There's a very slight whine from the rear axle on the over-run - more audible with the roof up.
Oh and one of the tyre valve caps was odd!

Anyway - over the weekend I added the front wing protectors.
Four brackets made up from 2mm aluminium. I had a conveniently shaped offcut which saved some time.
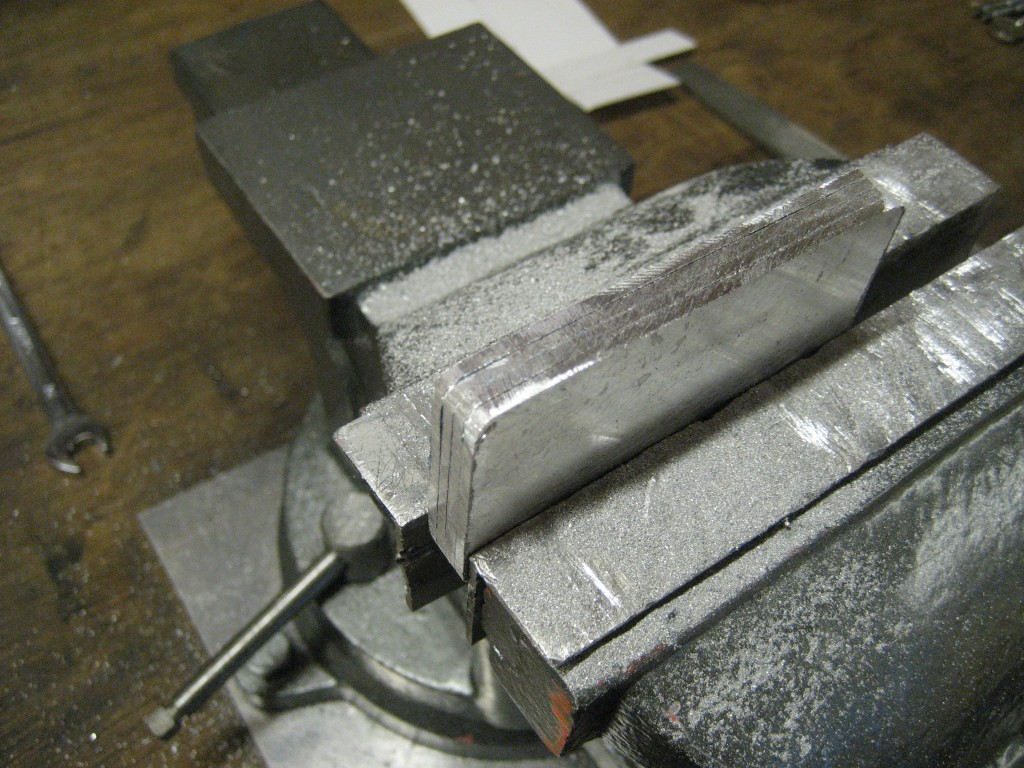


These attach to the front wing stays with stepped penny washers.
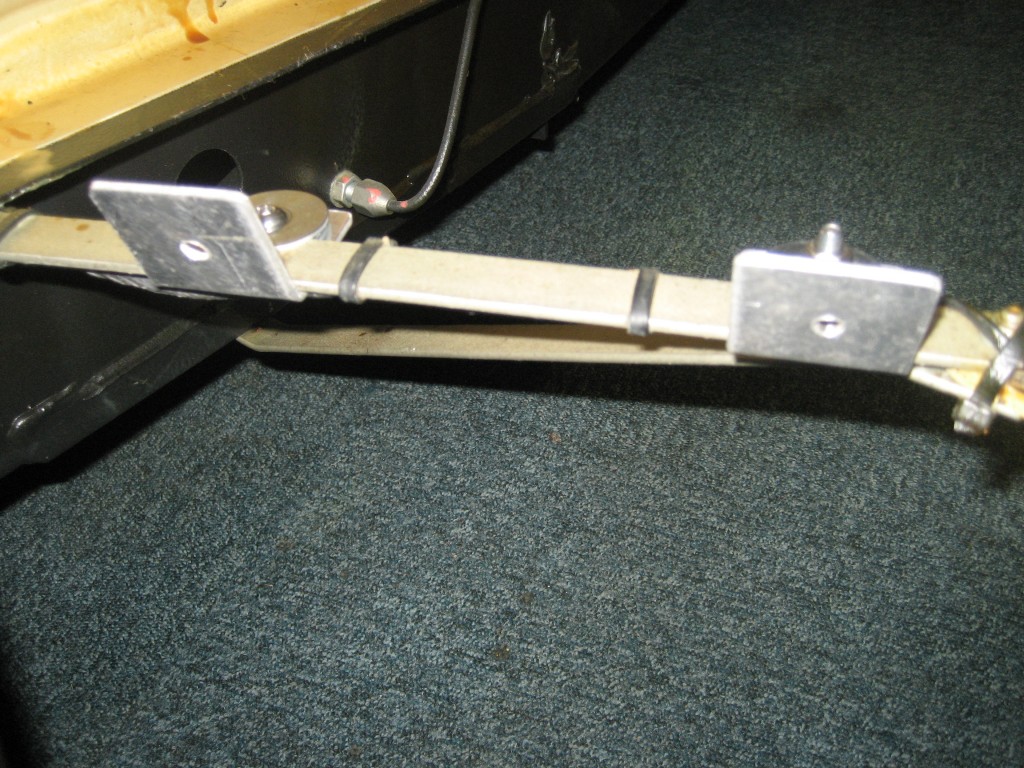


Trial fit of the Maplins circuit board.
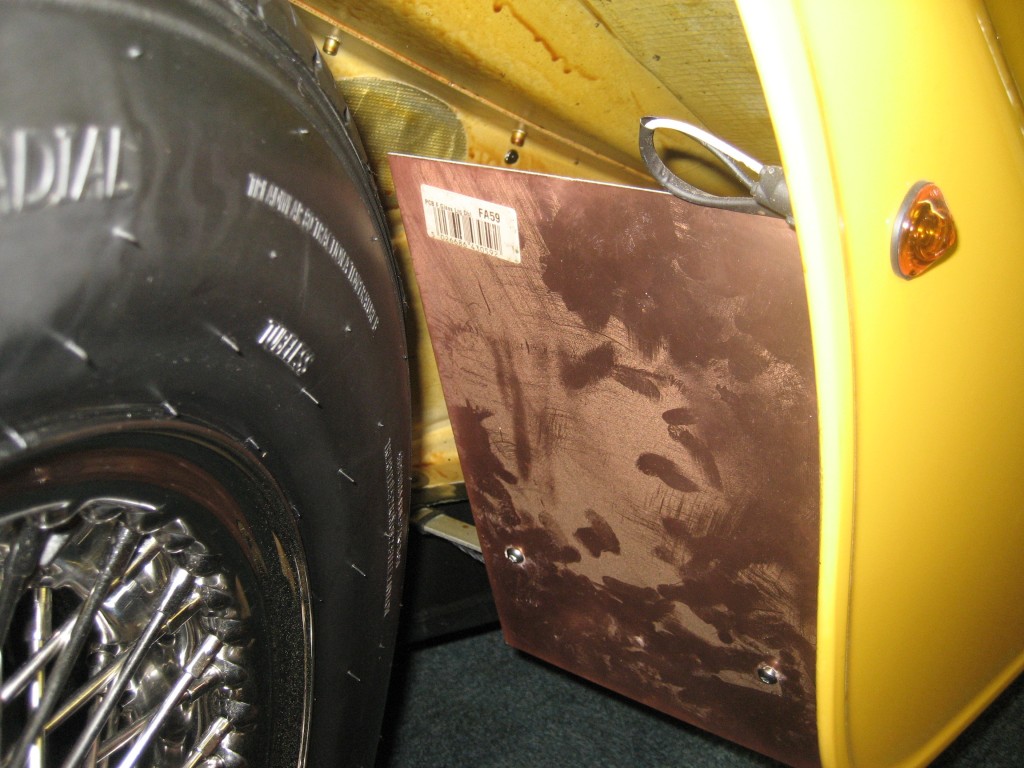


On the offside, it needs a temperature barrier, so this was the result.
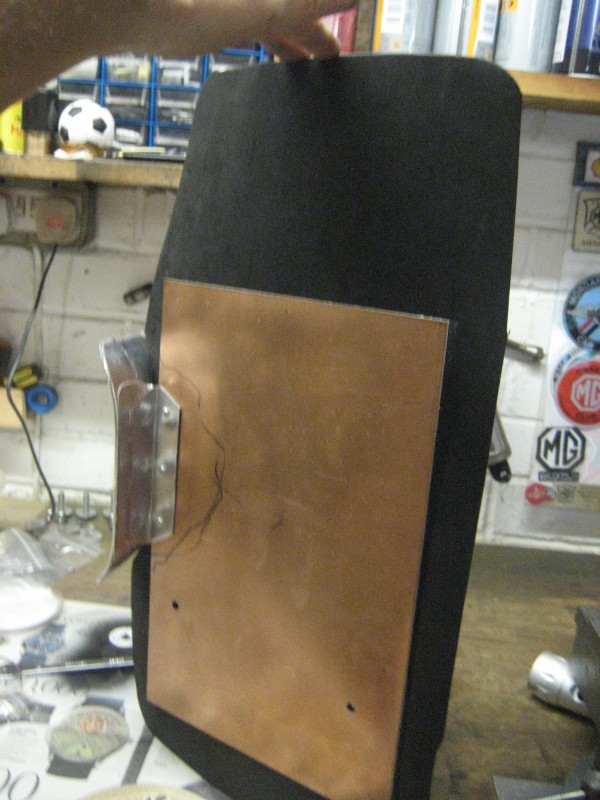


At the back I lined this with reflective foil.


So that's as much as I can do for wing protection. The lower part of the rear wings are very vulnerable to starring, but the flaps would have to be really low to cover the lower part of the wings, so you take your chances!

This afternoon I dropped the grille to do some protective work. The lower corners of the grille rub away the paint on the lower corners of the cowl, so it's something that really needs looking at. I haven't finished this part yet, so will post the pictures when I've sorted the cowl, and added some badges. Most of the routine stuff is now completed, but there's always another job! That's the wonder of Morgan......................

What better way to spend partial retirement.
With MrsW's approval obviously.


DaveW
'05 Red Roadster S1
'16 Yellow (Not the only) Narrow AR GDI Plus 4
Joined: Dec 2008
Posts: 22,356
Likes: 353
DaveW Offline OP
Roadster Guru
Member of the Inner Circle
OP Offline
Roadster Guru
Member of the Inner Circle
Joined: Dec 2008
Posts: 22,356
Likes: 353
One of the jobs which really needs doing is to do a bit of fettling around the cowl and the grille. The grille is a clumsy fit. It sits in a groove at the top of the cowl, but it can slide from side to side, and this means that the vertical strips may not be centralised, or stay centralised. When the grille moves in the cowl it's a metal to metal movement, so it will rub the paint off the inside of the cowl, leaving bare aluminium. At least the constant rubbing will rub away the aluminium oxide.
At the bottom, the grille is held by two M6 allen headed setscrews in from the front - first through the number plate box (on cars with over-riders) - then through the bottom band on the grille, then through the lower cross brace between the inner wing valances into penny washers and nuts. This is drilled 'freehand' and each of my cars have has the holes opened out. In one case considerably opened out!!! Full bumper cars I believe are the same but you'll see the bolt heads visible in the strip across the bottom of the grille.

On all my three cars I've reversed the setscrews, so in from the back with a penny washer (held in place with DST), then through the grille lower band. This can be secured in place with washers & nuts, leaving enough thread to take the number plate box, which can then be taken off if necessary without disturbing the grille.
There's one more thing. The number plate box will rub against the lower part of the cowl and take the paint off. This can be sorted with spacer washers to move it away from the cowl, but I also add taper washers because I don't like the front number plate pointing at the sky. Finally the lower part of the grille may touch the edges of the cowl and rub the paint off. Here I've added some small leather buffers. At the top of the grille I've added a leather band inside the cowl, and when reasembled found that I could also insert a neoprene strip to hold the grille away from the cowl paint.
So................this is how it looks with setscrews reversed and grille secured.


But before that I had some carbon fibre kicking about and finally found a use............


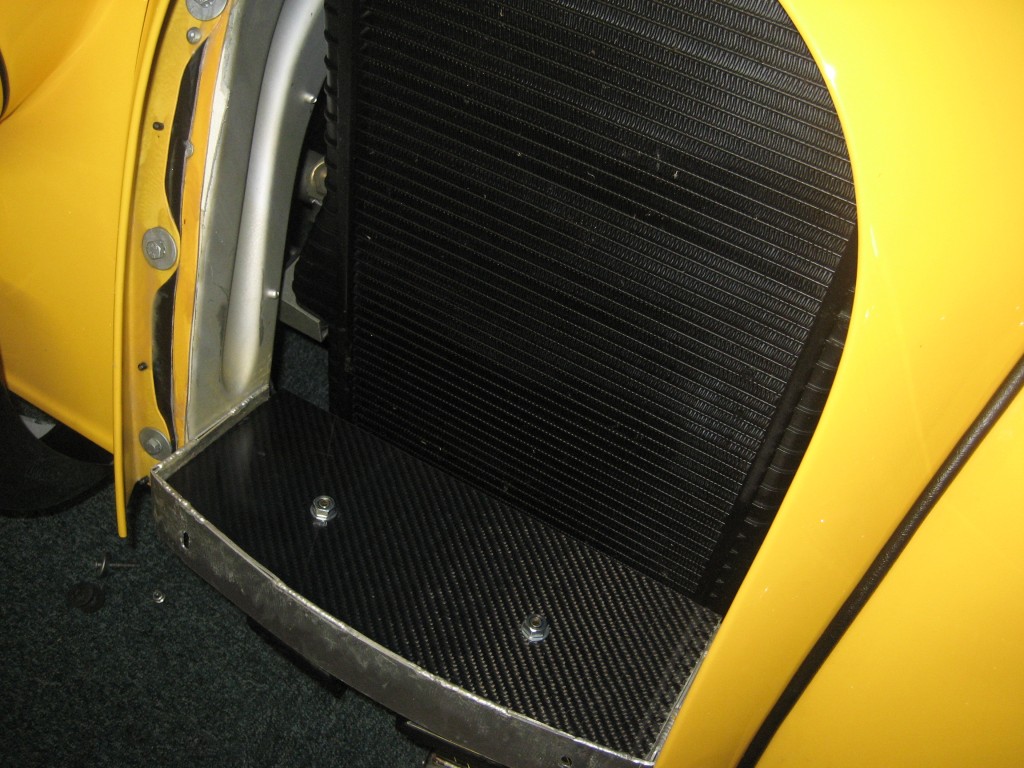
And on Bumble I added some neoprene neoprene to edge the cowl and direct more air through the radiator. So I did this again - This needed two holes drilling each side in the inner wing valances. You can see the slotted grille securing hole here.


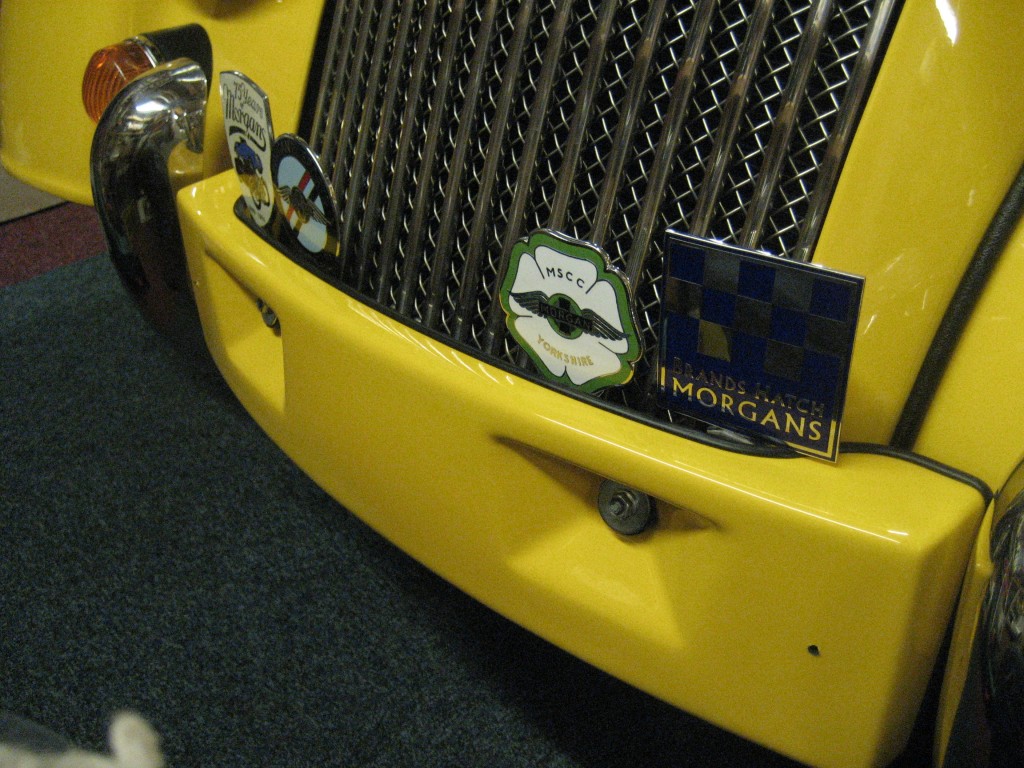
I had a look at my badge bar and removed the centre badge - more is less etc. I've added grommets to the bolt heads to provide a buffer between the nuts and the cowl paint.
As a reminder, the stainless plate is an MGB front number plate backing plate which is a perfect fit.


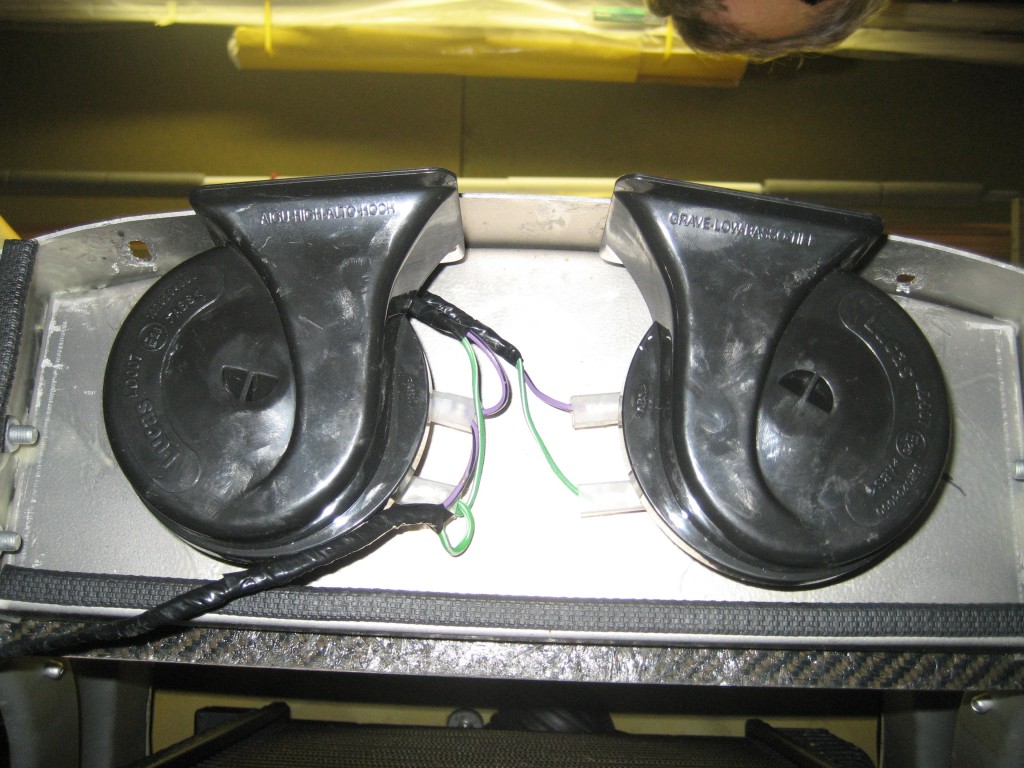
Here are the two horns..............the wiring is all there and just needs releasing.


And here it is re-assembled.


DaveW
'05 Red Roadster S1
'16 Yellow (Not the only) Narrow AR GDI Plus 4
Joined: Dec 2008
Posts: 22,356
Likes: 353
DaveW Offline OP
Roadster Guru
Member of the Inner Circle
OP Offline
Roadster Guru
Member of the Inner Circle
Joined: Dec 2008
Posts: 22,356
Likes: 353
And so to the final phase of "Early Stages".

The heater box seal.............
When we were stuck at the Dartford crossing, it was a hot day and all I could get from the heater vents was hot air. I modified the heater seal on Bumble, and have now done to same here.
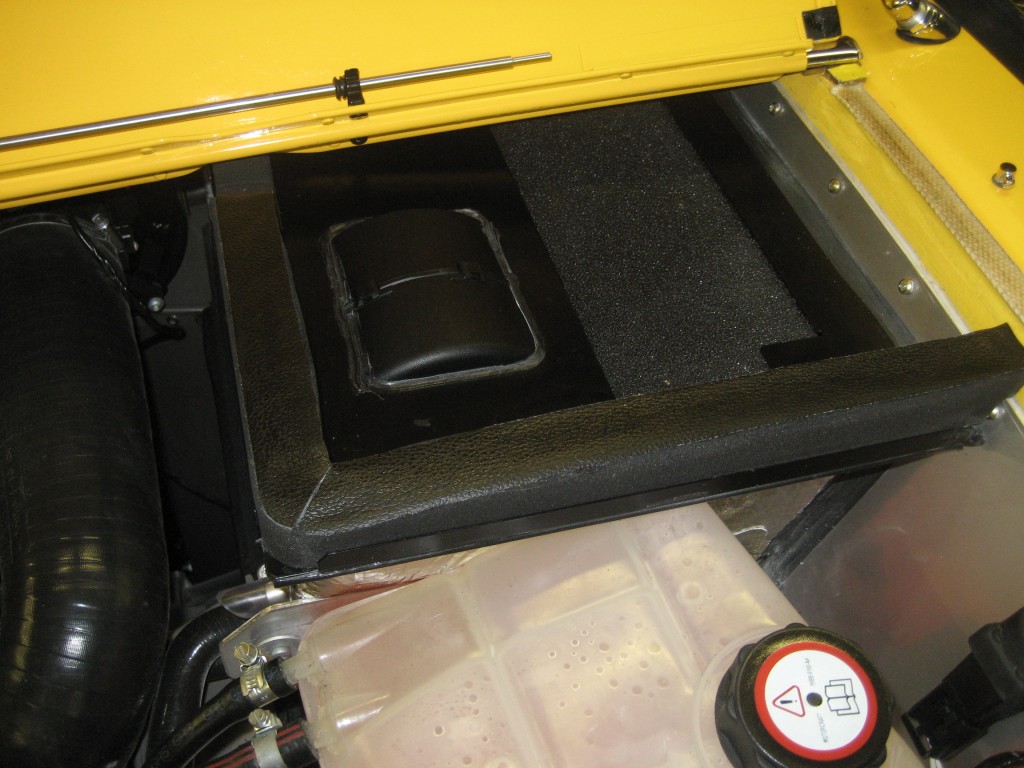
This is how it comes, quite a soft sponge but lacking a seal centre around the bonnet hinges and at the bulkhead.


After adding neoprene edges and a leather top, plus some thick neoprene at the centre point it's much better.


On my Roadster I added a pair of S shaped pieces of neoprene to the top of the A posts. The factory have now modified the easy up with a thick sponge seal.


We had a small leak over the header rail in torrential rain on the way home. So I've added a circular strip of solid neoprene under the front seal lip to see if the extra pressure will keep the water out. It sits there without being glued.


Next is one of my indulgences - changing the rear lamps for Aero 8 red lenses, and front indicator lenses. I prefer the look, and the lenses are a bit deeper.


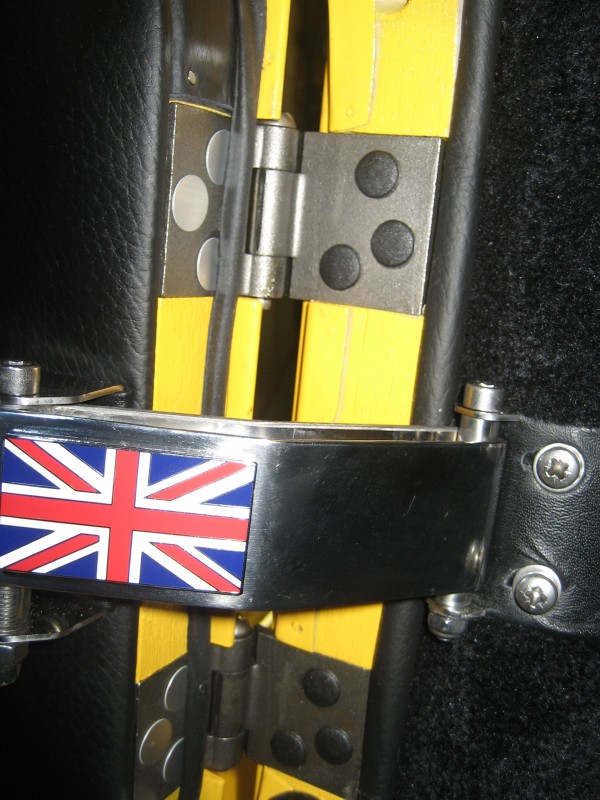
When I first got Bumble, the door hinge allen headed set screws were a bit on the rusty side, so I capped them with plastic covers. This time I've used plastic covers on the A post and aluminium covers on the doors.


More to follow............


DaveW
'05 Red Roadster S1
'16 Yellow (Not the only) Narrow AR GDI Plus 4
Joined: Dec 2008
Posts: 22,356
Likes: 353
DaveW Offline OP
Roadster Guru
Member of the Inner Circle
OP Offline
Roadster Guru
Member of the Inner Circle
Joined: Dec 2008
Posts: 22,356
Likes: 353
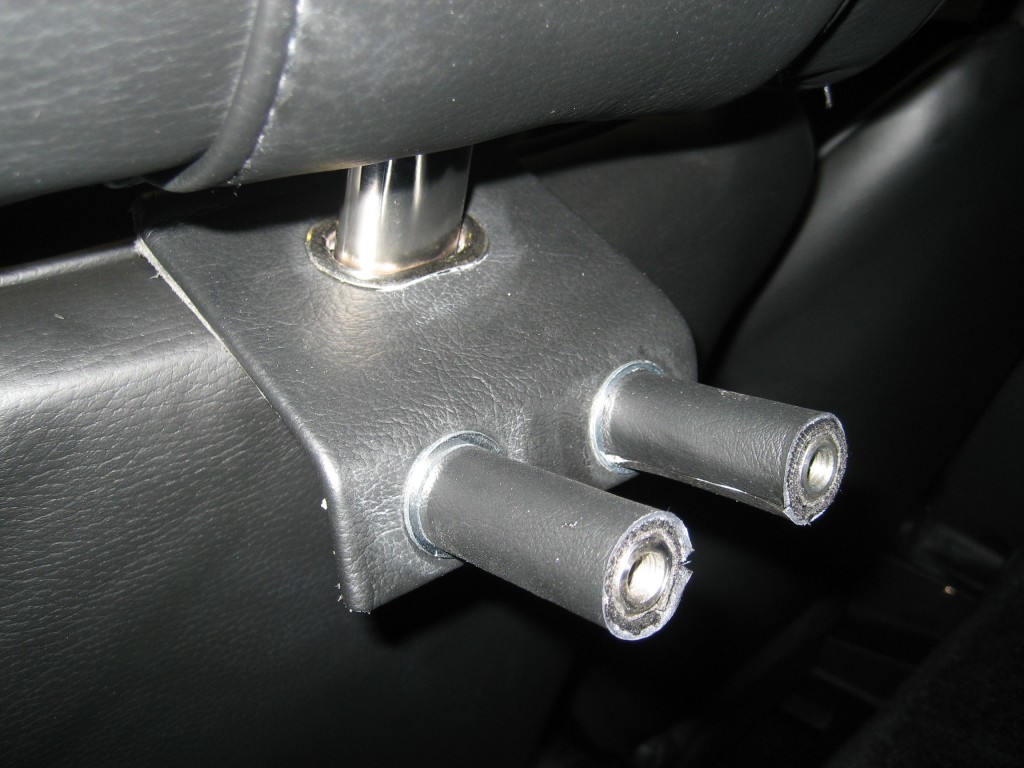
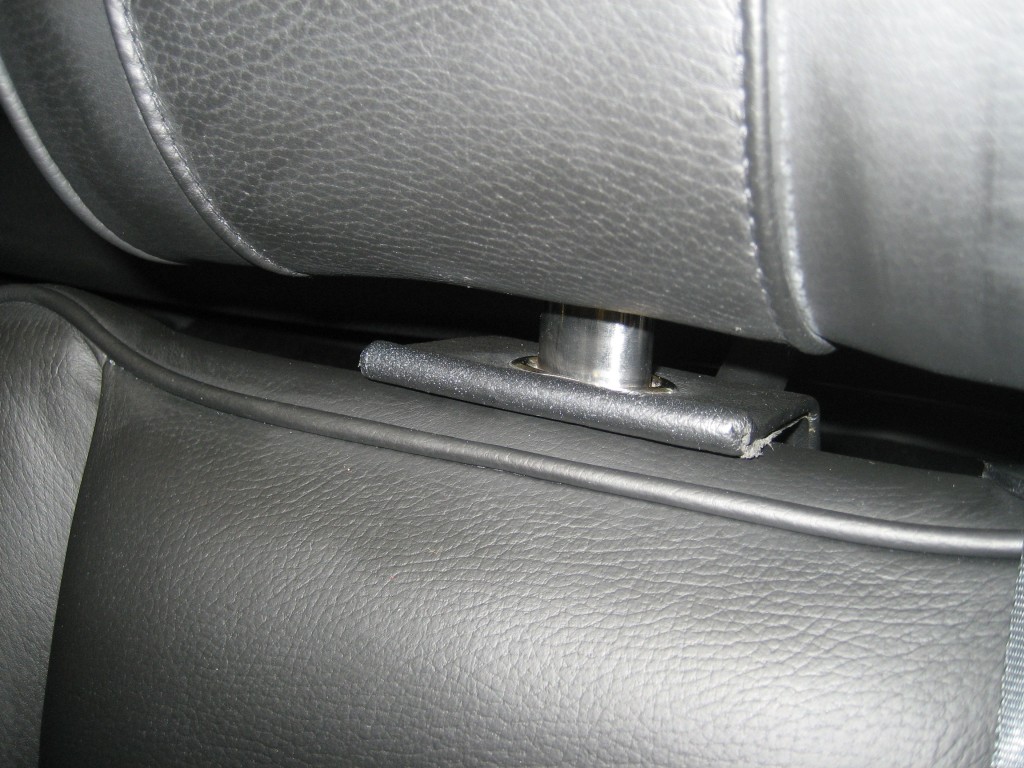
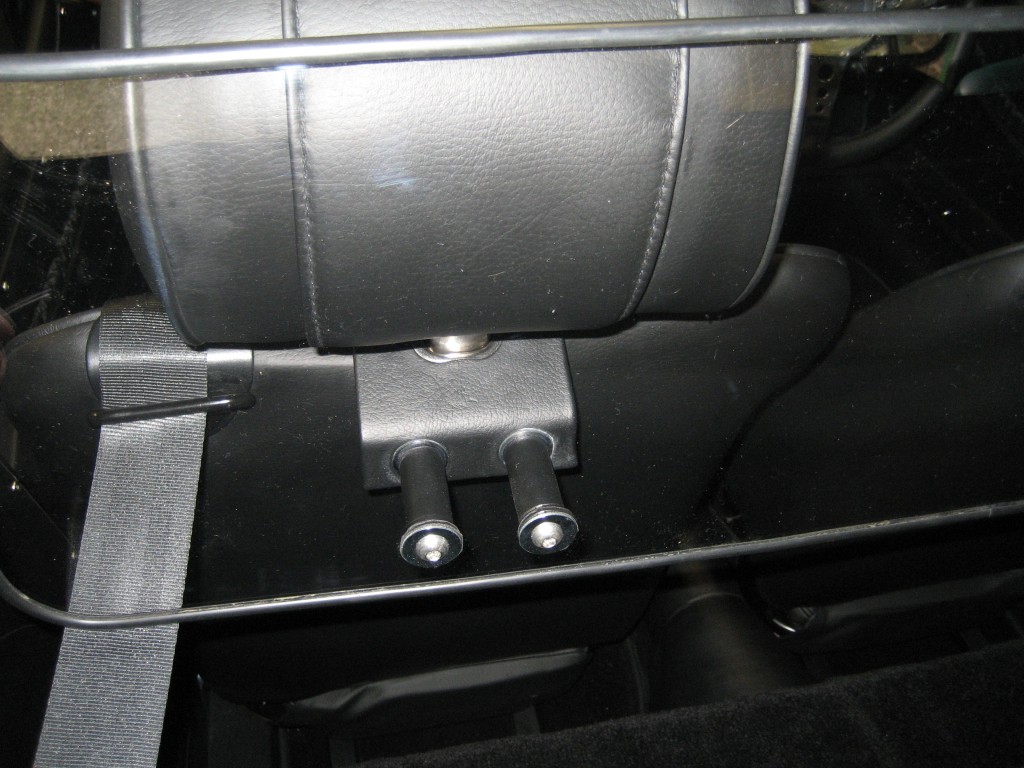
Today I looked at the windstop. My existing brackets don't fit the sports seats which have much fatter head restraints. So I needed some spacers. Luckily there were enough bits & pieces on the shelf to sort it out.
First I refurbed the old brackets:


Then to get the distance I used two long nuts locked together:


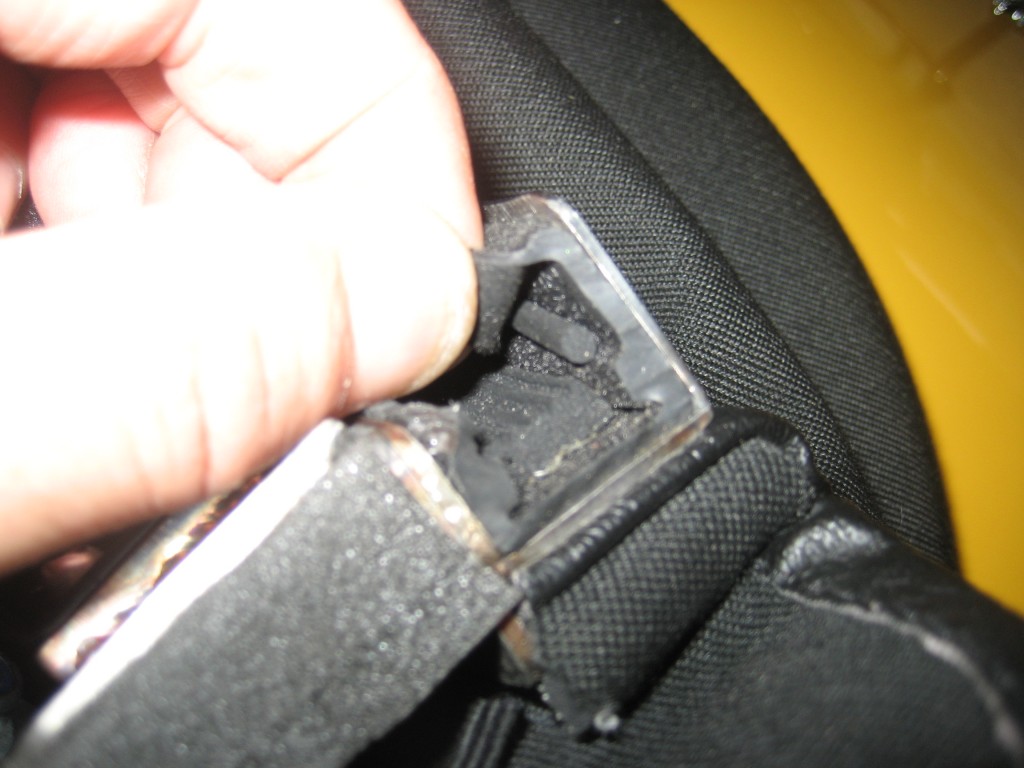
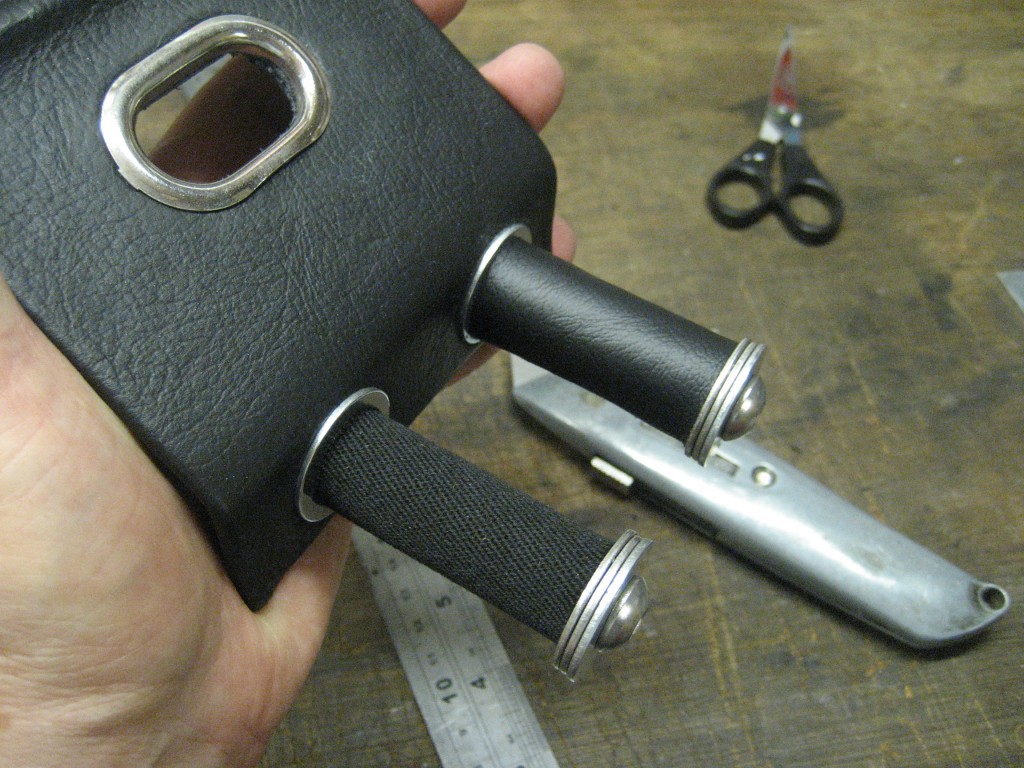
But this isn't pretty, so first I wrapped the nuts in mohair to make them into cylinders, then covered them in leather. They came out well.


Here the first tube is mohair, the one behind is leather:


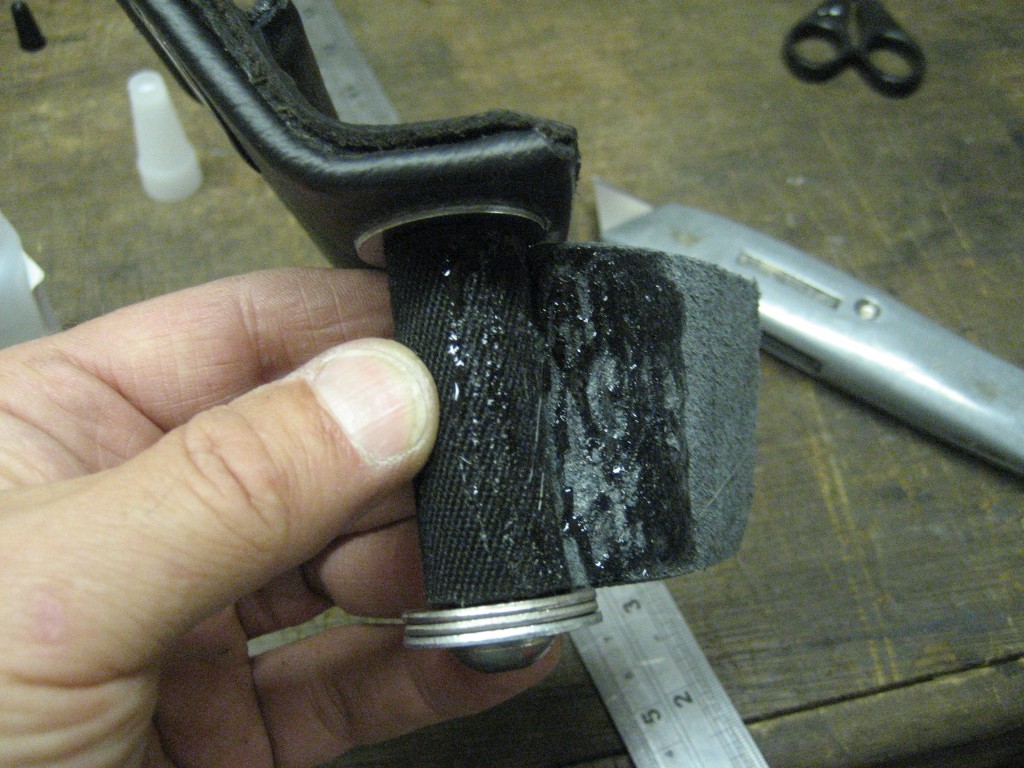
Put together with contact adhesive, the edges stuck with superglue.


I'm quite happy with that although when I get round to replacing the perspex, I'll go slightly higher. It does make a difference and keeps MrsW smiling.

UPDATE: No image but I've replaced this perspex with a grey tinted enlarged windstop which looks good without the neoprene edging.

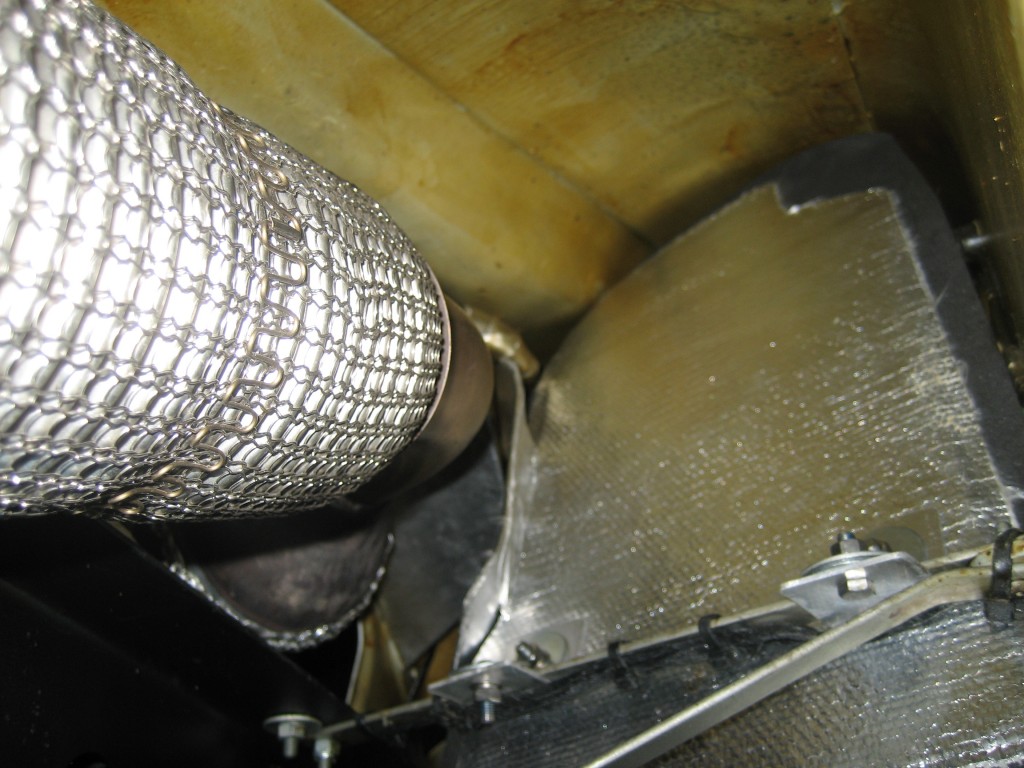
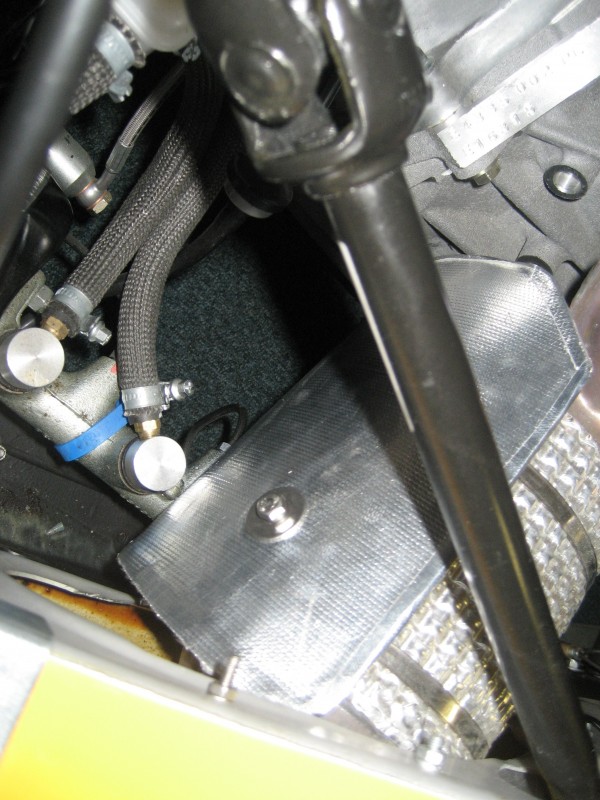
Final job today was to look at a second heat shield between the cat and the brake master cylinder. When we got home from Shelsley on Saturday, the master cylinder was too hot to touch.
First came a cardboard template:


There's a convenient threaded hole on the cat..........


The aluminium plate is covered with heat resistant weave & Reflect-a-Cool, so we'll see how this works out.

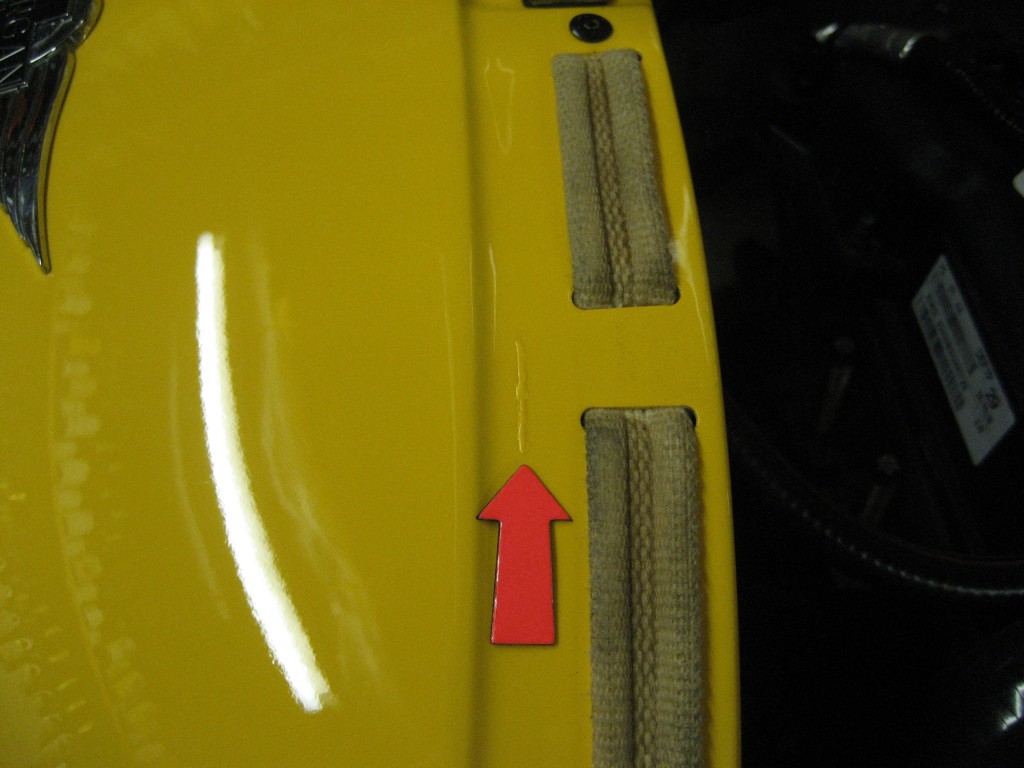
Finally - I have some chafing in an unusual place. I saw this when we arrived home after picking the car up, and I thought it was a paint defect, but no. The Shelsley trip has chafed the paint down to the metal. So another fix to sort out!


UPDATE: The only way I could stop this was by adding a continuous strip of self adhesive neoprene (well, sponge) along the front edge of the bonnet. I did both sides to balance it up.

This is the end of the early stages re-boot. With 124 images, this has been an epic job. There are four more How To's in the latest group, and so I'll be busy for a while yet!

clap smirk2


DaveW
'05 Red Roadster S1
'16 Yellow (Not the only) Narrow AR GDI Plus 4
Joined: Oct 2012
Posts: 6,538
N
Talk Morgan Sage
Offline
Talk Morgan Sage
N
Joined: Oct 2012
Posts: 6,538
Thanks v much Dave - all excellent stuff - as per usual!

But can you please add a tad more advice about how to prevent the Number Plate Box pointing skywards?

I follow your pics and copy but cannot get how the Box is made to point forward?

Sorry if I am being dense!! somestick


Neil

Joined: Dec 2008
Posts: 22,356
Likes: 353
DaveW Offline OP
Roadster Guru
Member of the Inner Circle
OP Offline
Roadster Guru
Member of the Inner Circle
Joined: Dec 2008
Posts: 22,356
Likes: 353
Neil.

Use penny washers with thick neoprene half moons to twist the box down. Trial and error. If you can cut taper half moons, so much the better. Dense neoprene can be sanded into a wedge.

I'll do a photo when I take one off.


DaveW
'05 Red Roadster S1
'16 Yellow (Not the only) Narrow AR GDI Plus 4
Joined: Jan 2016
Posts: 625
Talk Morgan Regular
Offline
Talk Morgan Regular
Joined: Jan 2016
Posts: 625
Xcelent as ever Dave, you are a real inspiration to get back out to shed and tinker with stuff. A hearty thanks .


Cheers John
2011 4/4 - "Elrond"
2007 Elfin C3 Clubman - “Gimli”
Page 9 of 9 1 2 3 4 5 6 7 8 9

Moderated by  TalkMorgan 

Link Copied to Clipboard
Powered by UBB.threads™ PHP Forum Software 7.7.5