Click here to return to the home page.
Image of a road.
Who's Online Now
4 members (vincentvg, MJF, sewin, KLASG), 356 guests, and 33 robots.
Key: Admin, Global Mod, Mod
Top Posters(30 Days)
+8Rich 92
Newest Members
Scot_SJI, Jimmers, Breen60, Davidmog, Stevecarr
9,596 Registered Users
Newest Topics
3.7 Roadster Greasing Q
by ScottMellor - 26/08/26 05:31 PM
Goodbye Dolly
by Clipper - 25/08/26 09:57 PM
Hot start .... vapour lock
by Pittsartist - 25/08/26 08:00 PM
Immobiliser
by Clipper - 25/08/26 12:42 PM
Monza style fuel cap
by Lionel Mandrake - 25/08/26 09:01 AM
UK car tax on CX Plus Four - bit of a rant
by Neil A - 25/08/26 07:33 AM
tow bar
by G Walker - 24/08/26 06:52 PM
Latest Photos
tow bar
tow bar
by G Walker, August 24
Prescott double anniversary
by CooperMan, August 18
Air Crash Sites: Cairngorms
by RedThree, August 13
Four-seater luggage rack
by Soleng, August 9
New M3W orange 2012
New M3W orange 2012
by jejemek, August 7
Forum Statistics
Forums39
Topics49,838
Posts837,294
Members9,596
Most Online1,063
Jun 14th, 2026
Today's Birthdays
There are no members with birthdays on this day.
Previous Thread
Next Thread
Print Thread
Page 8 of 9 1 2 3 4 5 6 7 8 9
Joined: Jul 2007
Posts: 27,802
Likes: 749
Member of the Inner Circle
Offline
Member of the Inner Circle
Joined: Jul 2007
Posts: 27,802
Likes: 749
+1. And the car looks great in the metal


JohnV6
2022 CX Plus Four
2025 Renault Scenic Alpine etech "Yvette"
Joined: Feb 2012
Posts: 5,654
Likes: 4
Charter Member
Offline
Charter Member
Joined: Feb 2012
Posts: 5,654
Likes: 4
Good improvements Dave and I particularly like the air dam construction.


Martin (Deano)
Joined: Jan 2016
Posts: 625
Talk Morgan Regular
Offline
Talk Morgan Regular
Joined: Jan 2016
Posts: 625
Originally Posted By DaveW
Hi John. The wind stop is my own design, refined over the last eight years. I use perspex cut to size from an internet provider. I can supply you with measurements if you want to have a go. The head restraint brackets are 2 mm aluminium cut and shaped. That's the most time consuming part. Working with leather is a pleasure!

Neil - I fully intended to get a TM grille badge but I've de-cluttered to four badges and so there's no space. So it looks like I'll stick with the vinyl on the screen for now.


Hi Dave, the measurements would be great if you could send them to me thank you for the offer. How do you go folding the seats forward, do you do that as a team with one either side?

Cheers John


Cheers John
2011 4/4 - "Elrond"
2007 Elfin C3 Clubman - “Gimli”
Joined: Dec 2008
Posts: 22,356
Likes: 353
DaveW Offline OP
Roadster Guru
Member of the Inner Circle
OP Offline
Roadster Guru
Member of the Inner Circle
Joined: Dec 2008
Posts: 22,356
Likes: 353
I'll get some measurements sorted out John. The chrome trims for the head restraint stalks are MGB.
Folding the seats is fiddly, as you have spotted. Either both together, or more usually I pull a head restraint out. The other thing is that the seats have to be in the same position - luckily I and MrsW are similar sizes.


DaveW
'05 Red Roadster S1
'16 Yellow (Not the only) Narrow AR GDI Plus 4
Joined: Dec 2008
Posts: 22,356
Likes: 353
DaveW Offline OP
Roadster Guru
Member of the Inner Circle
OP Offline
Roadster Guru
Member of the Inner Circle
Joined: Dec 2008
Posts: 22,356
Likes: 353
Post Photobucket re-post.......................

Right. Two days in the garage, and lots sorted out already.

First - here's the patine from the journey home. Interesting that the paint protection film doesn't stain.


And here's Tigger in the off licence............


This is the factory buffer. It looks like 2mm standard density neoprene and as you can see it didn't last 200 miles. The paint was eroded in four places, even after such a low mileage.


I would have liked to have replaced the modern badge with a heritage Plus 4 badge but after lifting the badge, there was too much paint grooving underneath. So I added a neoprene gasket and refitted it. Interesting that the factory now use penny washers underneath with a fibre gasket. Makes good sense, but tightening down on soft paint doesn't make much sense!
Here you can see my replacement yellow leather buffers and a black leather buffer. All fixed with double sided tape, and vaselined.
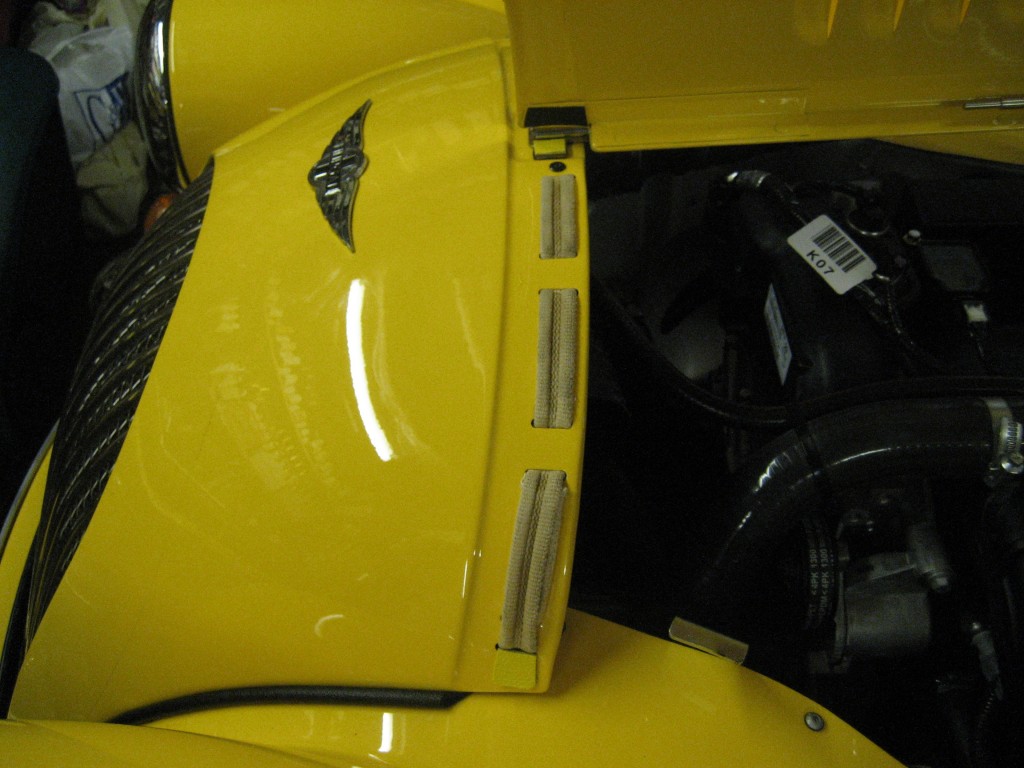


Here's the bonnet rear. The hinge is fitted much further back than on my Roadster, so the brass hinge fixing is visible with the bonnet closed. So I've added some yellow leather to disguise this. Plus a black leather buffer on the bonnet - both sides.


On the bonnet corners I've added a black leather buffer - vaselined.
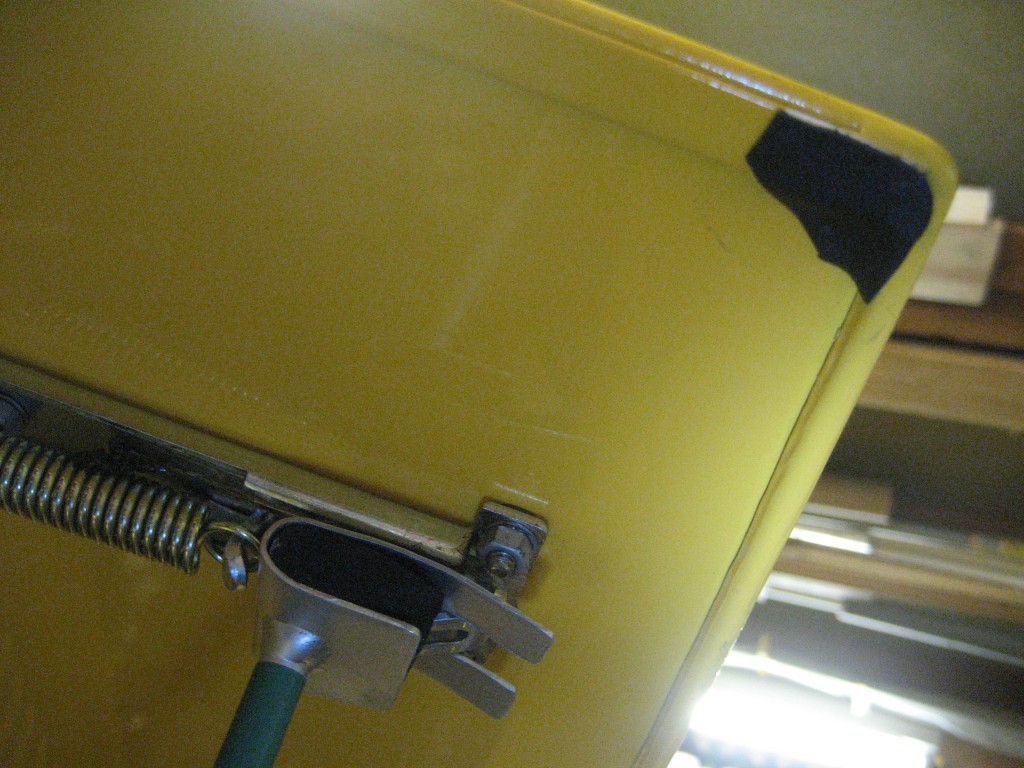


So now the bonnets, cowl & bulkhead are properly protected from chafing!

I applied ACF50 to the wing beading, and removed the screws from the screen to add some anti rust so they won't seize.
Then I got deflected into bling. Union Flags. Two sizes are available and the big ones look best on the bulkhead....


Hey Presto - this is the size I have on the Roadster.
Interesting also that the bonnet catch setscrews now have fibre washers between screw and paint - very sensible.


That was the end of the first day. And so to Monday.

The rear over-rider brackets are not as well finished as they were in 2005. I may have to take them off and deal with this.

2005:
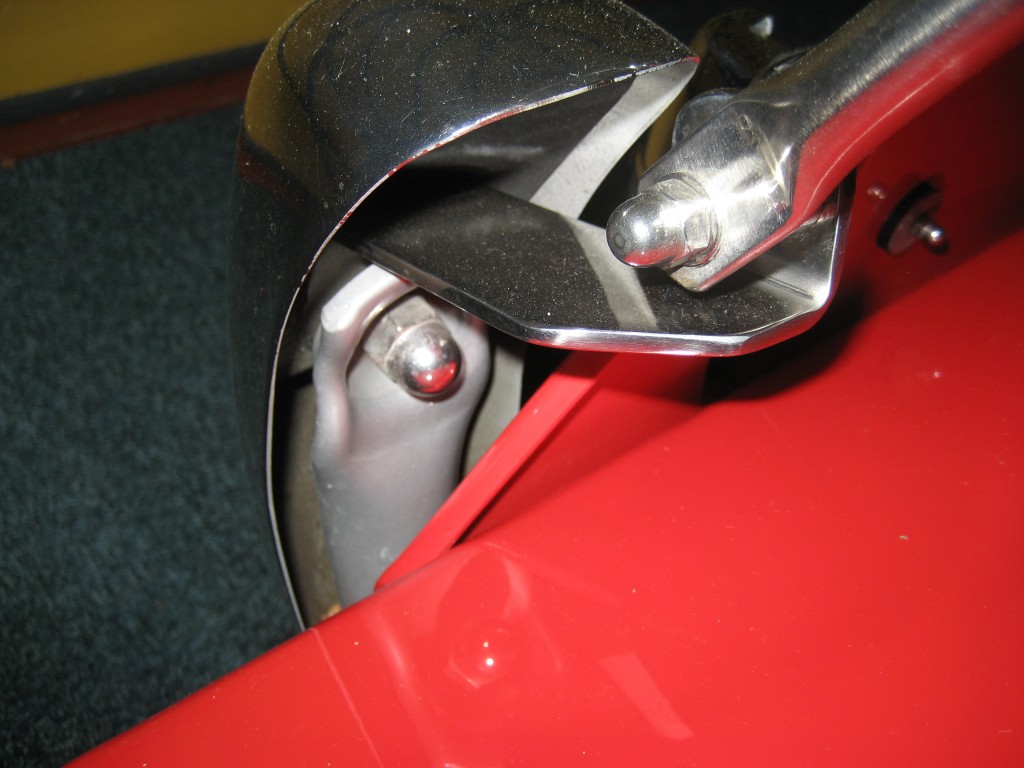

2016:


And there has been a subtle change to the rear panel corners:
2005: "Rounded"


2016: "Not Rounded"
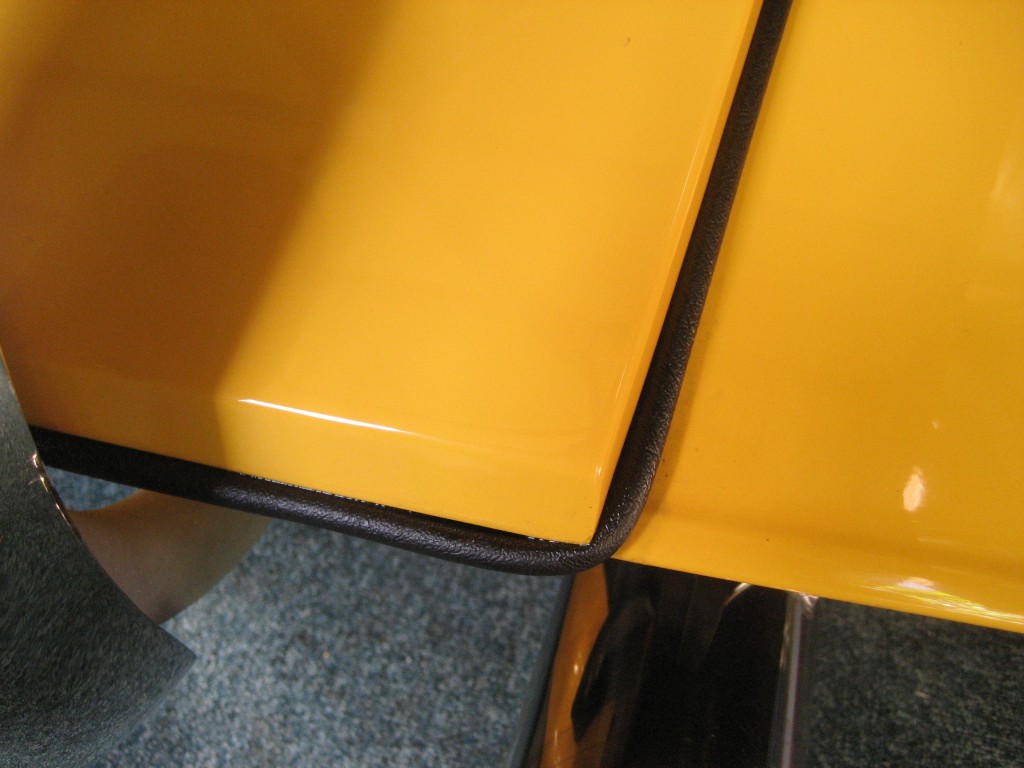

And so to paint protection film around the doors. Depending on how your doors fit, they can rub the paint in three places. Some cars don't have a problem. Others do.

First, the A post as shown by the arrow. I've added some paint protection film, but obviously it doesn't show up! It's below the raised moulding.


And here where the sidescreen can rub the paint:


And a 3/4" strip along the body where the door bottom edge buts up.
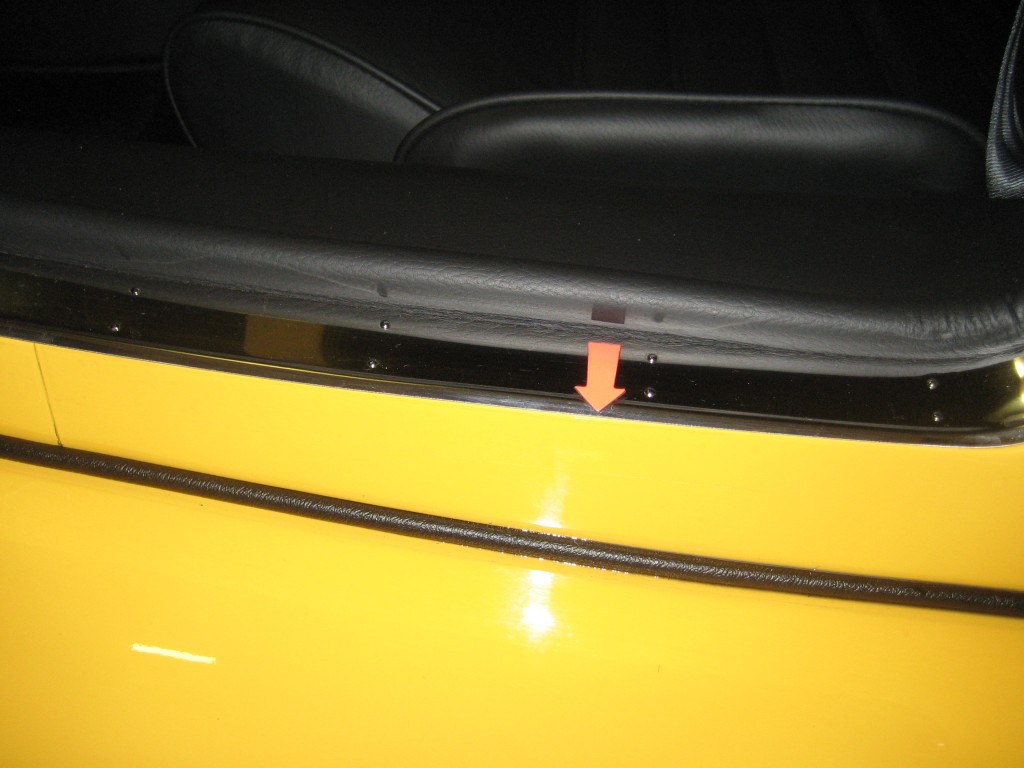


I also fitted some Heart of England B post trims. Just a few minutes work per side.
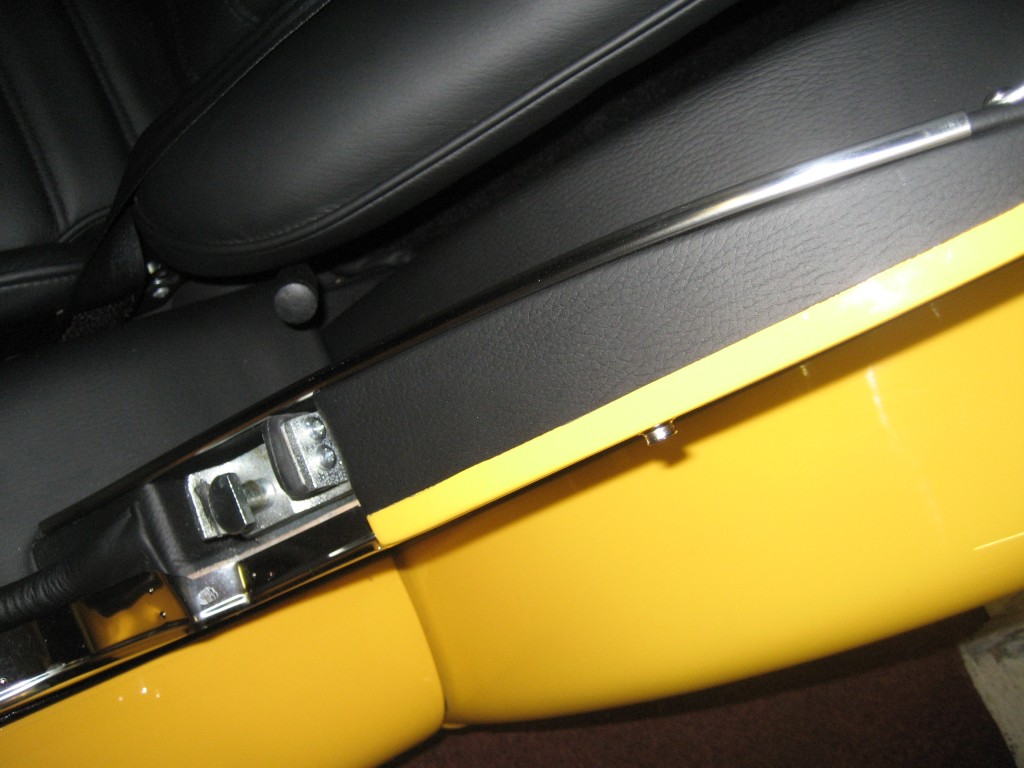


I kept my Librands door keeps from Bumble, but have leather wrapped the brackets:


I also boldly added some Union Flags which I had "in stock". Bling maybe but they do look good!
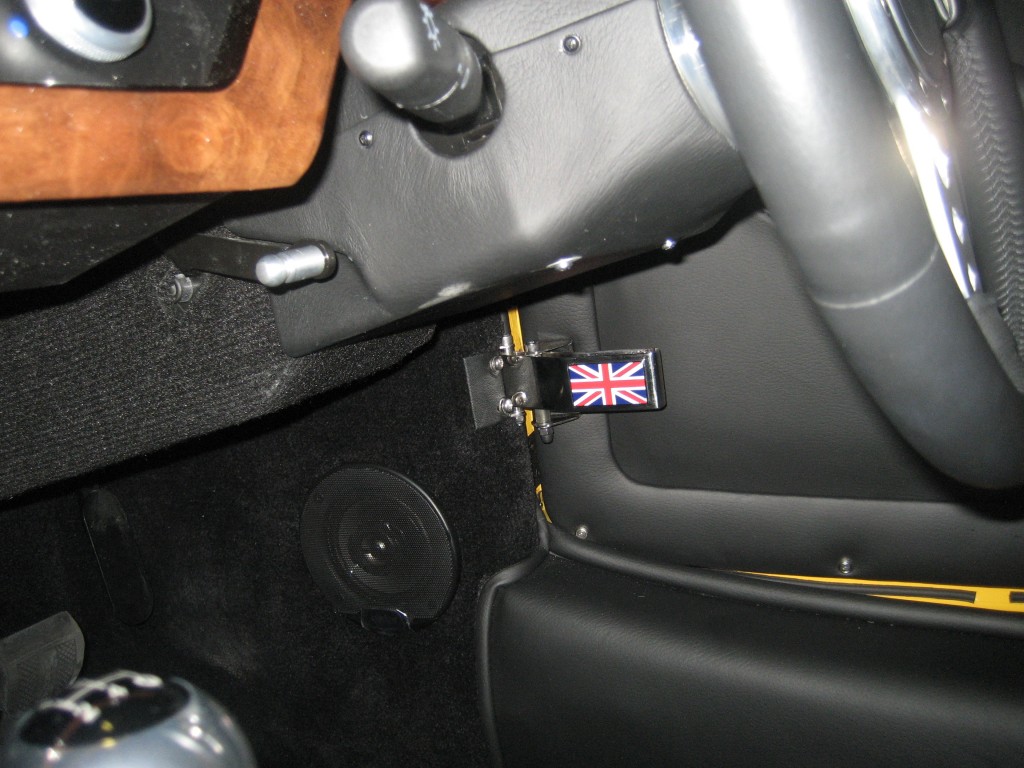


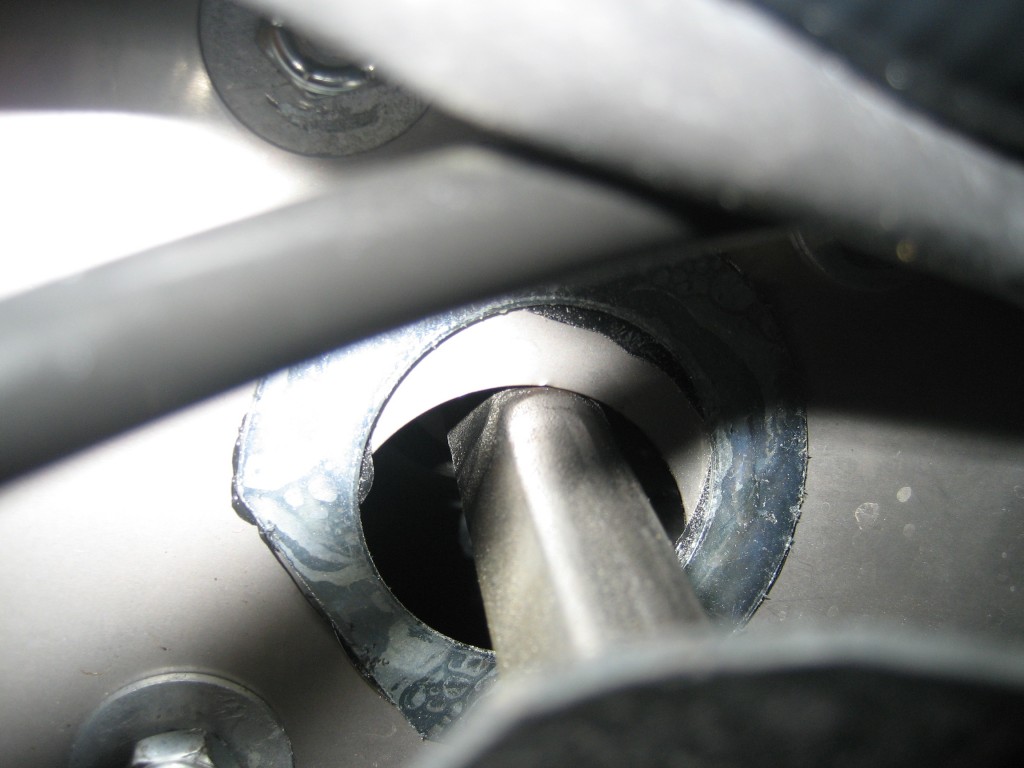
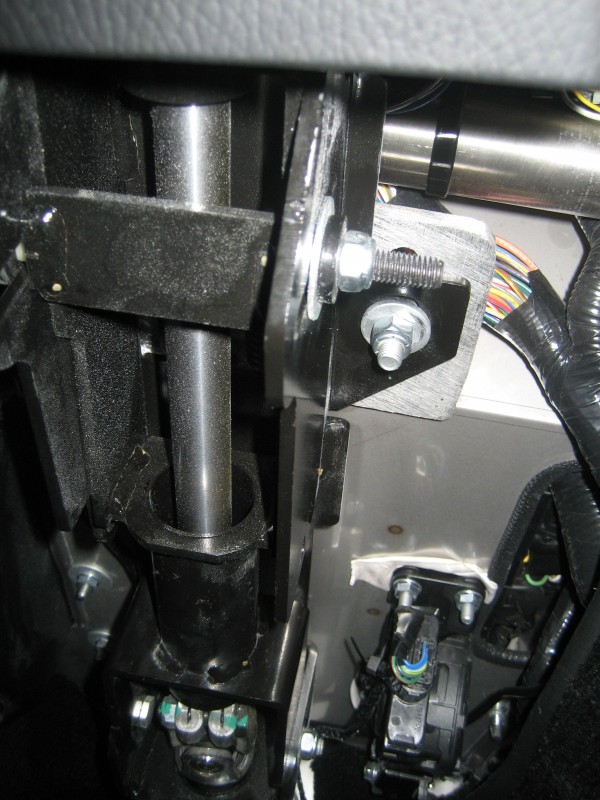
Finally today I had a look at the slight knock coming up the steering column. After half an hour upside down in the footwell, and experimenting with loosening nuts and bolts, I found the source. The hole through the bulkhead is a shade too low and the column is only a few thou clear as it passes through. So flexing means that the column touches the bulkhead occasionally. Luckily the column has two flat sections, big enough to allow a needle file in, so I spent half an hour or so opening up the gap. It's now OK. Here's the gap - "before".................


And here's what the column looks like naked.
The fly by wire throttle is to the right (above in this shot).


More jobs scheduled for tomorrow.


DaveW
'05 Red Roadster S1
'16 Yellow (Not the only) Narrow AR GDI Plus 4
Joined: Dec 2008
Posts: 22,356
Likes: 353
DaveW Offline OP
Roadster Guru
Member of the Inner Circle
OP Offline
Roadster Guru
Member of the Inner Circle
Joined: Dec 2008
Posts: 22,356
Likes: 353
And so to Tuesdays' jobs.
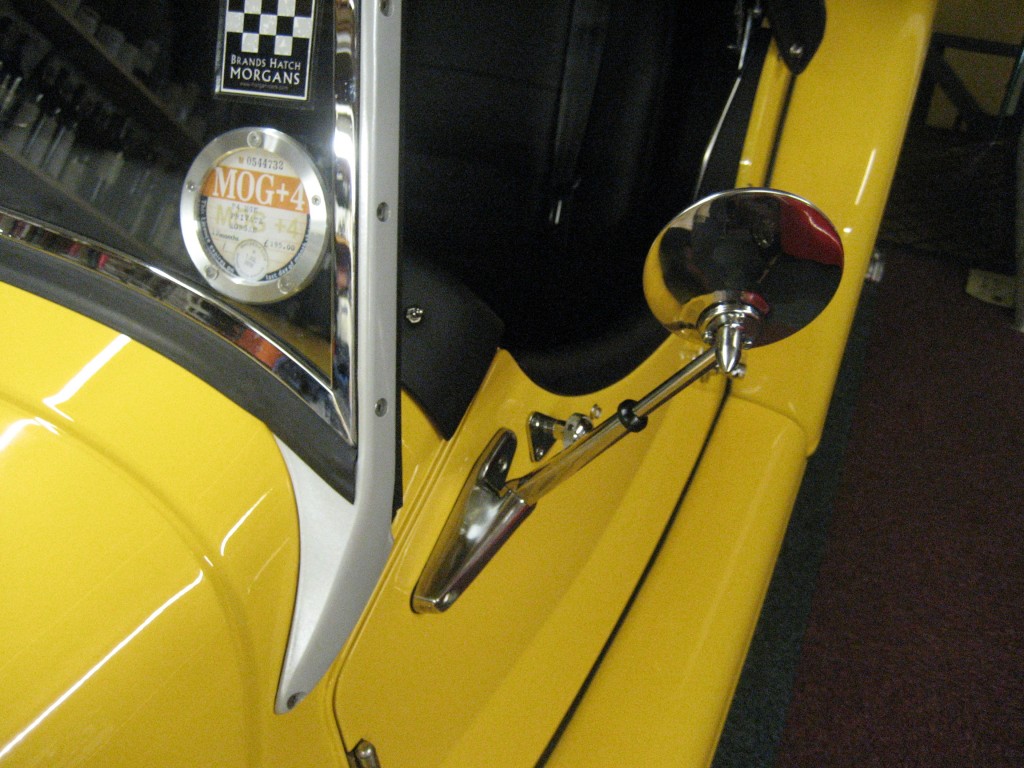
First on the agenda was to replace the door mirrors. I took delivery with the basic oblong mirrors, because I had some HoE mirrors advance purchased!!

The original mirrors are available - obviously the bases are fine, and the mirrors although not widely adjustable are "OK".

This is the Heart of England base.


For a bit of extra protection I added a neoprene strip:


First I did the driver's side. Here's a top tip. HoE sell two types of mirror. I have the standard size on the Roadster and had the same on Bumble. This time I went for the slightly larger mirrors, which have a bullet shaped end to the mounting, and three screws into the back of the mirror head, instead of one on the smaller mirror head. What I found is that because there are more variables, these mirrors were much harder to get adjusted right, and didn't seem to have as much flexibility. But they look the business!


The passenger side was a bit easier to get right. Locktite used on all threads.


While doing this I loosened off all the door furniture and dribbled ACF50 behind everything using a paintbrush.

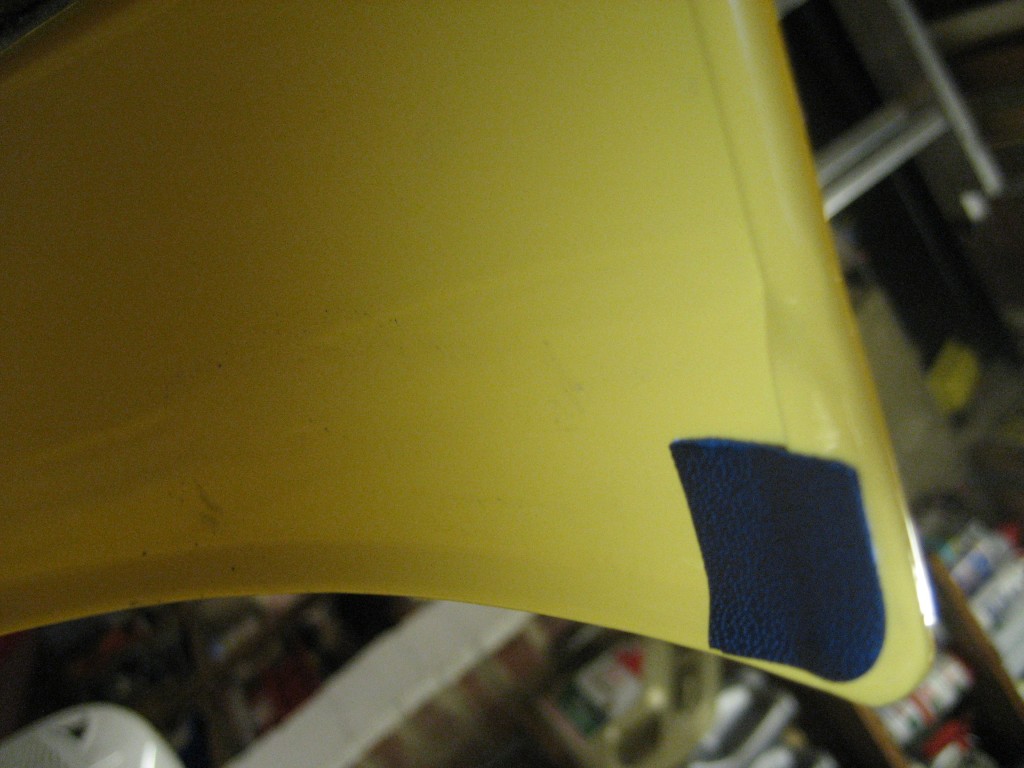
The top corners of the doors take a lot of pressure from the side-screens, and deserve some paint protector film in this area - the triangle above the white strip.


I sourced this from Demon Tweeks. Practice does make it easier to apply. (Although I wouldn't want to do any big areas).


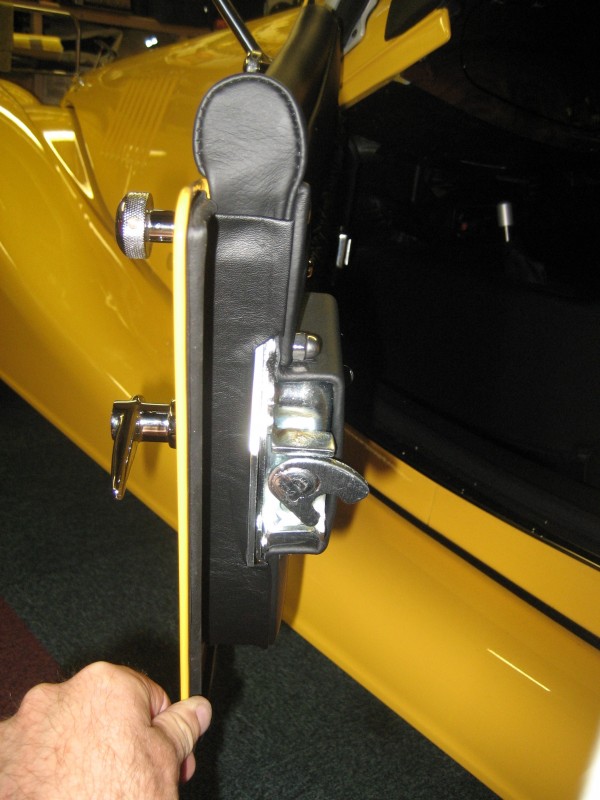
Next I tackled the edges of the doors - my pet hate and easy to fix. The edge of the door is painted timber.......


This needs some fine leather to get the tight folds. Here the leather is face down. I've applied double sided tape and this will hold the folded over leather edges, and also stick the leather to the door.


And this is the finished article. It just curves under the bottom, and makes all the difference.


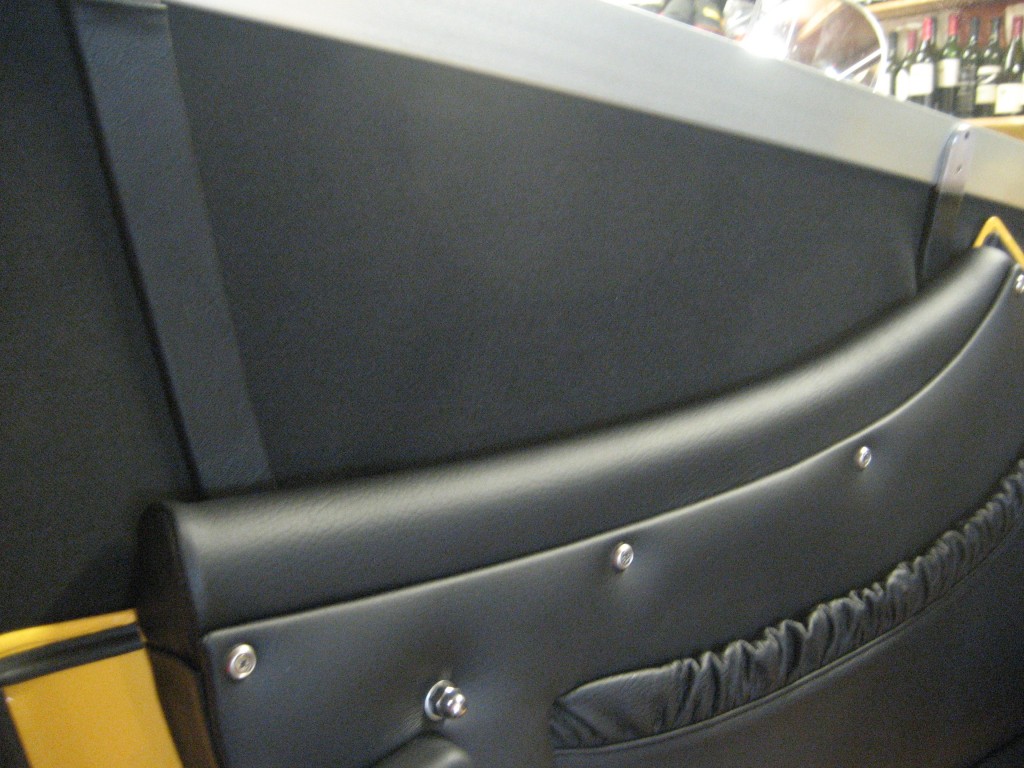
Next I turned my attention to the side-screen supports. I covered my Roadster supports in leather a long time ago but never got around to doing the same job on Bumble.

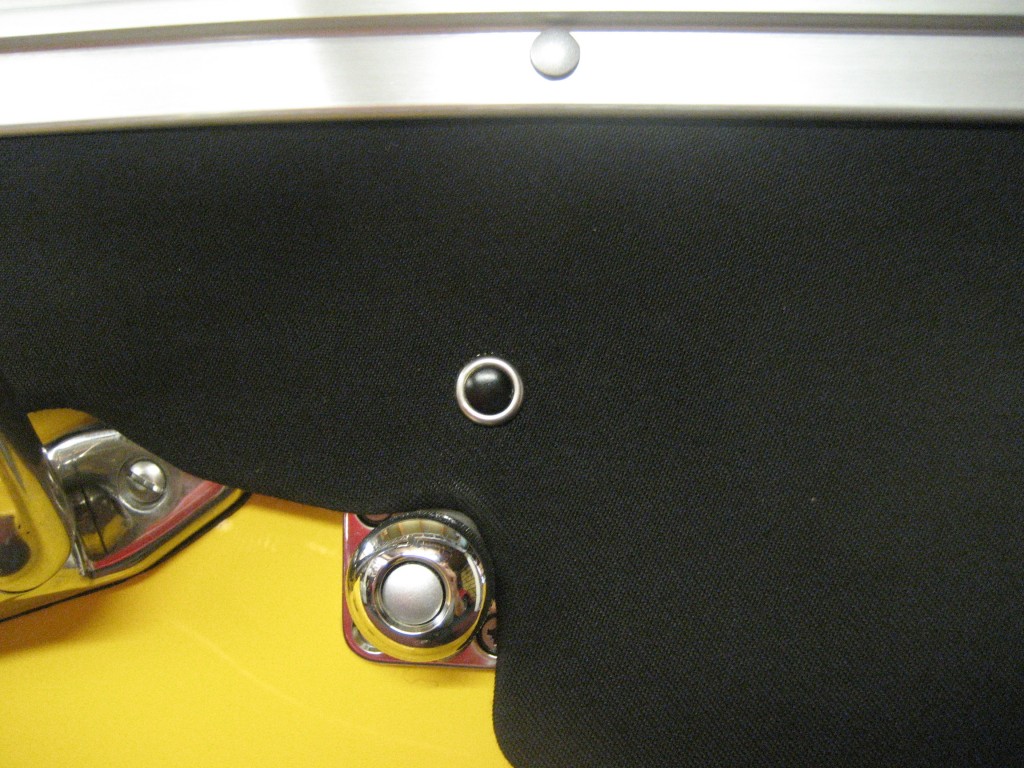
Again it needs a fine leather and double sided tape. The top edge of the leather needs turning over, and the turnover can be stuck with contact adhesive.
This one is in progress. The short front support is done and the long rear support is ready to be turned over and stuck with DST.


Finished - it looks like this. Worth putting Locktite on the side-screen screws as they can work loose, and also don't over-tighten as there isn't much thread on the supports.


After this I gave the footwells a good clean & vac, and applied some Danish Oil to the footwell floors and the rear shelf & bulkhead. I also replaced the plastic tool tray cover 'lifter' with something I liberated from a torch a long time ago........


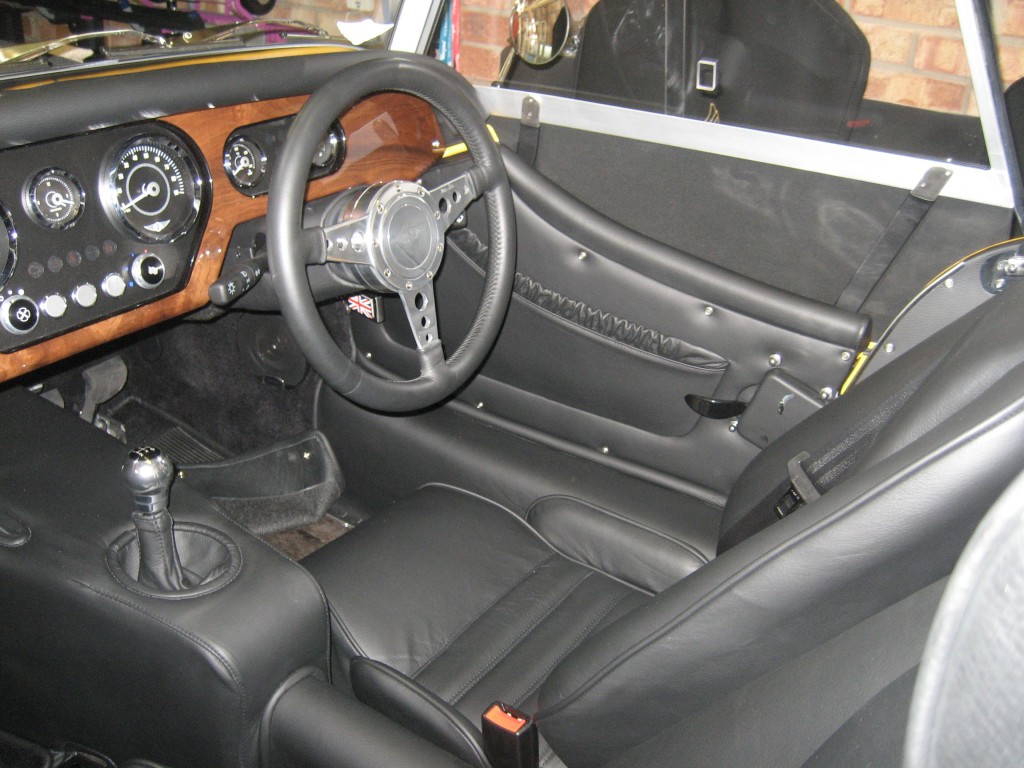
The next job will be to lift the seats, and sort out the floor, and add thin spacers.

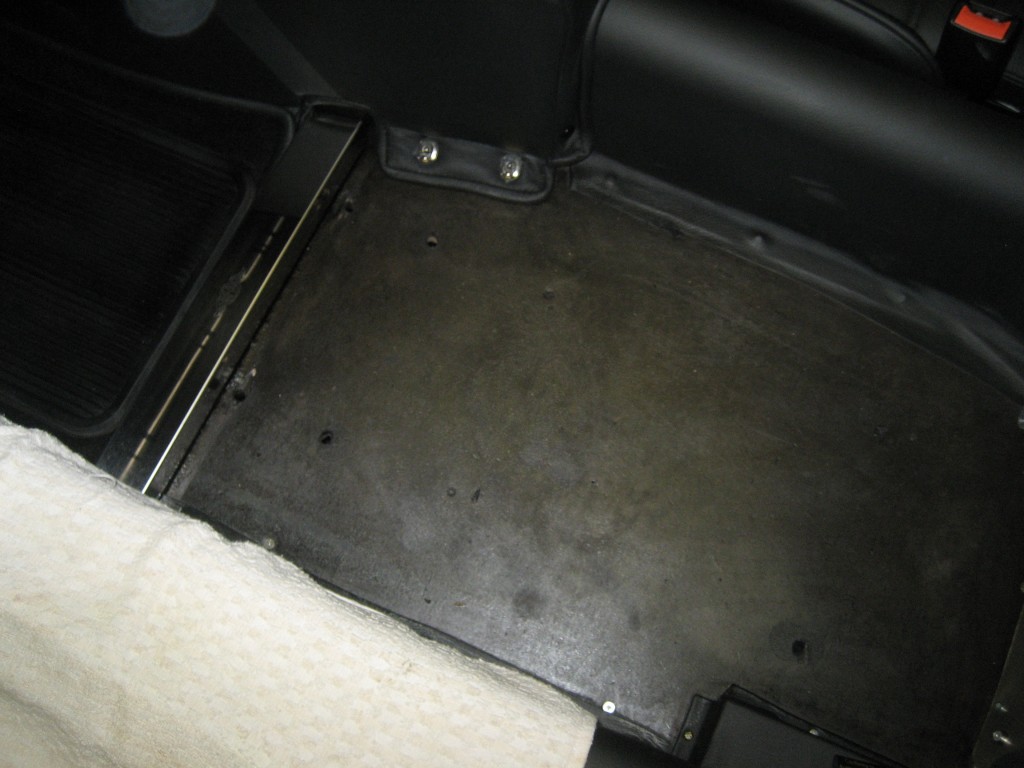
At the handover, Keith mentioned that the rear carpet doesn't fit very well, It's a bit too big and the poppers are not ideally placed. It's also not as good quality as my 2005 Roadster.
This is how it looks.............
(UPDATE) - over time the carpet has settled, and looks OK.


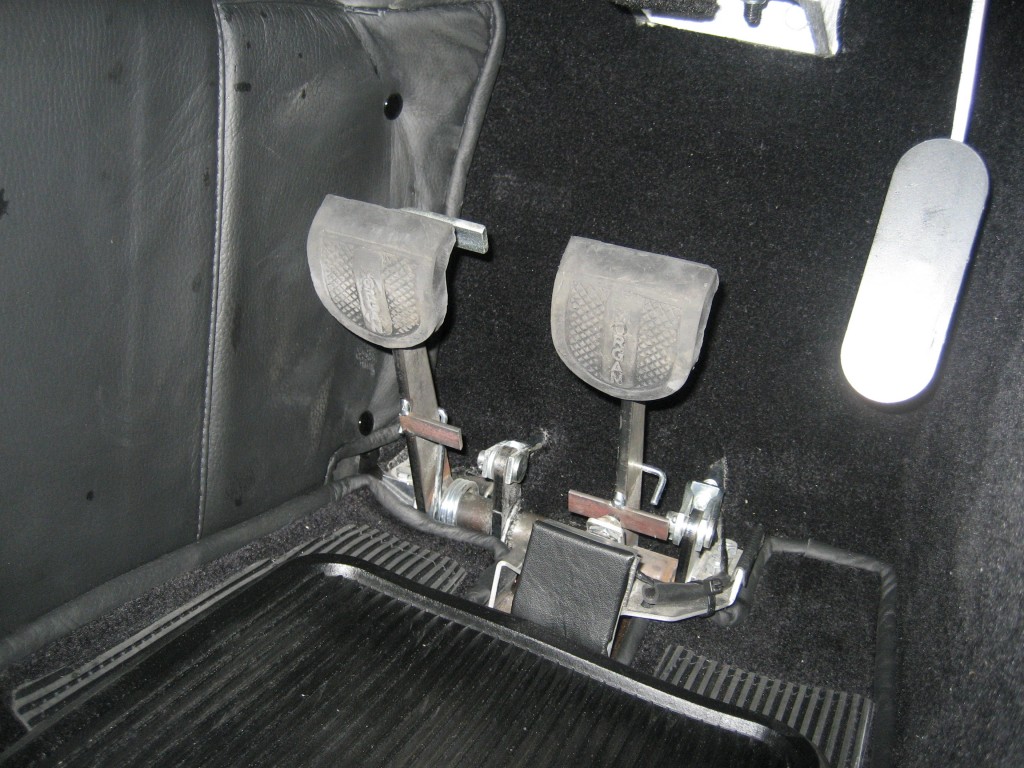
My last job today was to add a piece of leather to the metal plate in front of the brake pedal. It's just a rectangle with some double sided tape.........
Note the fly by wire throttle - plain black metal. We need an aluminium Morgan branded cover for this!


Finally I now have two side-screen bags - one with each type of Morgan wings. I think I prefer the old wings.......


DaveW
'05 Red Roadster S1
'16 Yellow (Not the only) Narrow AR GDI Plus 4
Joined: Dec 2008
Posts: 22,356
Likes: 353
DaveW Offline OP
Roadster Guru
Member of the Inner Circle
OP Offline
Roadster Guru
Member of the Inner Circle
Joined: Dec 2008
Posts: 22,356
Likes: 353
Well I've just had a couple more days fighting with the seats, but more of that in a minute.

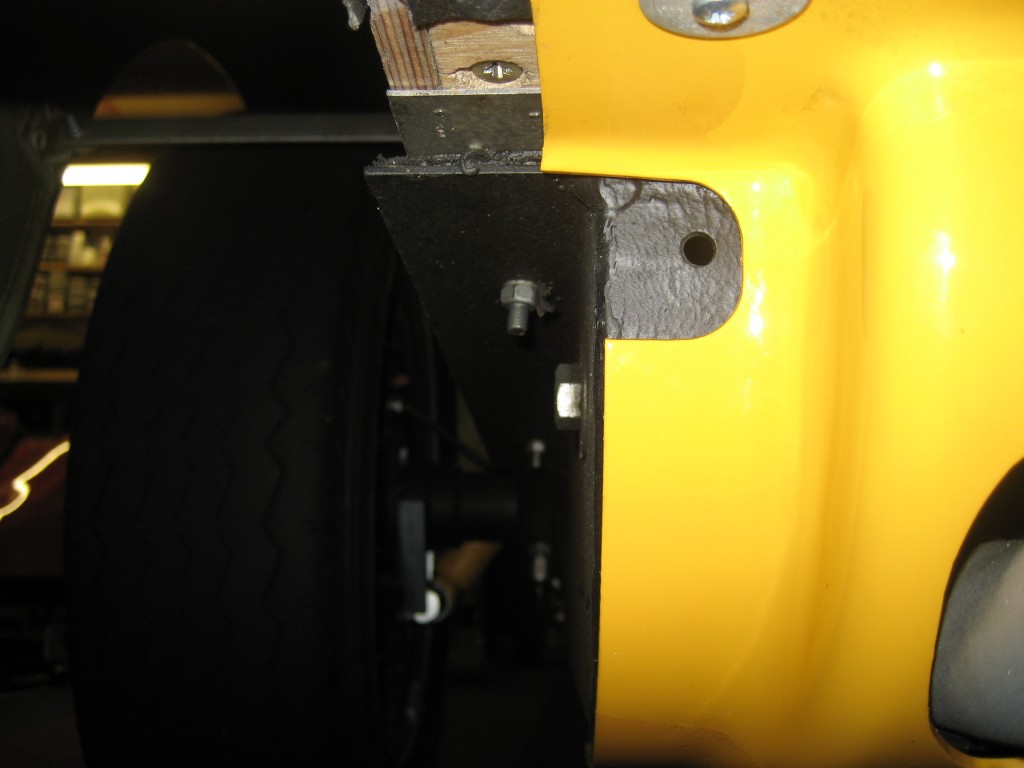
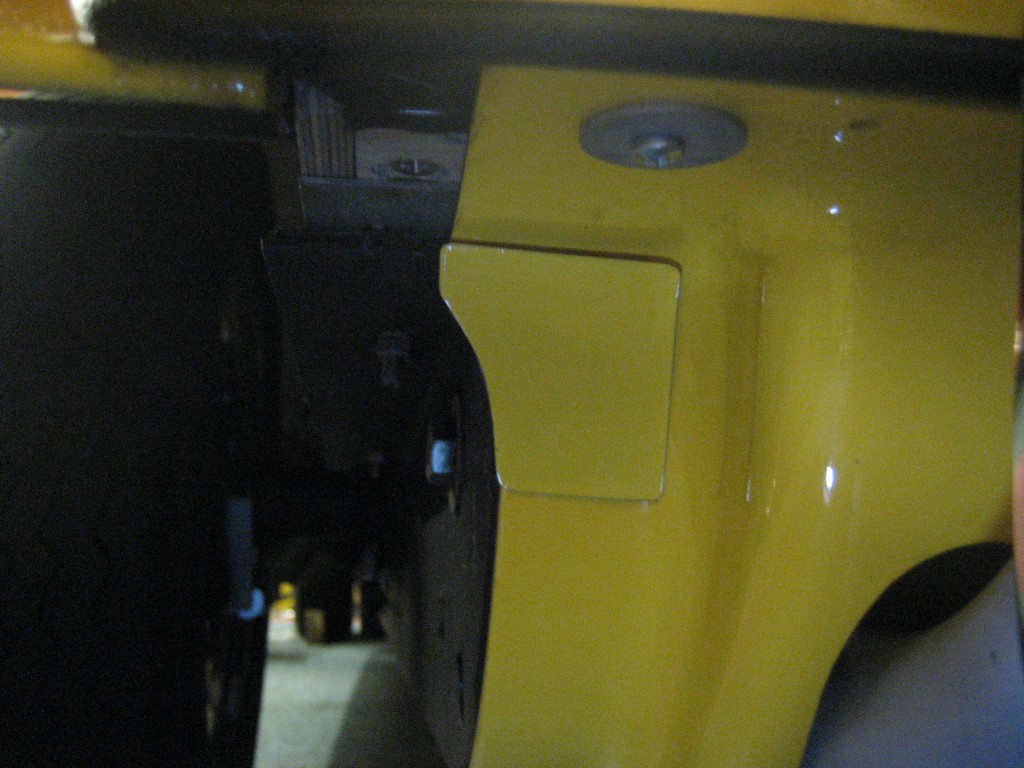
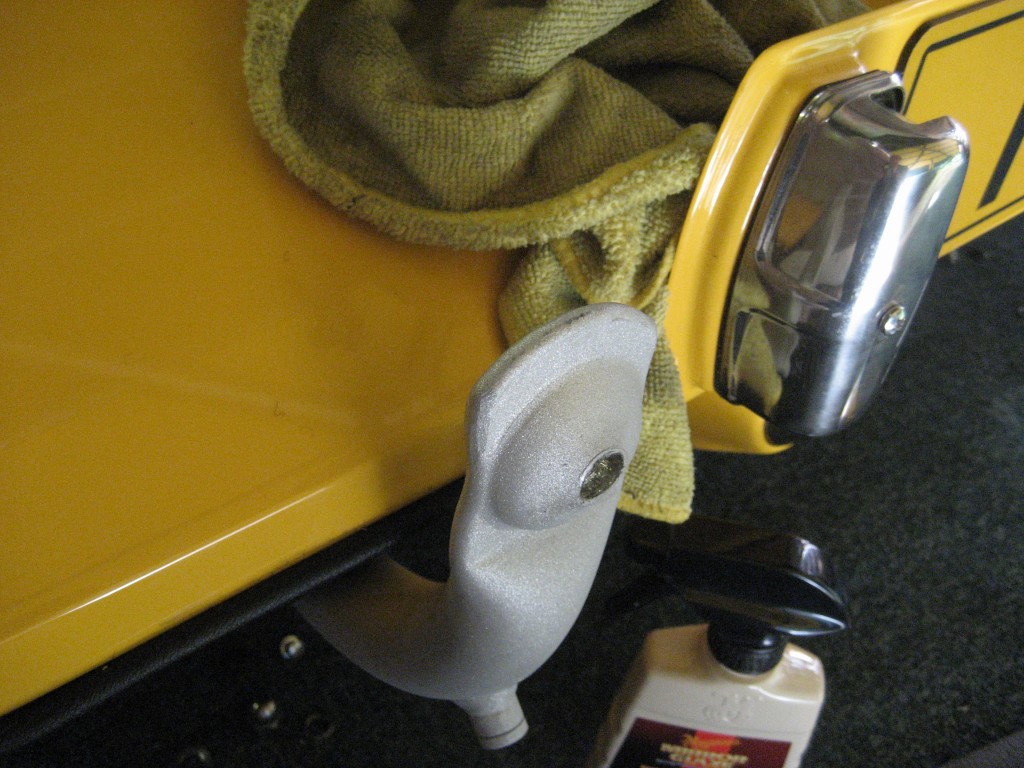
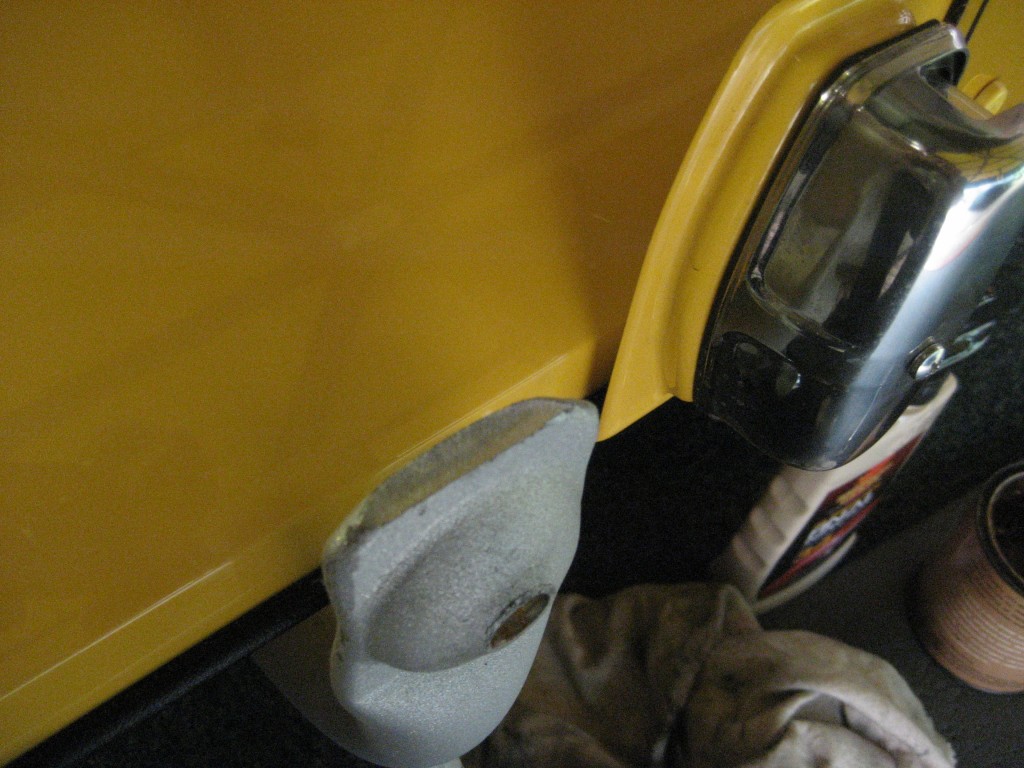
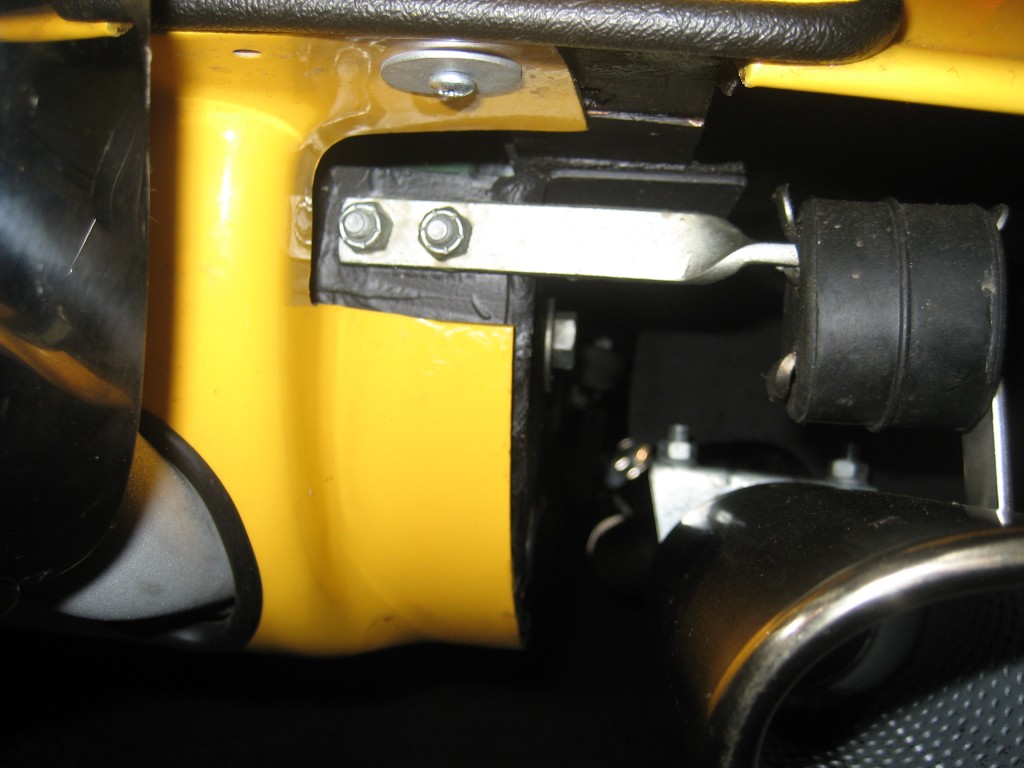
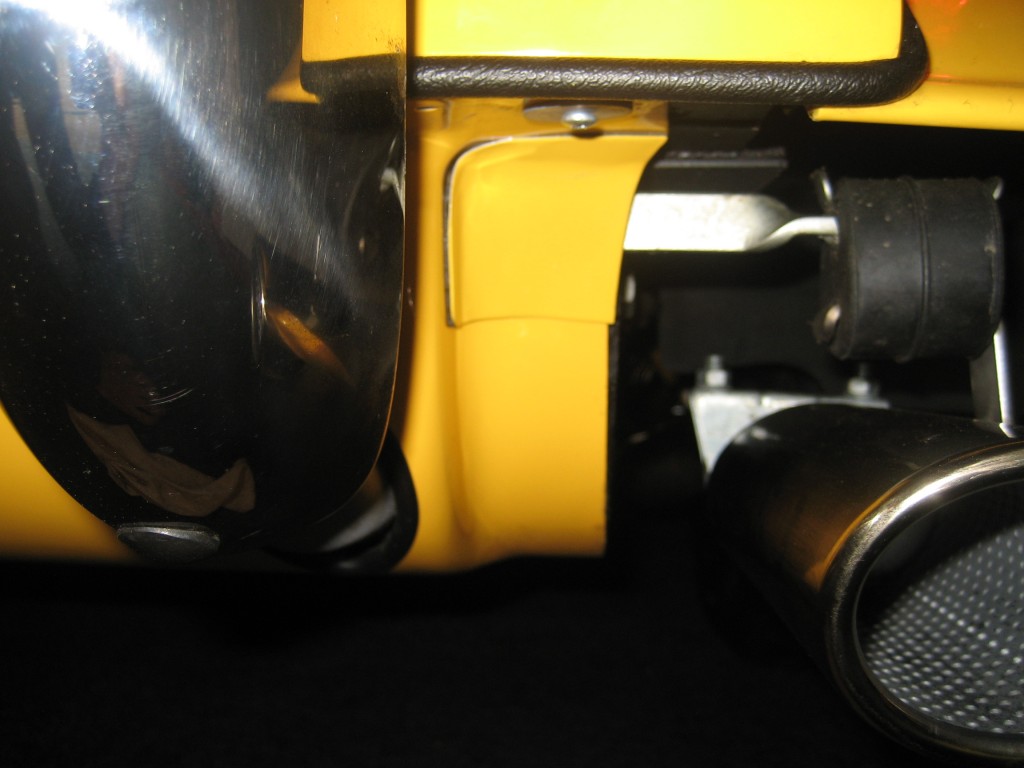
First the rear valance. It has a cut out at each end where the exhaust bracket locates. This is much neater than in 2012:
This is the side which doesn't get used on a Plus 4.


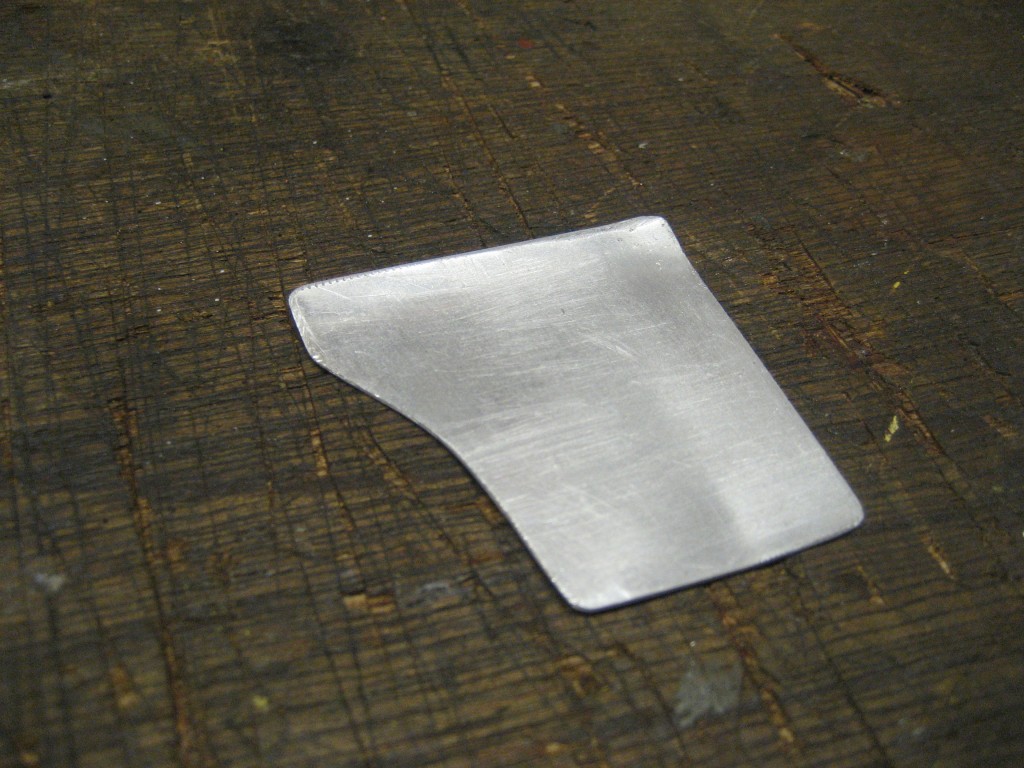
Obviously I don't like a cut out, and on Bumble I added some aluminium covers. They don't have to be too fancy because they are well hidden.
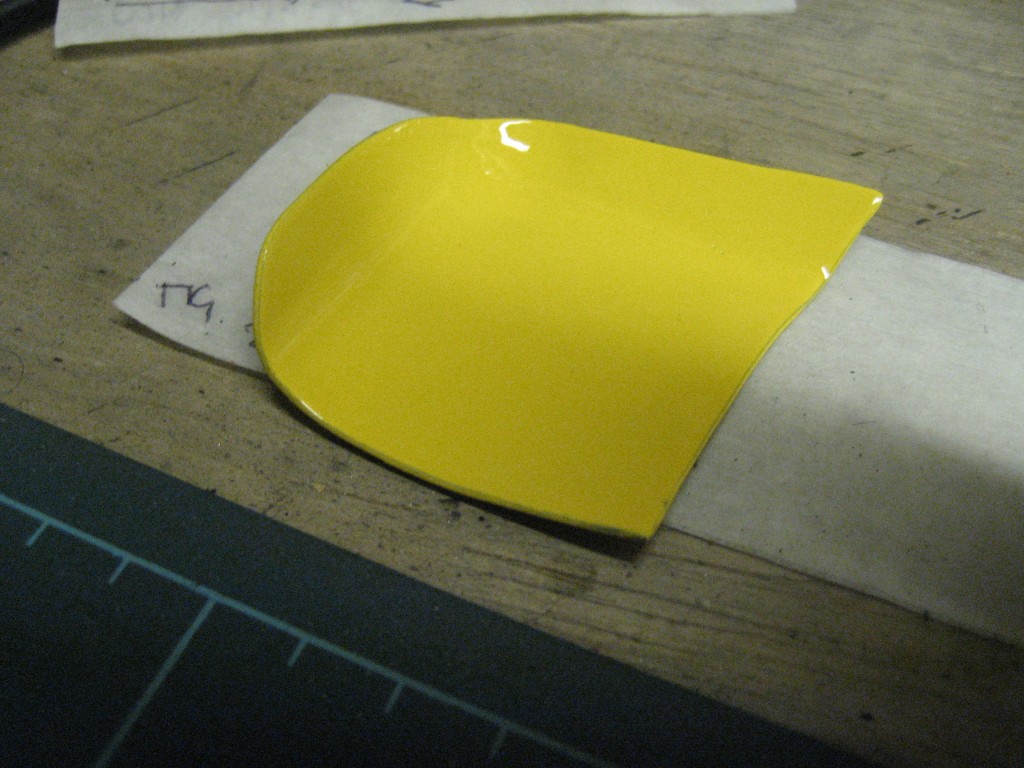
This is the shaped aluminium.


Now painted. The drawing pins are for later use!


And fitted with DST. The other side will follow but with the exhaust bracket it gets cut out with a hacksaw by the look so needs a bit more work.


I use the painted drawing pins with the points cut off and stuck with double sided tape here, after fixing the cross-head screws with Loctite:


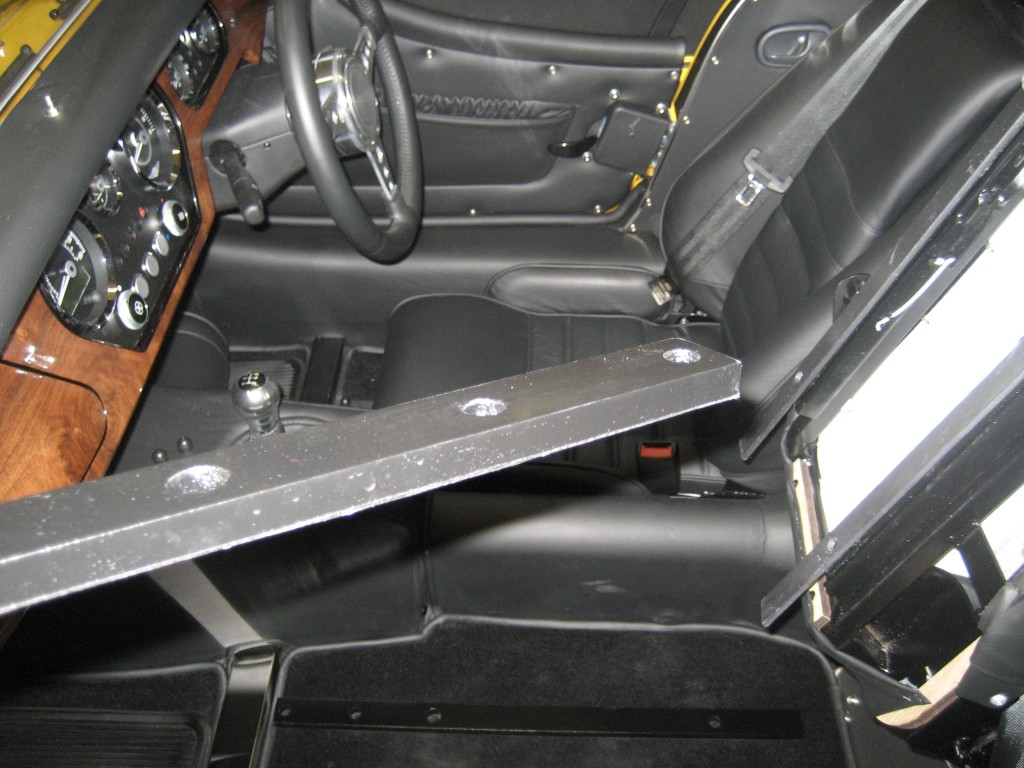
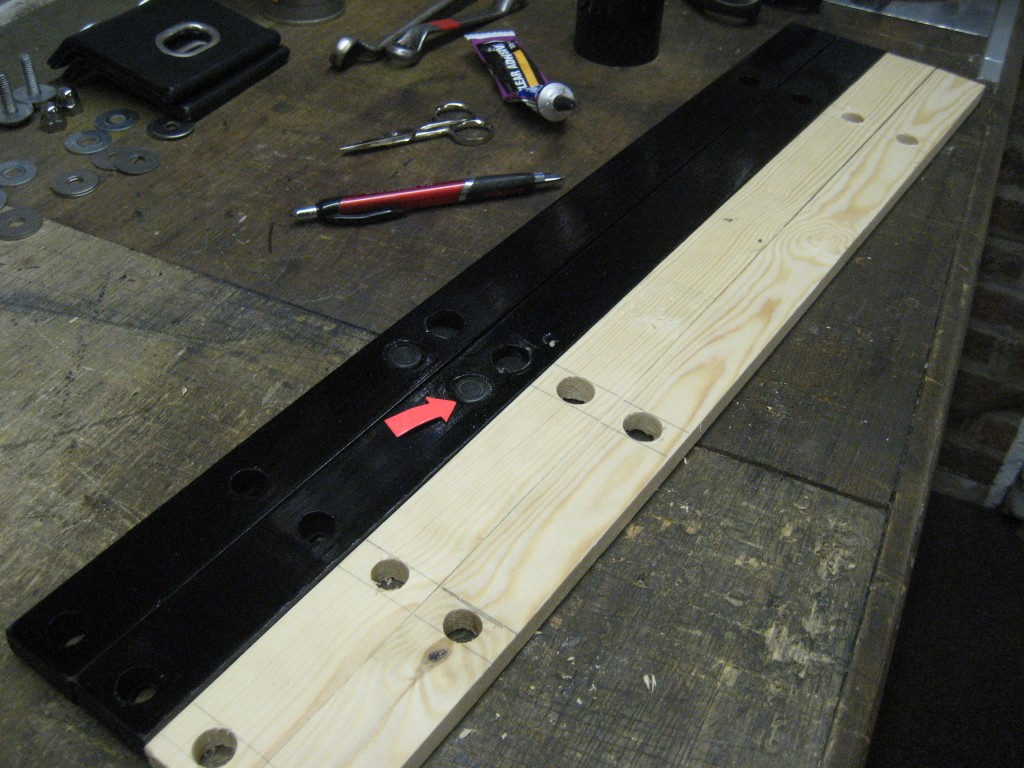
And so to the seats. I like to fit wooden spacers, to accept the protruding nut and to lift the seat a fraction. These are only a half inch. I made them up well in advance, only to discover that the Sports seats have the protruding nuts in a slightly different place, which meant more work.
The seat can be lifted and tucked, reclined, into this position. Safer than lifting it out. The protruding silver nuts are evident.


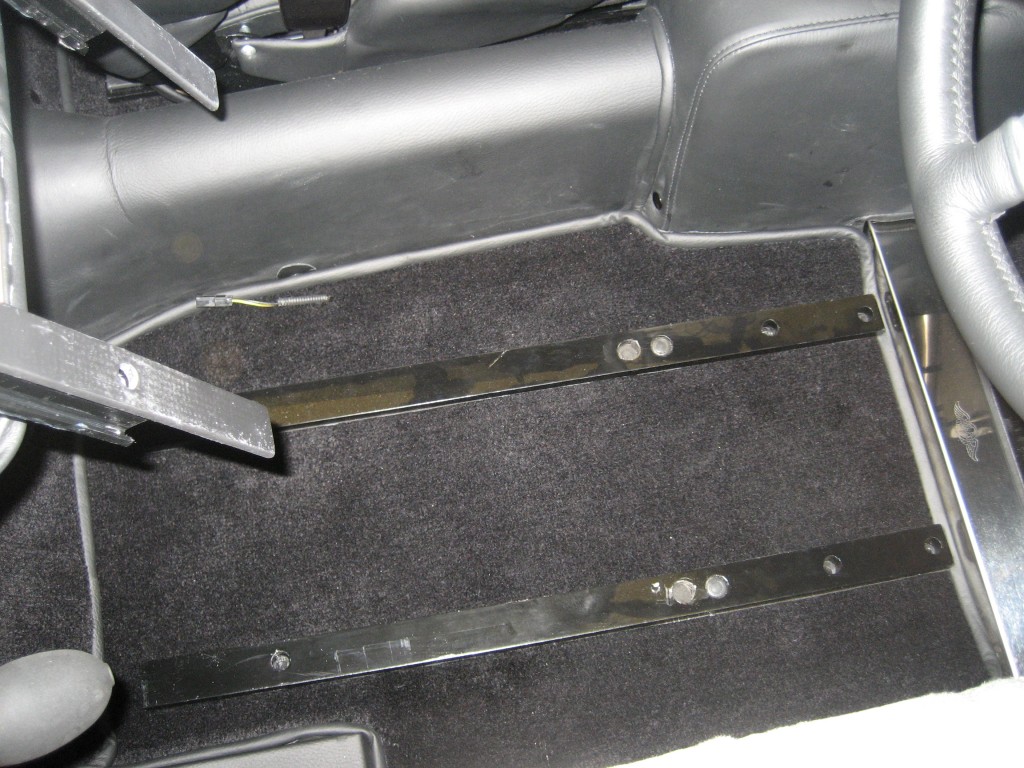
This was the carpet - still showing footprints from the factory.


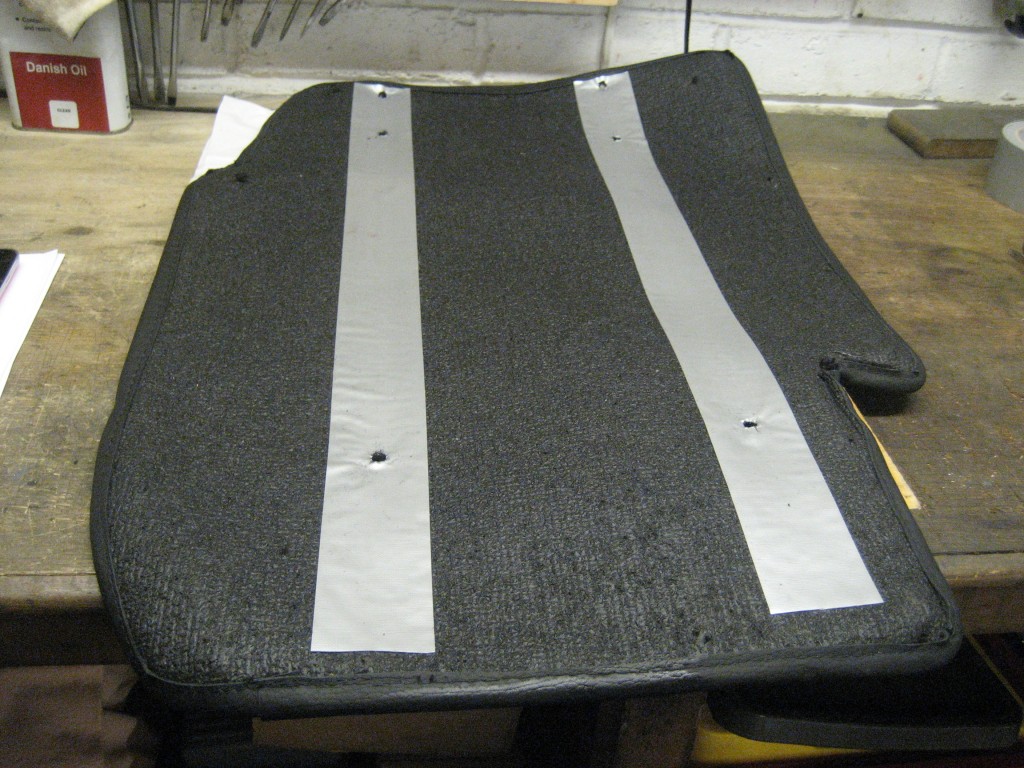
The carpet will stick to the floor under the runners so I add some gaffer tape to protect the pile.


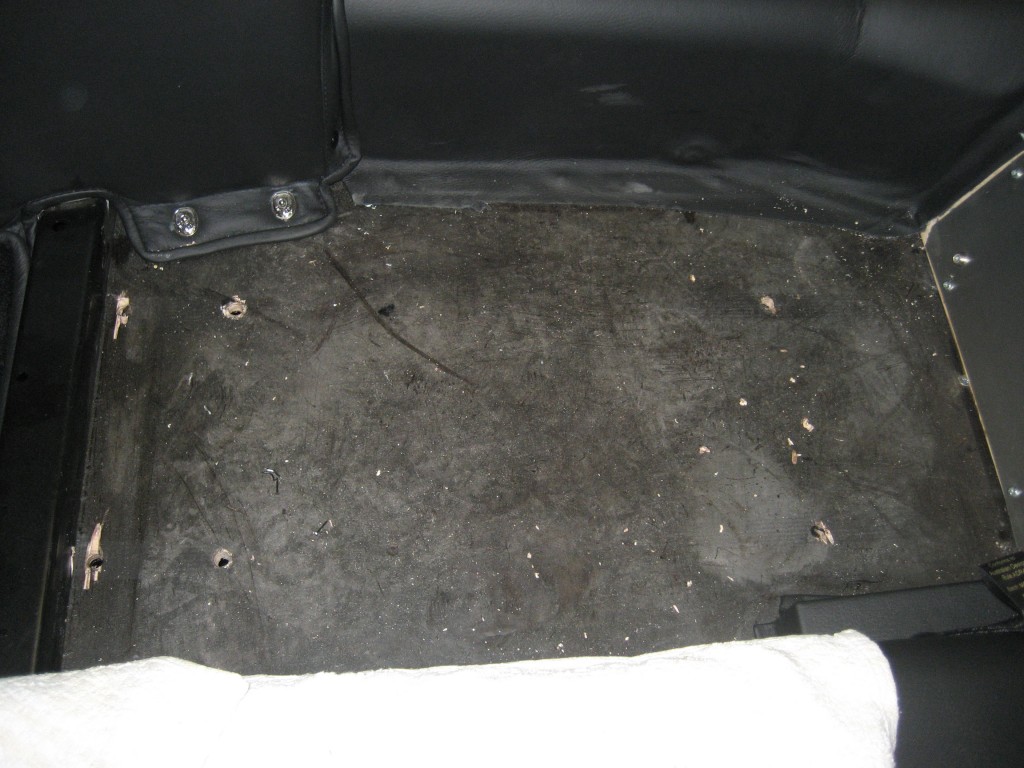
The carpet is tacked to the floor, I expect so that when the seat mounting holes are drilled it doesn't move.
The floor needed a good vac and I gave it a coat of Danish oil.


Much better now!


This is the spacer, before I discovered that the hole for the protruding nut was in the wrong place......


In the end I made up a couple of new spacers, and used two of my originals. The red arrow shows where the protruding nut lies with standard recliners, and the new holes show where the sports seat protruding nuts are.........


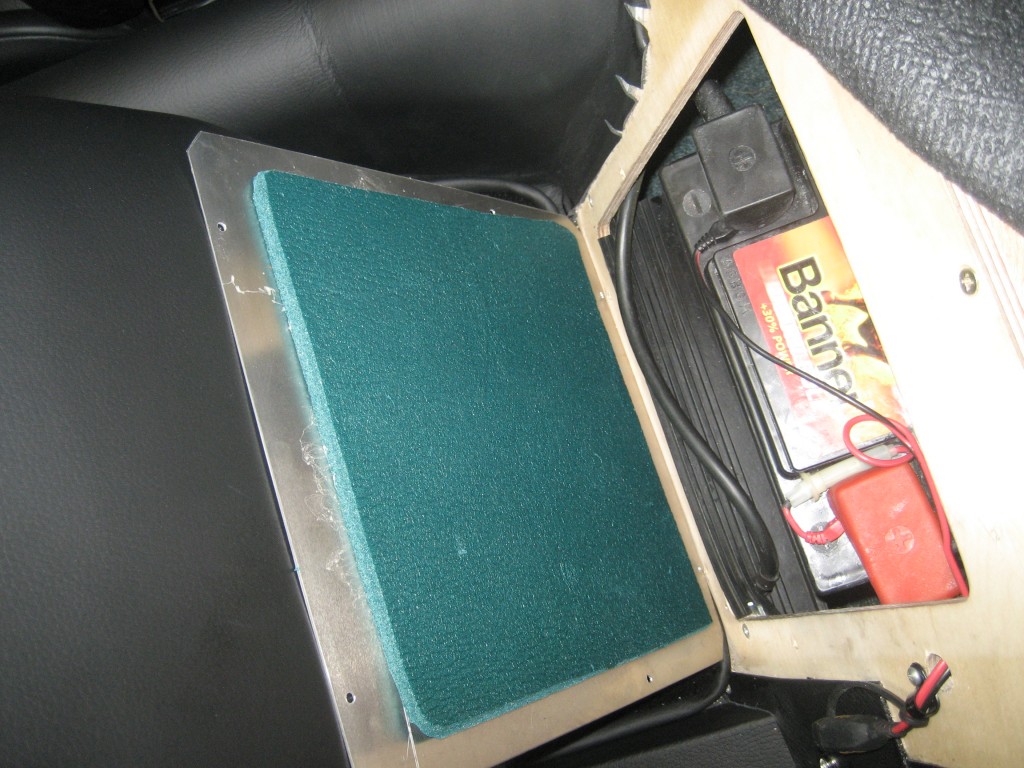
This is the passenger side completed with the HoE cross-member cover. I've touched up some chips in the chassis paint and given it a coat of Tectyl 506 under this cover.


While I was on this side, I added a rubber seal at the battery base - visible here. It stops road dirt splashing up.


Another mod is to add some camping mat to the inside of the cover - insulation and keeps the road dirt out.
You can also see the battery conditioner cable work in progress.....


And here it's all back together.


The driver's side was much the same:
You also have to disconnect the seat belt sensor, wire which is fiddly.


But it all looks much better when back together. Fitting seat spacers means that longer bolts are needed, and even with my extensive stock of different lengths, I still had to order some extra bolts. They are UNF, and the rears are much longer as they pass through the cross-member which takes the seat belts and rear suspension front spring mounts. At the front, the first pair of mounting bolts pass through the cross-member, and the second pair just go through the wooden floor. Sometimes they can be difficult to locate and today they put up a bit of a fight.


But now this part of the fettle is complete. Time for a glass. wine


DaveW
'05 Red Roadster S1
'16 Yellow (Not the only) Narrow AR GDI Plus 4
Joined: Dec 2008
Posts: 22,356
Likes: 353
DaveW Offline OP
Roadster Guru
Member of the Inner Circle
OP Offline
Roadster Guru
Member of the Inner Circle
Joined: Dec 2008
Posts: 22,356
Likes: 353
Uther, as JohnV6 says - into the lid and apply to the beading with a fine brush. It goes a very long way.

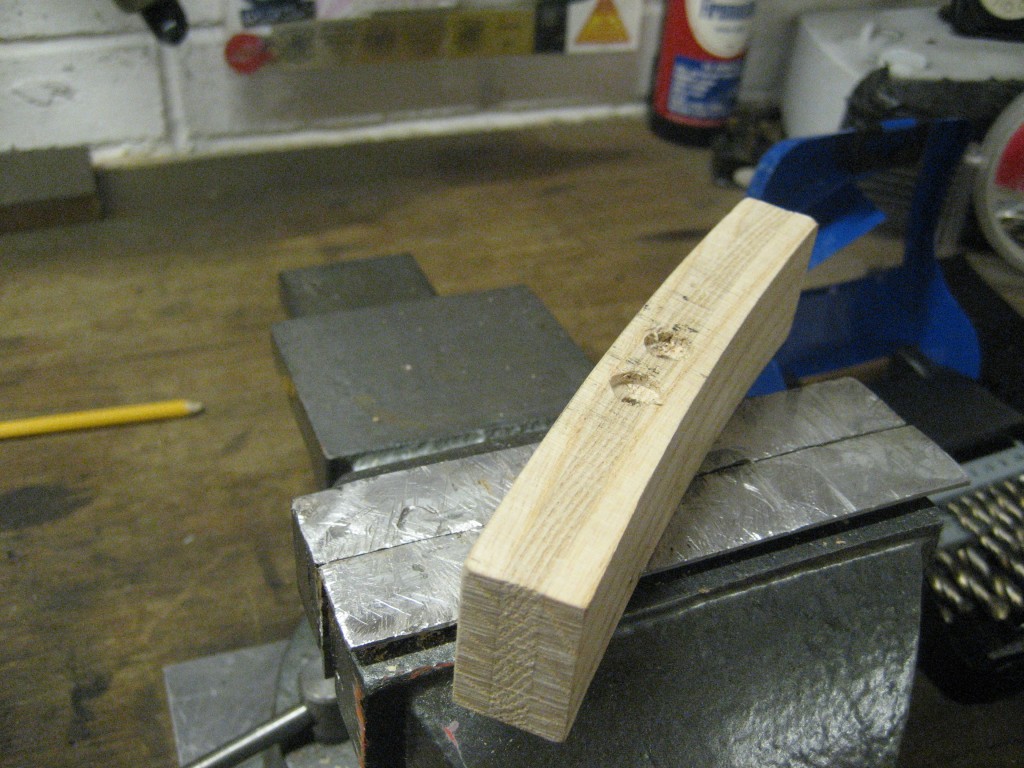
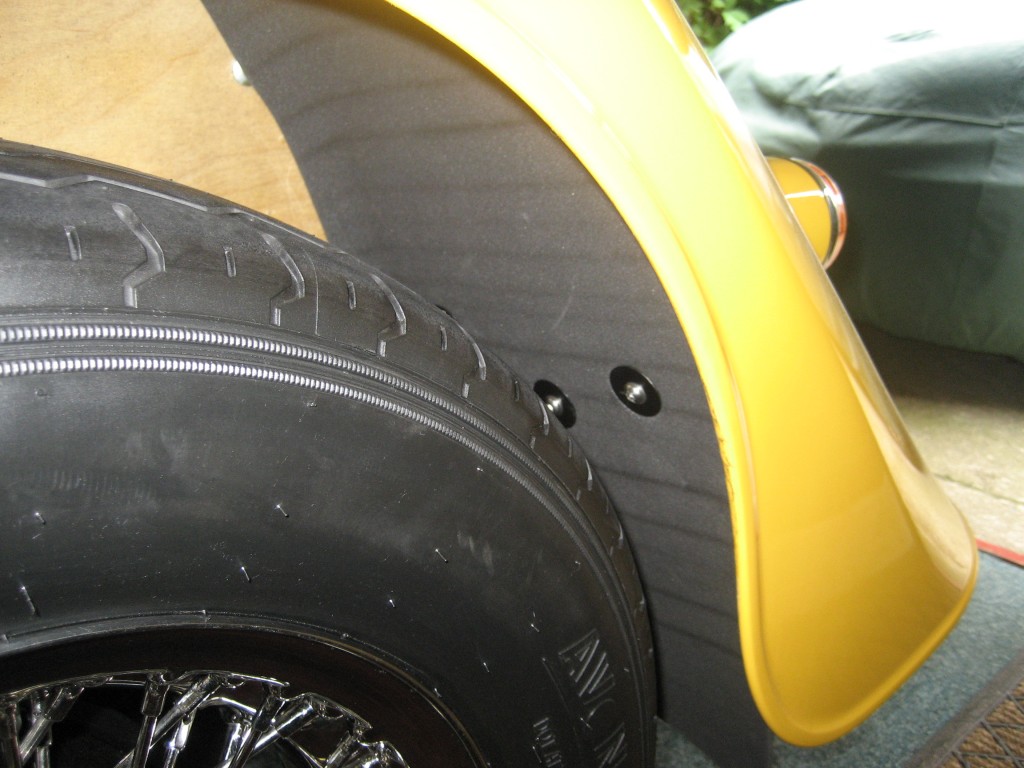
Today I've been fettling the spare wheel area. First I fitted some spare wheel retainers. I did this job to my Roadster earlier this year so I won't go into too much detail this time. The curved ash is from the factory scrap box.
Cut to size, measured and drilled.


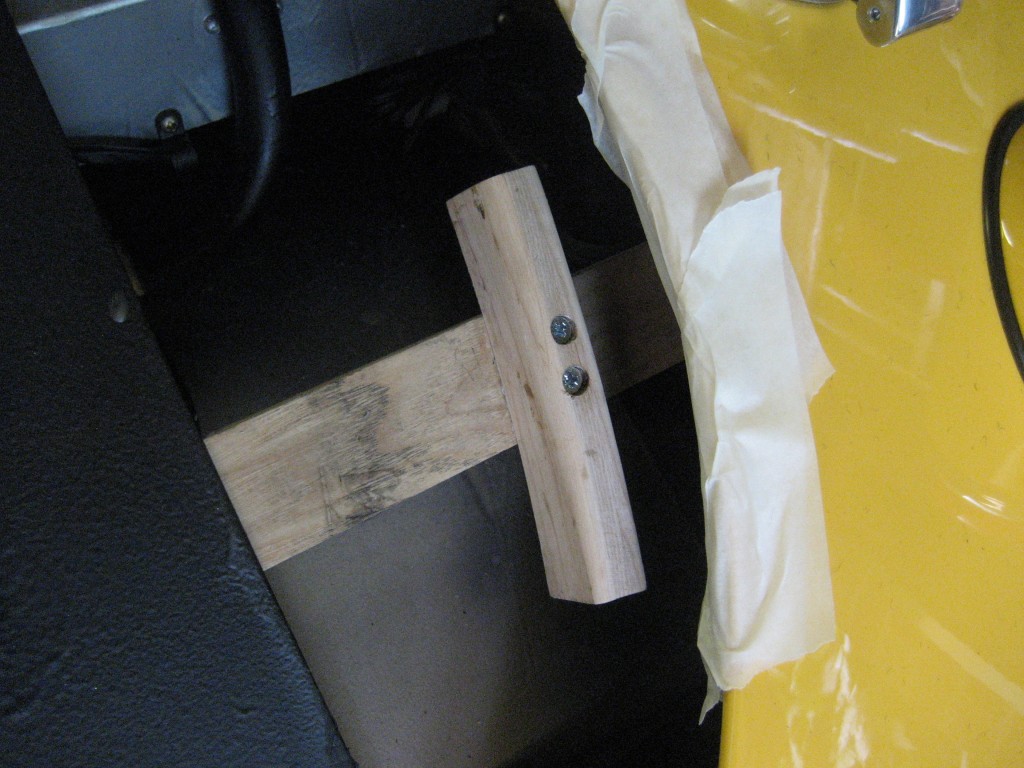
Here it is fitted on one side, and you'll see I rounded off the edge as it was a bit too close to the tyre.


The amount of effort this took is obvious here!


But the result is worth the effort:
Here you can see that I've also added four neoprene triangles so that the tyre doesn't rest on the metal plate.


Next I added the 12v feed for my high level luggage brake lamp. It's easy to splice this into the original wiring to the existing lamp. This Cobra is not as neat as the 2005 version. Indeed you can see that the cable groove is not centered, being very slightly offset to the right.


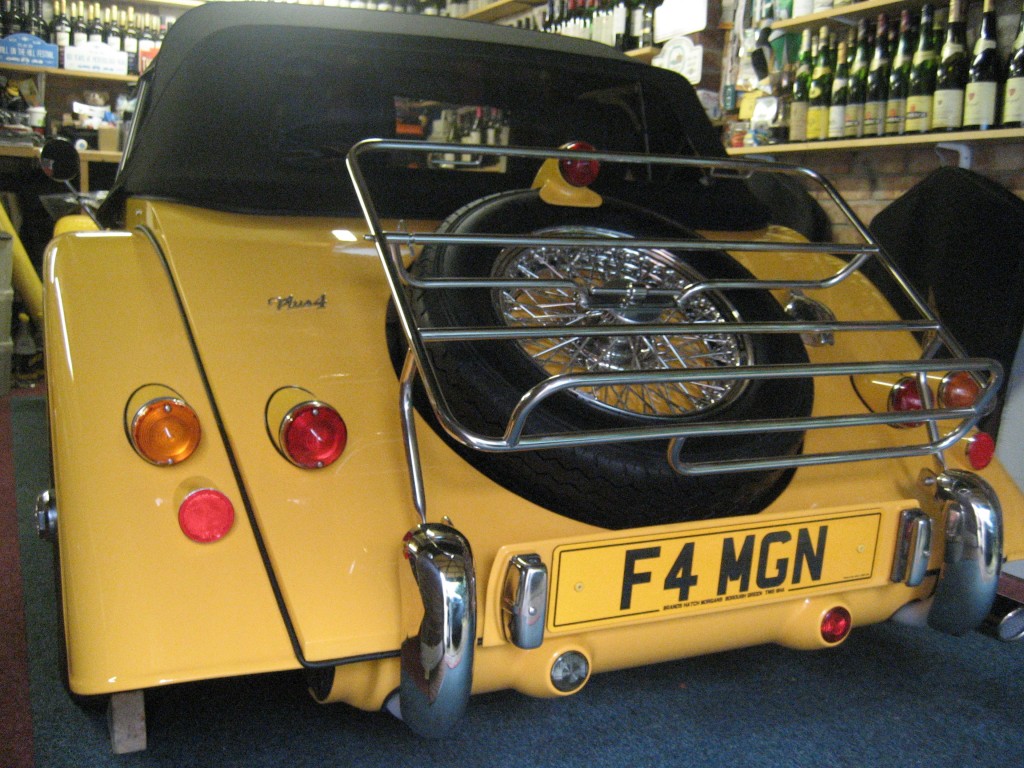
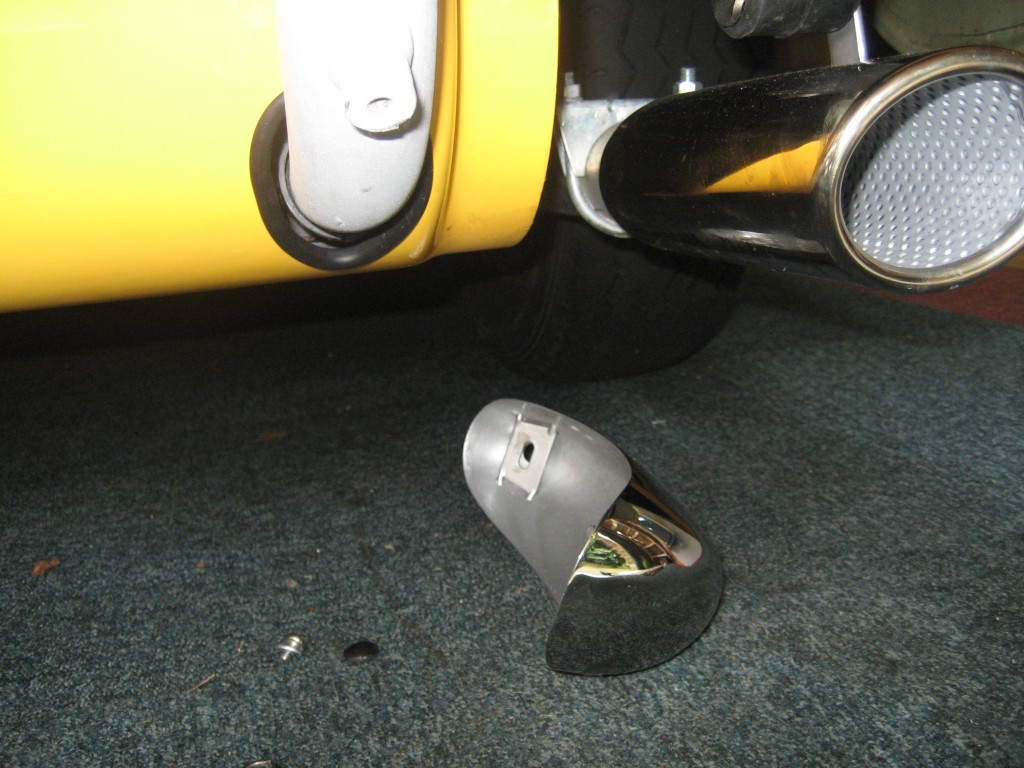
Finally what should have been a doddle - fitting the luggage rack. The over-riders come off with the large visible domed nut and a hidden set-screw under the rubber grommet at the bottom of the unit.
When I fitted a rack to my Roadster way back, it was necessary to elongate the hole in each over-rider bracket because the small set-screw hole on the main bracket was out of line after fitting the rack bracket. So I was prepared for this. But it turned out that the new design of bracket is too tall to fit the rack brackets without some serious filing.
Here's how it comes:


And this is how it needs to be to fit the bracket:


So after a sweaty hour or so, it all went together OK.


While the over-riders were off, I also added some edging to the holes in the rear valance - visible in this photo:
Also visible is the set screw, and grommet.


DaveW
'05 Red Roadster S1
'16 Yellow (Not the only) Narrow AR GDI Plus 4
Joined: Dec 2008
Posts: 22,356
Likes: 353
DaveW Offline OP
Roadster Guru
Member of the Inner Circle
OP Offline
Roadster Guru
Member of the Inner Circle
Joined: Dec 2008
Posts: 22,356
Likes: 353
To continue.......
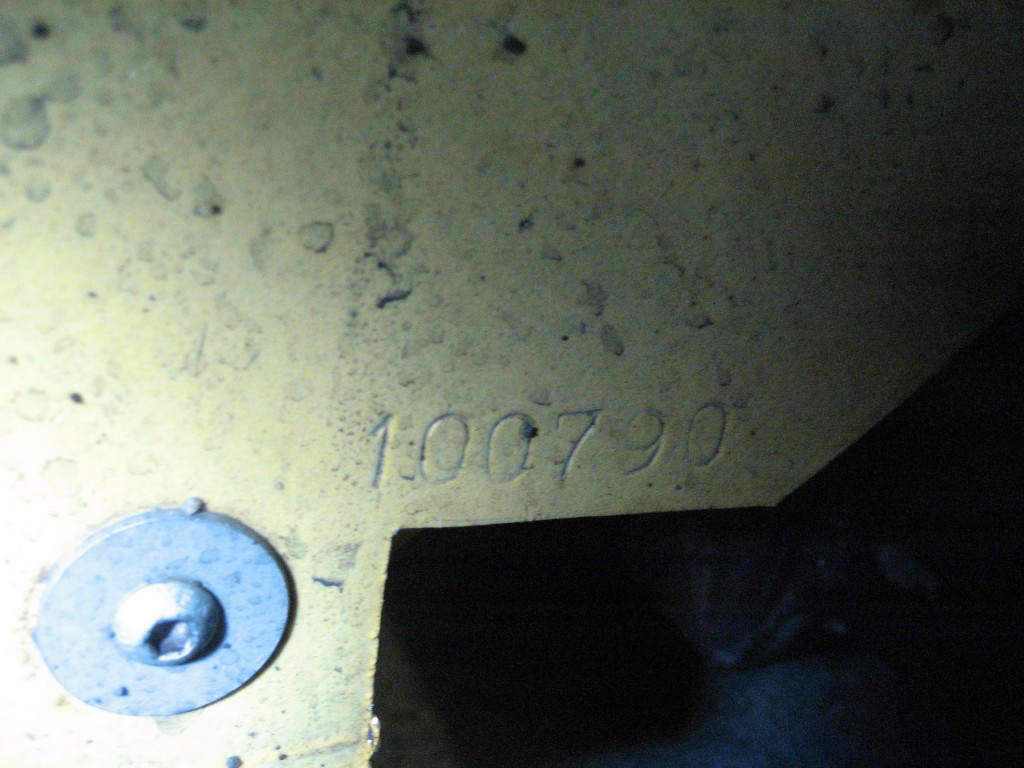
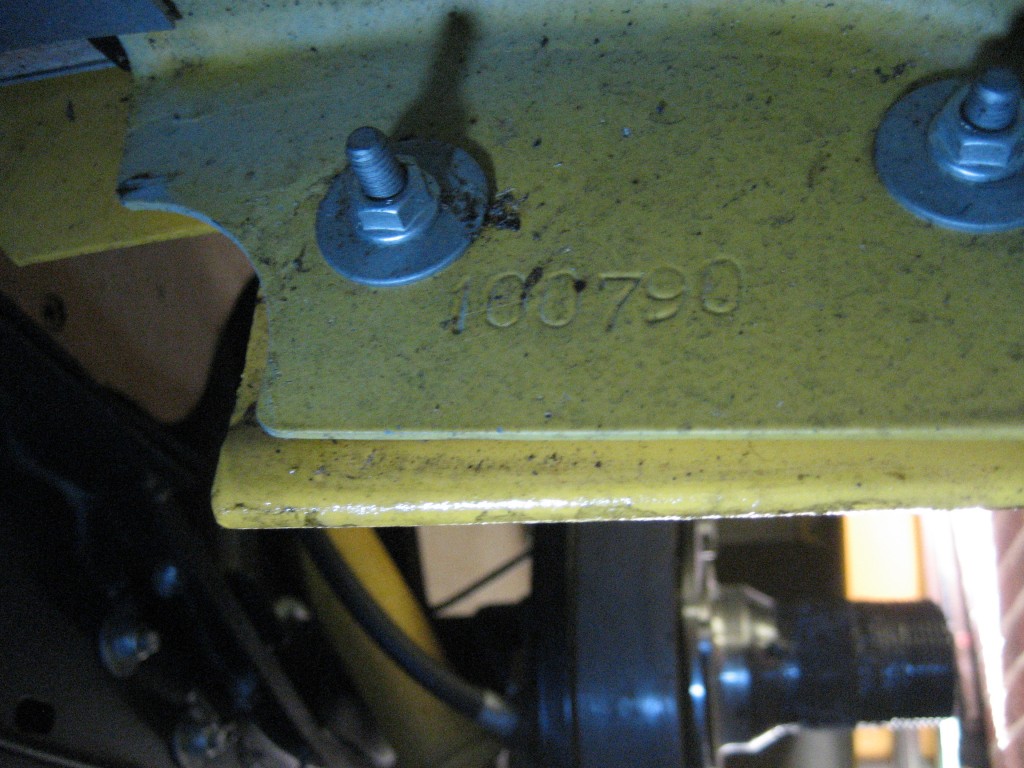
The build number is stamped on each wing - bottom of rear at front end:


Bottom of front - at rear end.


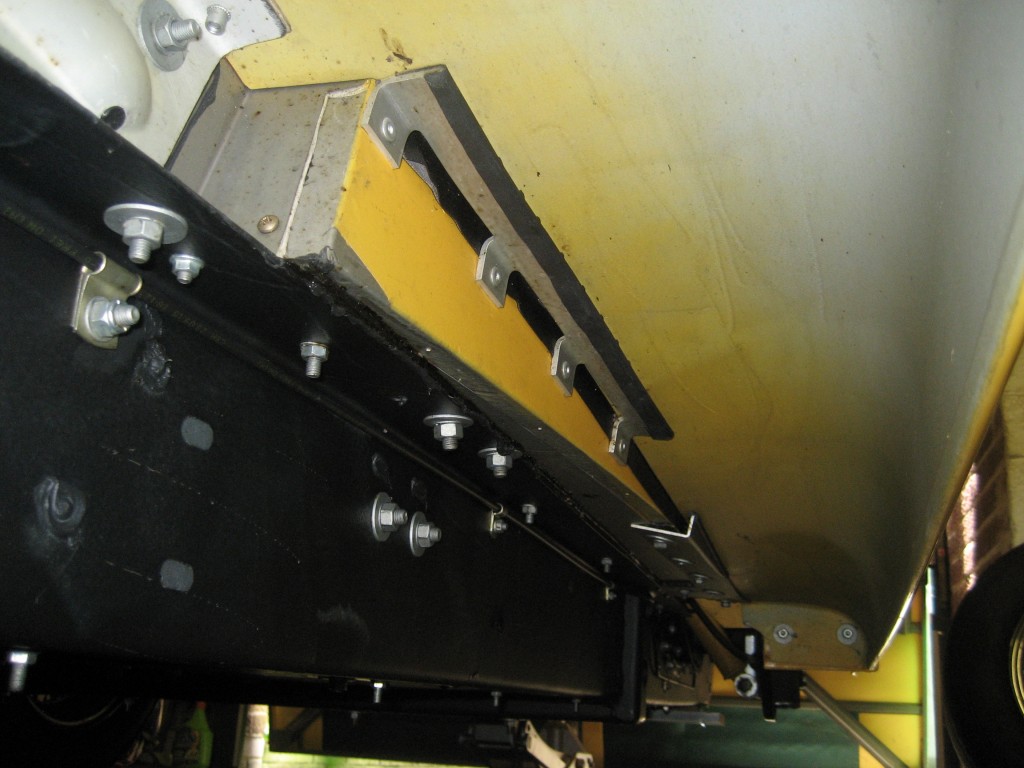
This is how clear underseal looks, but I've since added some Tectyl under the wings.


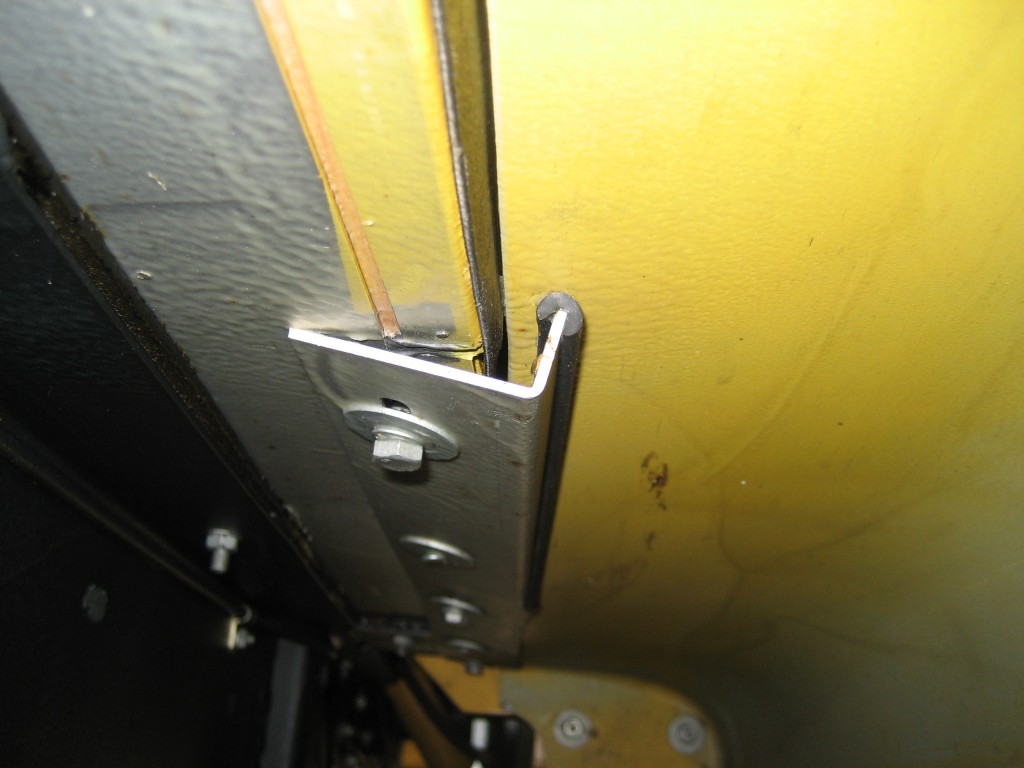
This is the cut out for the exhaust mounting - more Heath Robinson than the other side. You can also see my neoprene edging to the over-rider bracket holes here.


I shaped an aluminium off-cut over a ball pein hammer and was quite please with the shape:


Another look at clear underseal:


This bracket doesn't fit as well as the other side, but both need plugging at the end to stop rubbish getting in. I added a small plug of neoprene on both sides. I'm leaving this bracket alone as the car is under warranty but it's tempting to straighten it up.


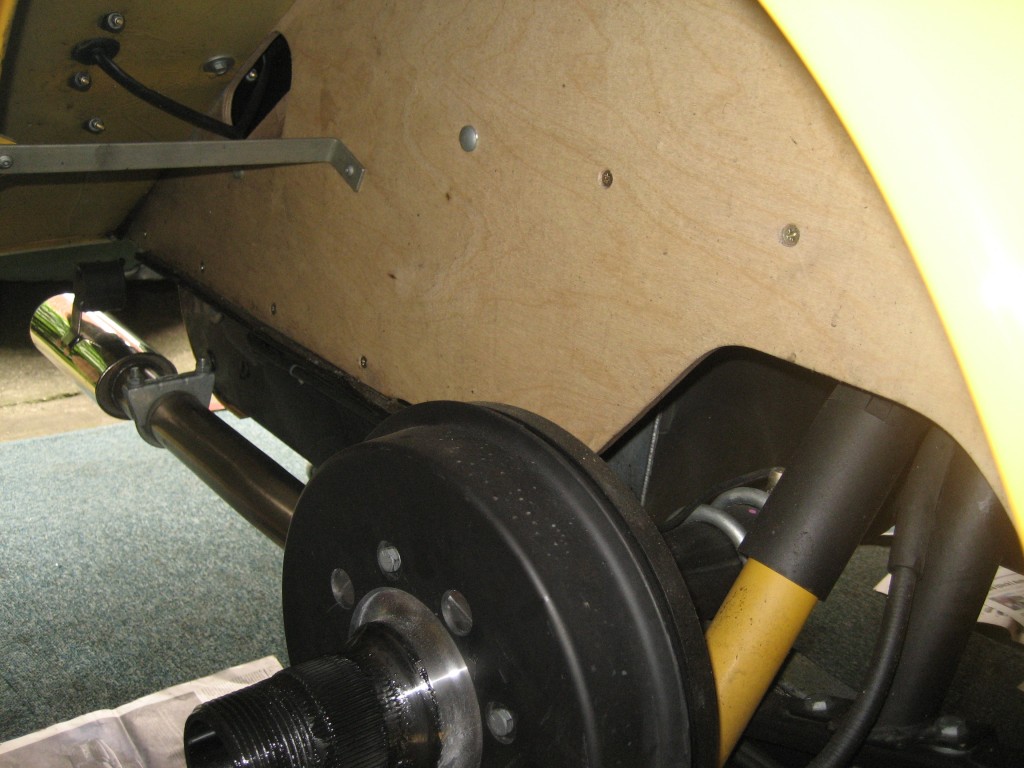
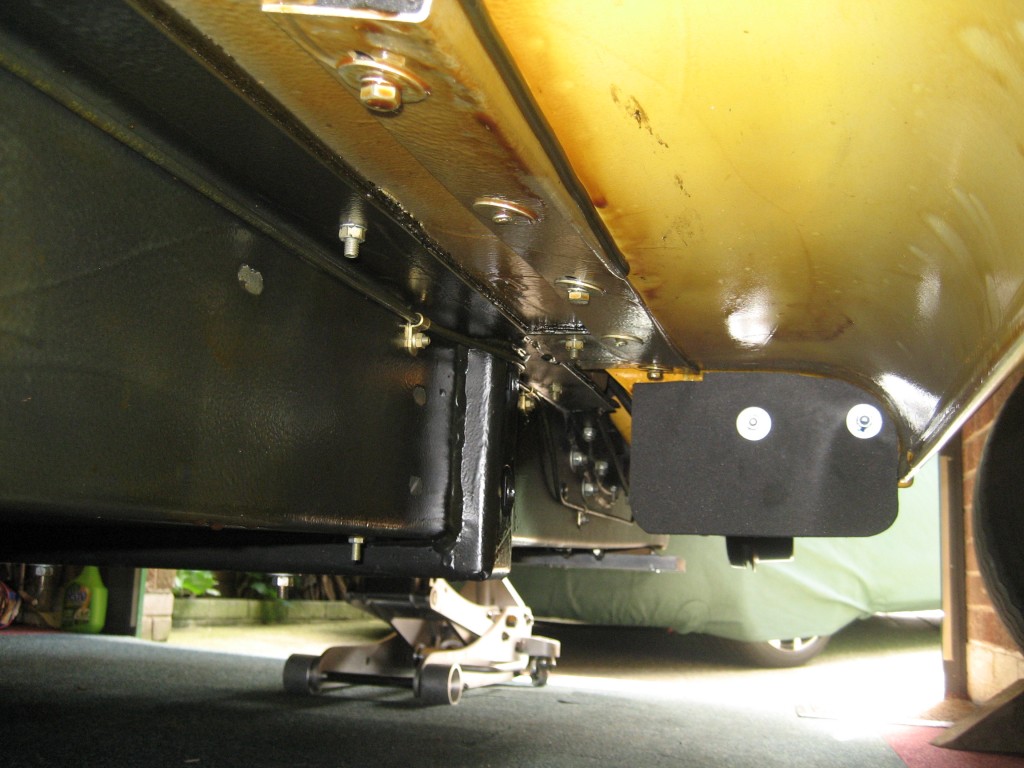
I've added my usual wing end protectors. You don't need to disturb anything, it fits over the existing bolt ends, and nuts & washers go on top. This shot shows that the Tectyl has coloured the underwing area golden brown, which looks better.


More to follow....................


DaveW
'05 Red Roadster S1
'16 Yellow (Not the only) Narrow AR GDI Plus 4
Joined: Dec 2008
Posts: 22,356
Likes: 353
DaveW Offline OP
Roadster Guru
Member of the Inner Circle
OP Offline
Roadster Guru
Member of the Inner Circle
Joined: Dec 2008
Posts: 22,356
Likes: 353
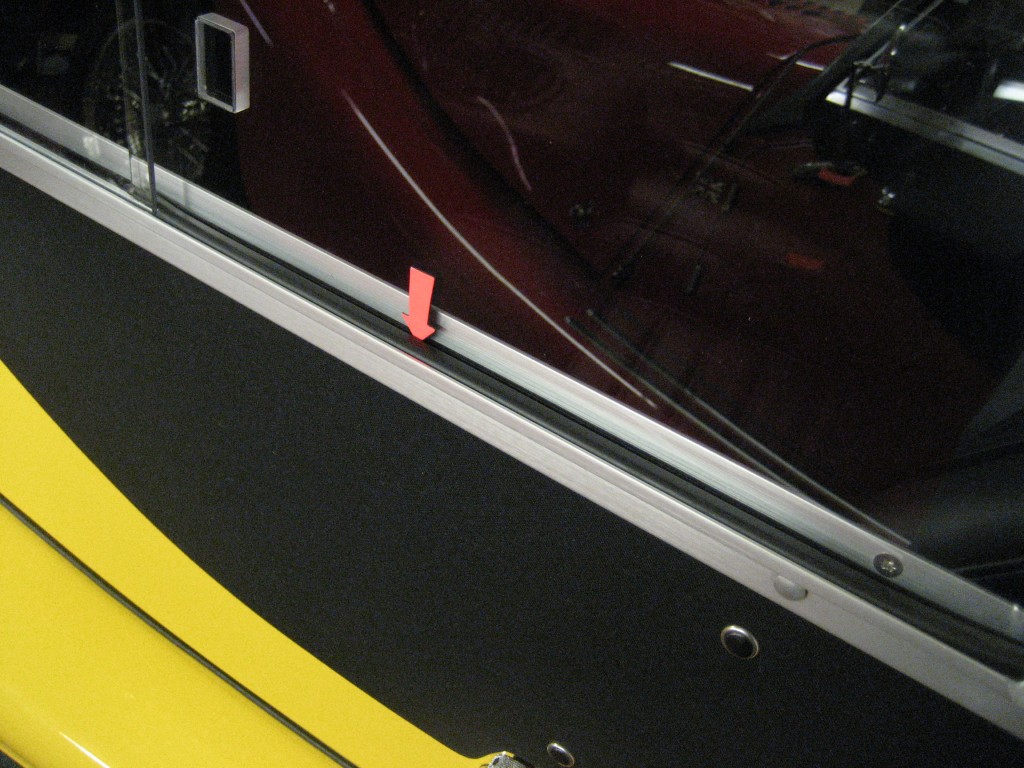
Next I added some L section neoprene strip to the side-screen channels:


And fitted two Lucas horns, sourced from e-bay.


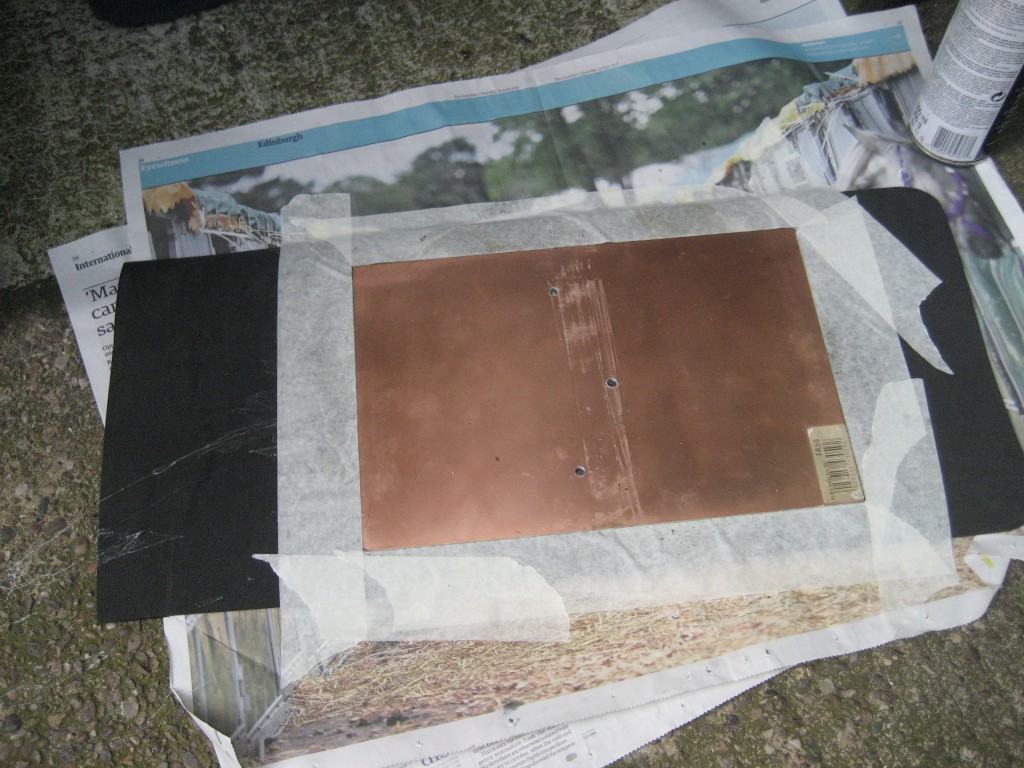
Rear wing protectors came next, once again based on Maplin's circuit board which is light and just the right size. This is a simple and straightforward job.


This is the back. The leather strip is where the wing stay fits. Two stepped penny washers above and one below holds it firm.


Then I fitted the three eared spinners...............


This is the speedo sensor. Not the same as the 2012 version. Made by Raffenday.


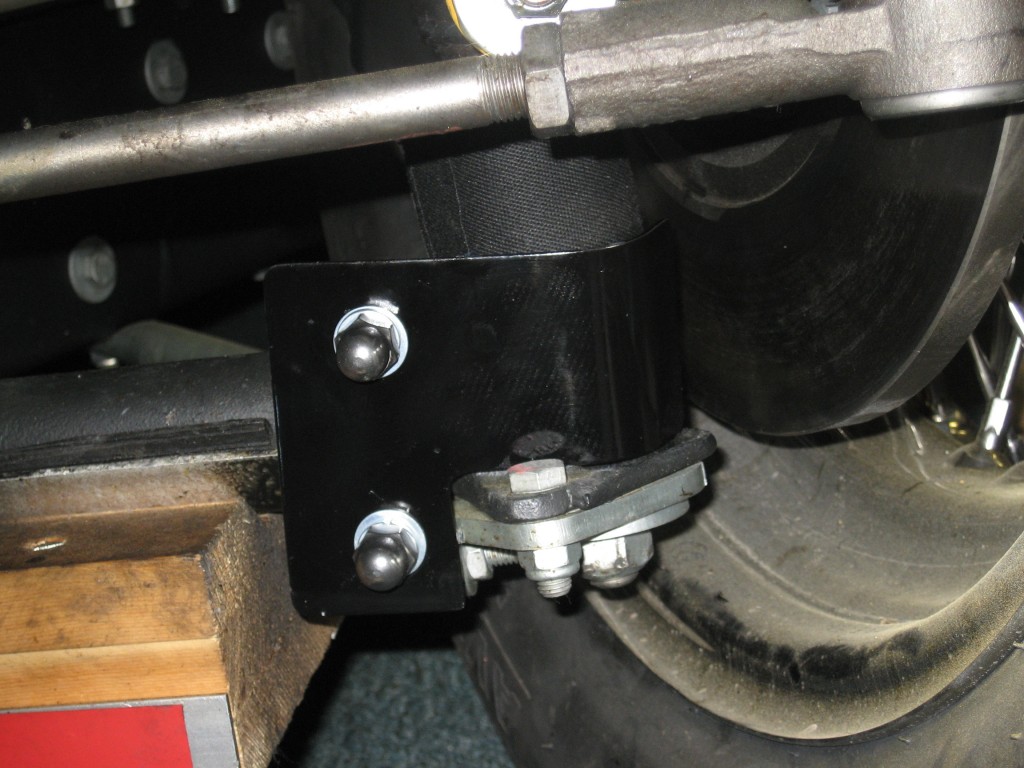
And I added my front gaiters - the deluxe version with soft leather inners, mohair outers and deflector plates.......
The inside of the wheel looks scruffy because cleaning that came later on.


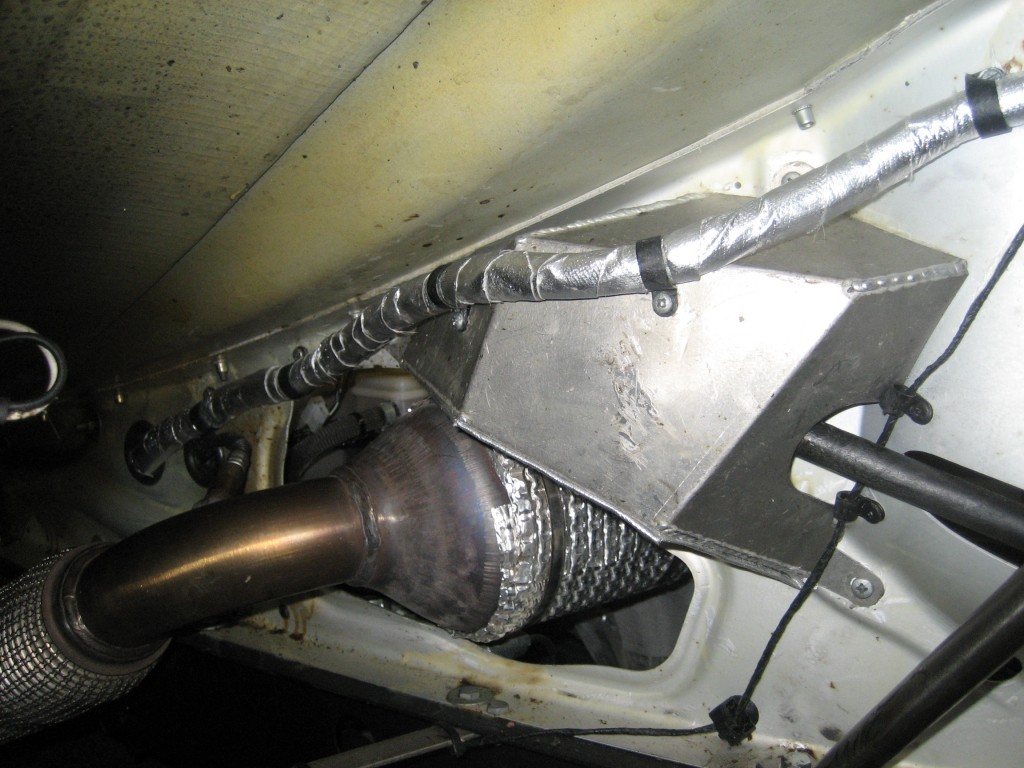
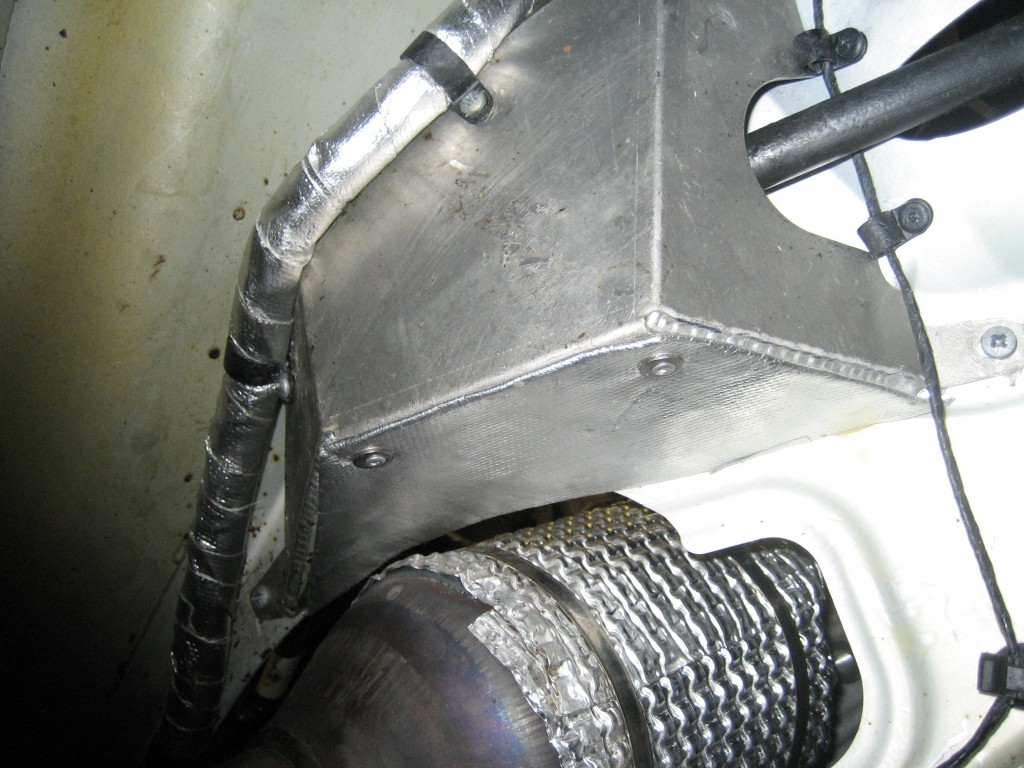
This is the box around the steering UJ's. It's much bigger than the 2012, and 2005 boxes. Here is the 'after' picture. The wiring loom is protected above the cat, but I've added some 'Reflect-a-cool' to improve that. I've also added some insulation on the bottom edge of the box. With the UJ's so close to heat it can cook the grease and wear the UJ prematurely, so for the sake of a bit of disassembly.....
Note also the big hole at the front for the column.


I sealed the hole with a leather grommet.


This is how close the box is to the cat.


I also insulated the first section of fuel pipe. To do the rest I will have to remove the exhaust so not now......


The inside of the box...... nicely made.


DaveW
'05 Red Roadster S1
'16 Yellow (Not the only) Narrow AR GDI Plus 4
Page 8 of 9 1 2 3 4 5 6 7 8 9

Moderated by  TalkMorgan 

Link Copied to Clipboard
Powered by UBB.threads™ PHP Forum Software 7.7.5