Post Photobucket Reboot...................
This morning I made a start on this job. First the rears, so the tool tray had to come out!
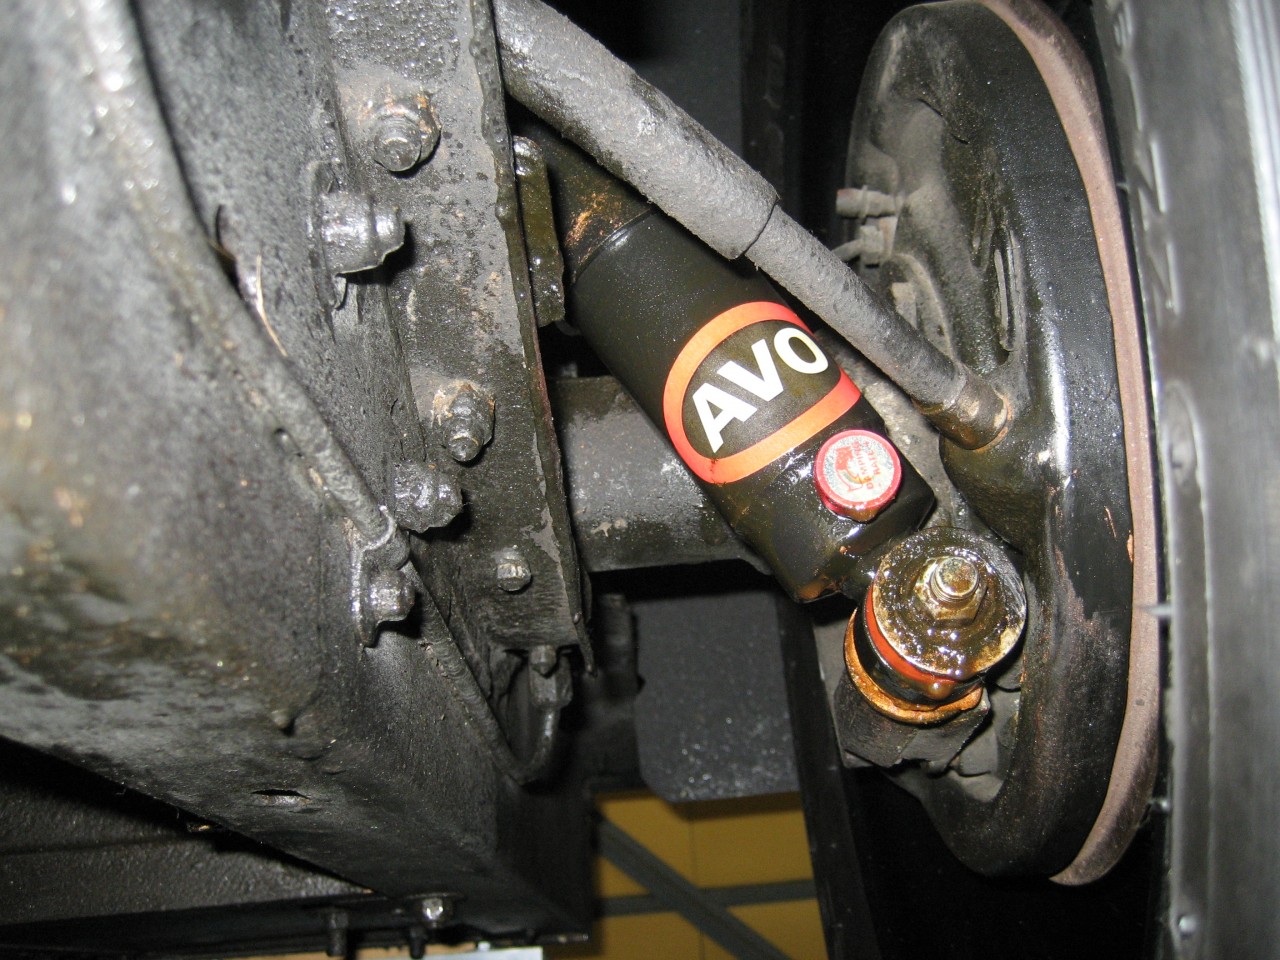
Not many photo's for this job because it's a simple enough task. However, the offside lower nyloc is masked by the exhaust so is much harder than the nearside to take off. I used a flexible drive ratchet.The lower nyloc is 9/16".
The AVO dampers have a metal bush inside the red nylon bushes, so a much tighter location on the lower mounts.
Nearside:
Offside:
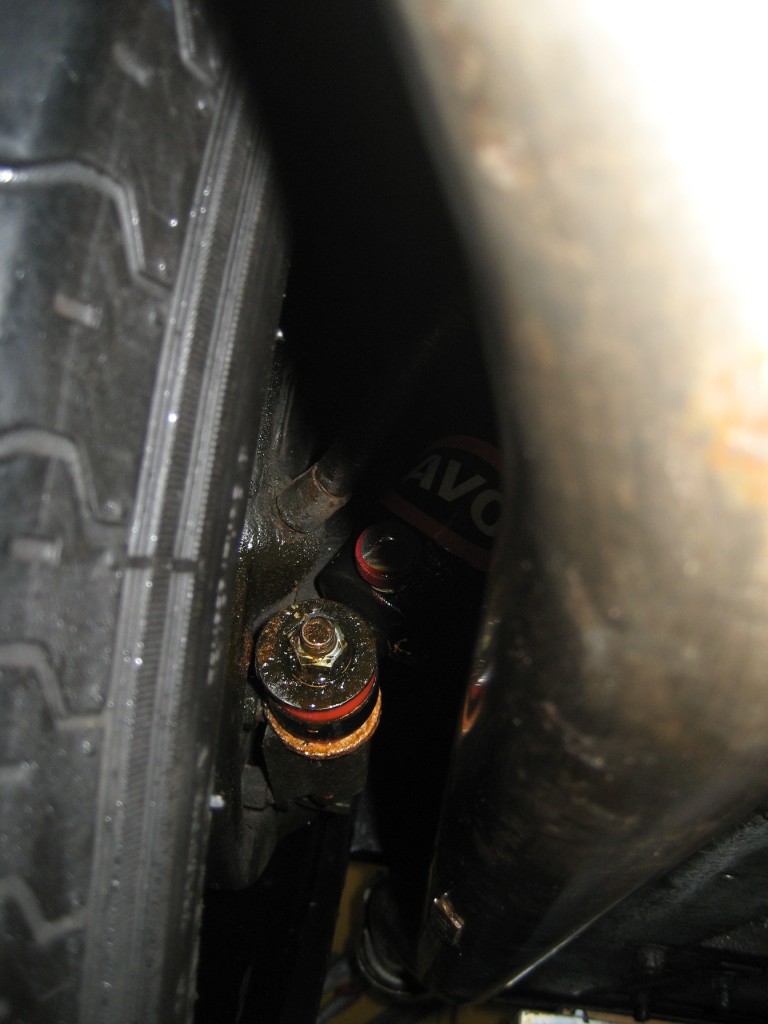
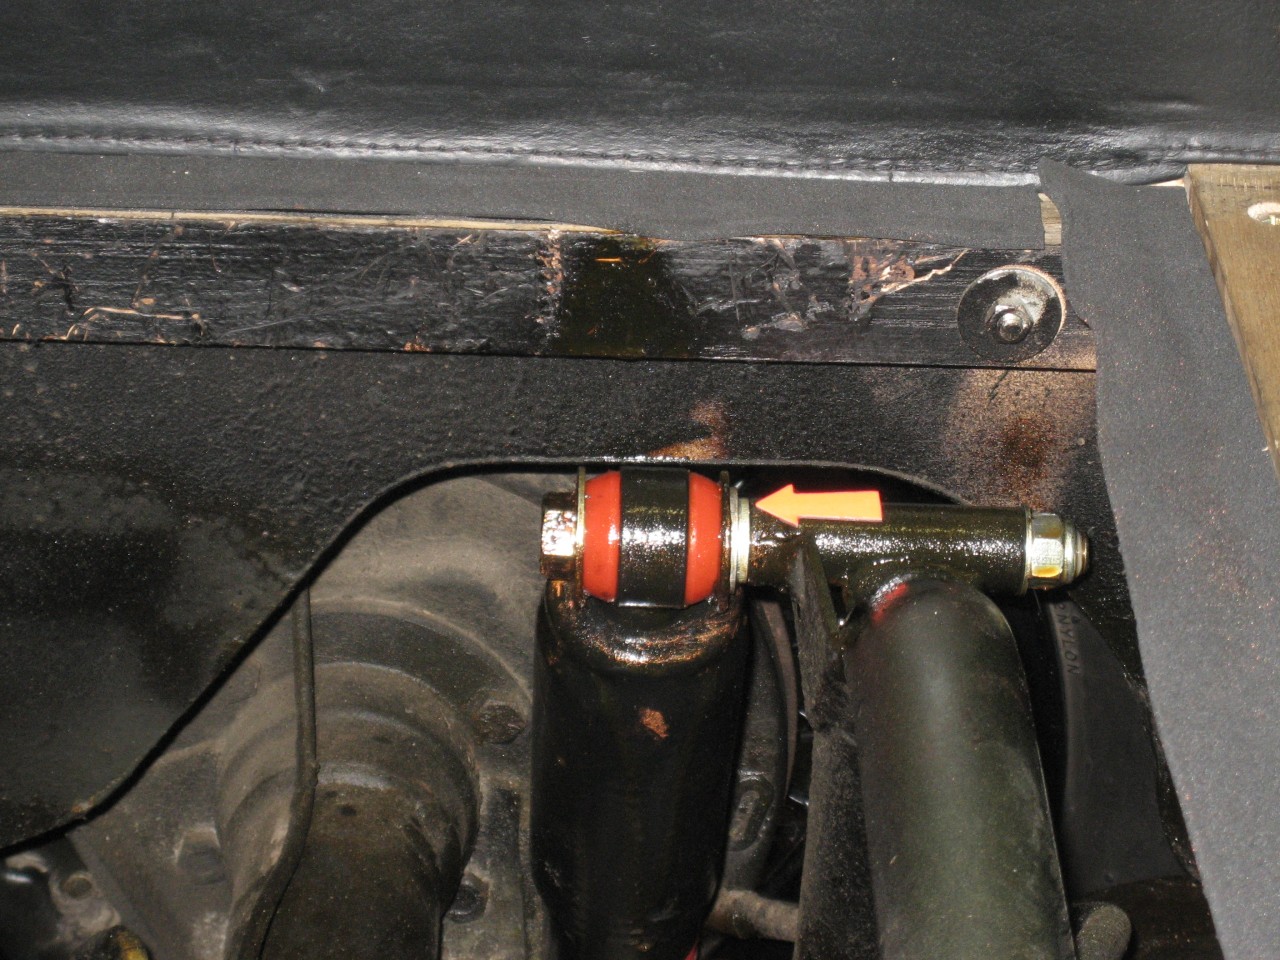
This job can be done without removing the rear wheels. Interestingly, when the lower nuts are tightened, the upper end of the damper stands off the mounting by around half an inch. It can be pulled into place by tightening the top bolt, but this stresses the damper by pulling the top rearwards. I've fitted a couple of spacer washers each side which amount to about 1/4", so that there's less tension on the damper bushes. The original damper bushes were showing significant ovalling due to this stress.
The arrow shows the position of the spacer washers (they were all I had available!).
Note also that the long mounting bolt is fitted from the rear - nut on the forward end. At some point this changed because my Roadster has the bolt the other way round which means that it can't be removed without cutting a hole in the woodwork. (You can still replace the dampers without removing this bolt).
Finally the nut and bolt are UNF thread. The nut is 5/8"AF nyloc, but the best fit on the bolt head is 18mm metric.
Front to follow when I get time.
Right, on with the story..............
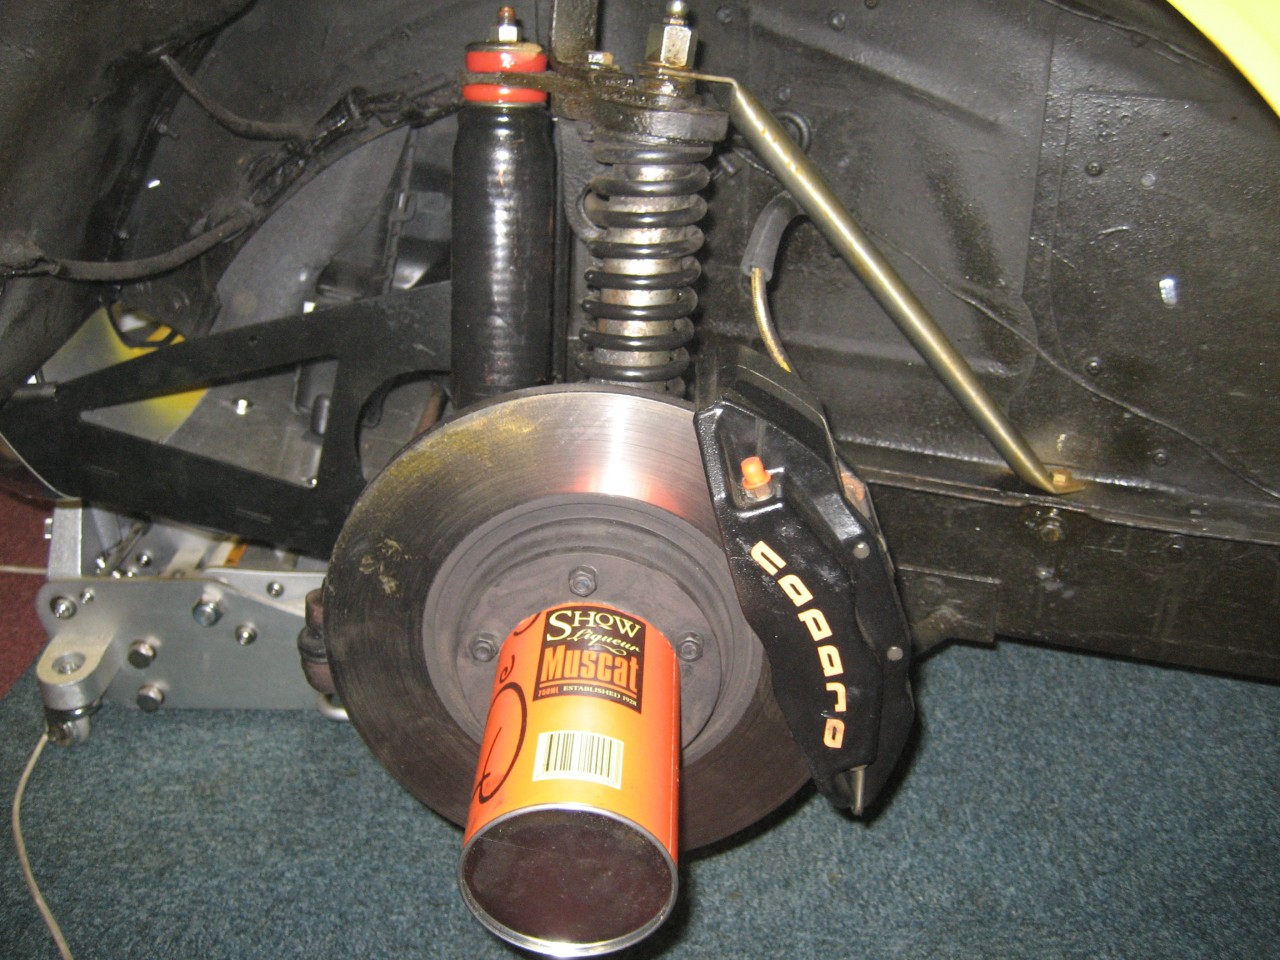
First this. If you like black fortified Muscat, this one is super syrupy and super raiseny.
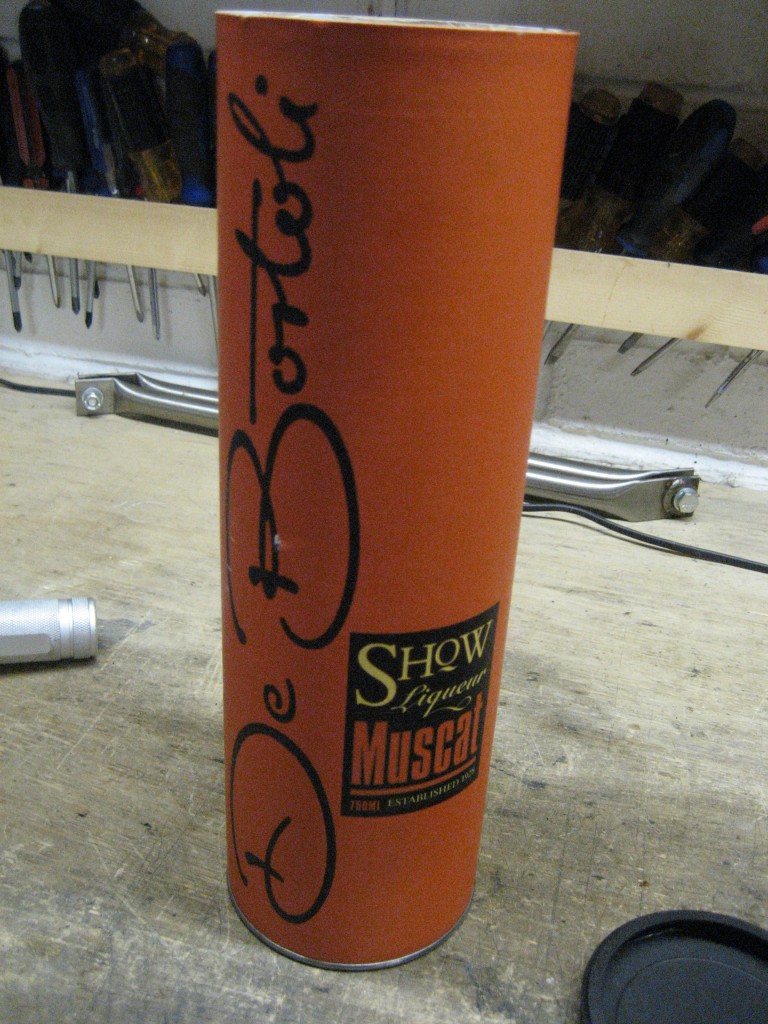
Why am I telling you this?
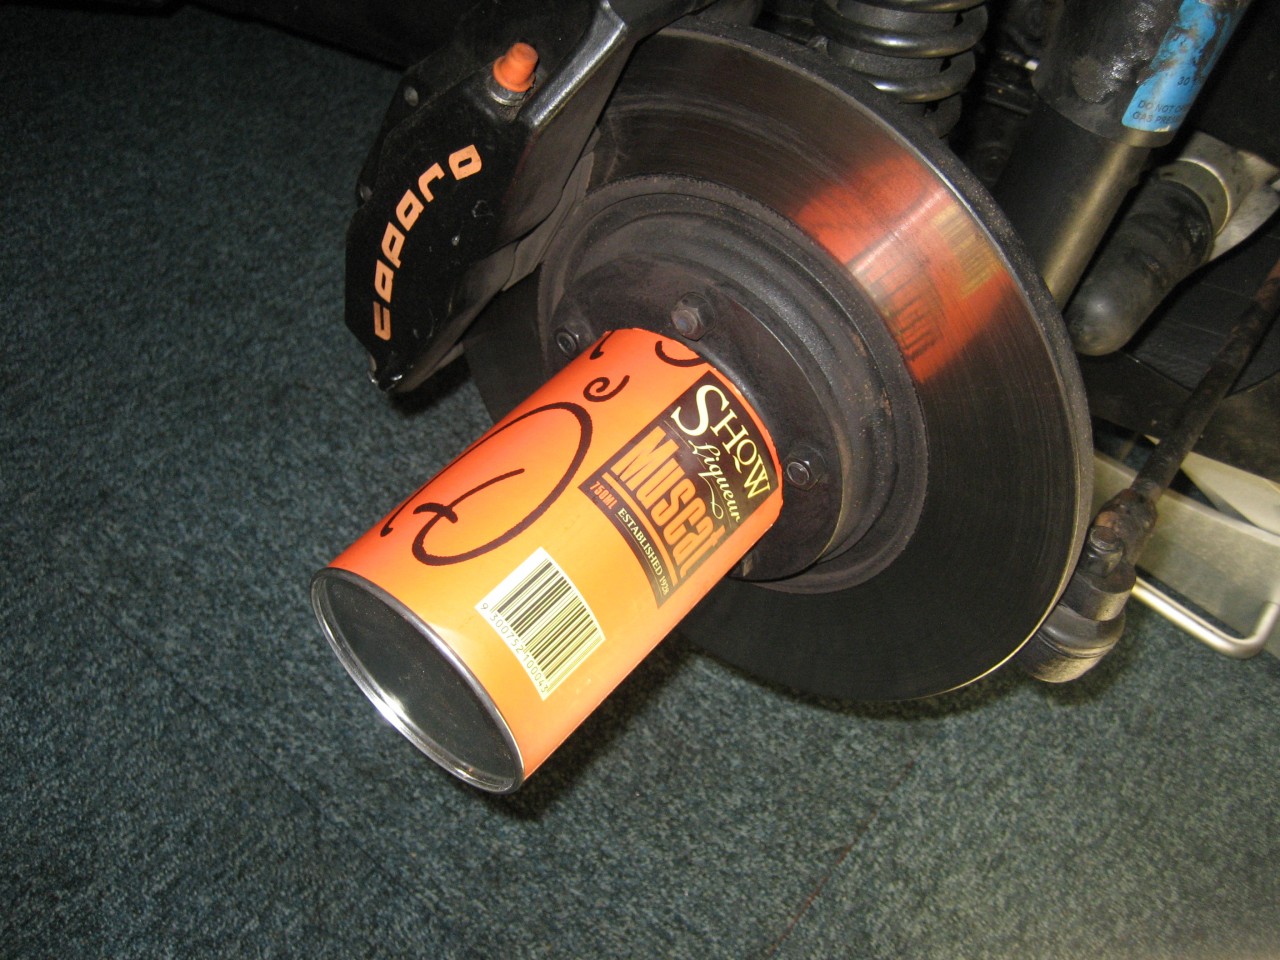
That's why.
Don't underestimate the top lube bolts. Big diameter and UNF thread on the factory ones mean that they are a pig to restart in the top of the kingpin. Offside took about 15 minutes, but the nearside, which gave me trouble when I tried it just before Shelsley, took over half an hour to restart.
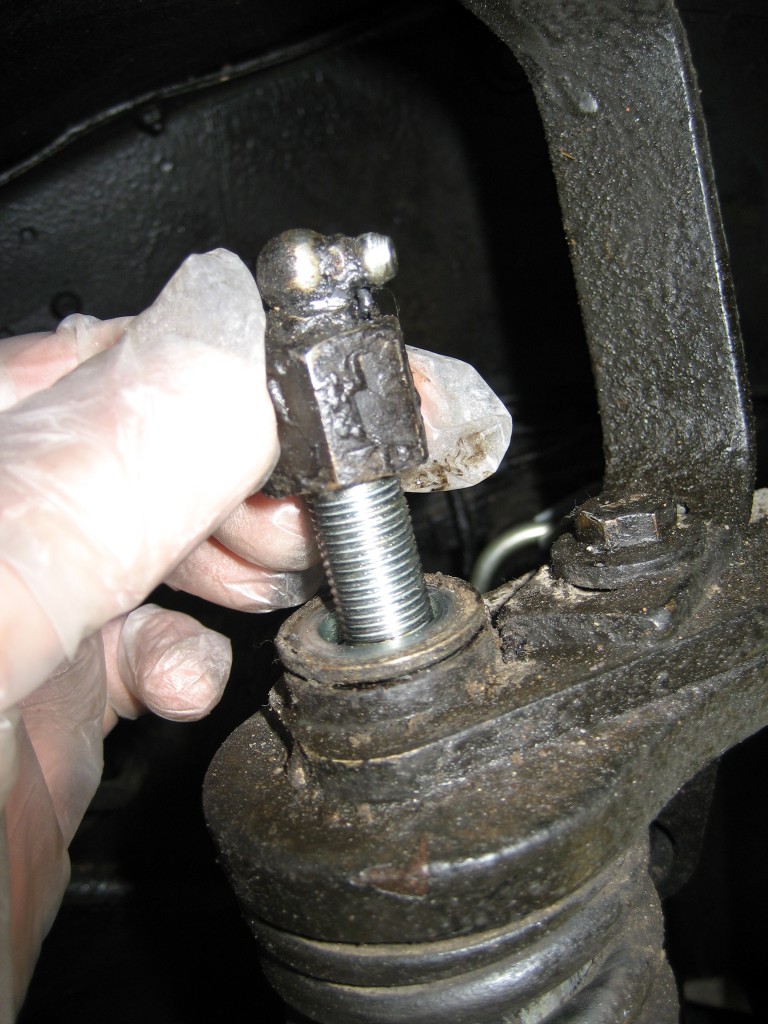
They look so innocent once back in place over the reaction bar.
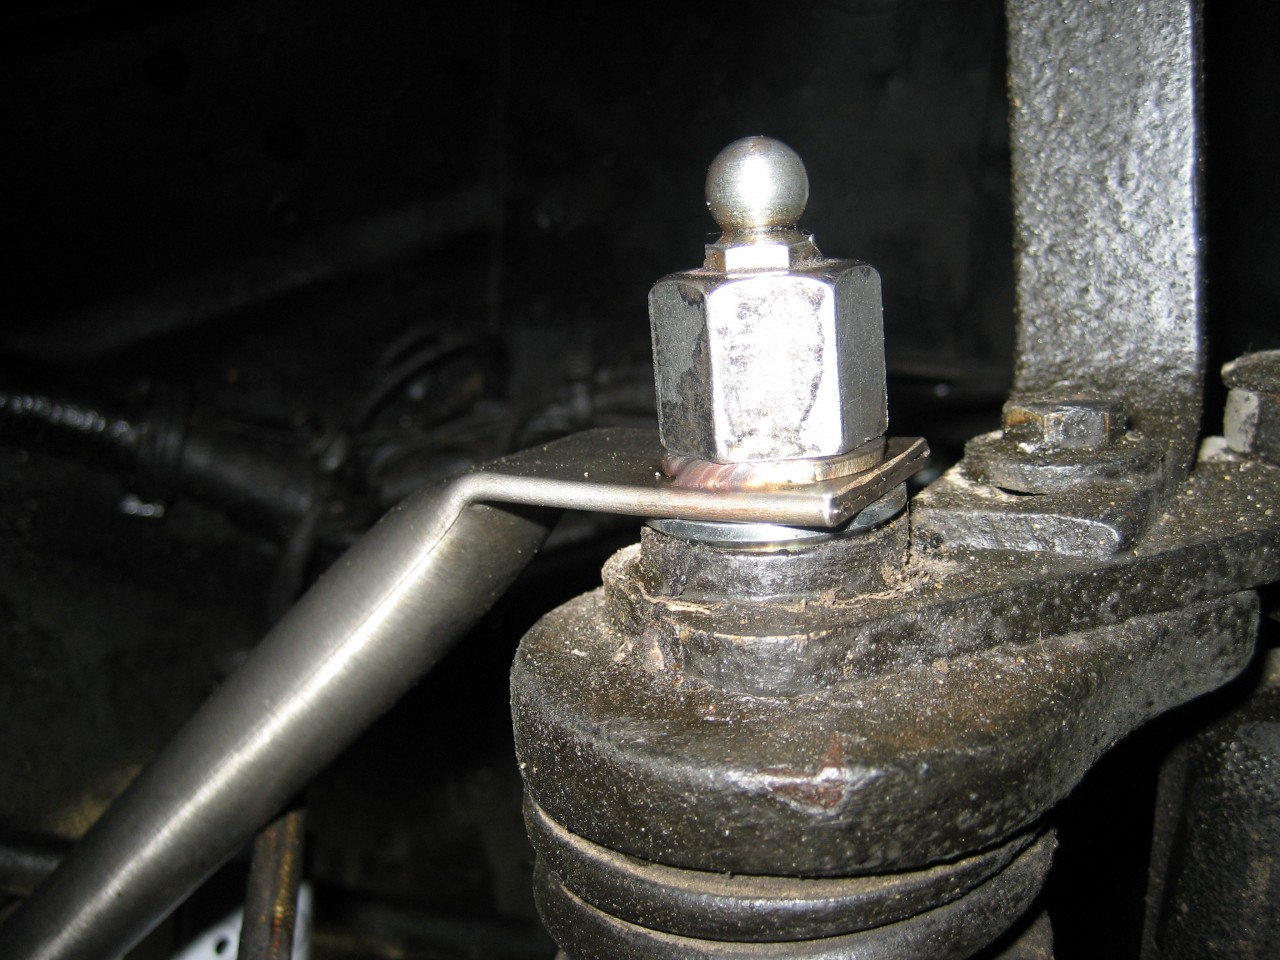
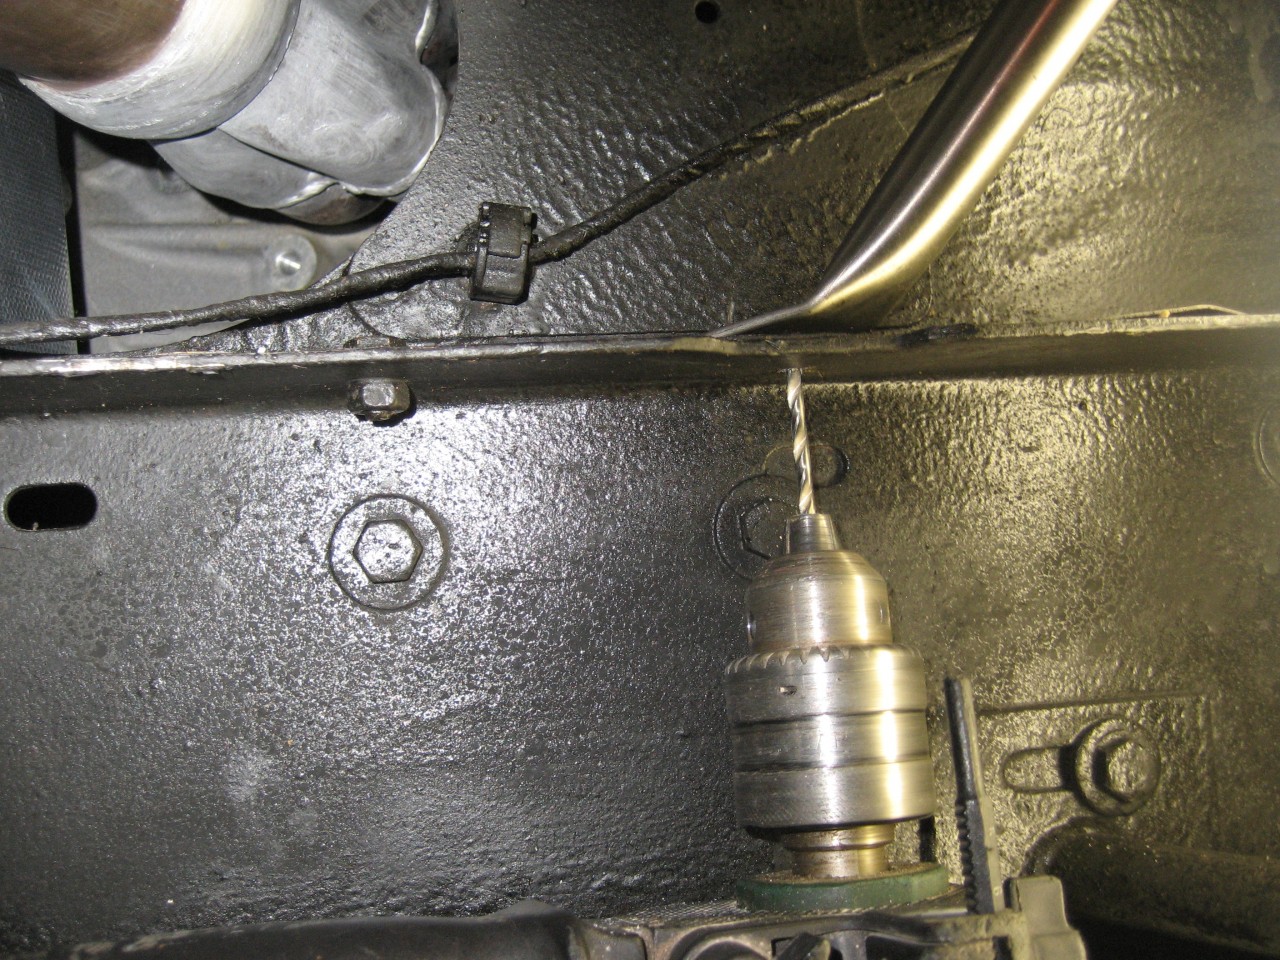
It's tricky locating the right place to drill the chassis:
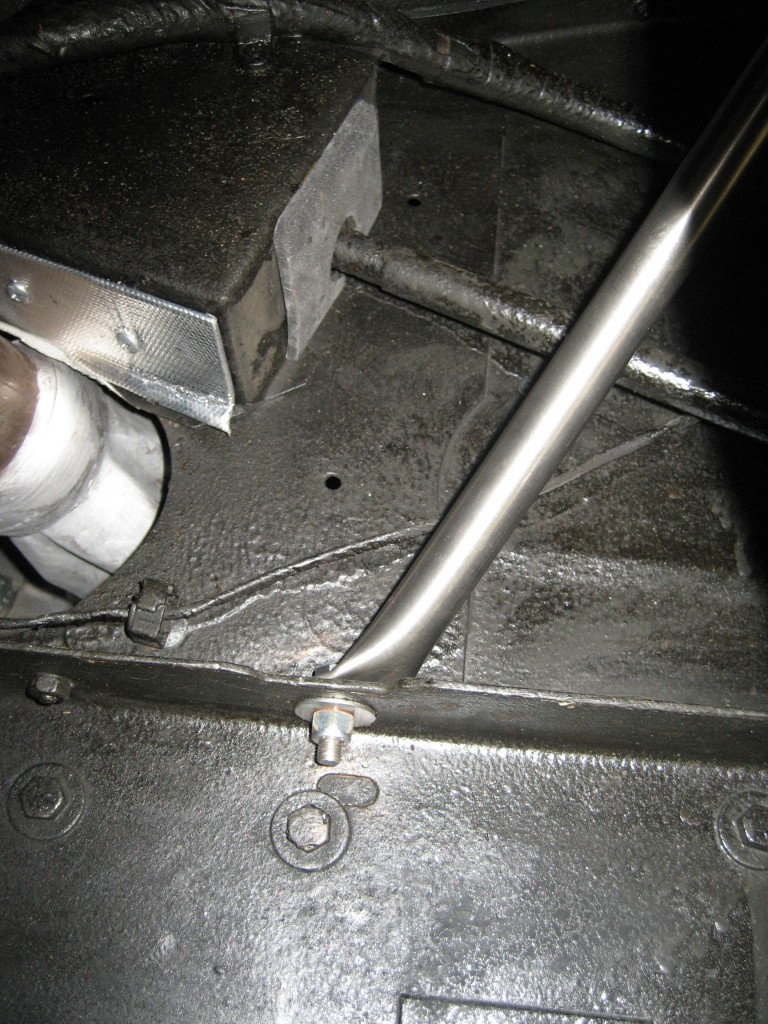
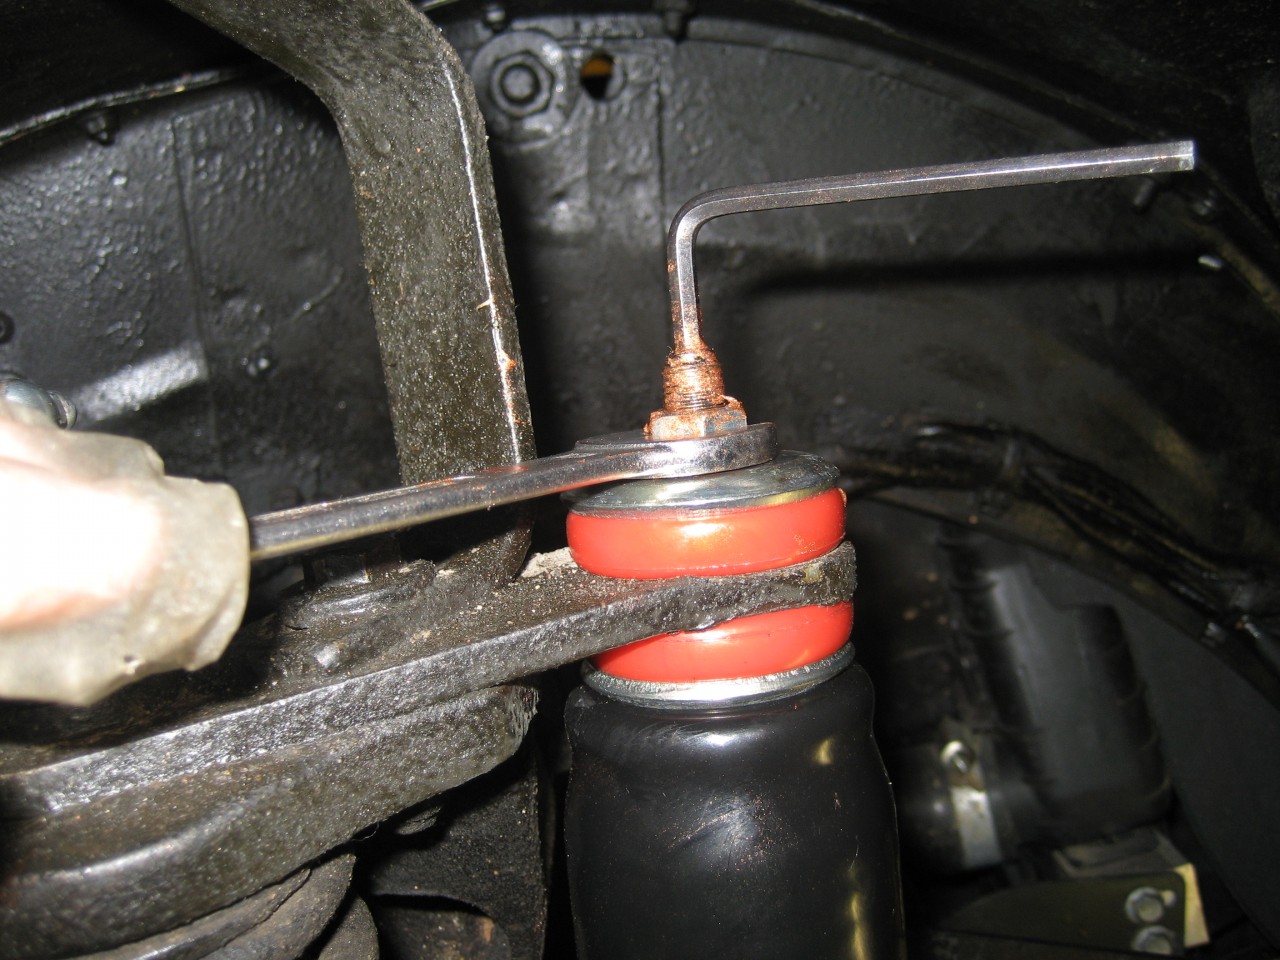
Then I fitted the AVO's - very simple job. The old damper has a flat on the shaft so that an open ender can hold it still but the AVO's have an allen head.
I've also fitted a sleeve over the flexible pipe as it touches the reaction bar:
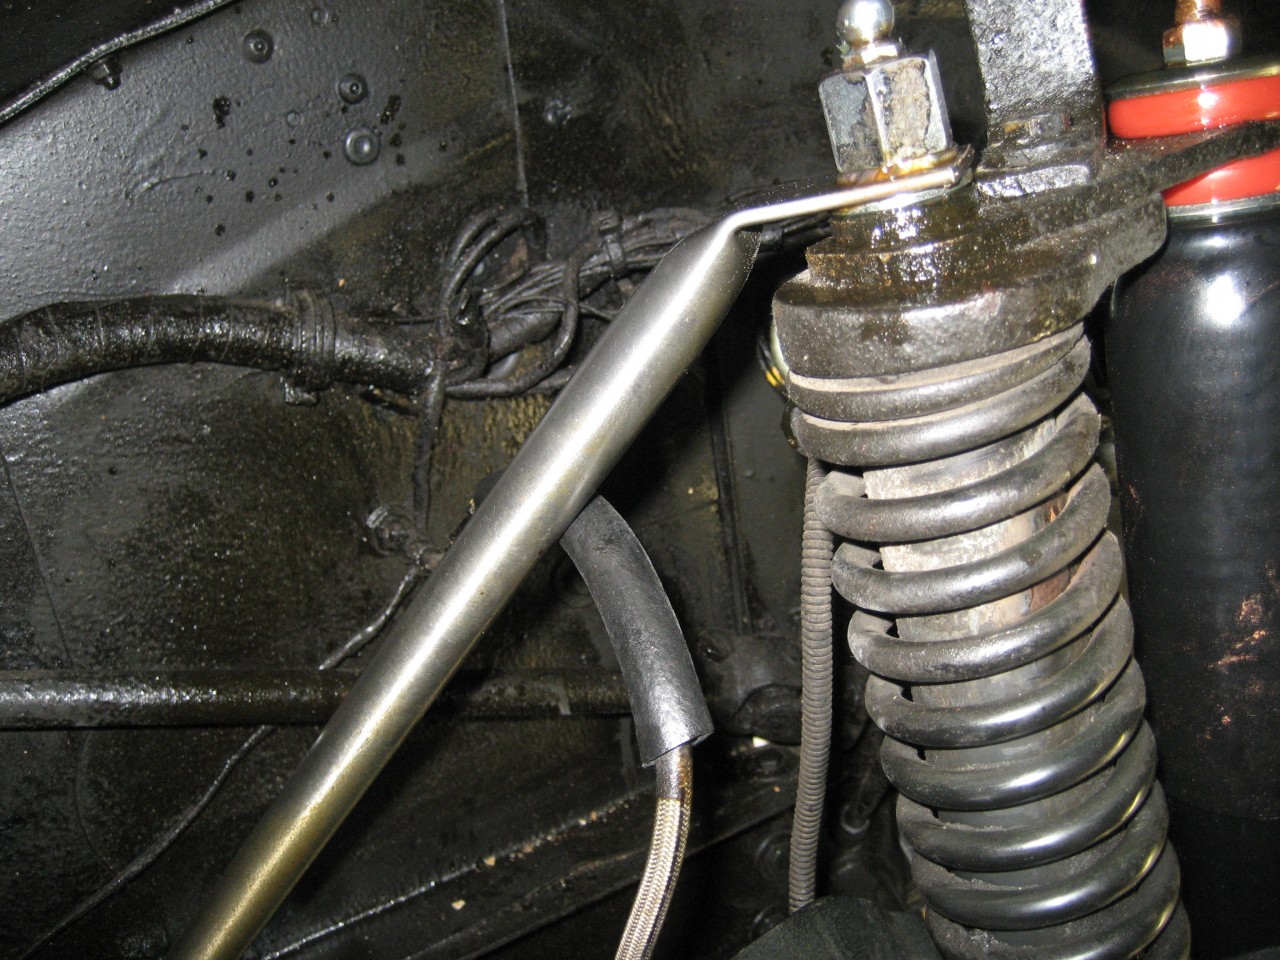
And one shot of the nearside.
Started about 11.00, stopped for lunch and finished about 4.45, so a productive day.