Wales
by Joske Vermeule, September 1
|
|
|
|
|
|
|
|
|
|
|
Forums39
Topics49,866
Posts837,607
Members9,596
| |
Most Online1,063
Jun 14th, 2026
|
|
|
There are no members with birthdays on this day. |
|
|
|
Joined: Oct 2007
Posts: 1,502
Talk Morgan Enthusiast
|

Talk Morgan Enthusiast
Joined: Oct 2007
Posts: 1,502 |
It's a shame to have to correct built in defects isn't it? I had a number of hose chafe issues on my 2005 4/4, all easily solved so why not by the factory?
|
|
|
|
|
Joined: Jul 2011
Posts: 3,643
Talk Morgan Addict
|
|
Talk Morgan Addict
Joined: Jul 2011
Posts: 3,643 |
Mine hose has same issue as you pointed out Dave. Now need to put a fix in place.
Ian
2011 Plus 4
Wild Mogs Reims 2019, Goodwood 2018, Isle of Man 2017, Carried on to Caramulo" 2016
|
|
|
|
|
Joined: Dec 2008
Posts: 22,366 Likes: 354
Roadster Guru Member of the Inner Circle
|
|
OP
Roadster Guru Member of the Inner Circle
Joined: Dec 2008
Posts: 22,366 Likes: 354 |
Alan - I prefer black leather for my non-i-phone..........
Nigel, it's about attention to detail. Being OCD I have far too much of it, but I wouldn't engineer an engine bay with so many chafe points. The most recent find above only needs the hose shortening at the inboard end to clear the electric plug, but that would take time on the production line.
The chafe point on the fuel line is ridiculously easy to fix, just needing the Jubilee clip on the air intake moving round 180degrees. That could cause a total loss over time.
The one around the alternator needs a slightly longer hose at the engine end. The one from the radiator which rests on the alloy block which holds the radiator can't be moved so needs protecting. And the heater hose which goes across the edge of the bulkhead could be shortened, but a simple neoprene pad does the job. When the time is right to drop the coolant I'll fix all that permanently - all hoses, metal tubes, jubilee clips, and adaptors are available from Demon Tweeks.
DaveW
'05 Red Roadster S1
'16 Yellow (Not the only) Narrow AR GDI Plus 4
|
|
|
|
|
Joined: Dec 2008
Posts: 22,366 Likes: 354
Roadster Guru Member of the Inner Circle
|
|
OP
Roadster Guru Member of the Inner Circle
Joined: Dec 2008
Posts: 22,366 Likes: 354 |
Post Photobucket Re-Boot from October 2013. A long thread with 70 images to follow............... So, back from Cornwall, and an amazing ten days away from the garage................. So next I started on the badge bar and front number plate box. The box was retained by two allen head setscrews in from the front with nuts behind next to the horns. I prefer this the other way round. On the Roadster the setscrews go in next to the horns with the nuts on the number plate box. That way I find easier to manage. Anyway - remove the box and the grille slides down and out. I decided to assist the airflow into the radiator by lining the cowl with neoprene, and this stops too much air spilling round the sides and underneath. I started with cardboard templates, and used polypropylene sheet (quite stiff), and drilled the stainless sides in two places each side (setting aside my no drilling credentials for this one!). This would probaby help more on the Plus 8 by the way. 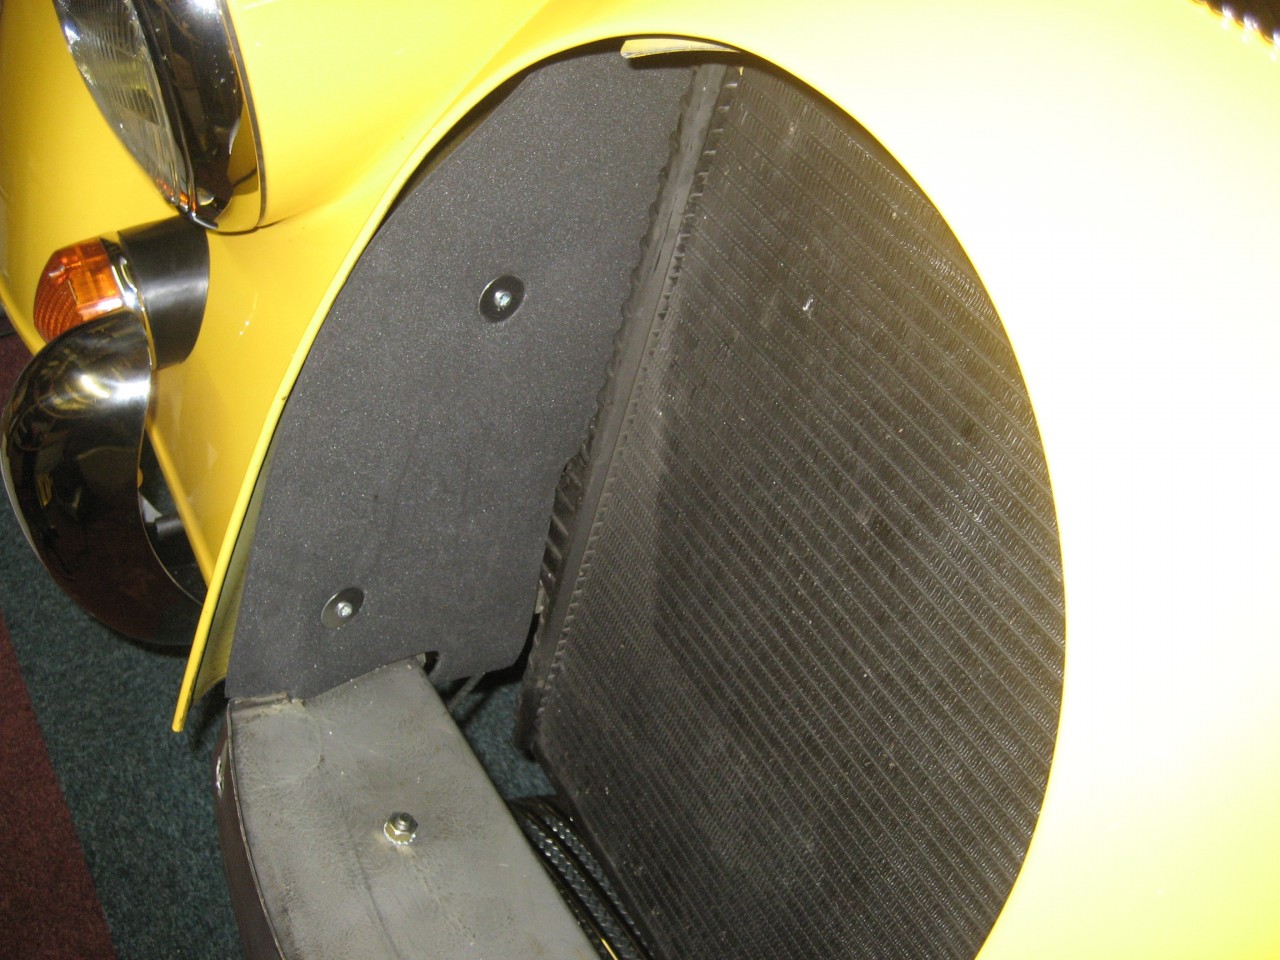 I might even do this to the Roadster in time. Note that the holes in the lower mounting on the car are 'messy', and it wasn't me! September 2017 note: Current cars have two holes quite roughly drilled and enlarged to provide fine adjustment for the grille. Earlier cars (e.g. My 2005 Roadster) have Riv-nuts set into the lower panel, and so have much more limited adjustment, but it looks much better! 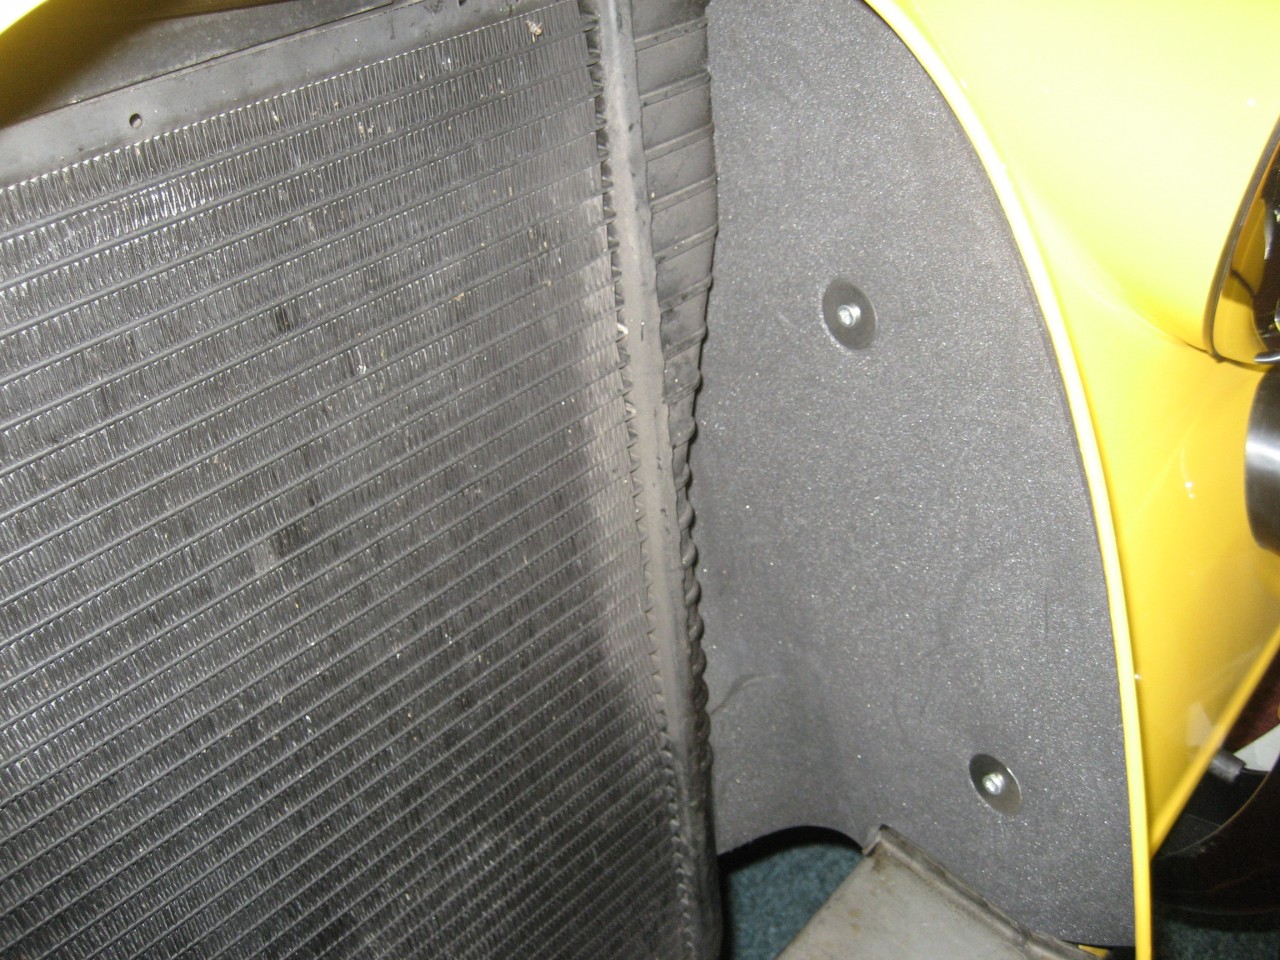 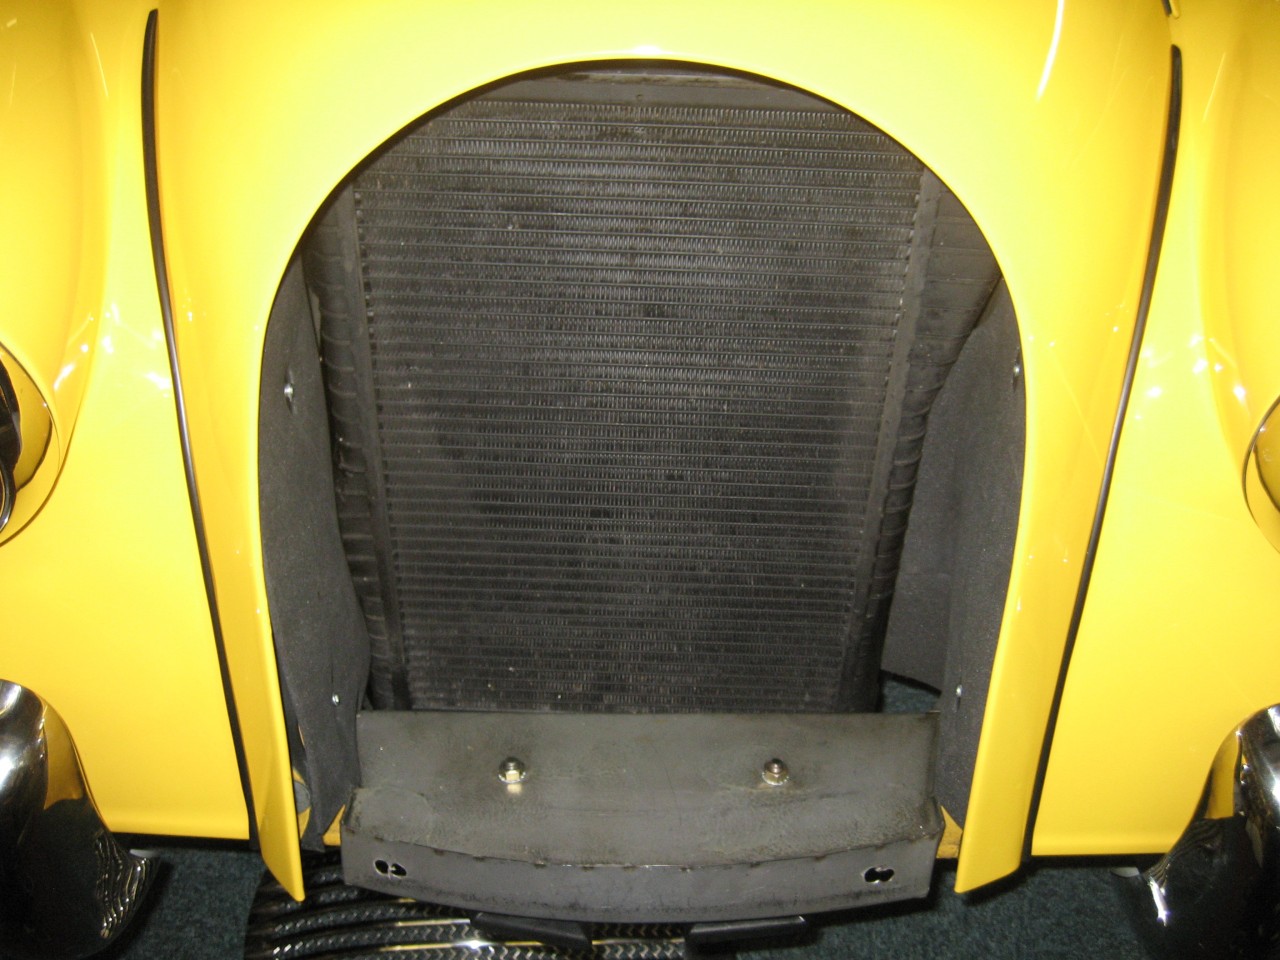 Here's the box tidied up and with a neoprene U channel applied to the lower edge. A lick of satin black paint finishes the job. 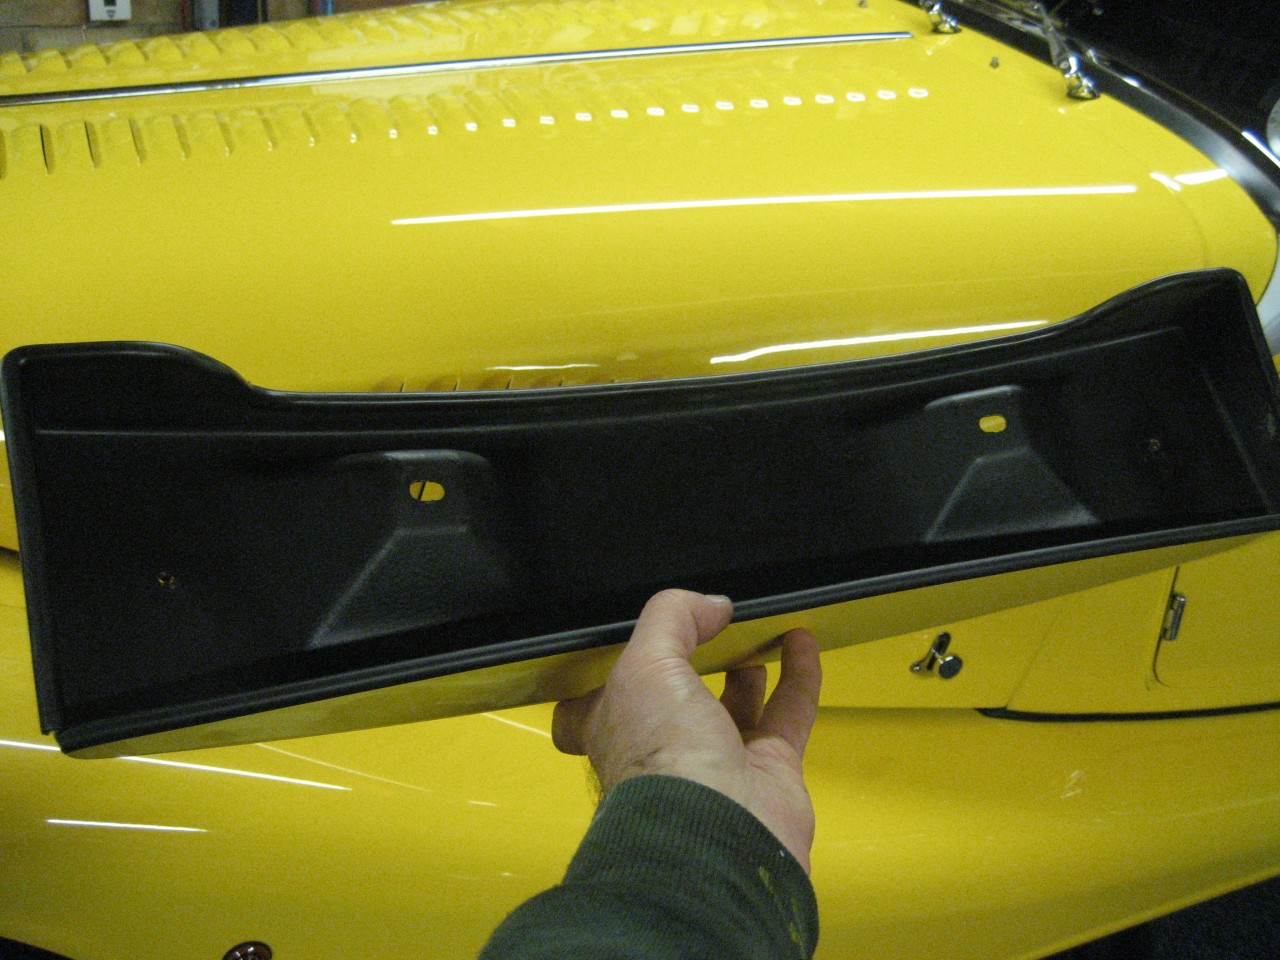 This is the stainless steel number plate backing (sourced from MG Owners Club), still with white protective cover, test fitted inside the box. It is curved gently over my knee, and fits the opposite way to how it would fit behind the number plate.. 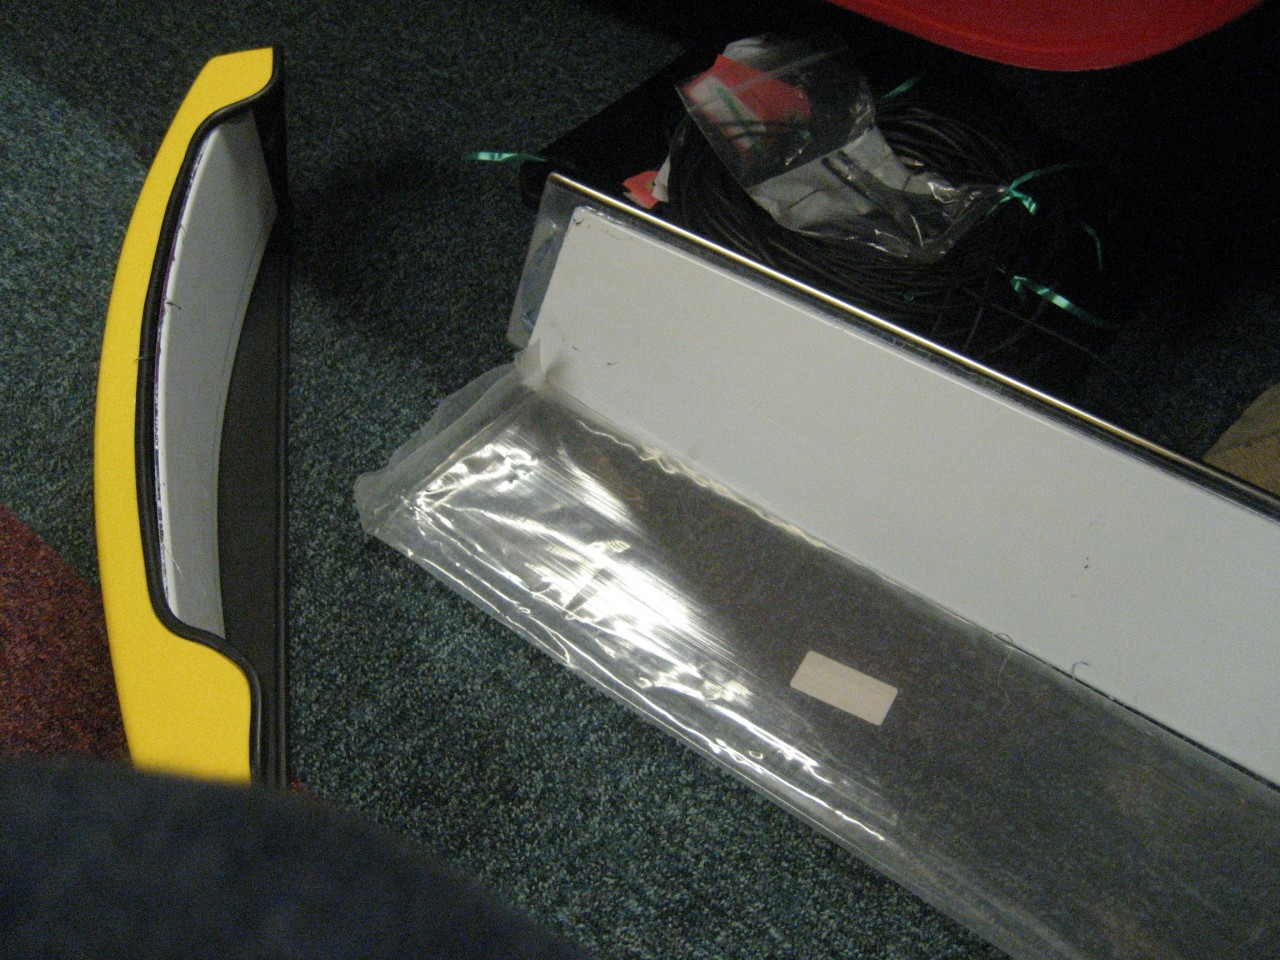 Marked up for drilling. Different badges need different height holes. 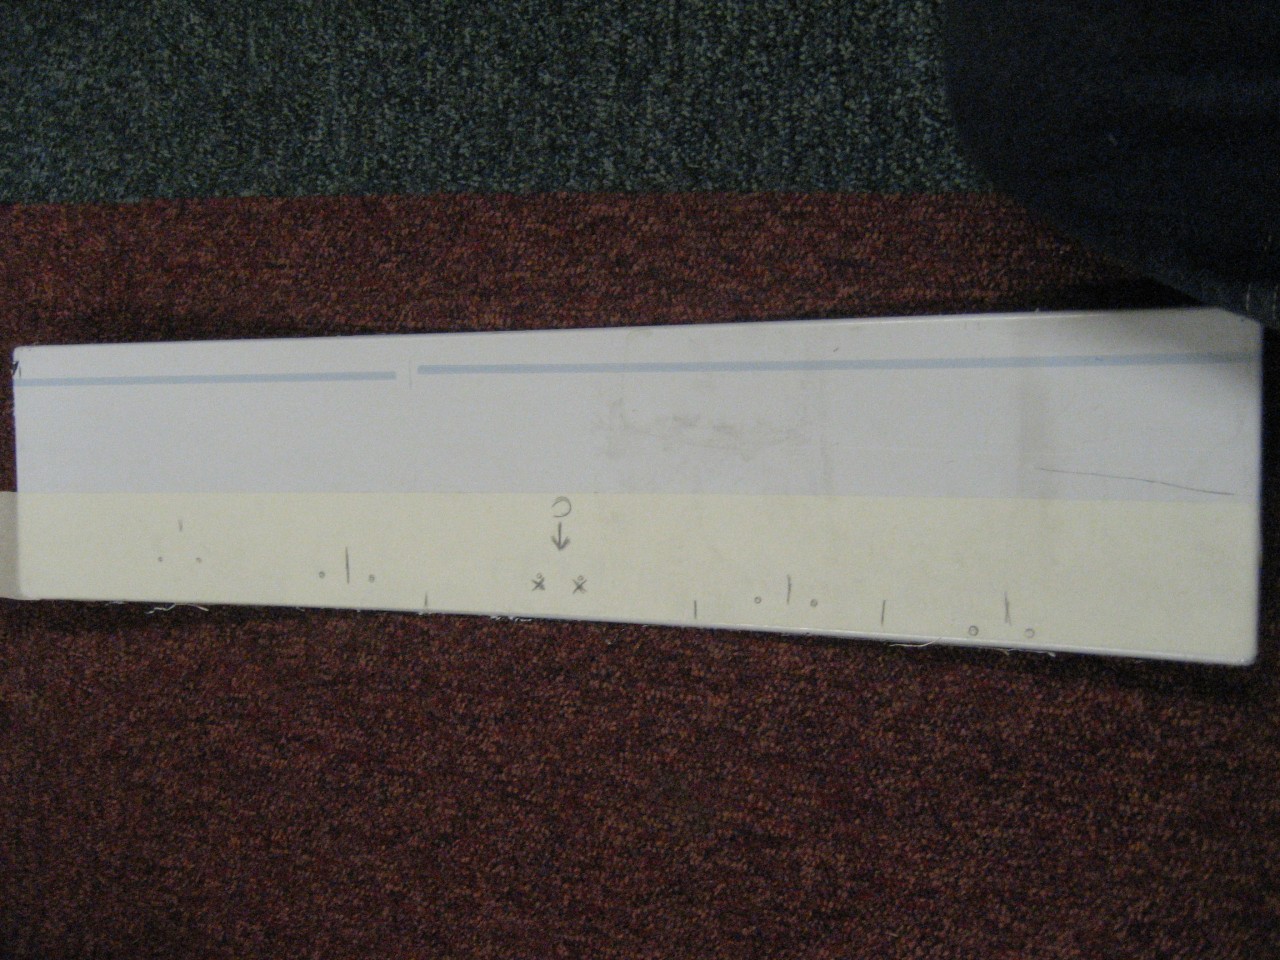 And then as if by magic............... 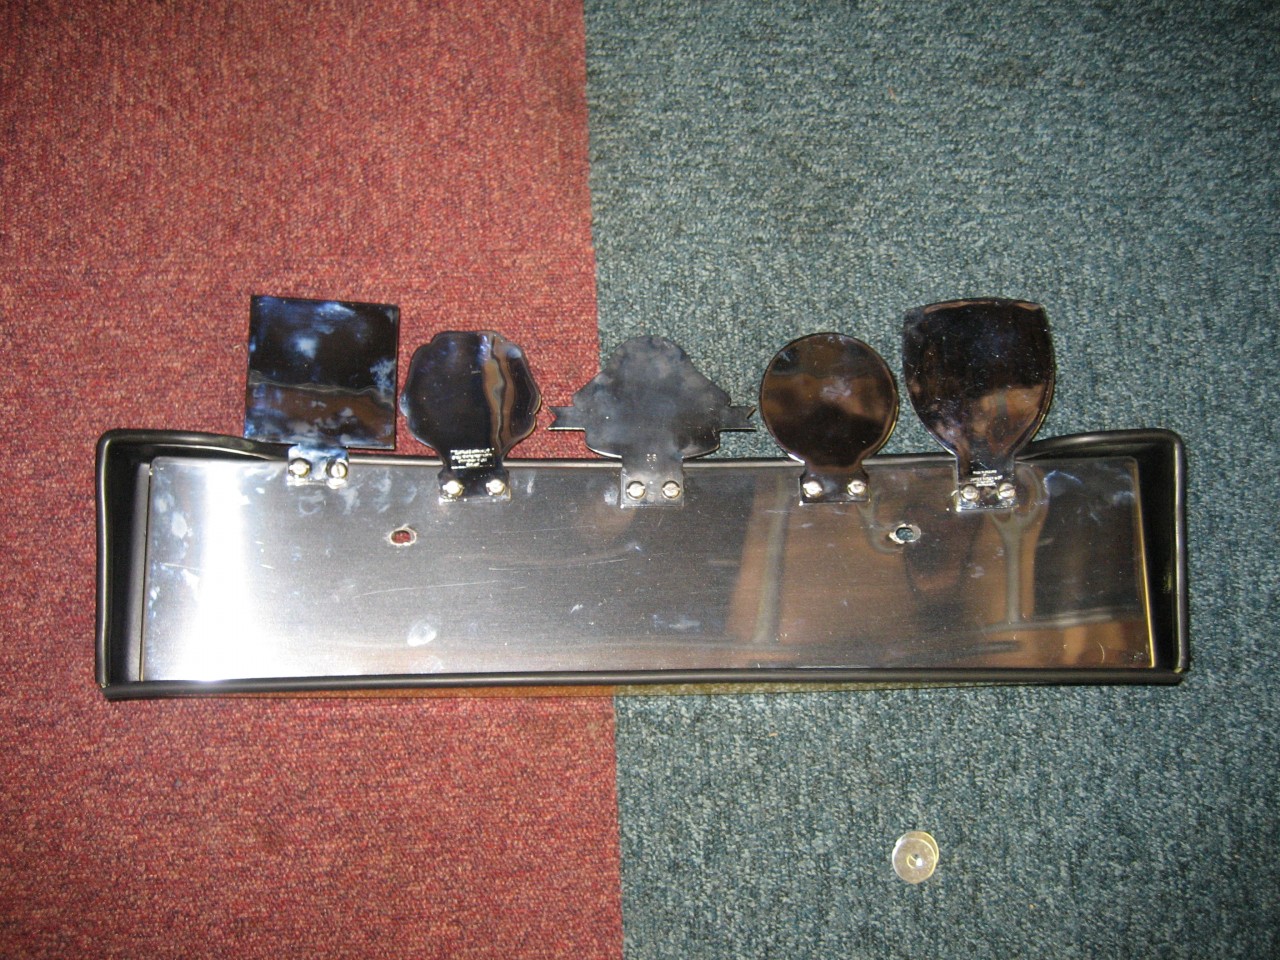 Turn it over....... 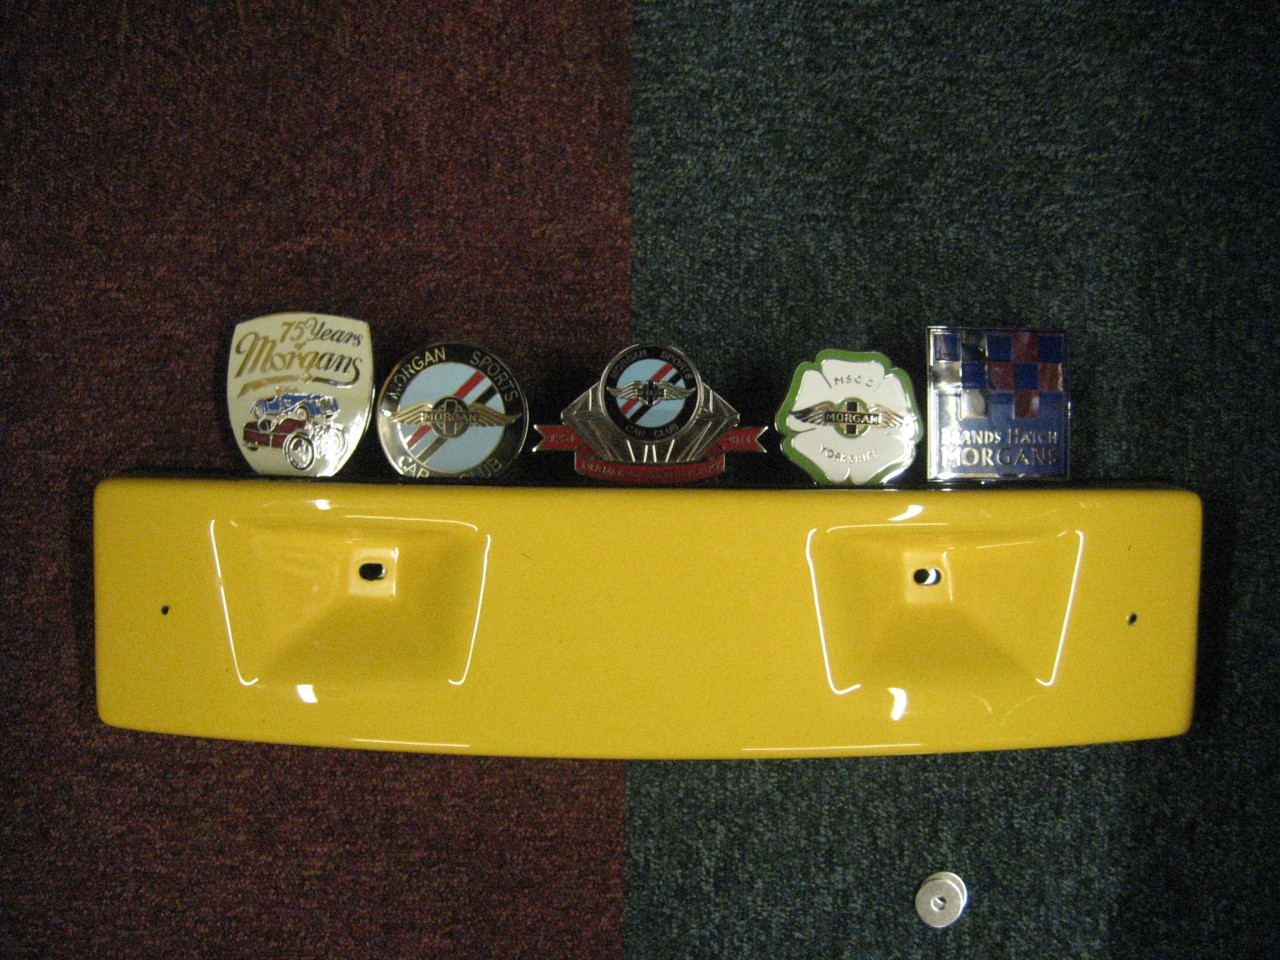 This is how it looks with setscrews reversed to my liking: Nuts applied to hold the grille in place, then large rubber washers go over the top before replacing the box, with angled spacers to move it from the standard laid back alignment. 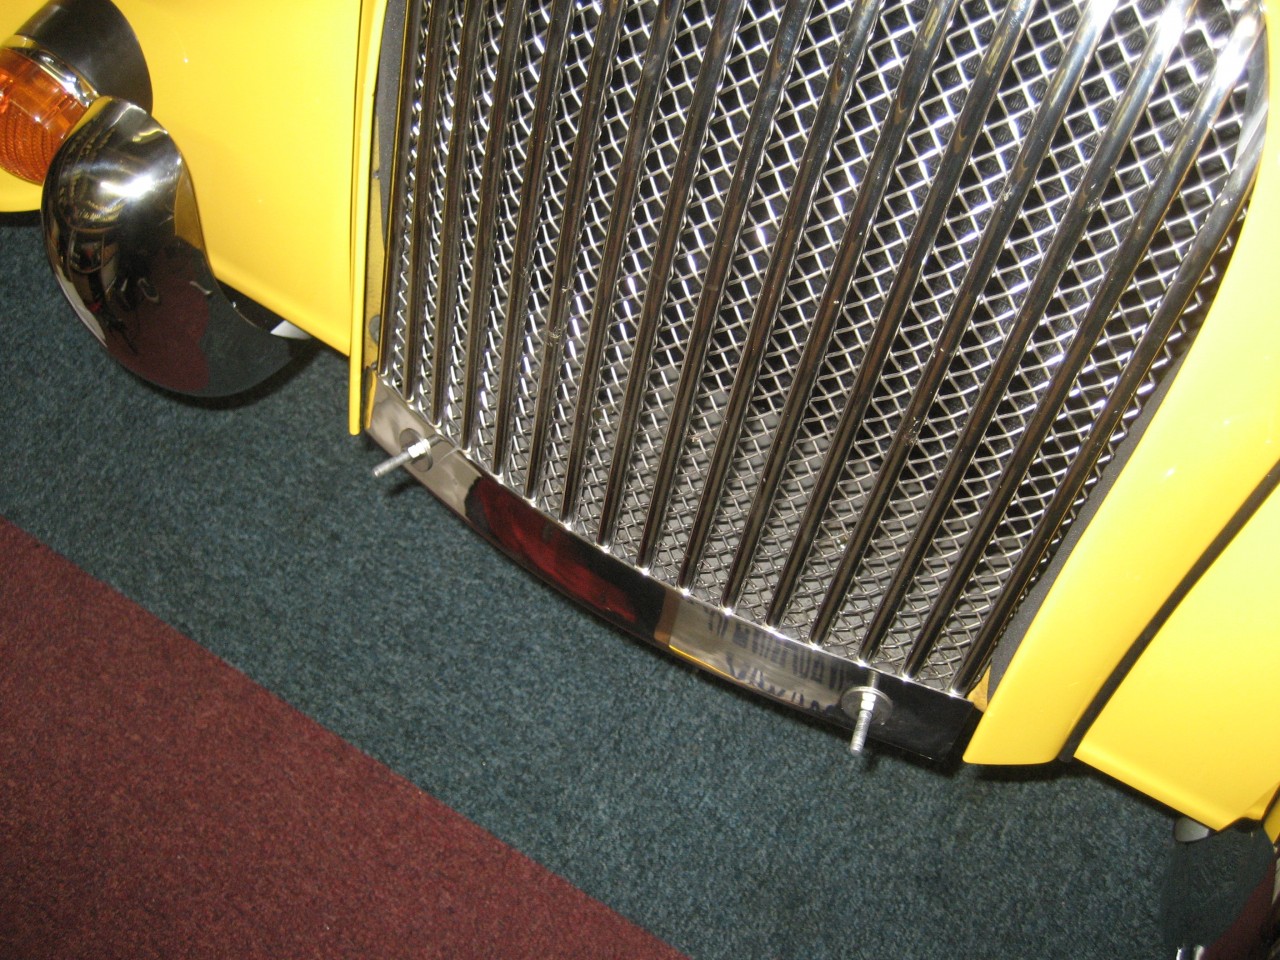 And here is the finished article. I'm pleased with how this looks. 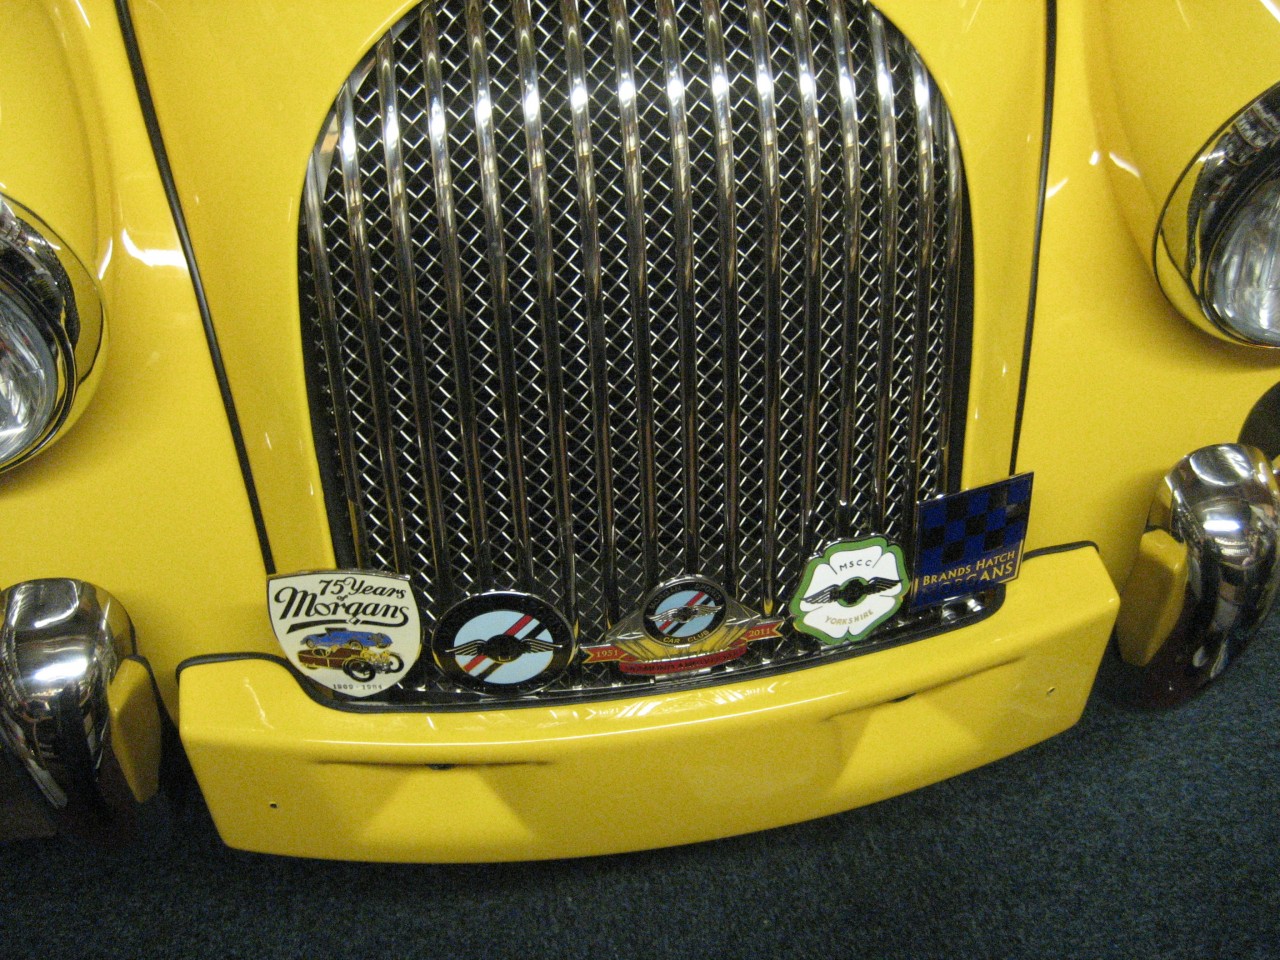 More to follow ........................
DaveW
'05 Red Roadster S1
'16 Yellow (Not the only) Narrow AR GDI Plus 4
|
|
|
|
|
Joined: Dec 2008
Posts: 22,366 Likes: 354
Roadster Guru Member of the Inner Circle
|
|
OP
Roadster Guru Member of the Inner Circle
Joined: Dec 2008
Posts: 22,366 Likes: 354 |
This is a Discovery 2 column shroud, obtained to test fit on Bumble. 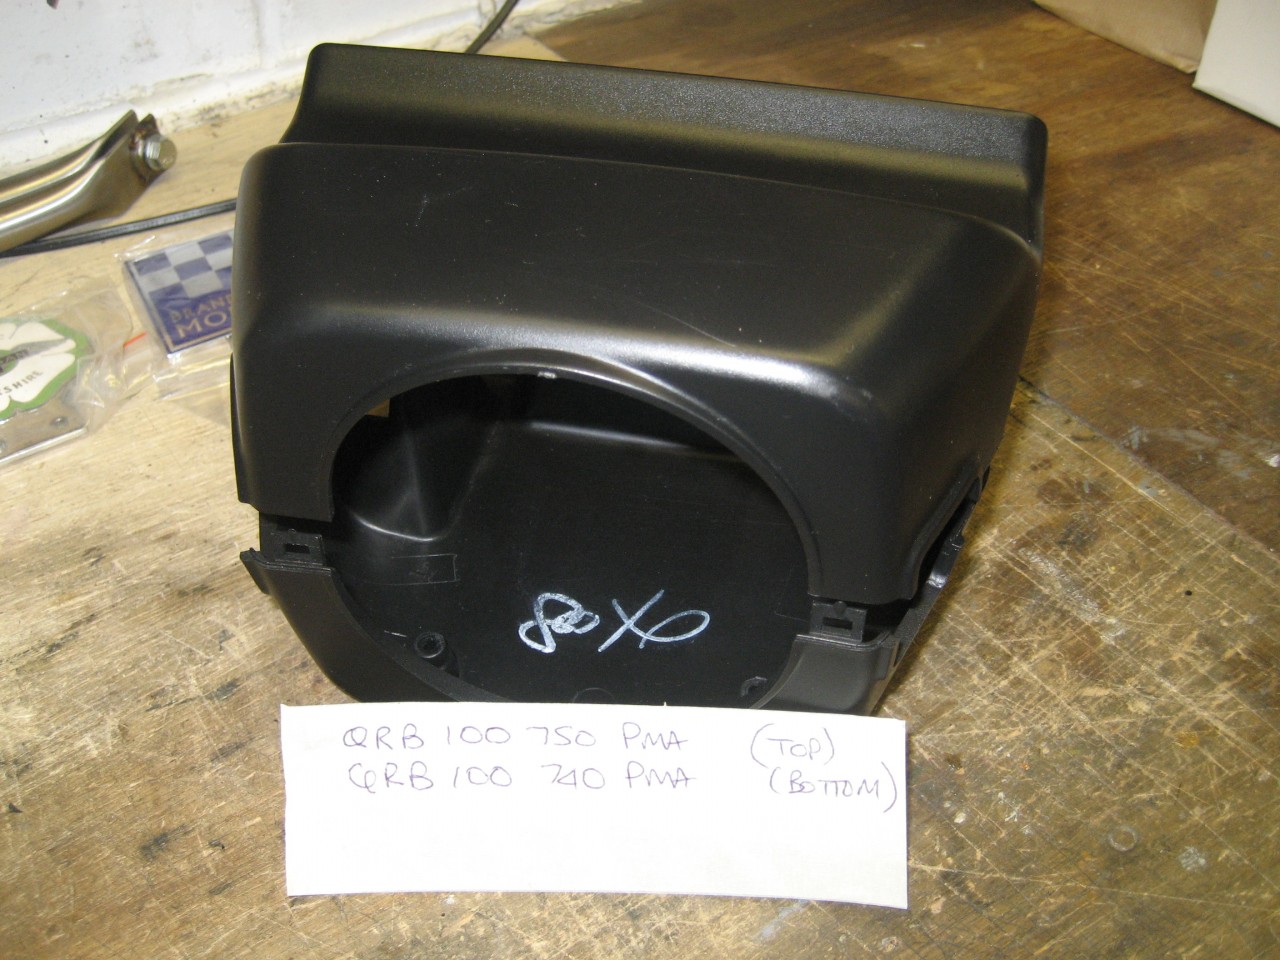 It's basically the same as fitted to the Series 1 Roadster, but has a slightly shorter lower moulding. 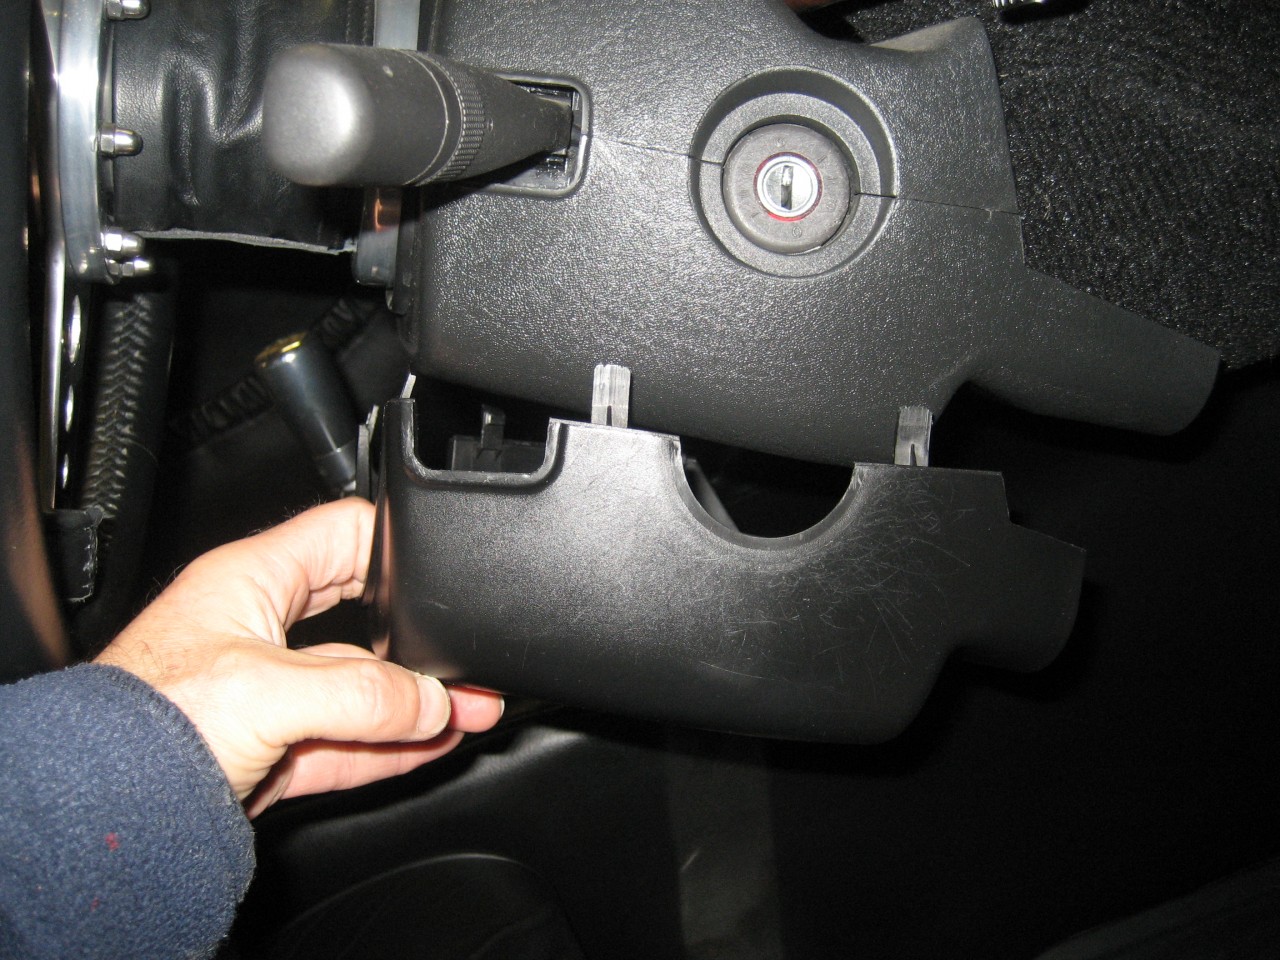 Anyway I can confirm that this will not fit the later column. The lower half could be made to fit with effort, but the top half is too bulky, and the whole thing is not long enough. So I had to do a better job on the original cowl. First I stripped off the temporary leather, stuck with double sided tape. Then I searched my scrap box for the thinnest piece I could find, big enough to cover the cowl. Most leather from e-bay is slightly too thick,and with a heavy grain, but occasionally I come across some fine and supple leather which can be moulded quite easily. The secret is to apply the aerosol adhesive to both surfaces on the main flat surface, and stick that first. Then you can work around the edges, using sharp scissors. This is the top section completed. I had to make a join about 2/3 the way down, but this is under the dash anyway so not seen. 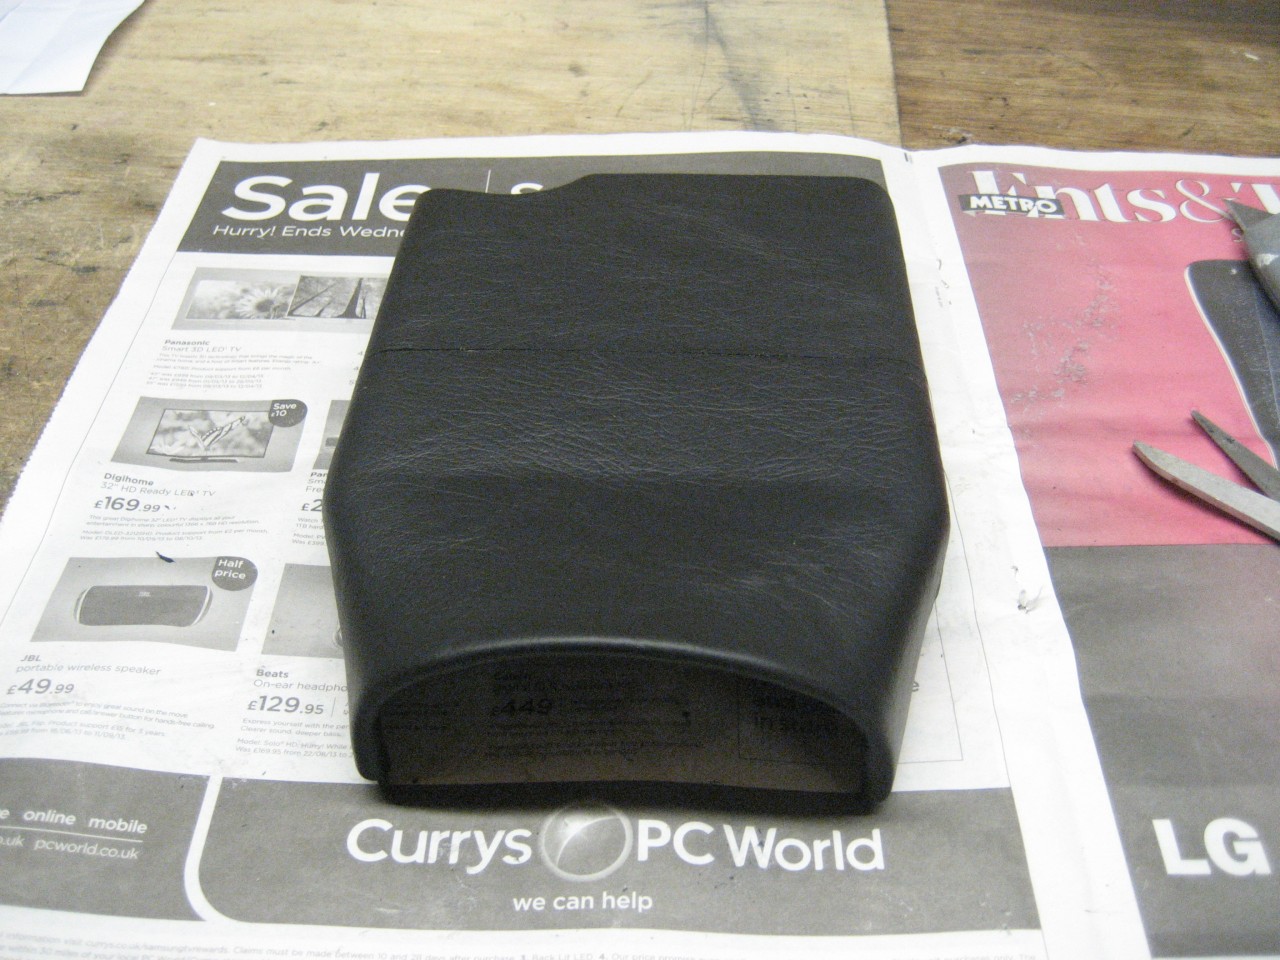 Here's the whole thing test fitted: 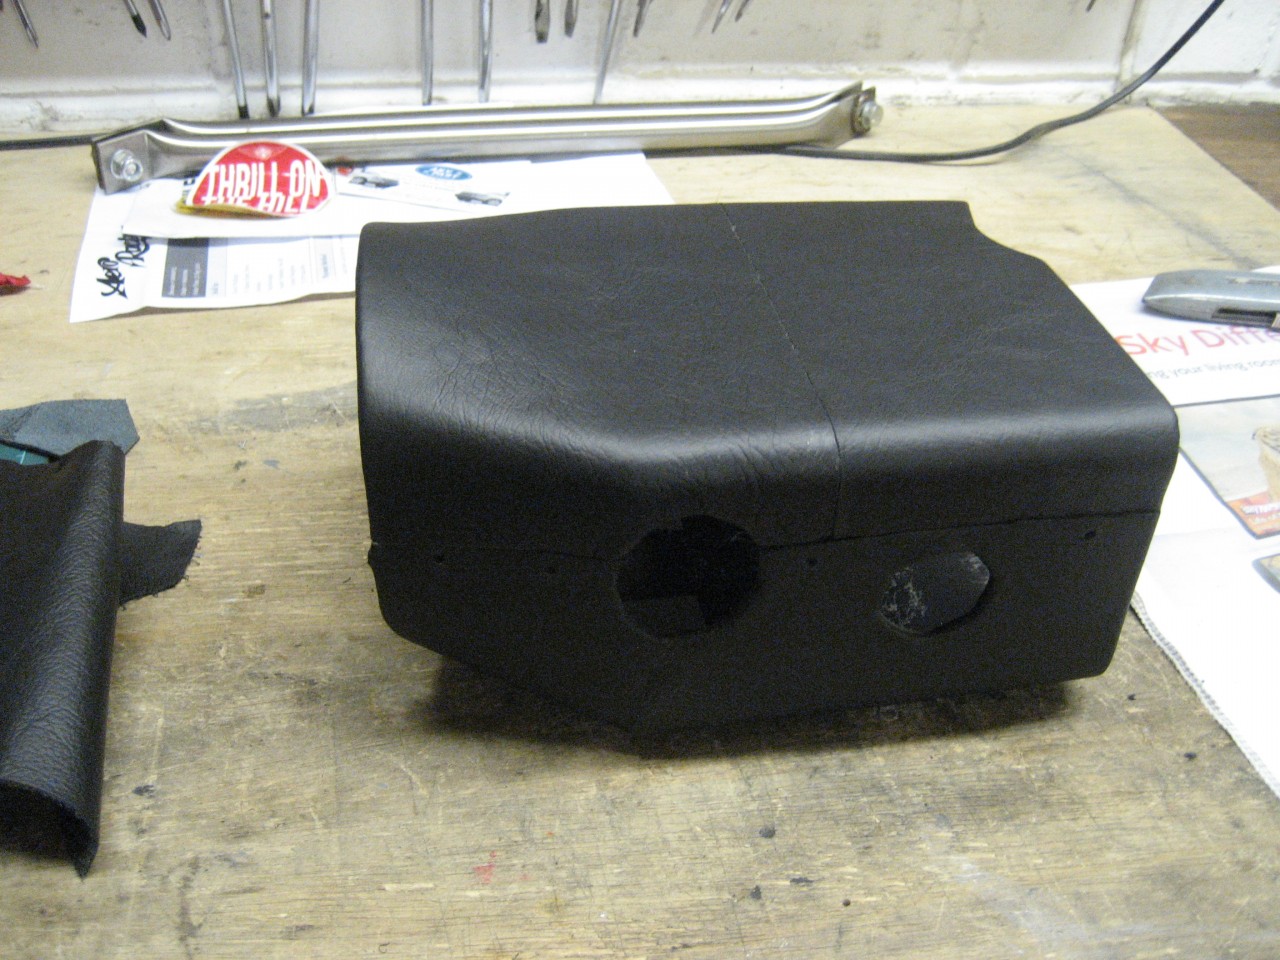 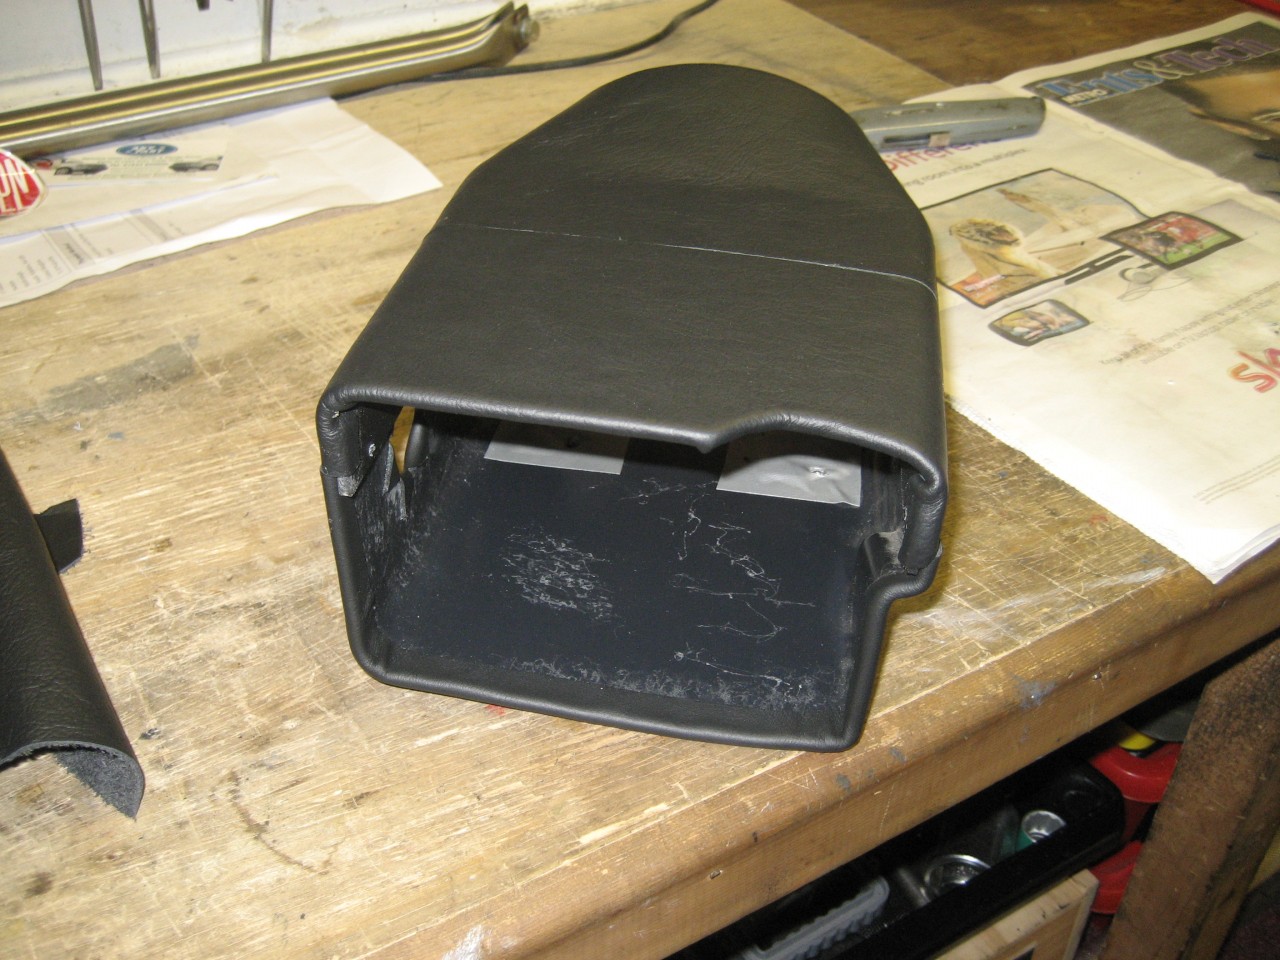  And back in Bumble: 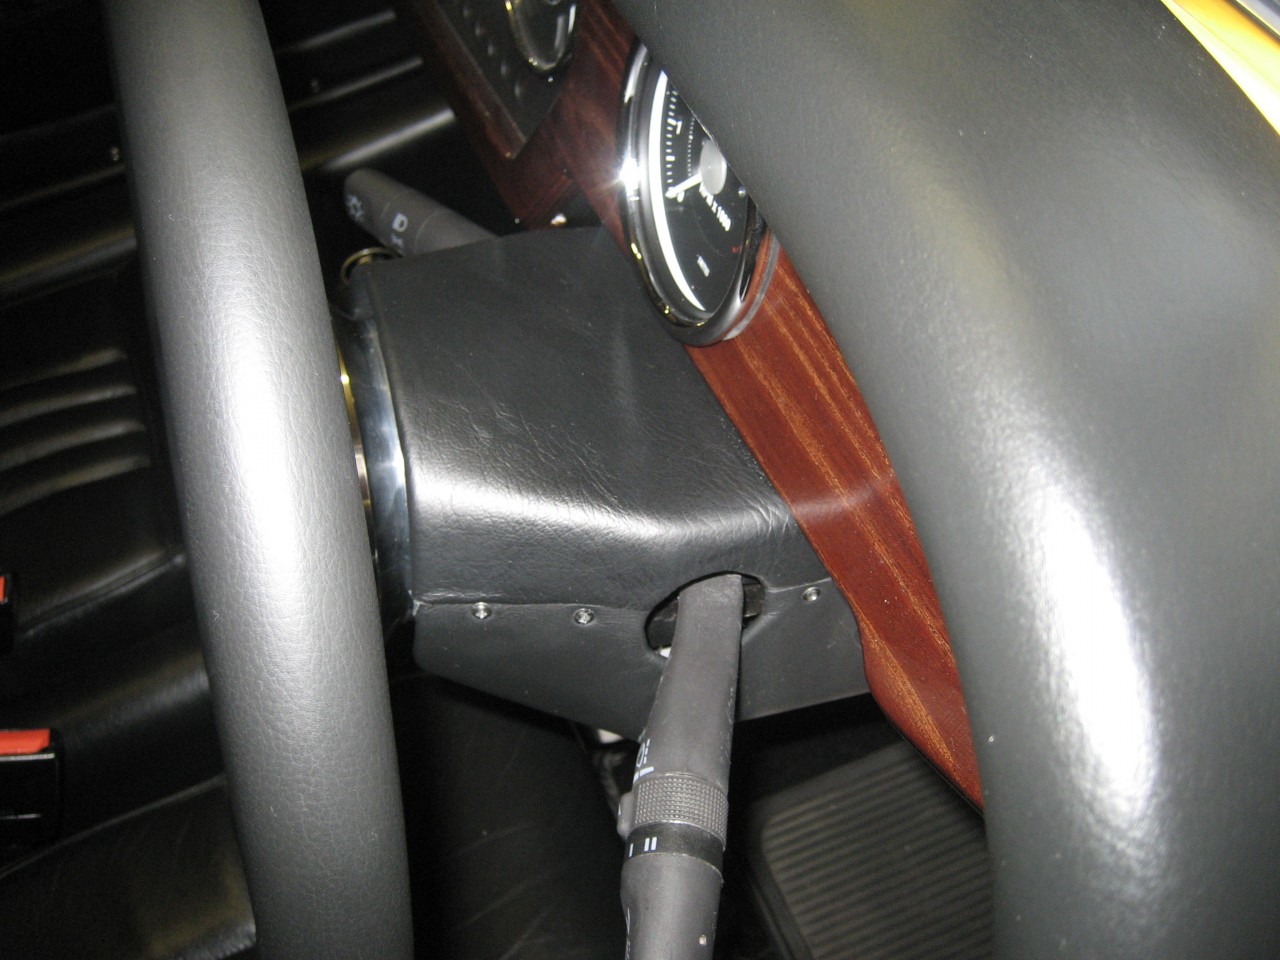 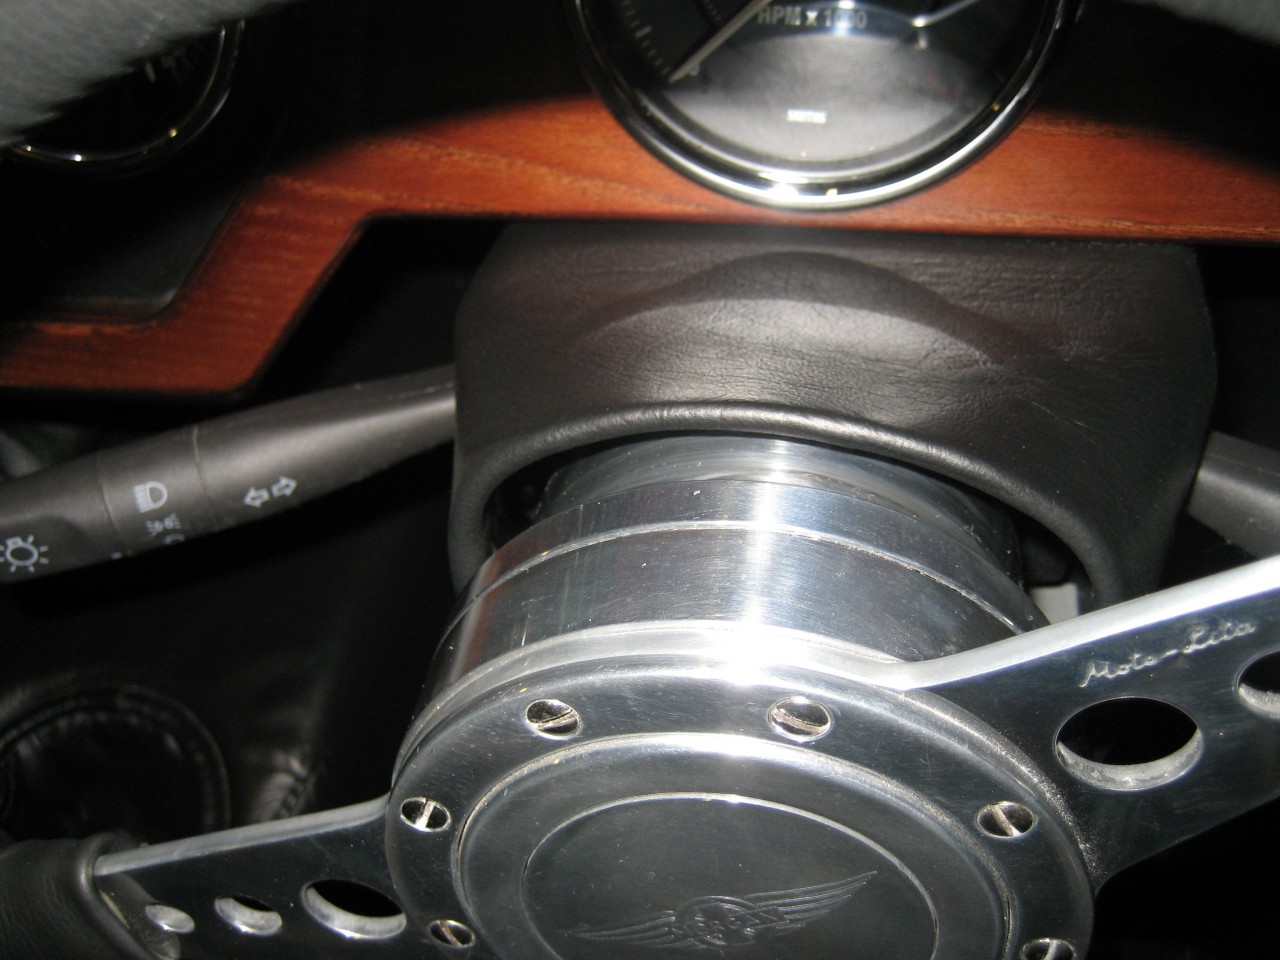 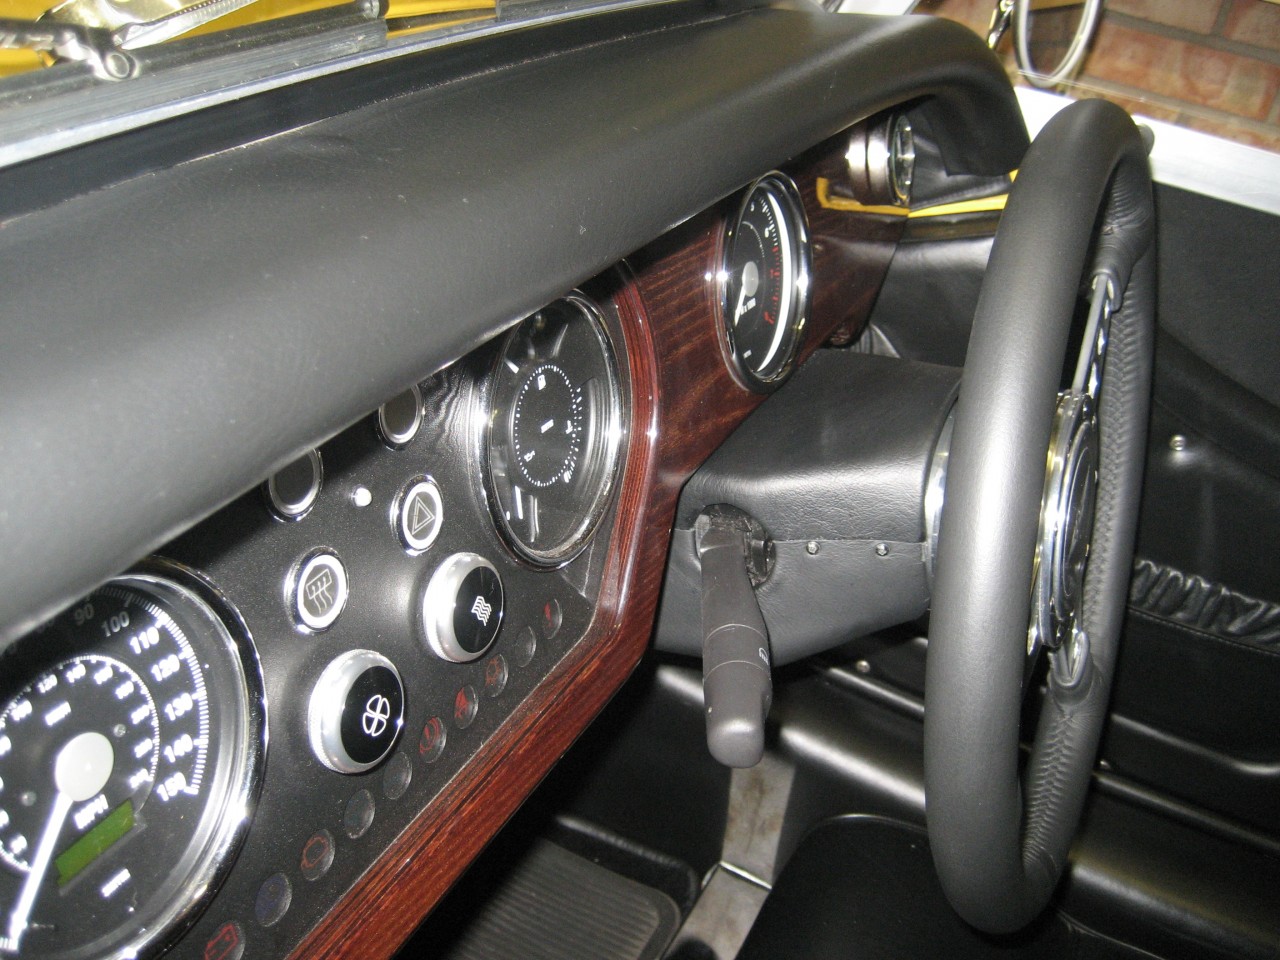 I'm very pleased with how this has turned out using offcuts of leather and aerosol glue!!!!!!! Finally I just had time to do the door edges: Standard painted wood: 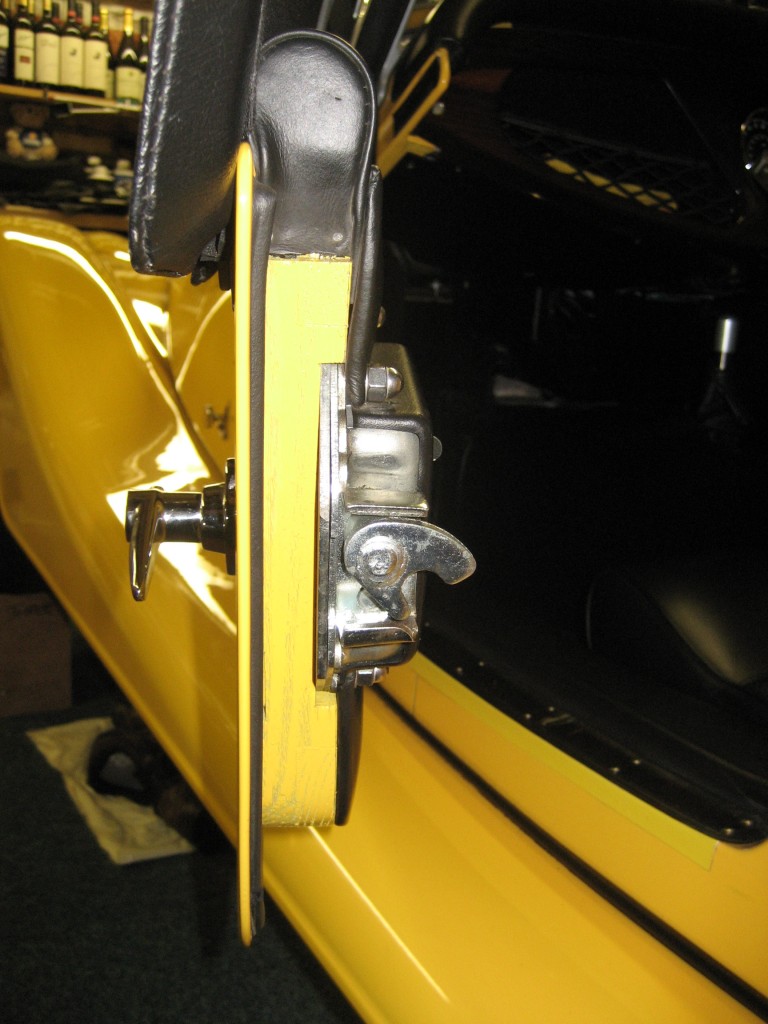 Leather stuck over 3mm neoprene, attached with double sided tape: I did this on the Roadster and it looks much better.... 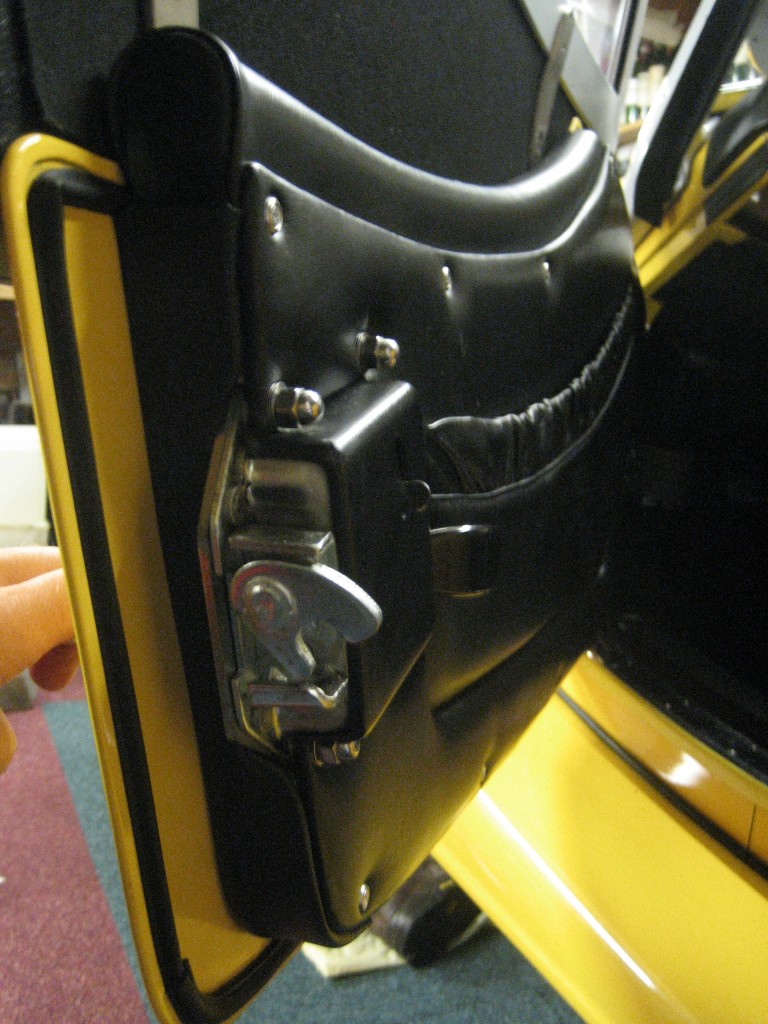 After that I fitted a few grommets into some holes under the bonnet, and that ended this weekend's efforts. Perhaps I can do a bit more tomorrow. More to follow.............................
DaveW
'05 Red Roadster S1
'16 Yellow (Not the only) Narrow AR GDI Plus 4
|
|
|
|
|
Joined: Dec 2008
Posts: 22,366 Likes: 354
Roadster Guru Member of the Inner Circle
|
|
OP
Roadster Guru Member of the Inner Circle
Joined: Dec 2008
Posts: 22,366 Likes: 354 |
Anyway the rain rained all morning and I couldn't be bothered going into the garage until after lunch. I began by looking underneath with a view to starting on the undertray. It was then I noticed that the engine block is offset about 2" to the right. See below - its quite obvious. 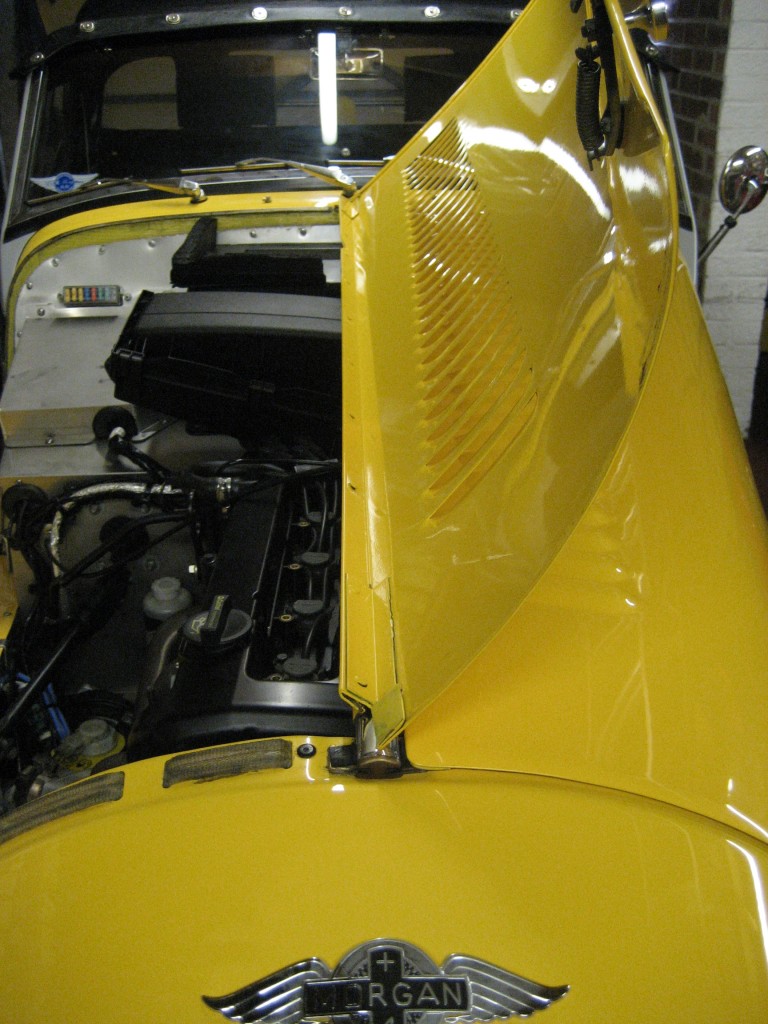 I decided to fill in the large hole in the valance. On the nearside there's a factory blanking plate, but the offside is left wide open. Visible here as a black eliptical shape behind the steering column. 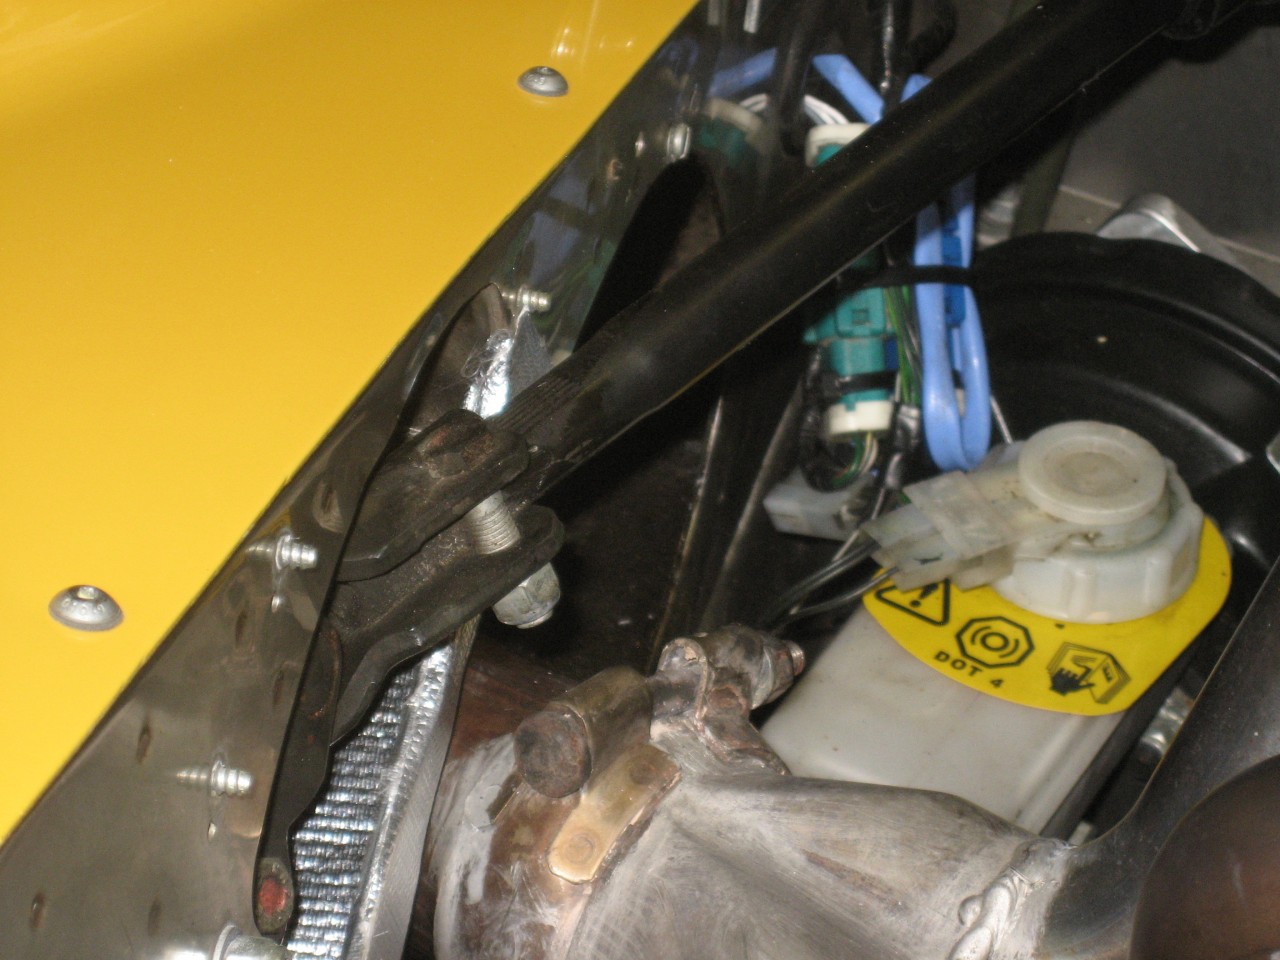 So first job was to cut an aluminium plate. I drilled this to make use of a single unused hole drilled in the valance, and split the lower edge so that it would straddle the opening and hold the plate in place. The two extra holes are for the master cylinder heat shield. 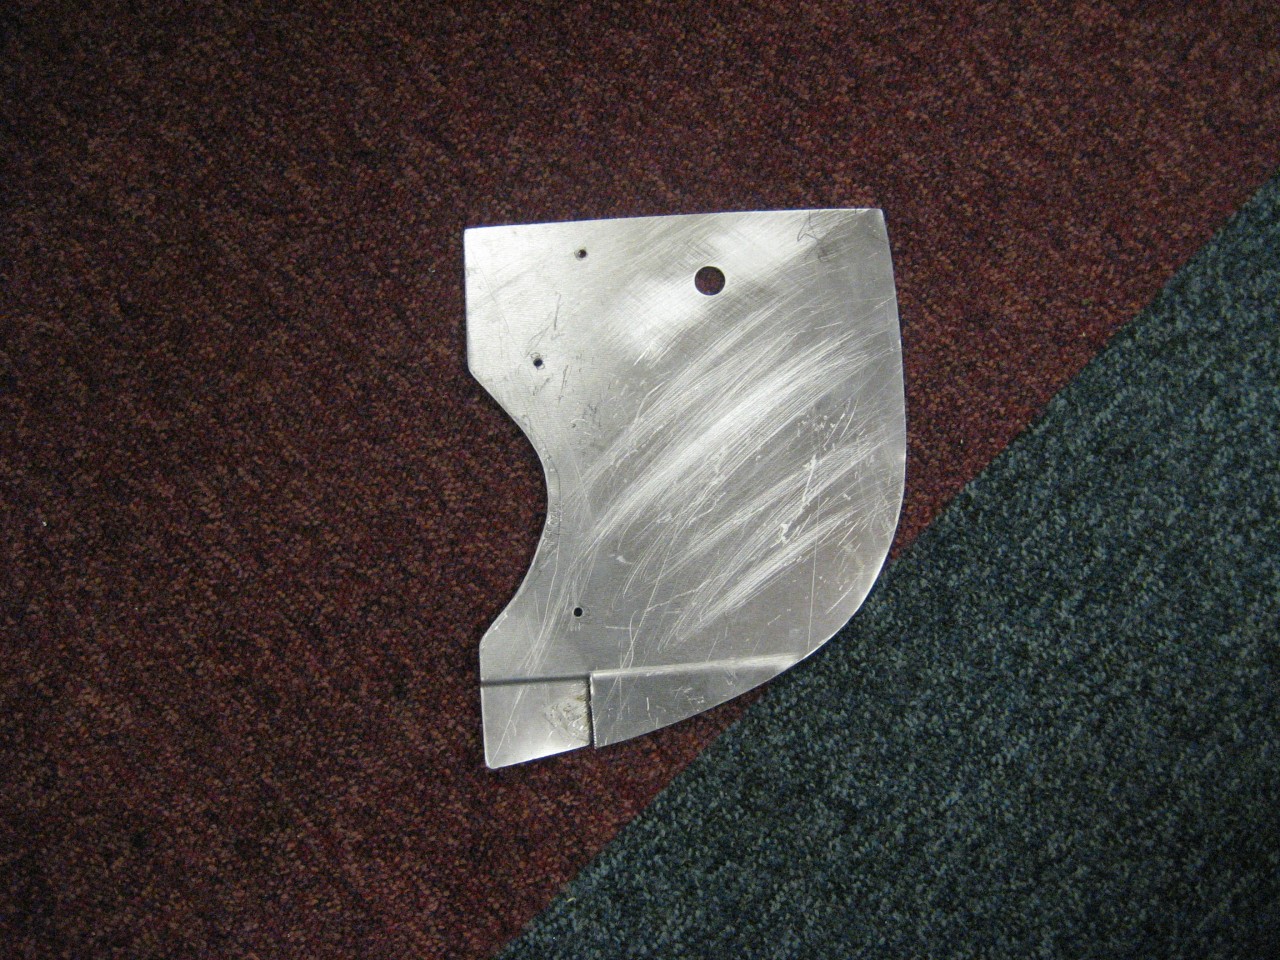 I then covered it with insulation both sides.......... 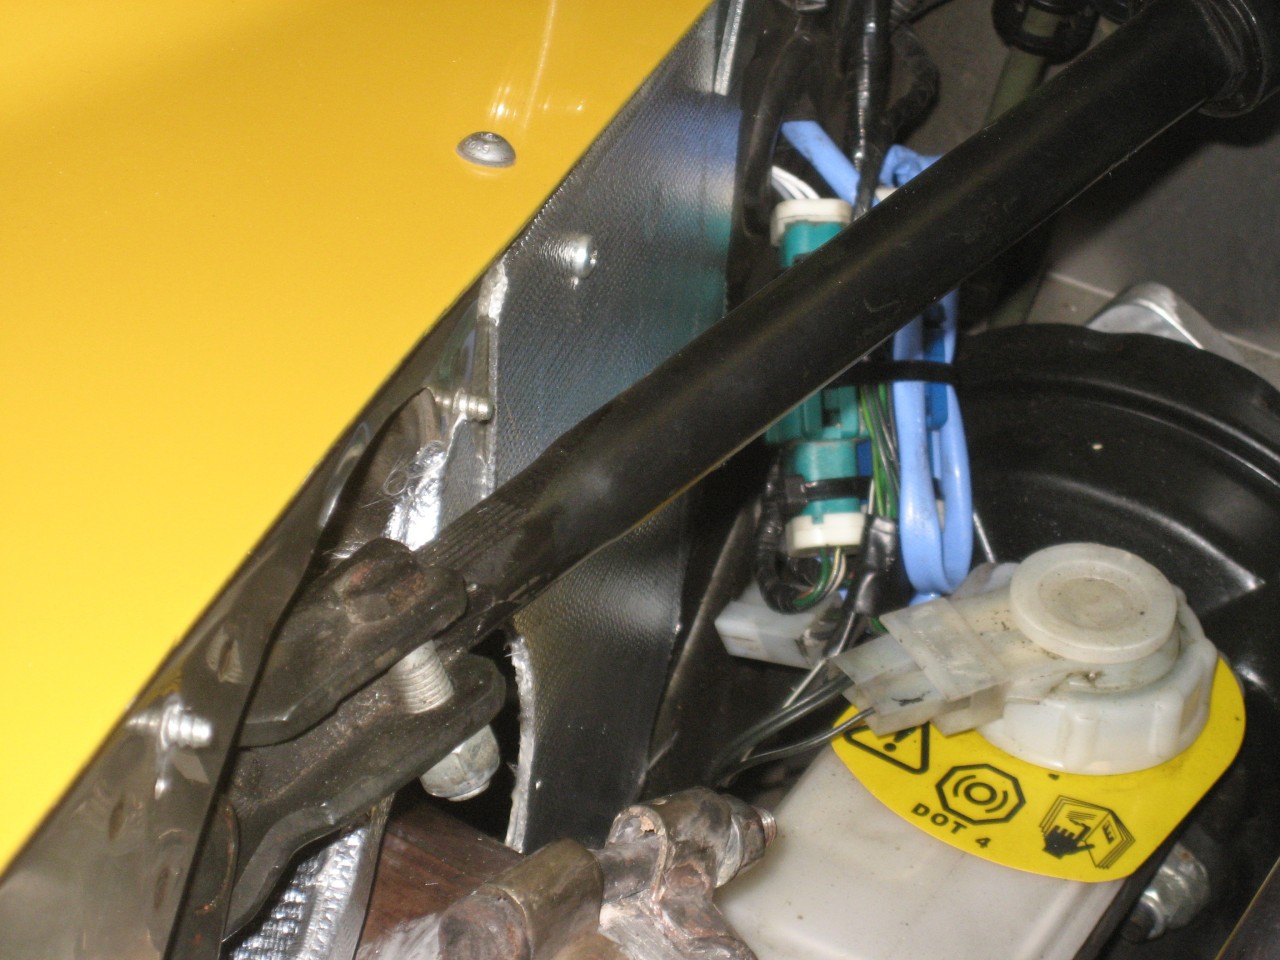 Then I made up a heat shield, two bends in the vice, covered the forward facing side with "reflect-a-cool", and here it is........I don't like the thought of radiated heat beating on the plastic master cylinder. The Roadster has a shield as standard, but the manifold is much closer on the Roadster. 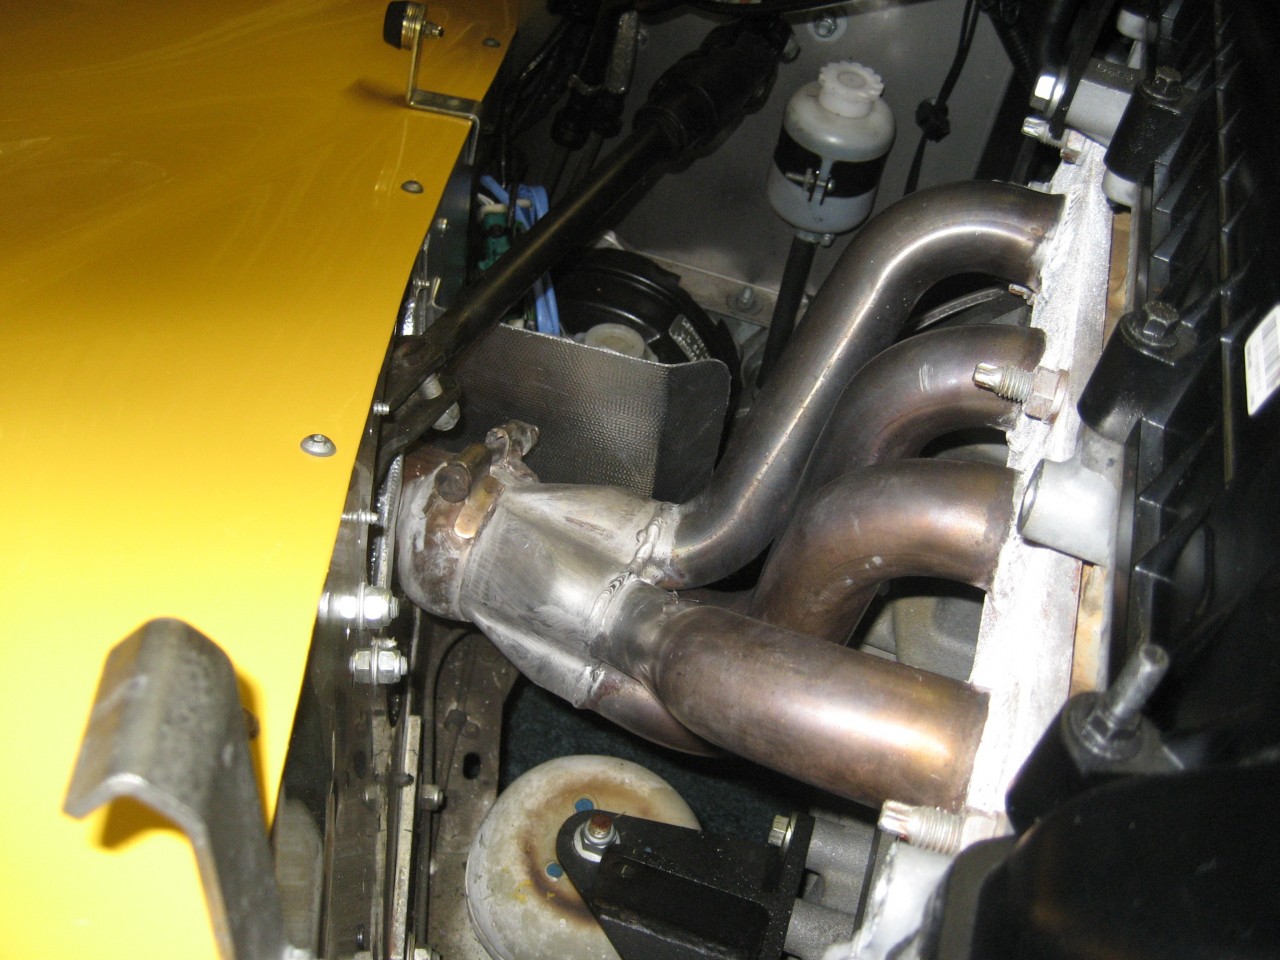 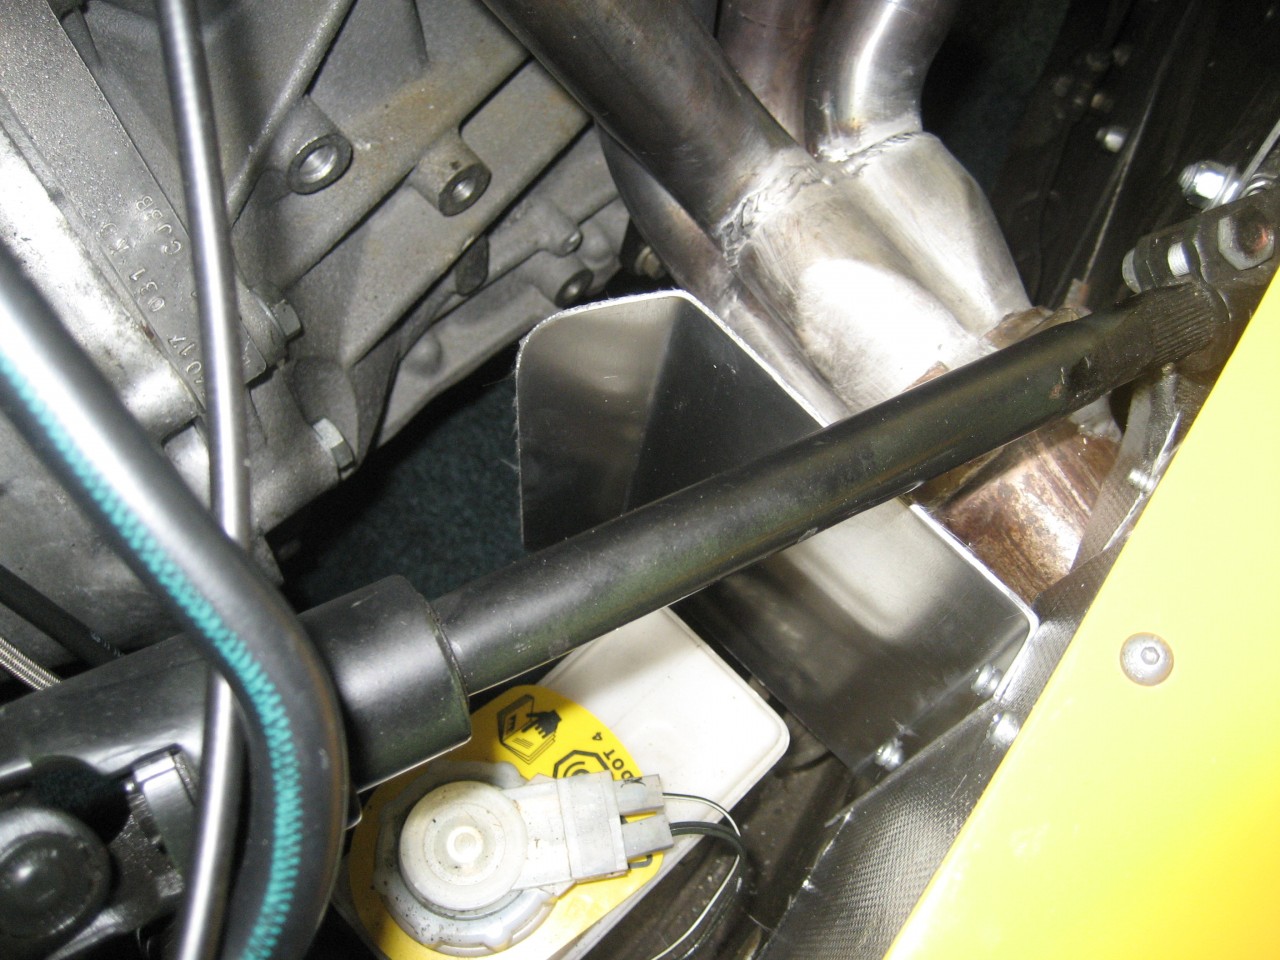 And for today, and until Saturday, that's all folks. That was then. This is now, so more to follow.
DaveW
'05 Red Roadster S1
'16 Yellow (Not the only) Narrow AR GDI Plus 4
|
|
|
|
|
Joined: Dec 2008
Posts: 22,366 Likes: 354
Roadster Guru Member of the Inner Circle
|
|
OP
Roadster Guru Member of the Inner Circle
Joined: Dec 2008
Posts: 22,366 Likes: 354 |
Today I managed a bit more. The undertray............. This is to stop dirt getting up onto the front of the engne. The only downside is that it makes it harder to get a jack on the cross tube, but with my lifting beam it's OK. So first the template, which drew my attention to the offset.... laid on a sheet of 2mm aluminium. 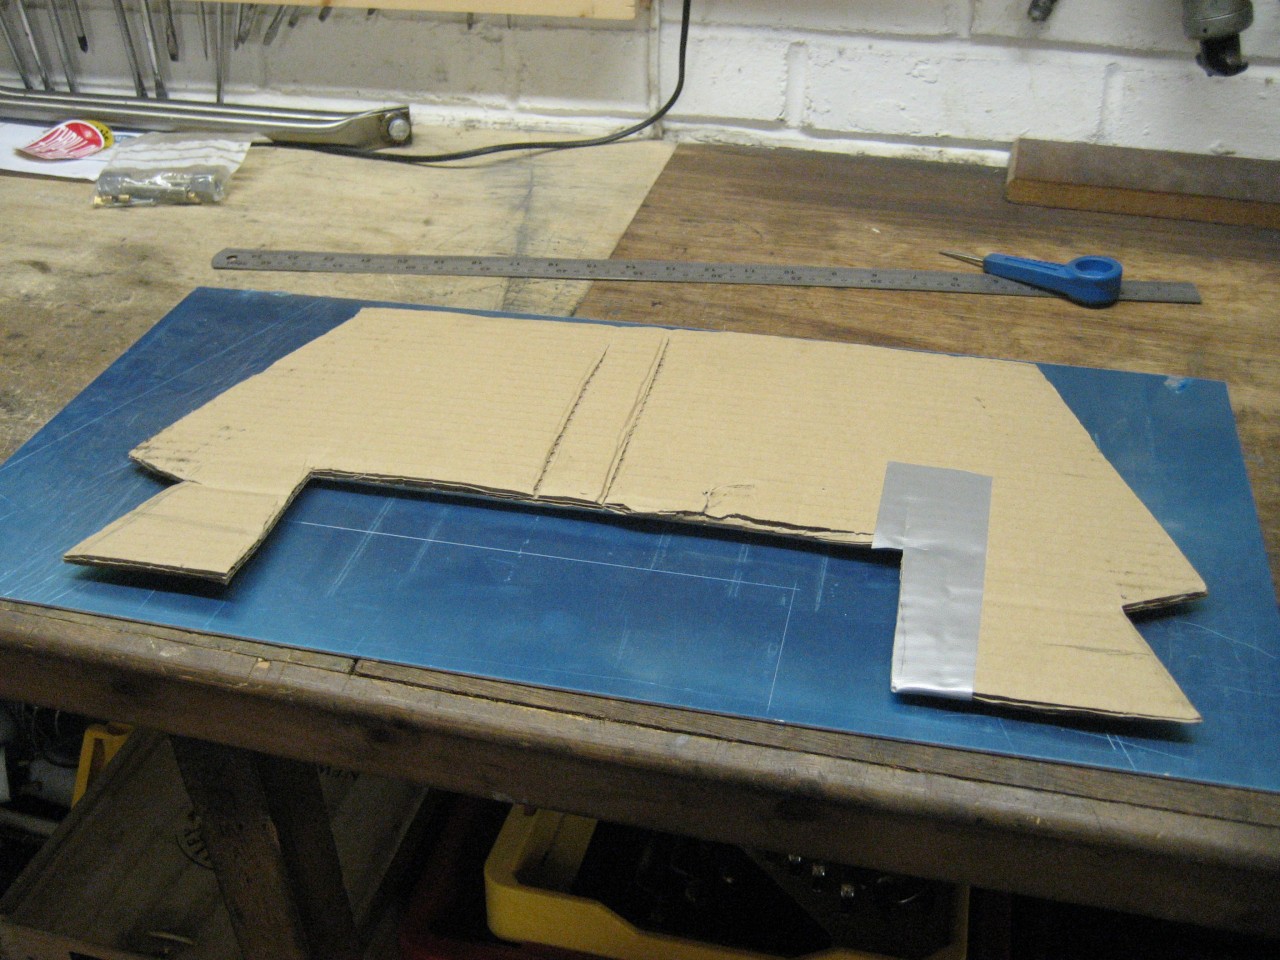 First cut: 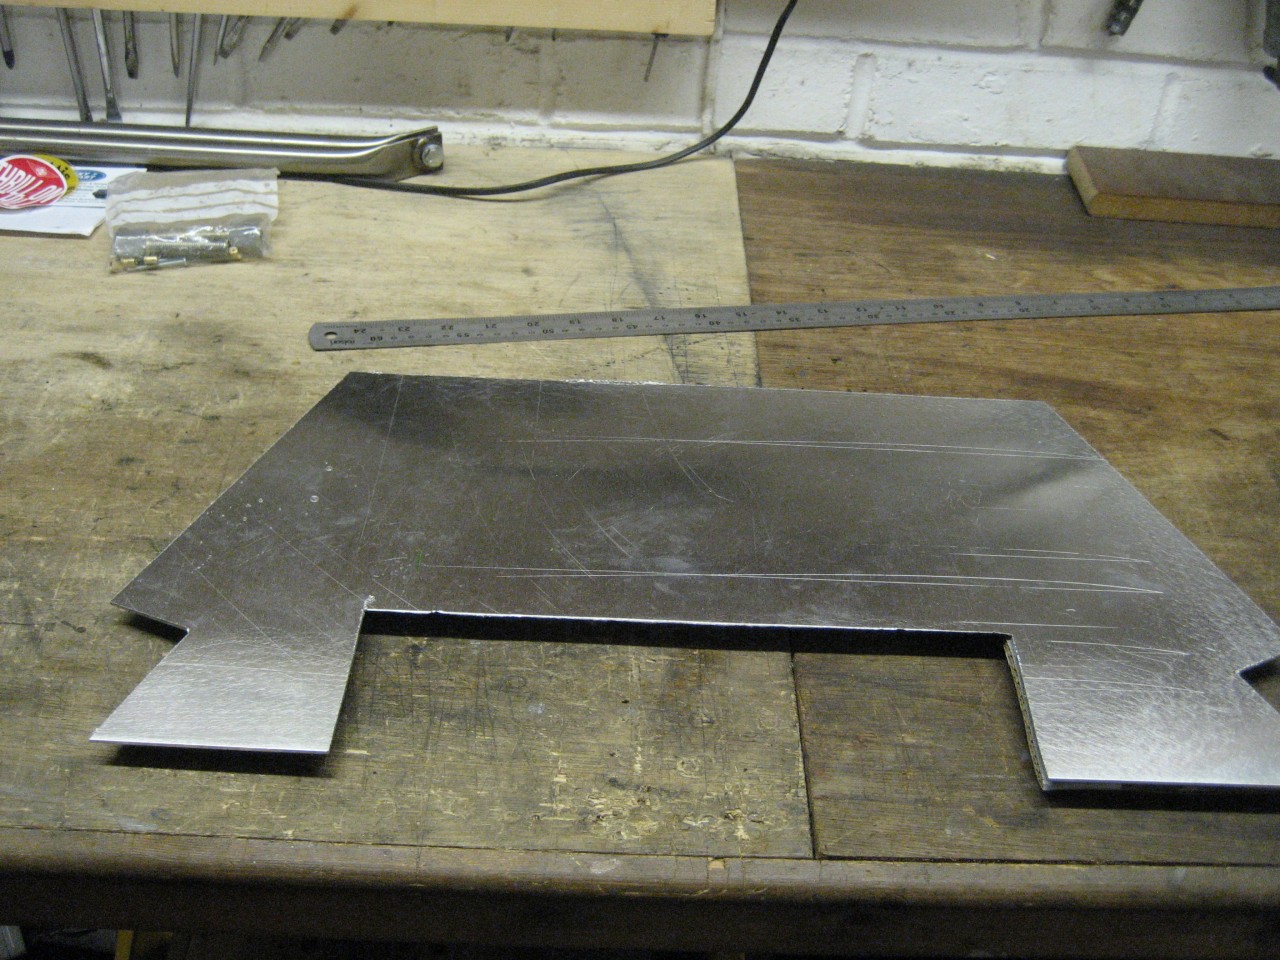 After a few test fits and after shaving the edges, now drilled and curved over the jack handle with a Thor hammer. 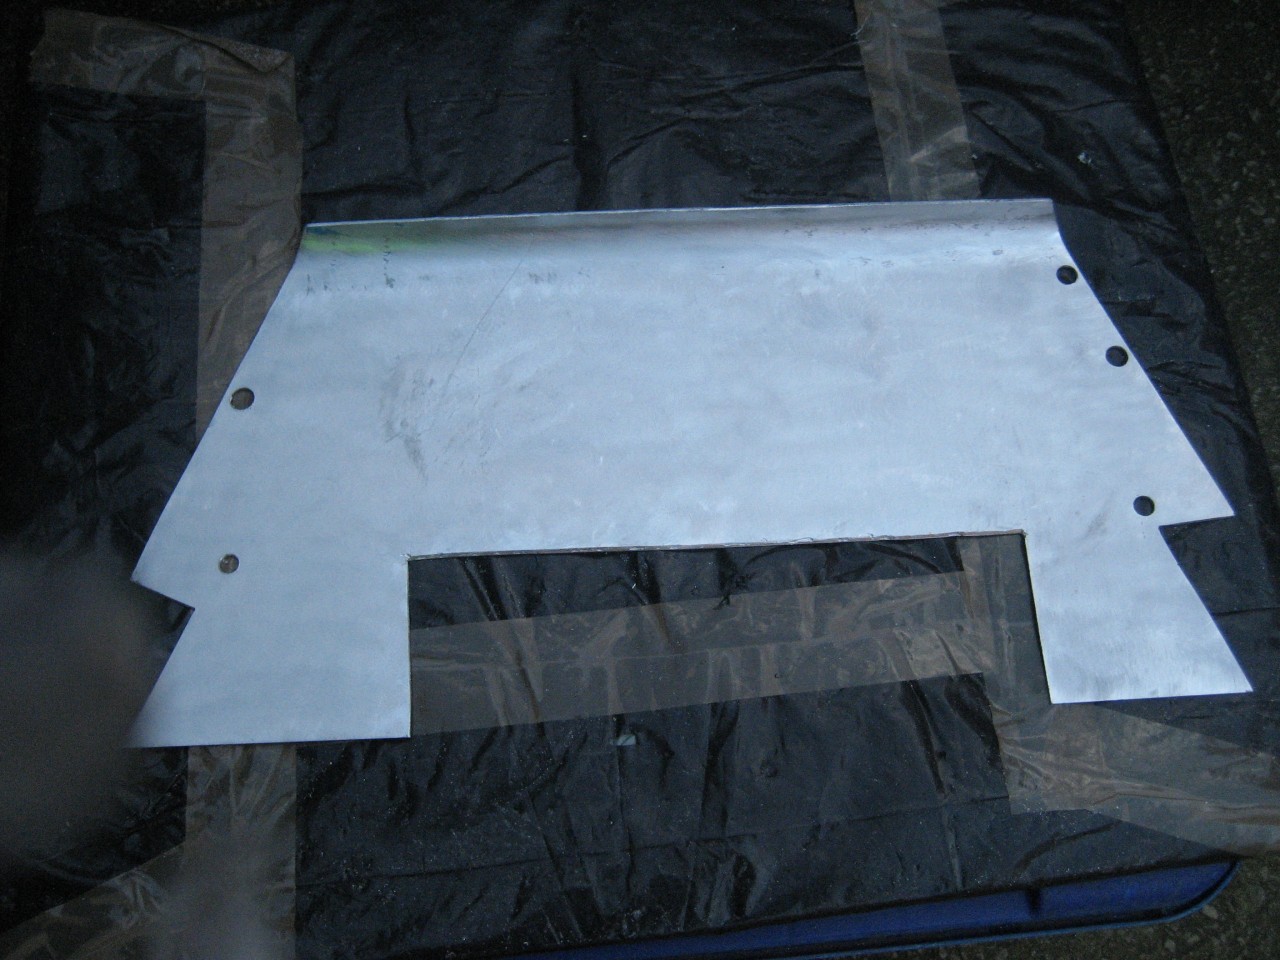 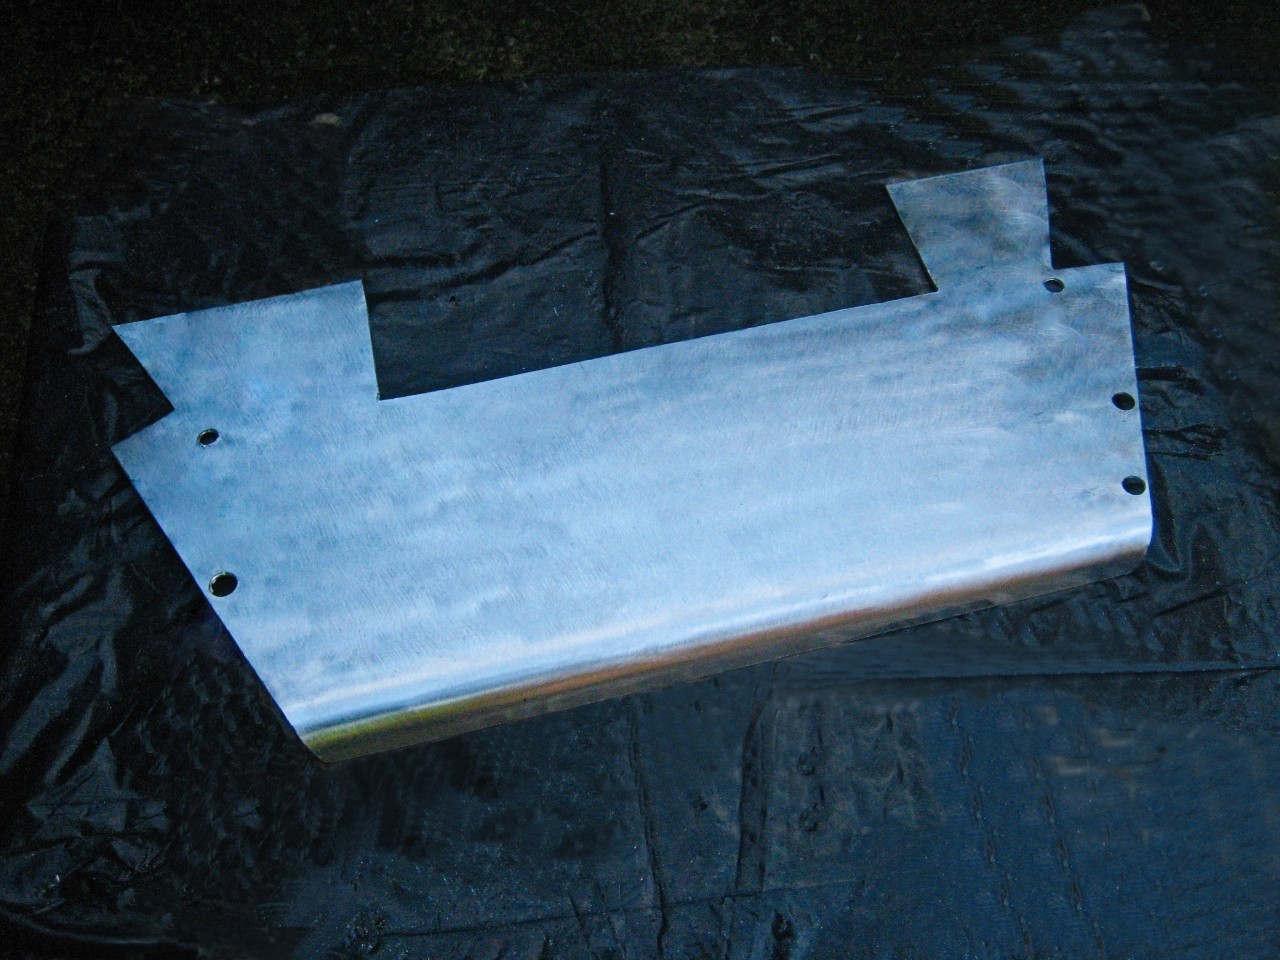 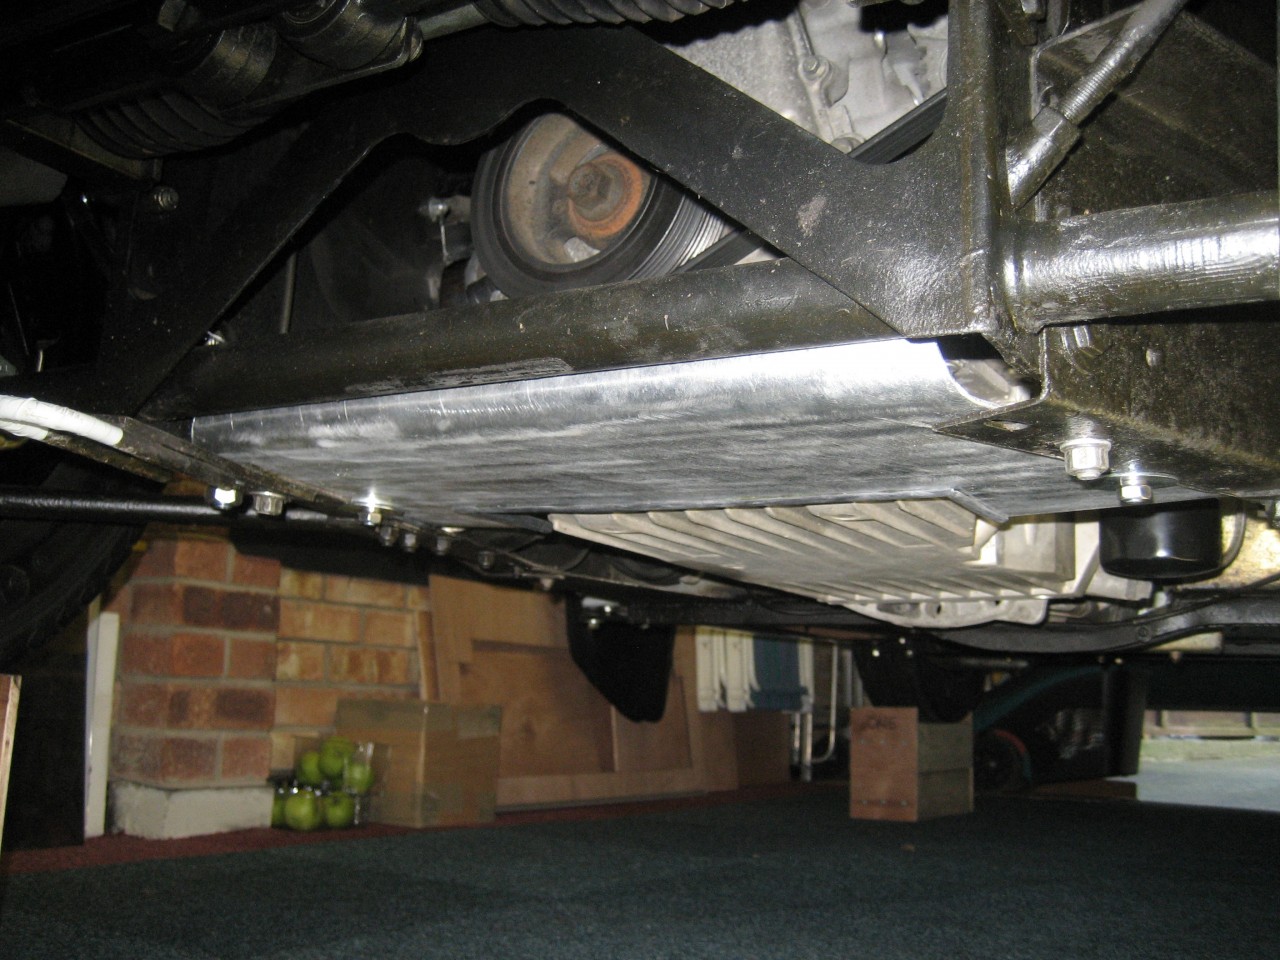 This is how it looks fitted: 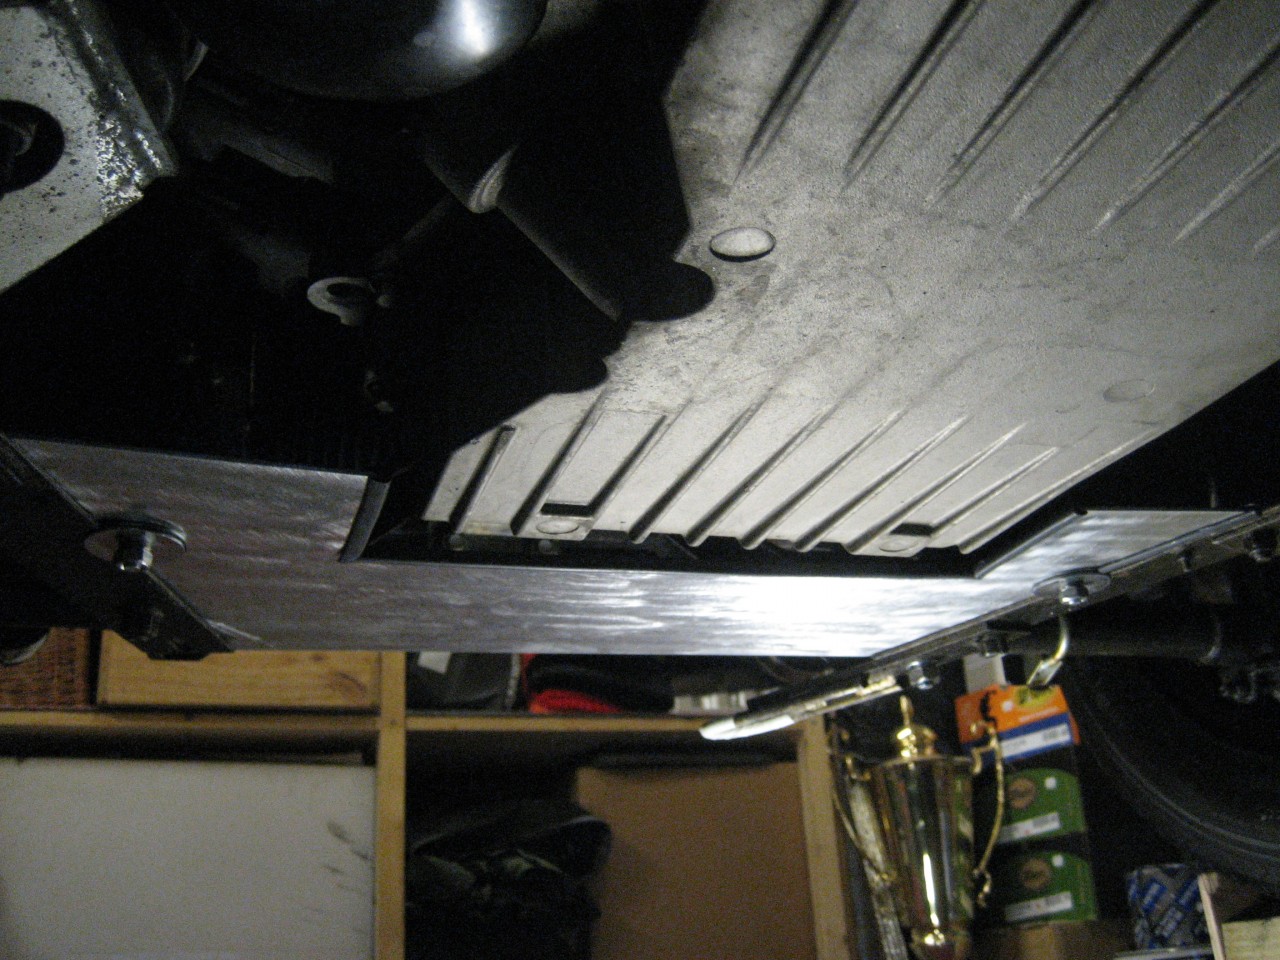 The finish is a problem. Although one side is protected with a plastic film, it doesn't stay mint, and the other side is usually far from mint. So I just run the wire brush in the drill over it and cover it in swirls, which looks better than random scratches and lines. It is shaped so that it slots in over the bottom chassis rails, which means a slight compromise on width. I could also be fitted under the chassis rails but doesn't look quite as tidy this way. It's secured by using the towing eye bolts on the offside, and a single nut & bolt using the same holes on the nearside. At the rear I use a nut & bolt each side, penny washers top & bottom, and a cut penny washer to take up the gap. The penny washers then pinch the chassis flange and it doesn't need drilling. More to follow.....................................
DaveW
'05 Red Roadster S1
'16 Yellow (Not the only) Narrow AR GDI Plus 4
|
|
|
|
|
Joined: Dec 2008
Posts: 22,366 Likes: 354
Roadster Guru Member of the Inner Circle
|
|
OP
Roadster Guru Member of the Inner Circle
Joined: Dec 2008
Posts: 22,366 Likes: 354 |
Very nice job Roger and I can say that with the benefit of struggling with 2mm aluminium over the years!!! Today I fitted the panel between the over-rider irons, which are ready drilled. Unfortunately the Plus 4 radiator is much lower than the Roadster, so this panel needs spacing down about an inch, and shaping to clear the lowest point on the radiator, which is lower nearside. 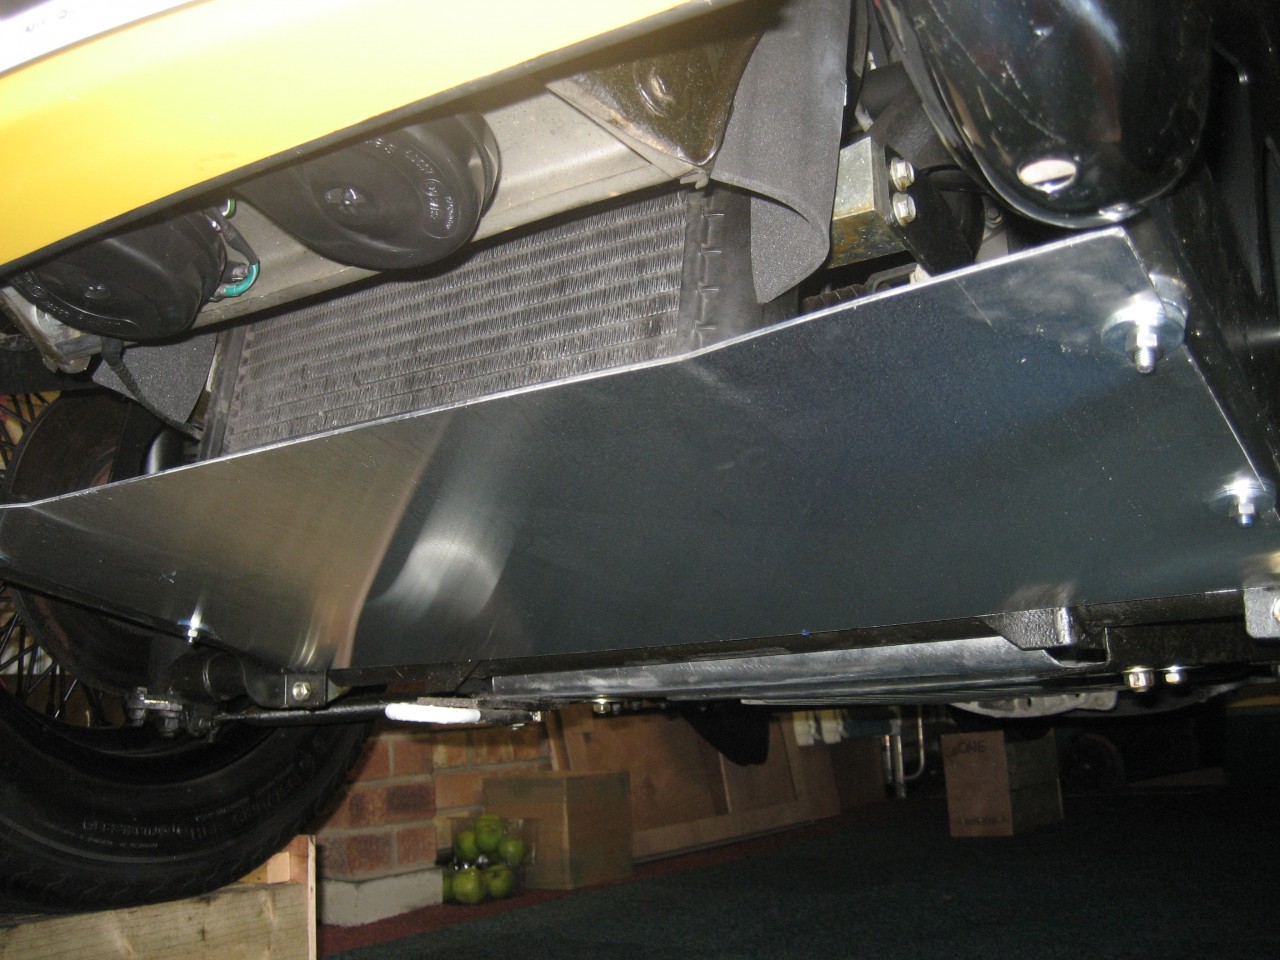 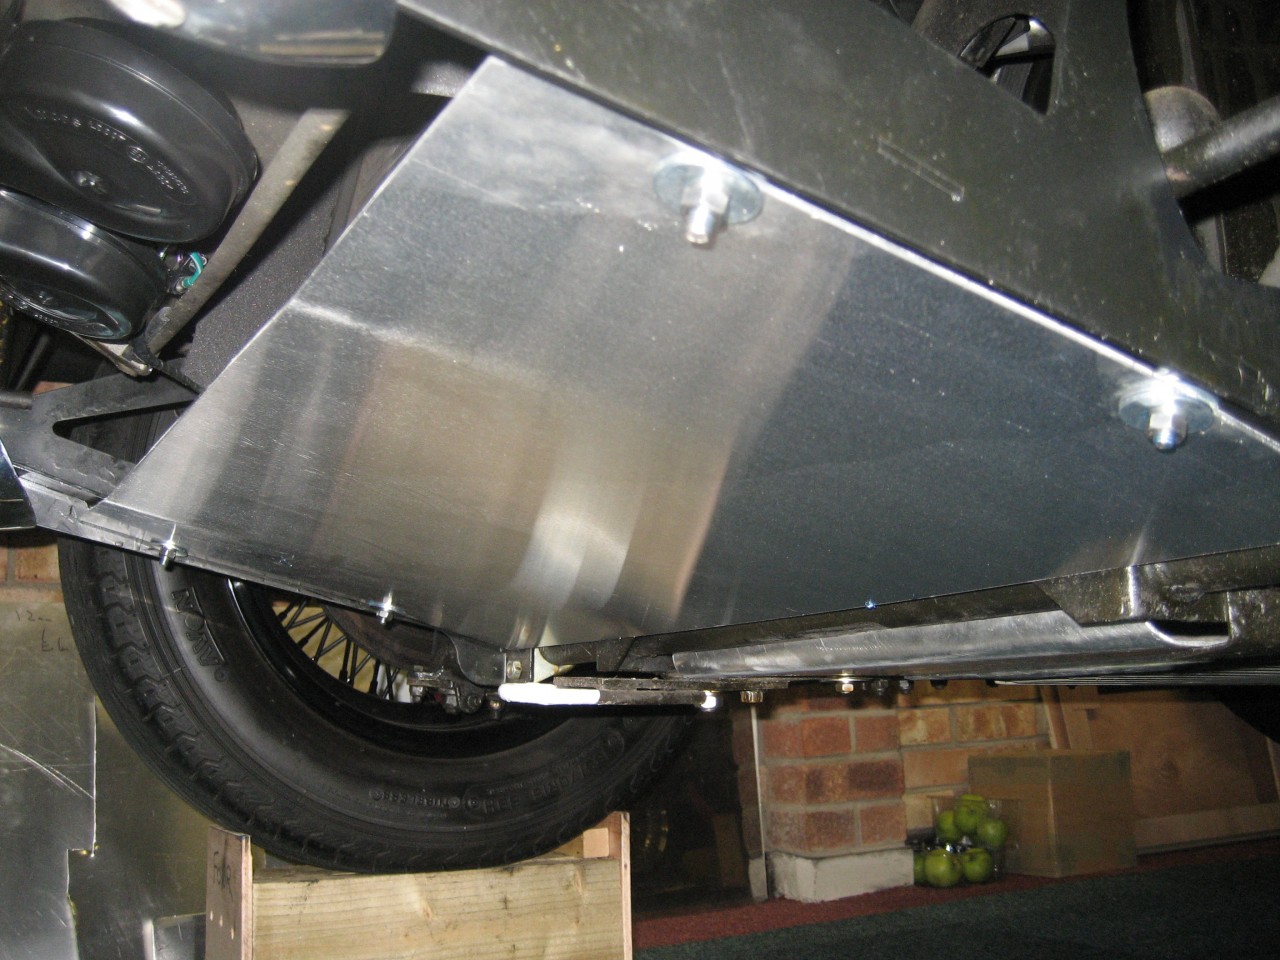 This still needs a front cowl to finish off! I'm working on it,but it's a pain. Next I changed the rear lamps to L795's. The indicators are fronts, and the stop/tails are Aero8, and also used as fog warners on trads until recent changes. The L795's take a silver reflector for added brightness, but also need extended fixing screws. Some of these have a different thread, so you will need the female end which is a brass flat top-hat affair which locates in the backplate from behind. 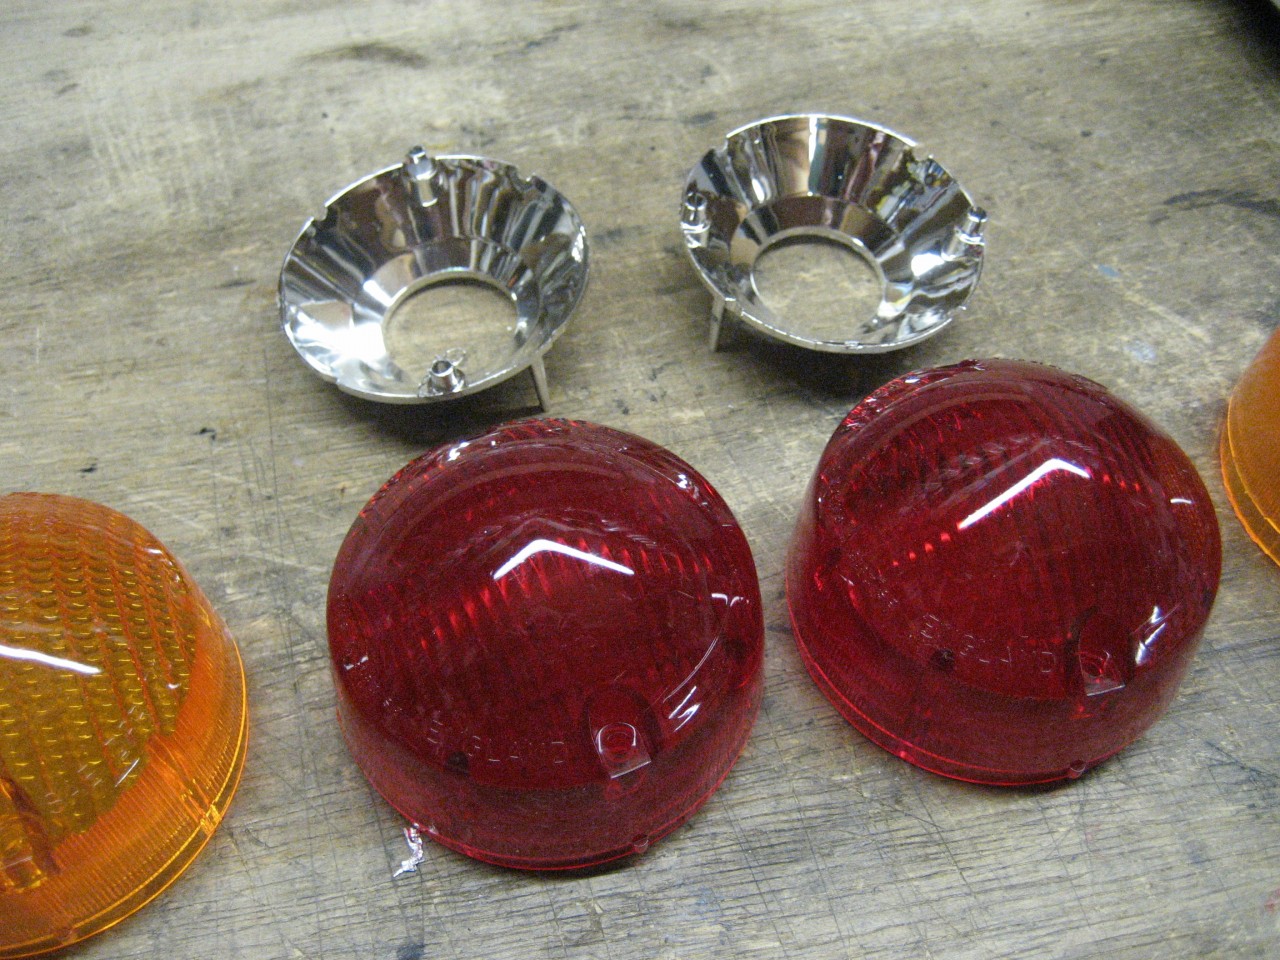 Here is the standard set up......... 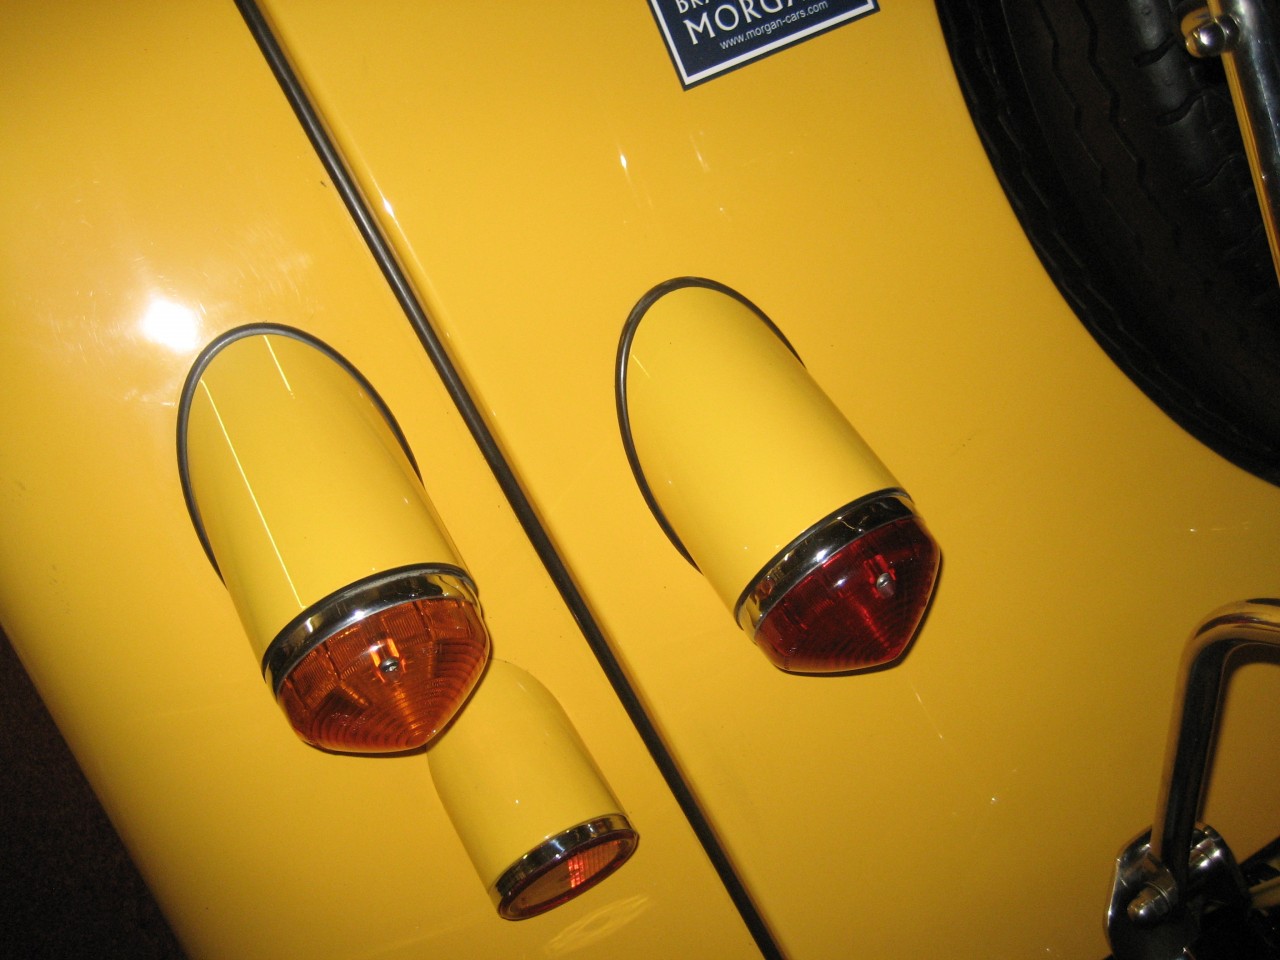 And with new lenses............. 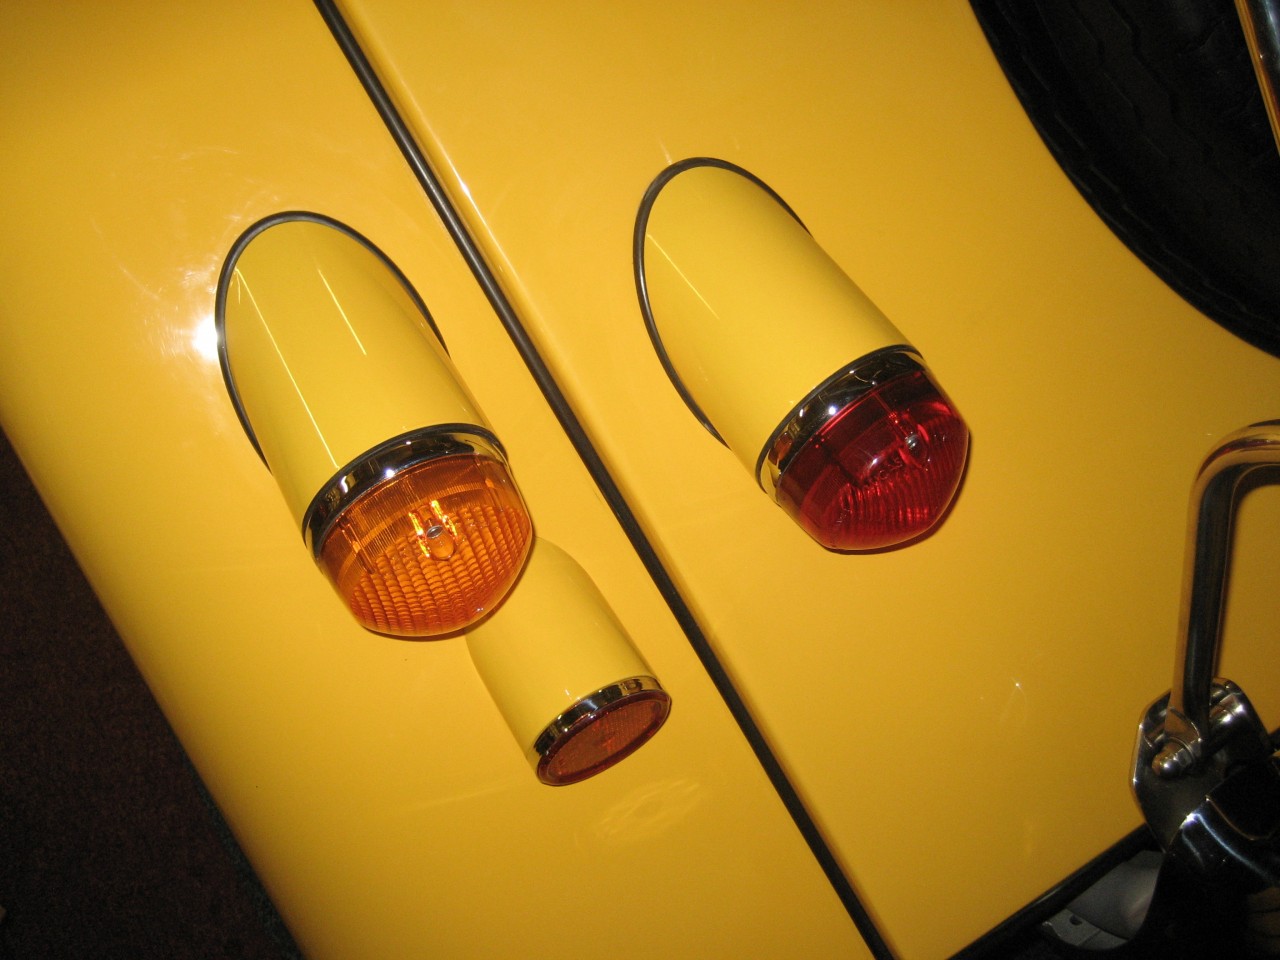 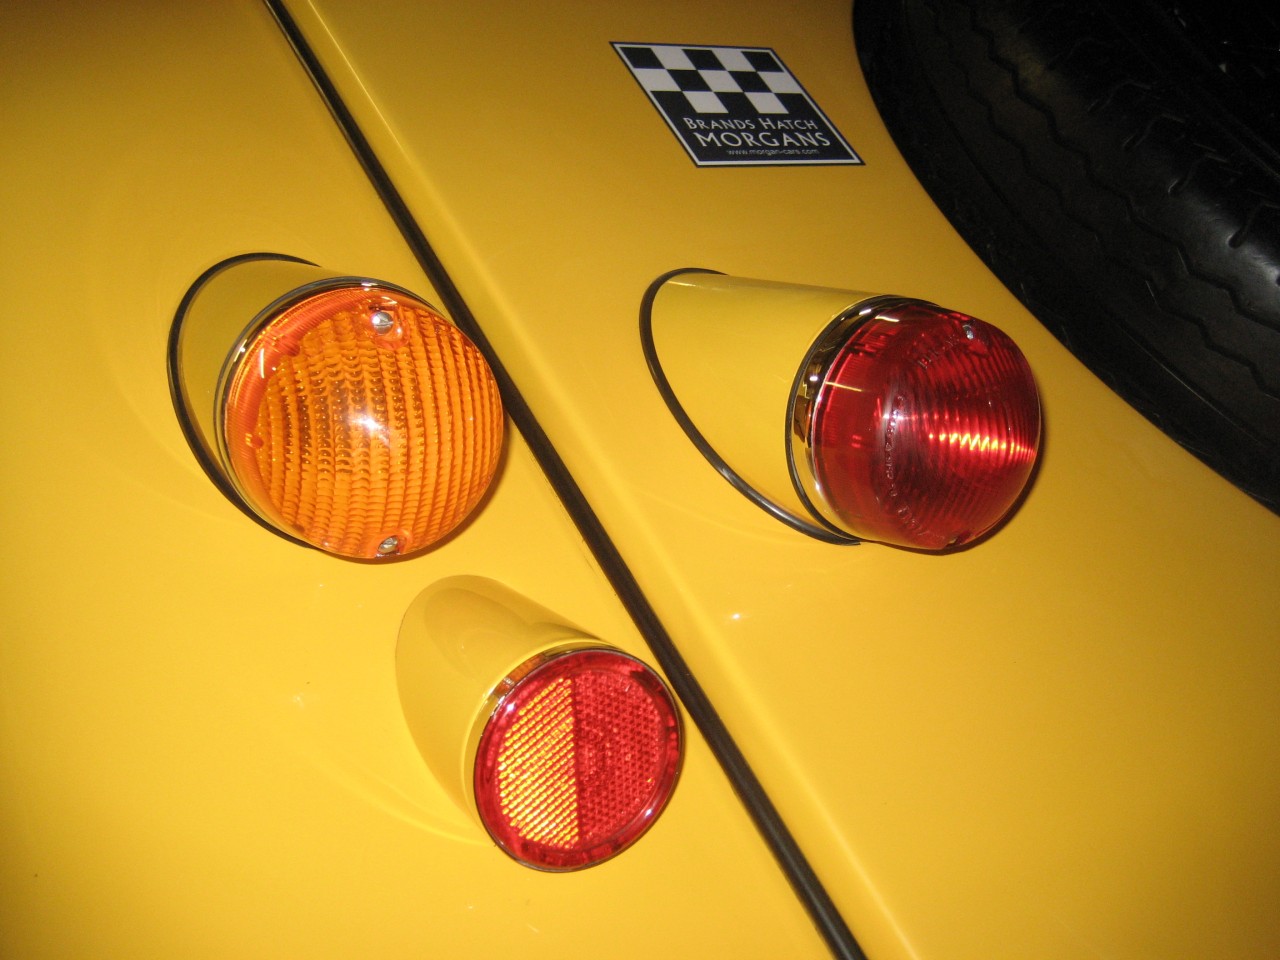 Finally, the relative position of the front indicators to the headlights varies according to model. On my Roadster, the indicator is vertically in line with the headlight: 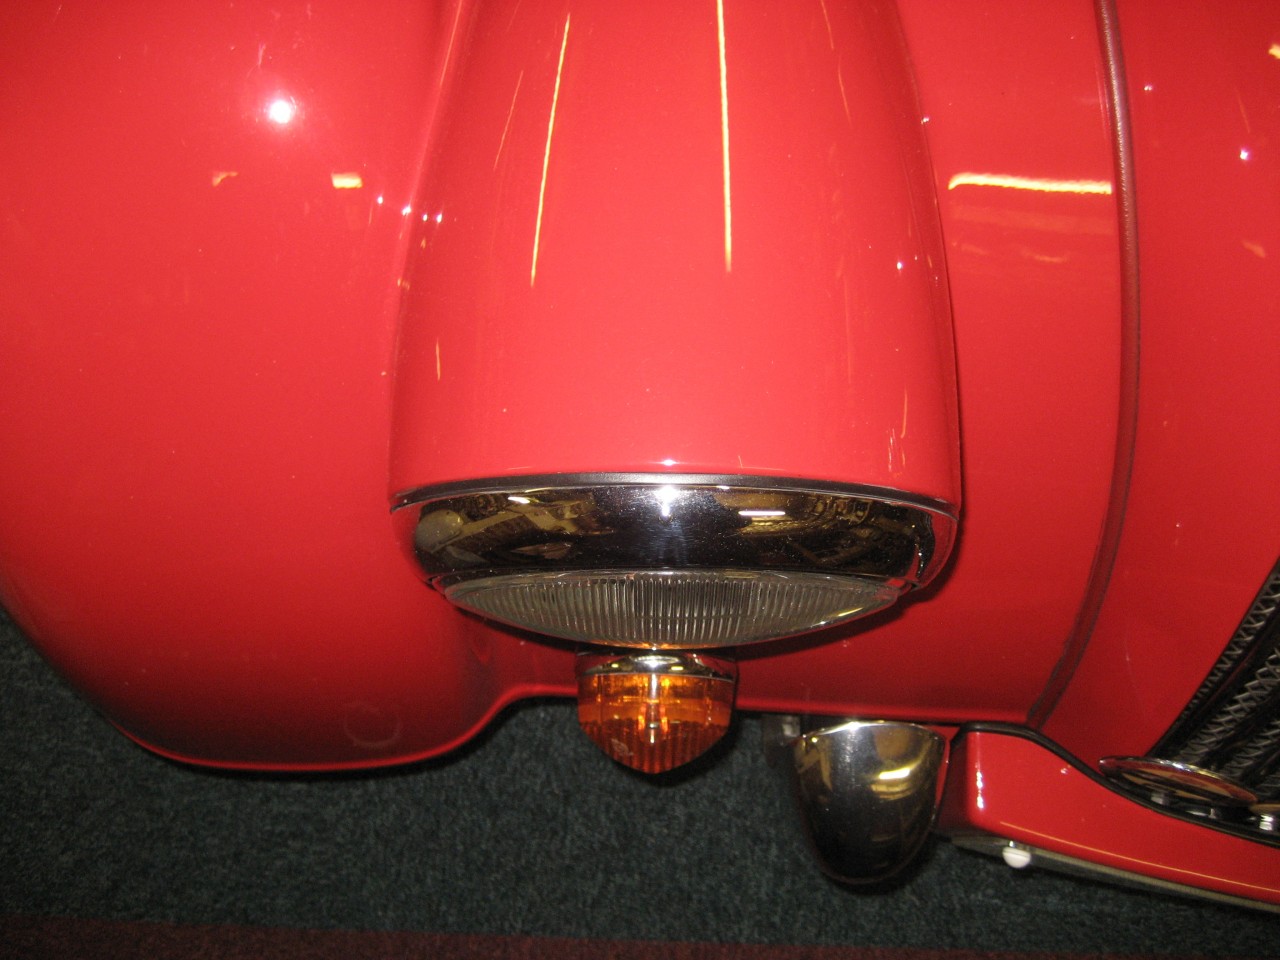 But the 4/4 wing has the indicator offset to make room for the over-rider. 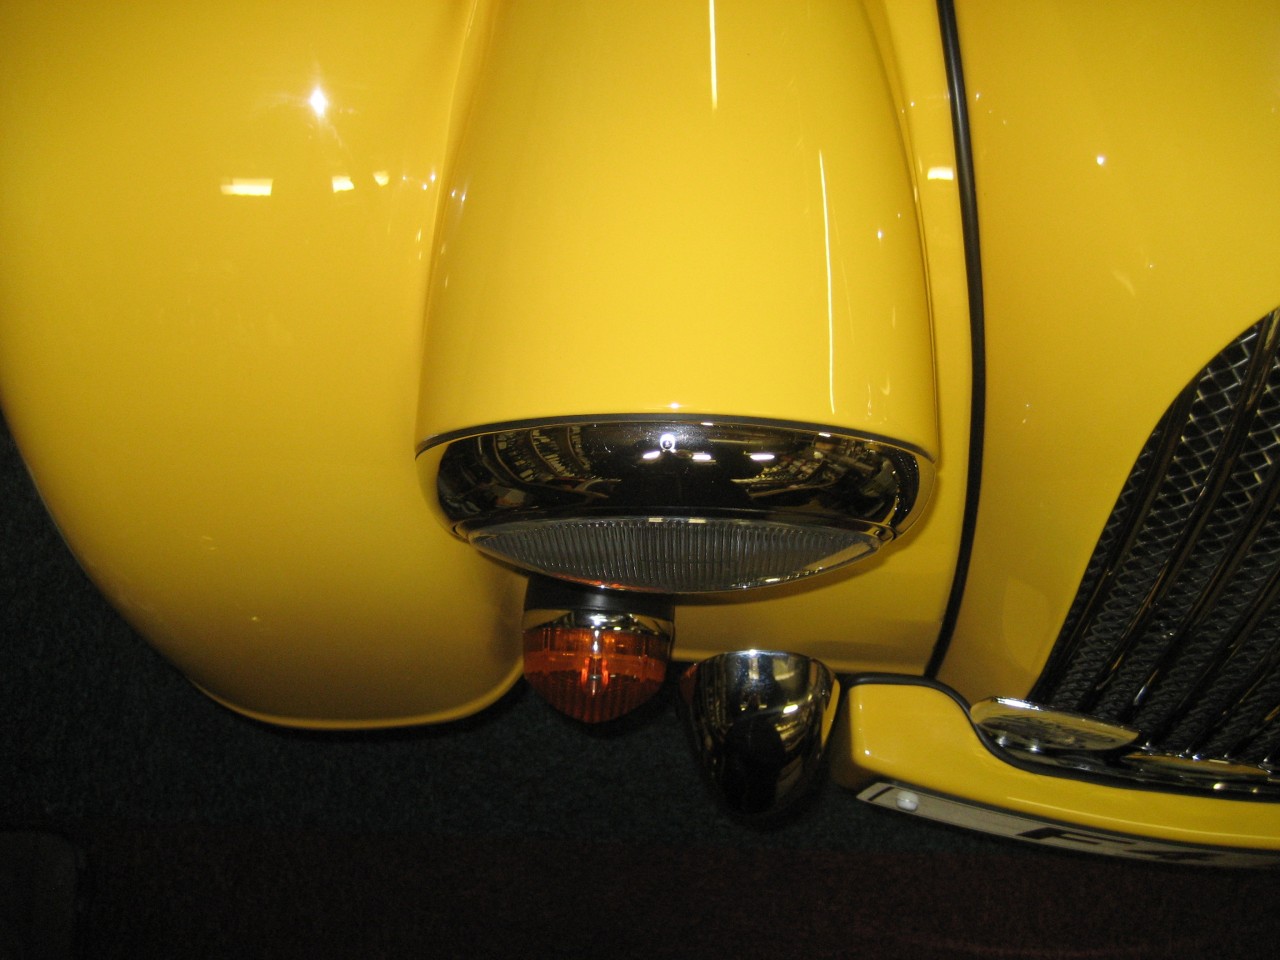 And that's all for now.
DaveW
'05 Red Roadster S1
'16 Yellow (Not the only) Narrow AR GDI Plus 4
|
|
|
|
|
Joined: Dec 2008
Posts: 22,366 Likes: 354
Roadster Guru Member of the Inner Circle
|
|
OP
Roadster Guru Member of the Inner Circle
Joined: Dec 2008
Posts: 22,366 Likes: 354 |
Full day today. First the front cowl..........primed. I managed to delete the photo with it in bare alloy. Grr. I decided to go with 1.2mm to make the bending easier, so I turned over the lip to give it strength. 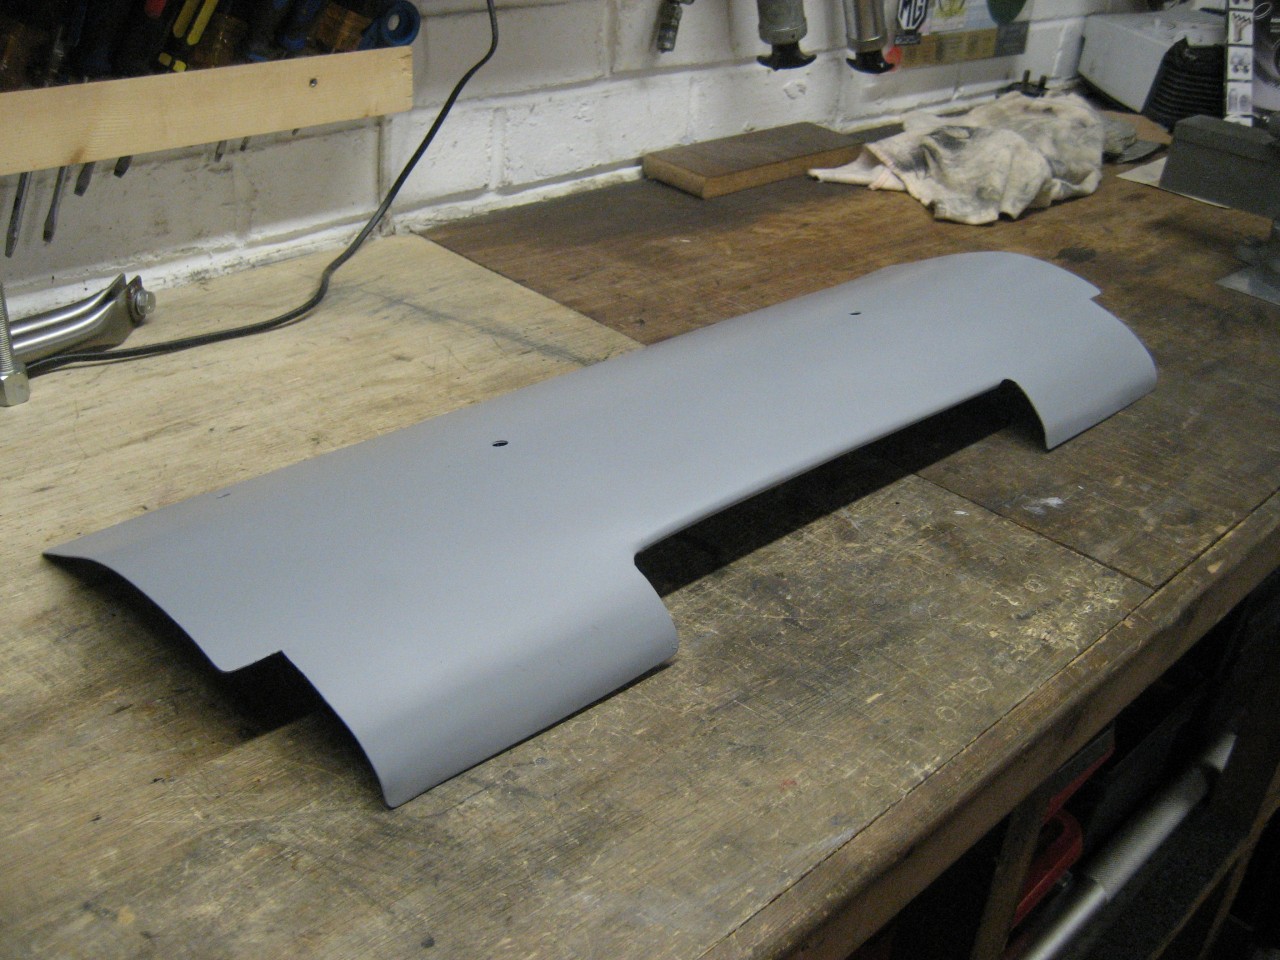 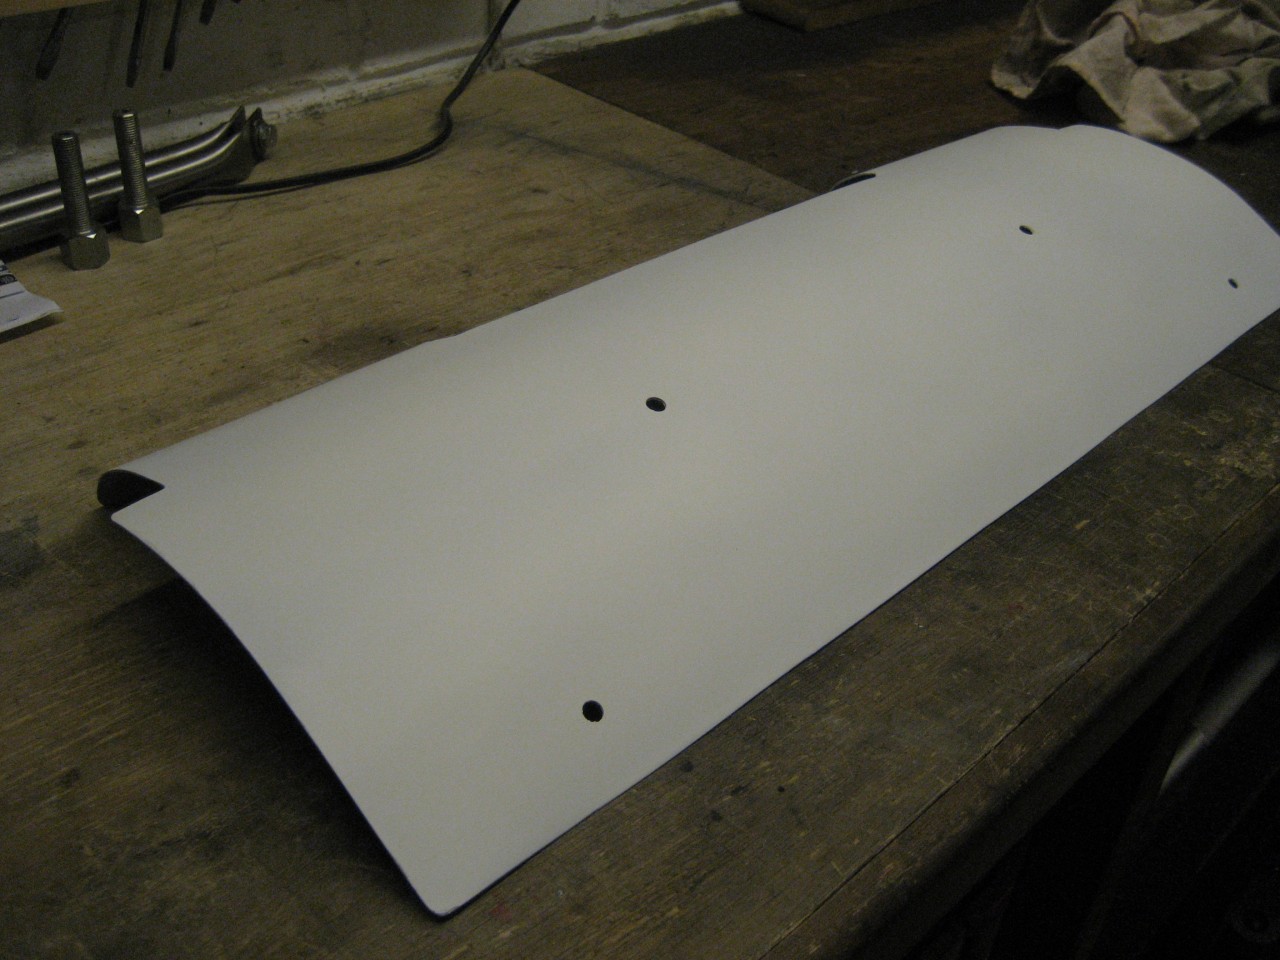 Painted. 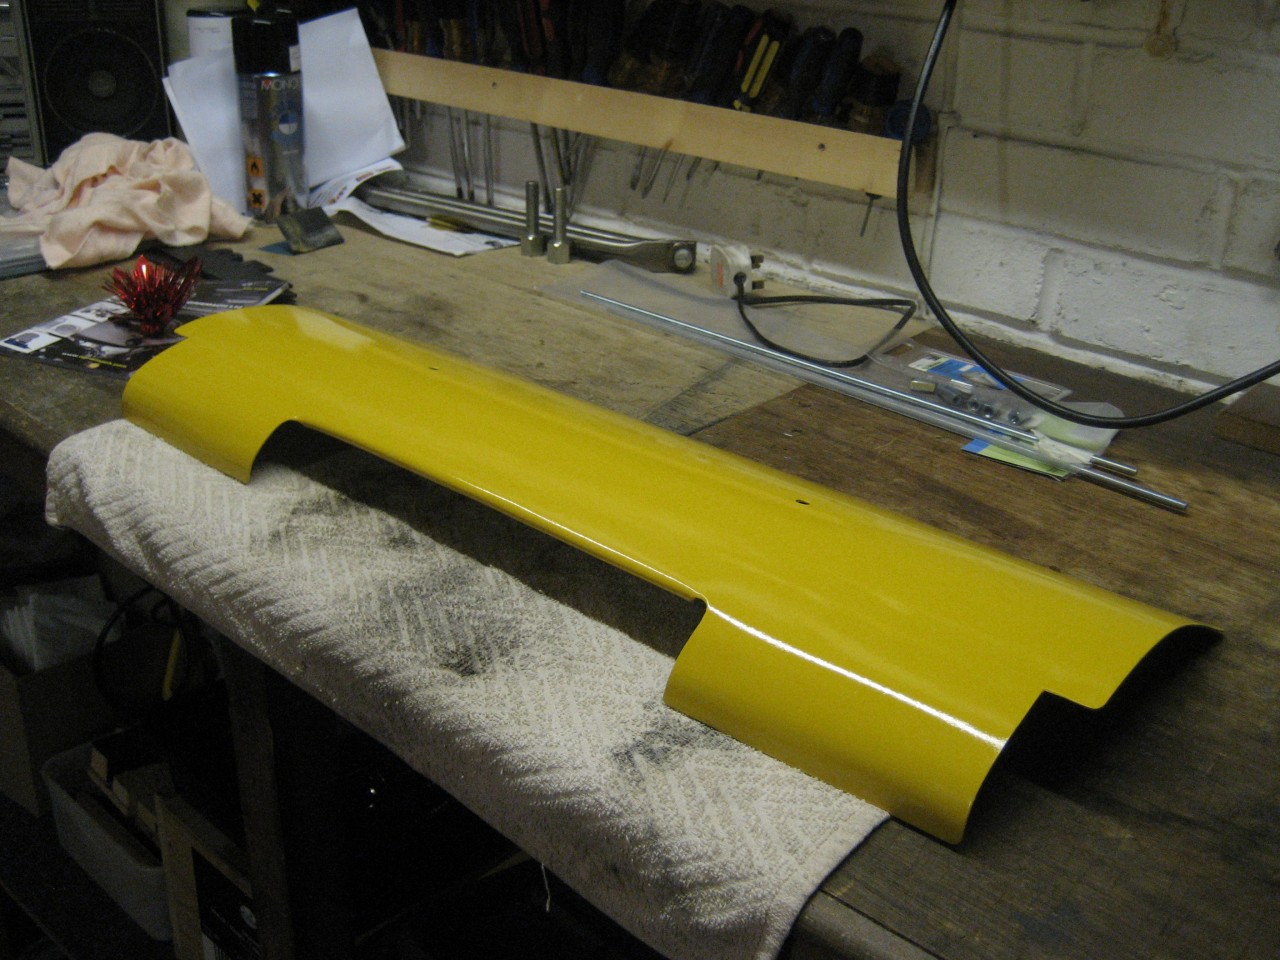 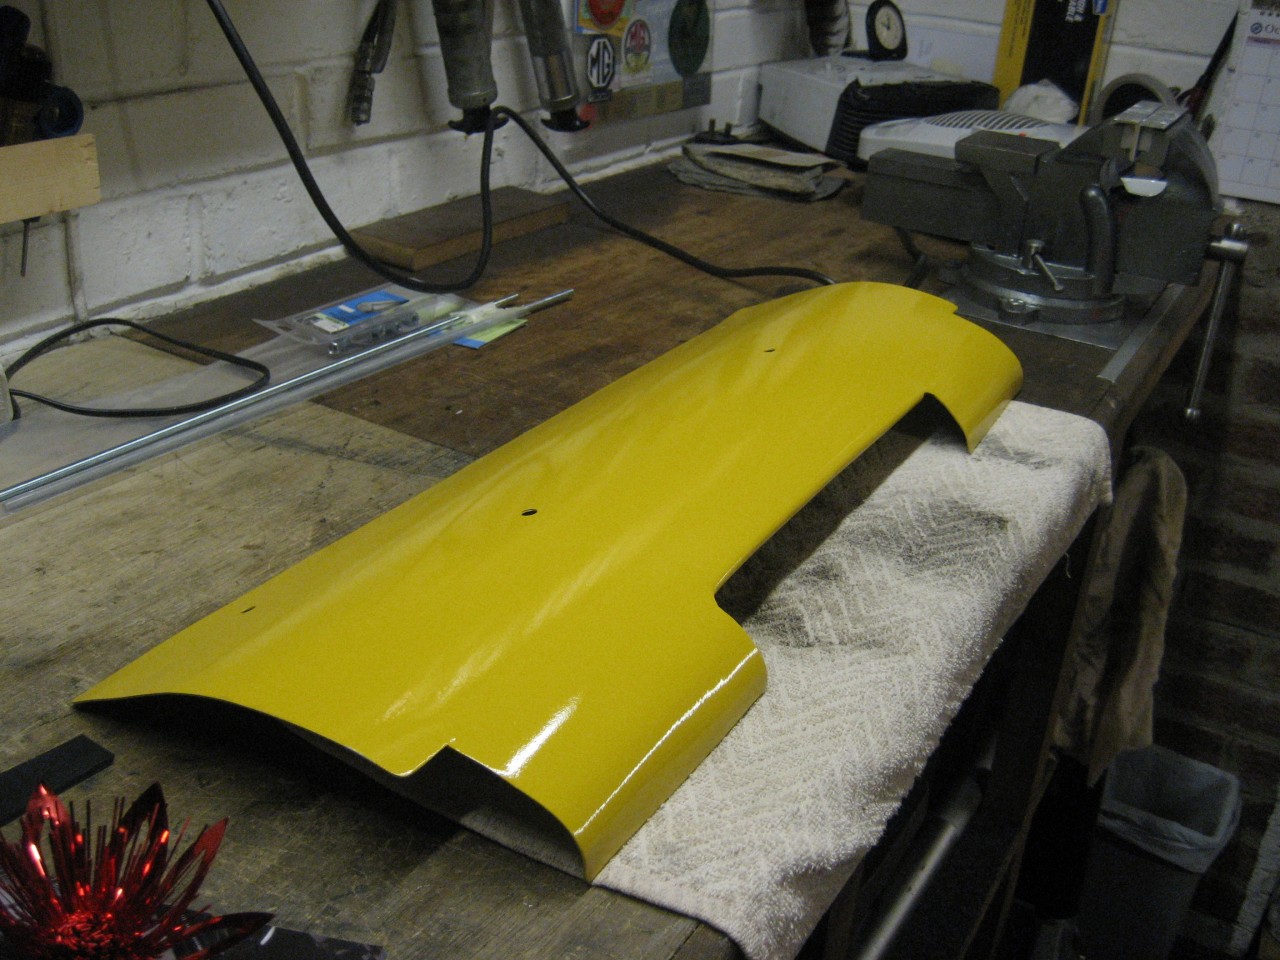 Edged with u channel neoprene. 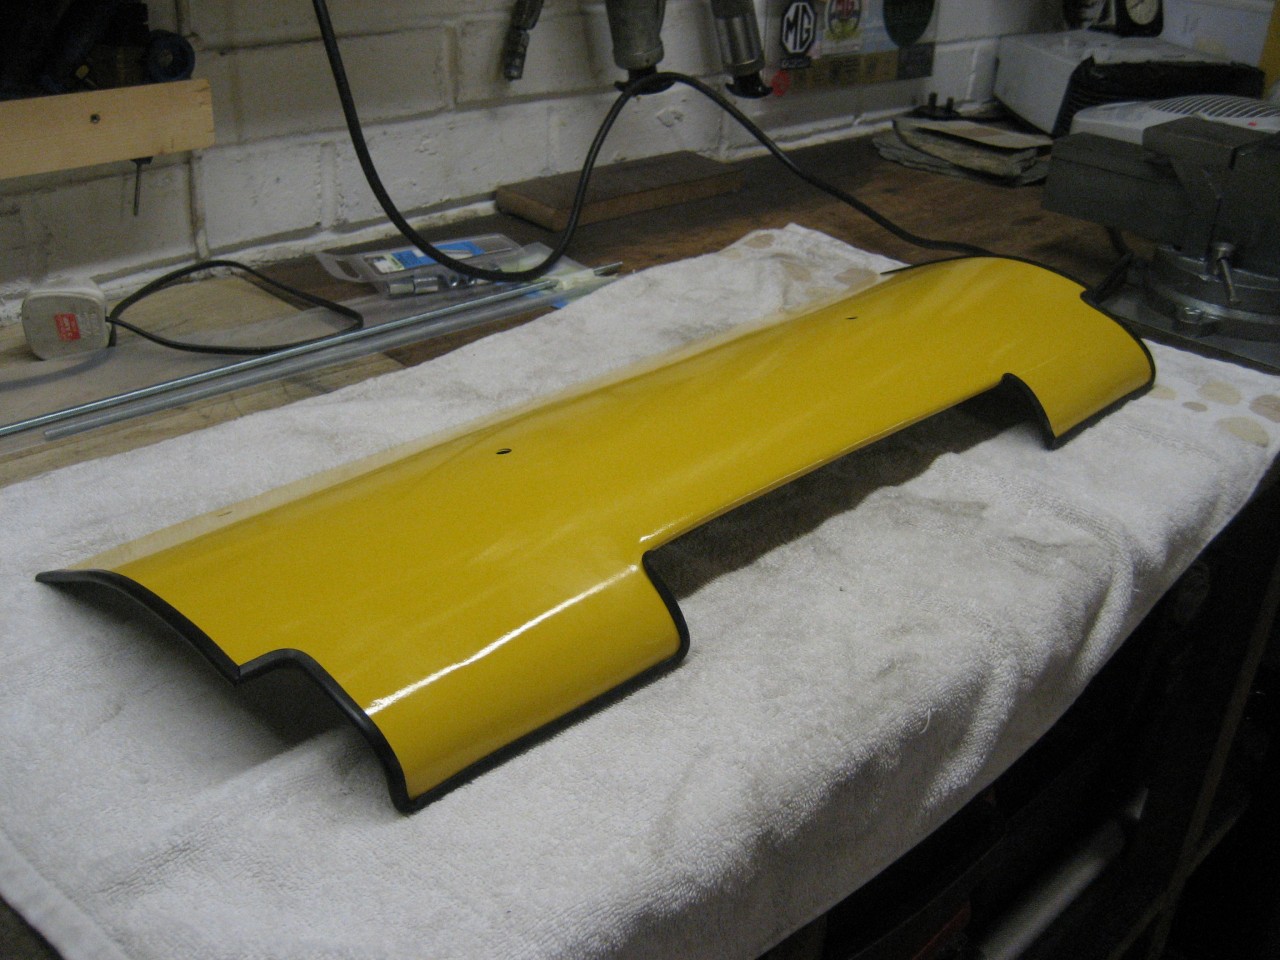 Test fitted: 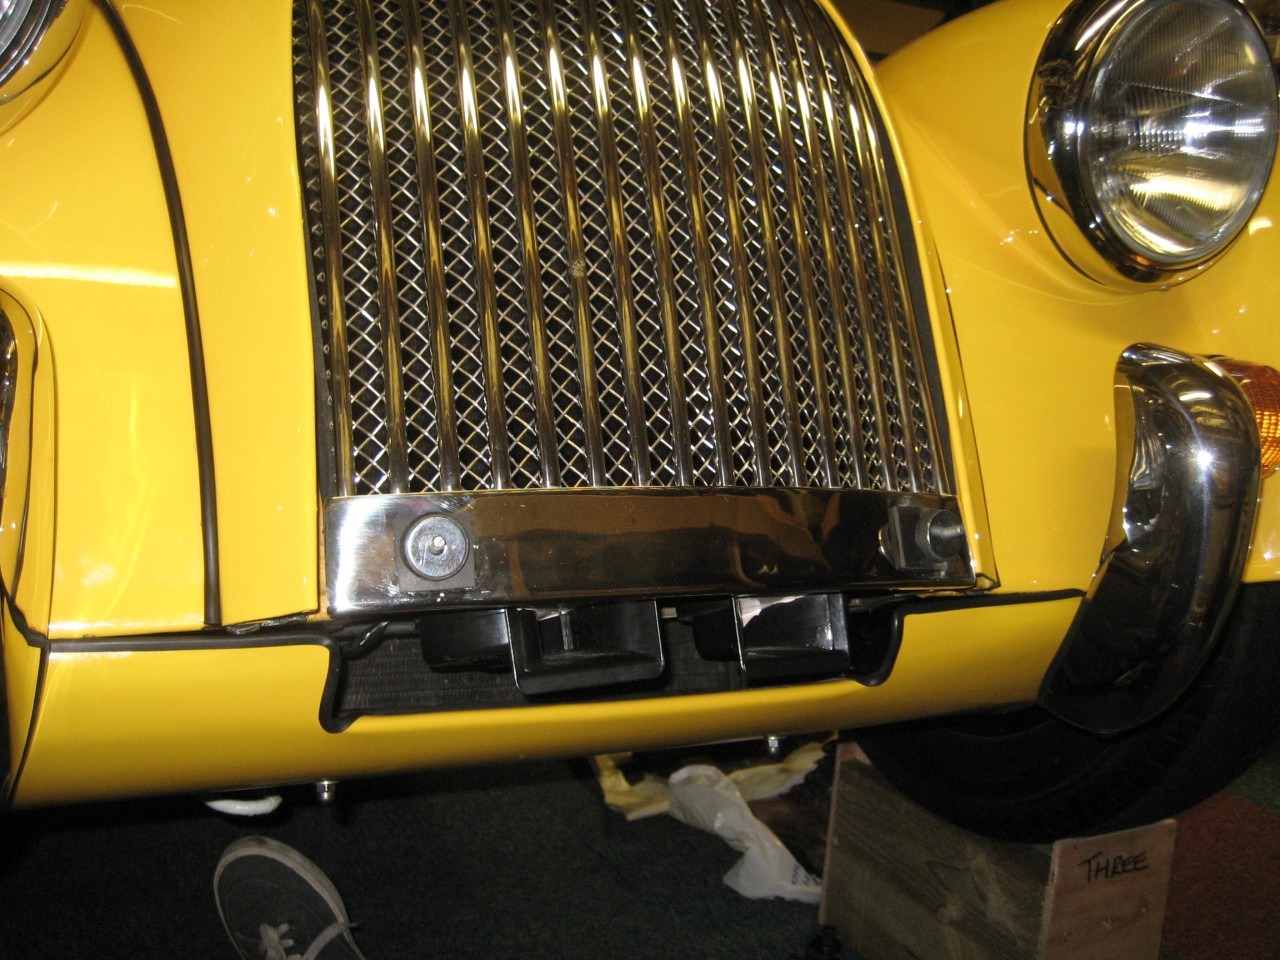 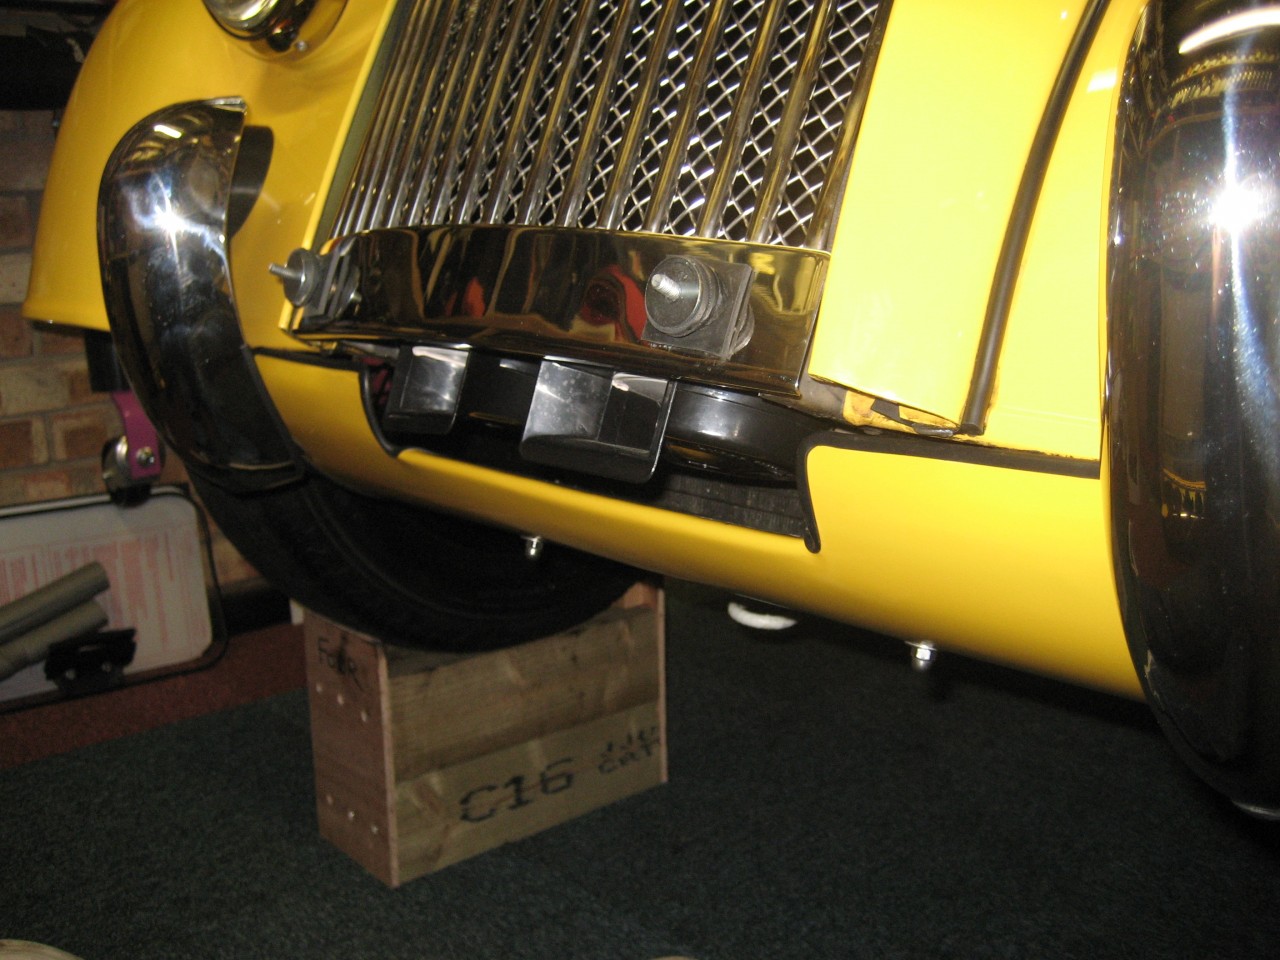 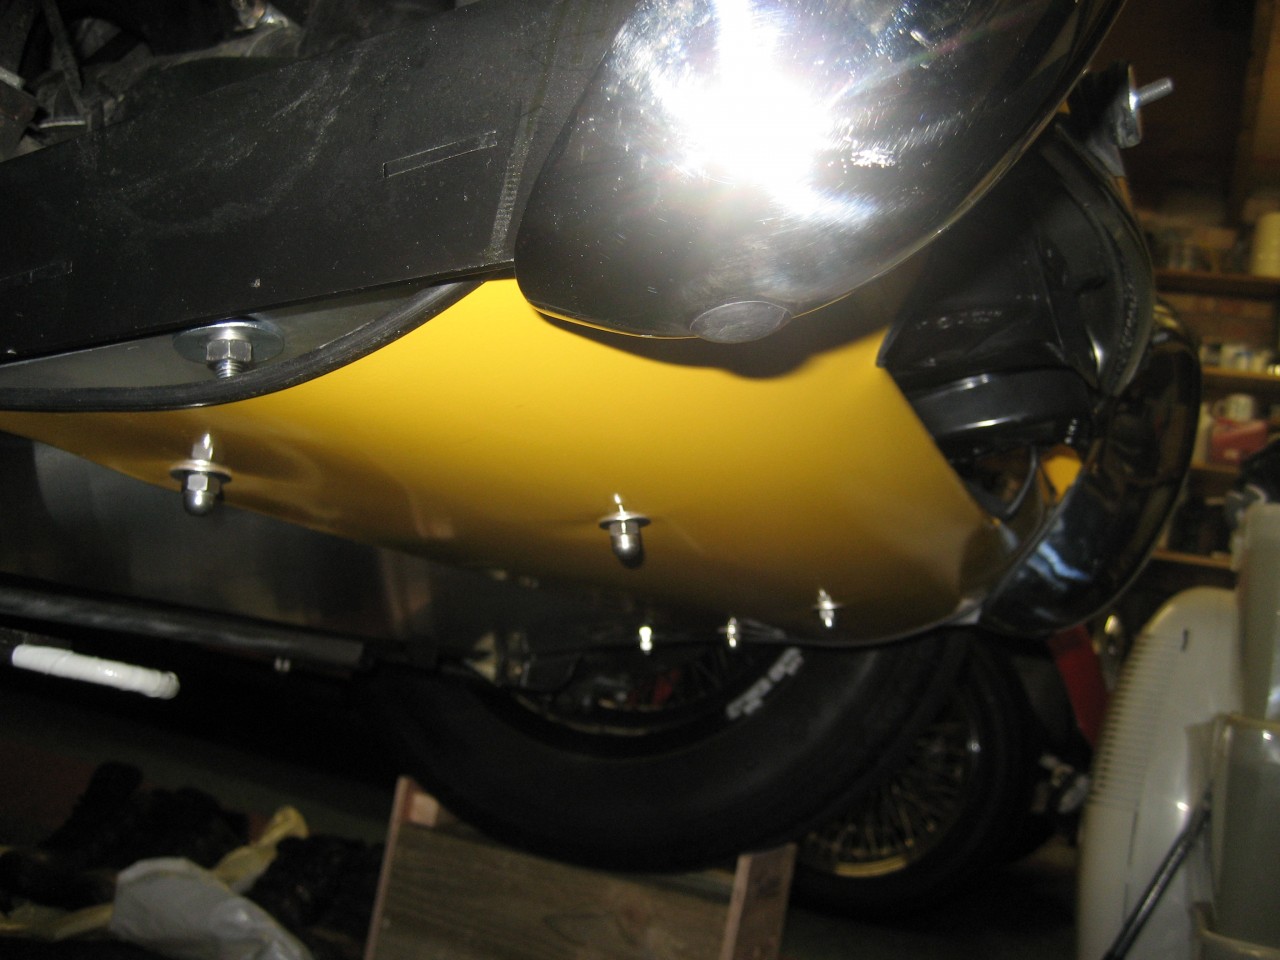 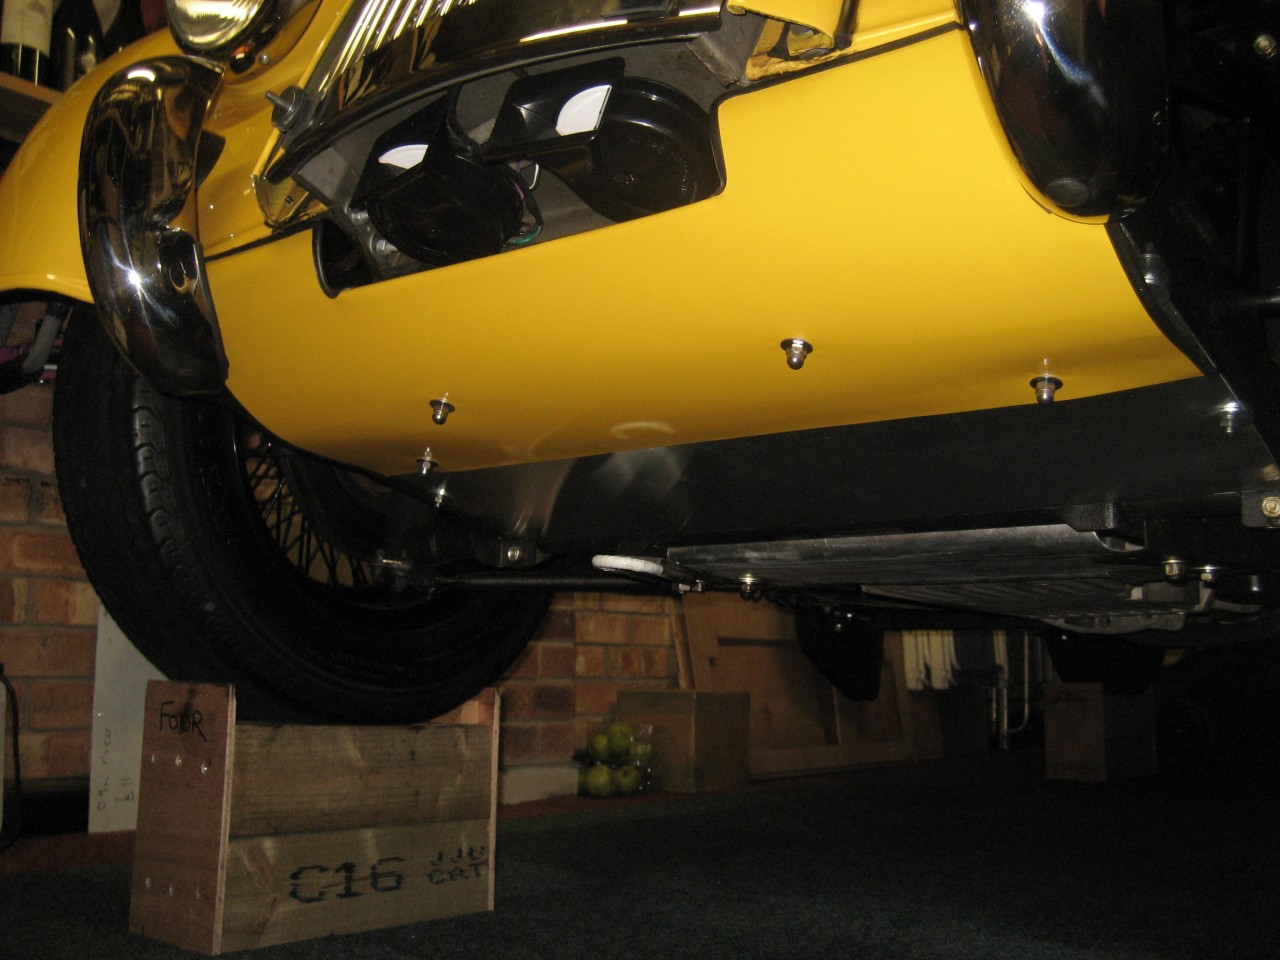 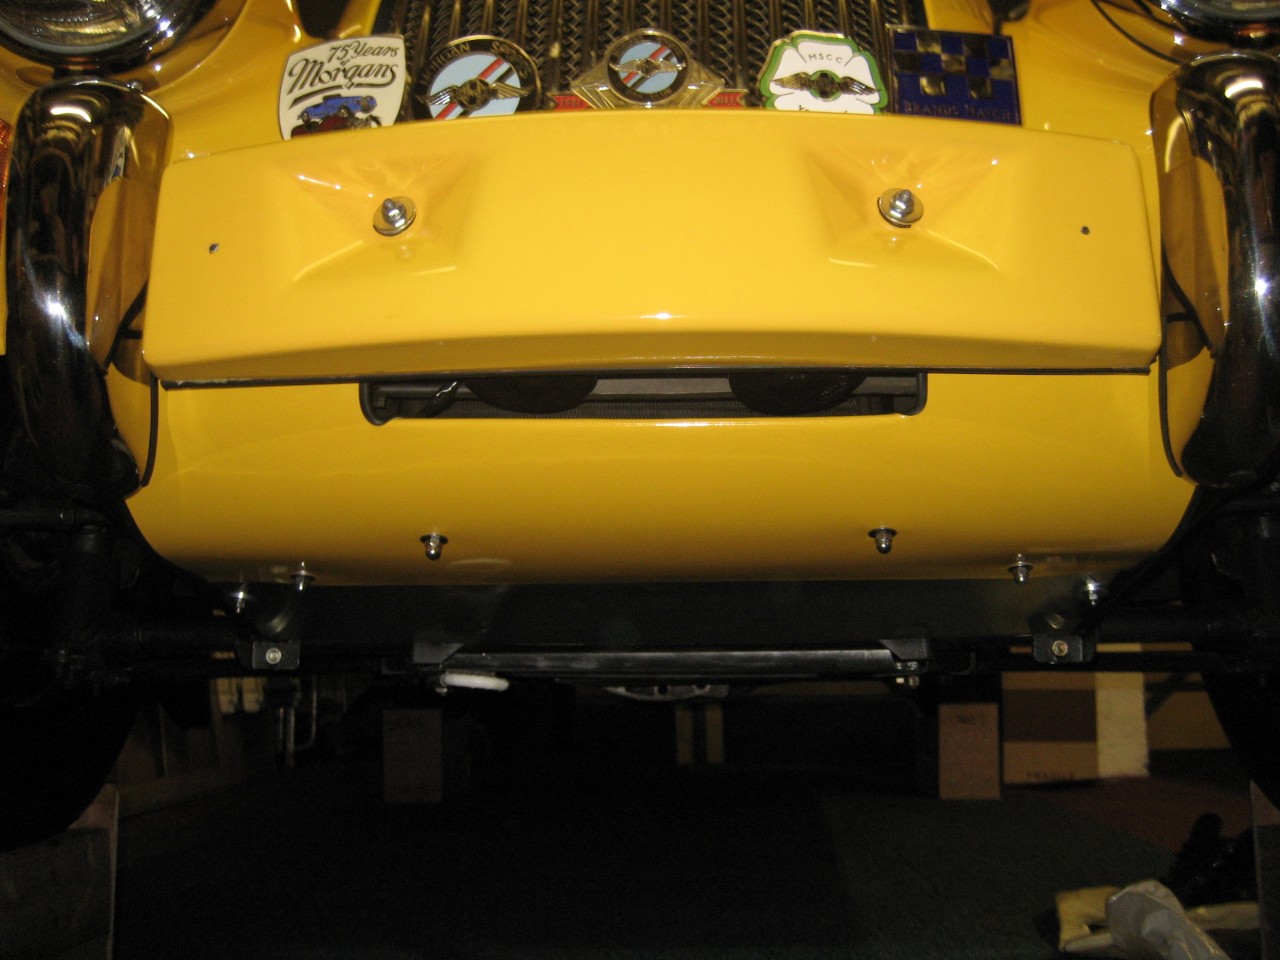 More to follow
DaveW
'05 Red Roadster S1
'16 Yellow (Not the only) Narrow AR GDI Plus 4
|
|
|
|
|
Joined: Dec 2008
Posts: 22,366 Likes: 354
Roadster Guru Member of the Inner Circle
|
|
OP
Roadster Guru Member of the Inner Circle
Joined: Dec 2008
Posts: 22,366 Likes: 354 |
Next the rear wheel well. I needed to spray the acrylic filler, and fit an umbilical for the luggage high level brake light. The reversing light was wet inside so I took it apart to dry it out............ 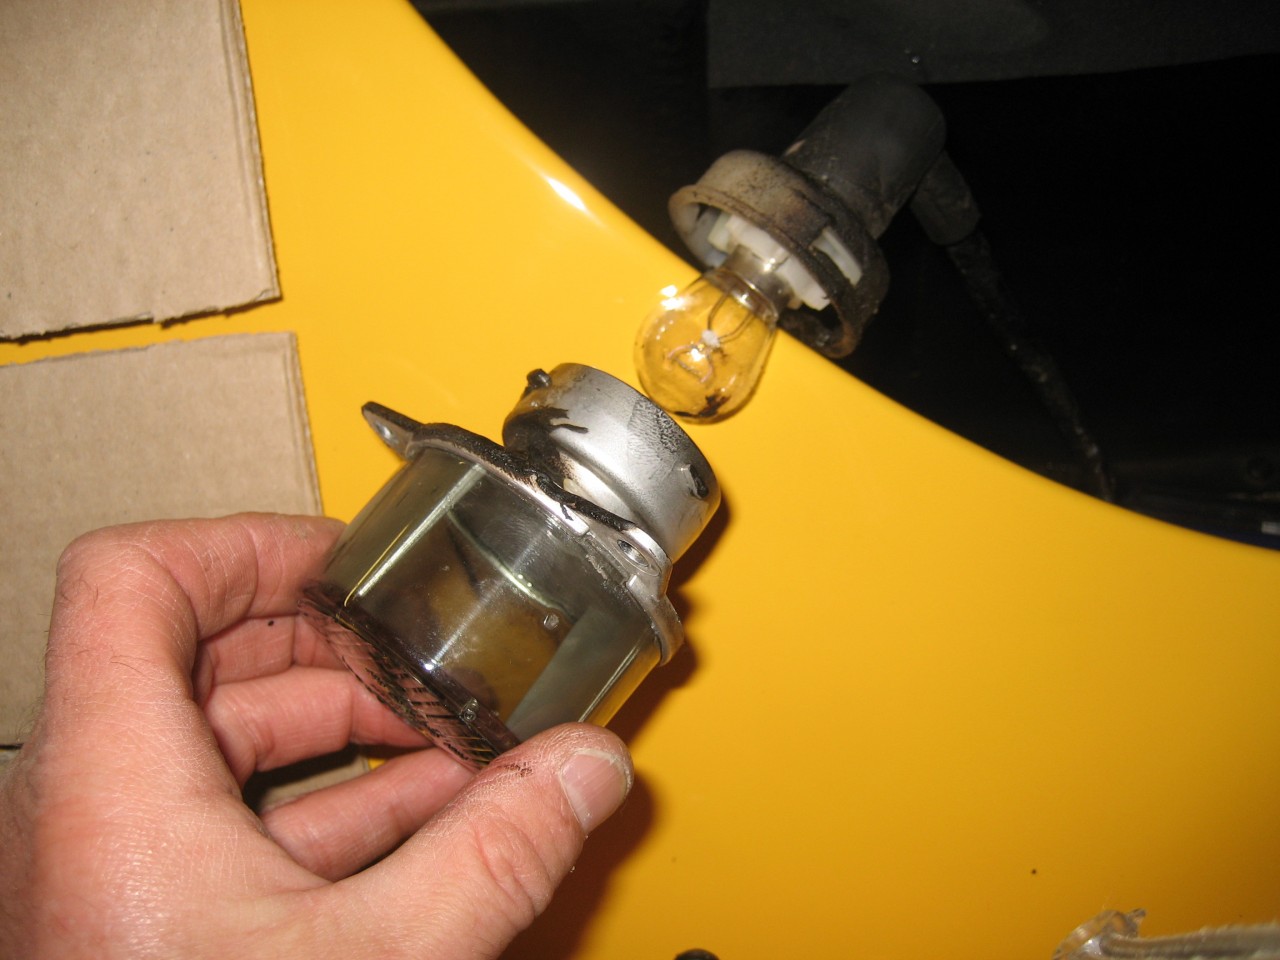 Here's the bare cobra: 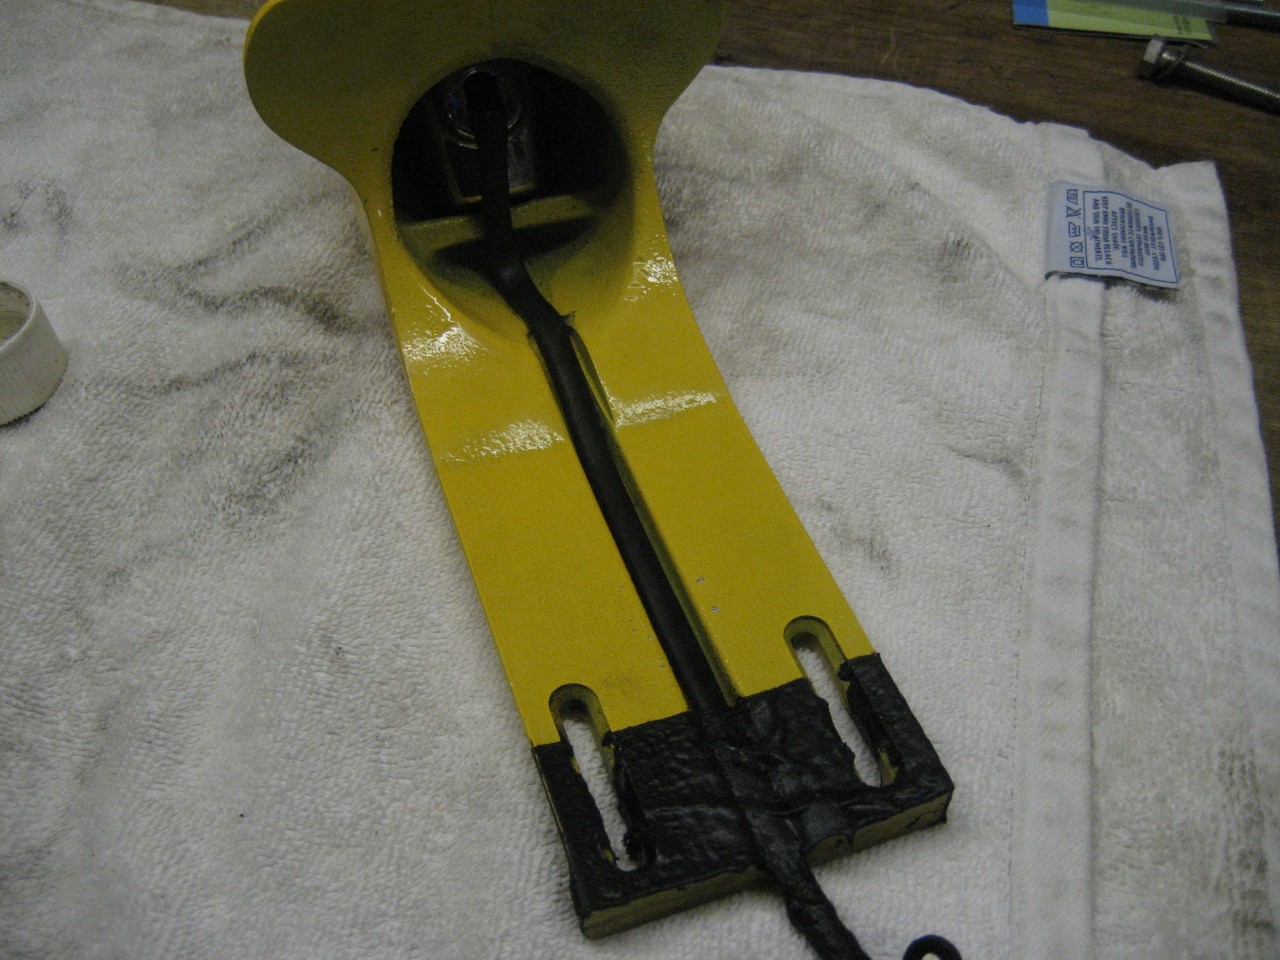 And with neoprene seal added and electrical tape cover: 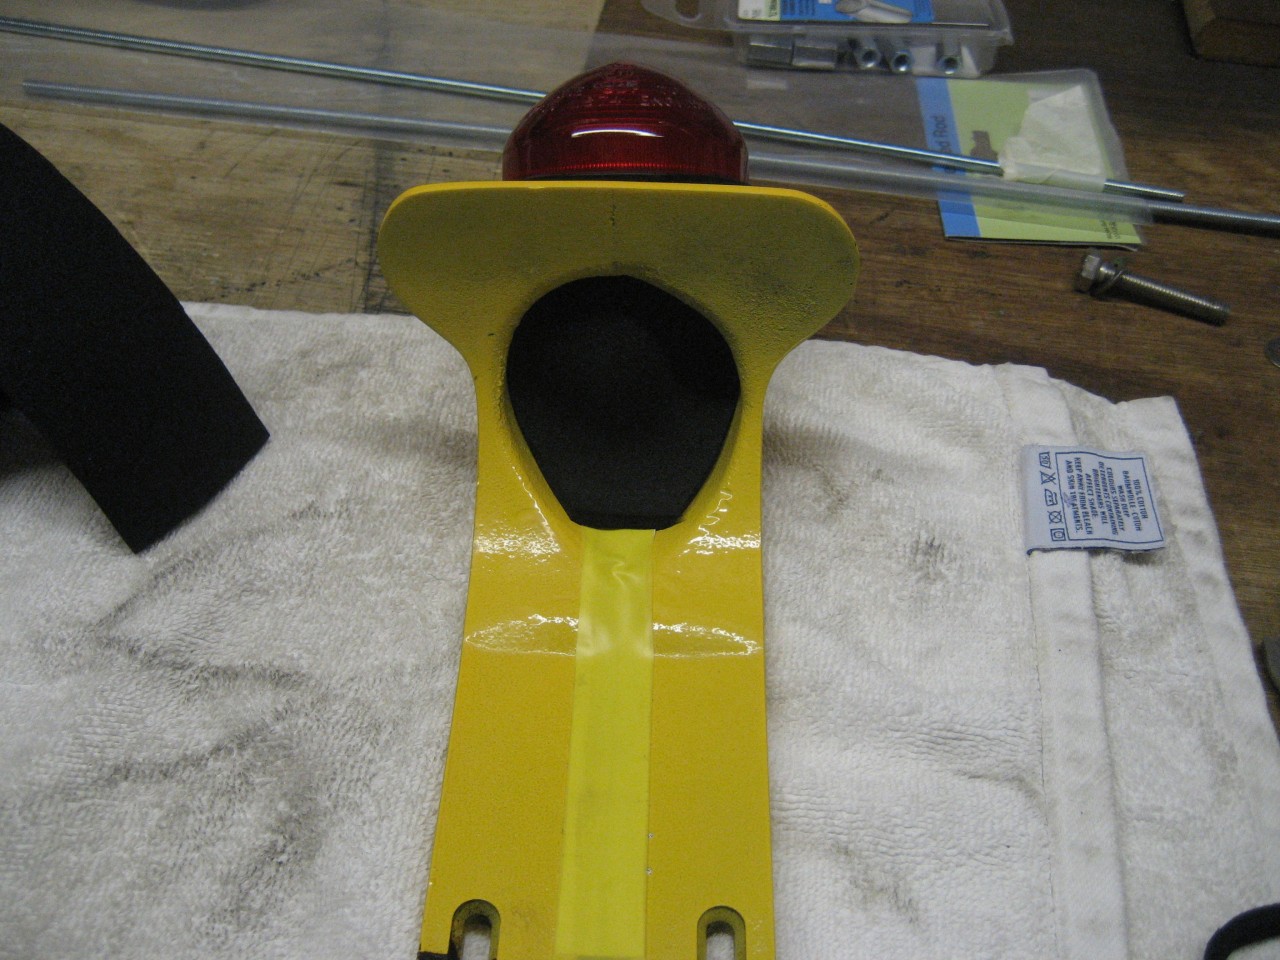 Acrylic primed..... 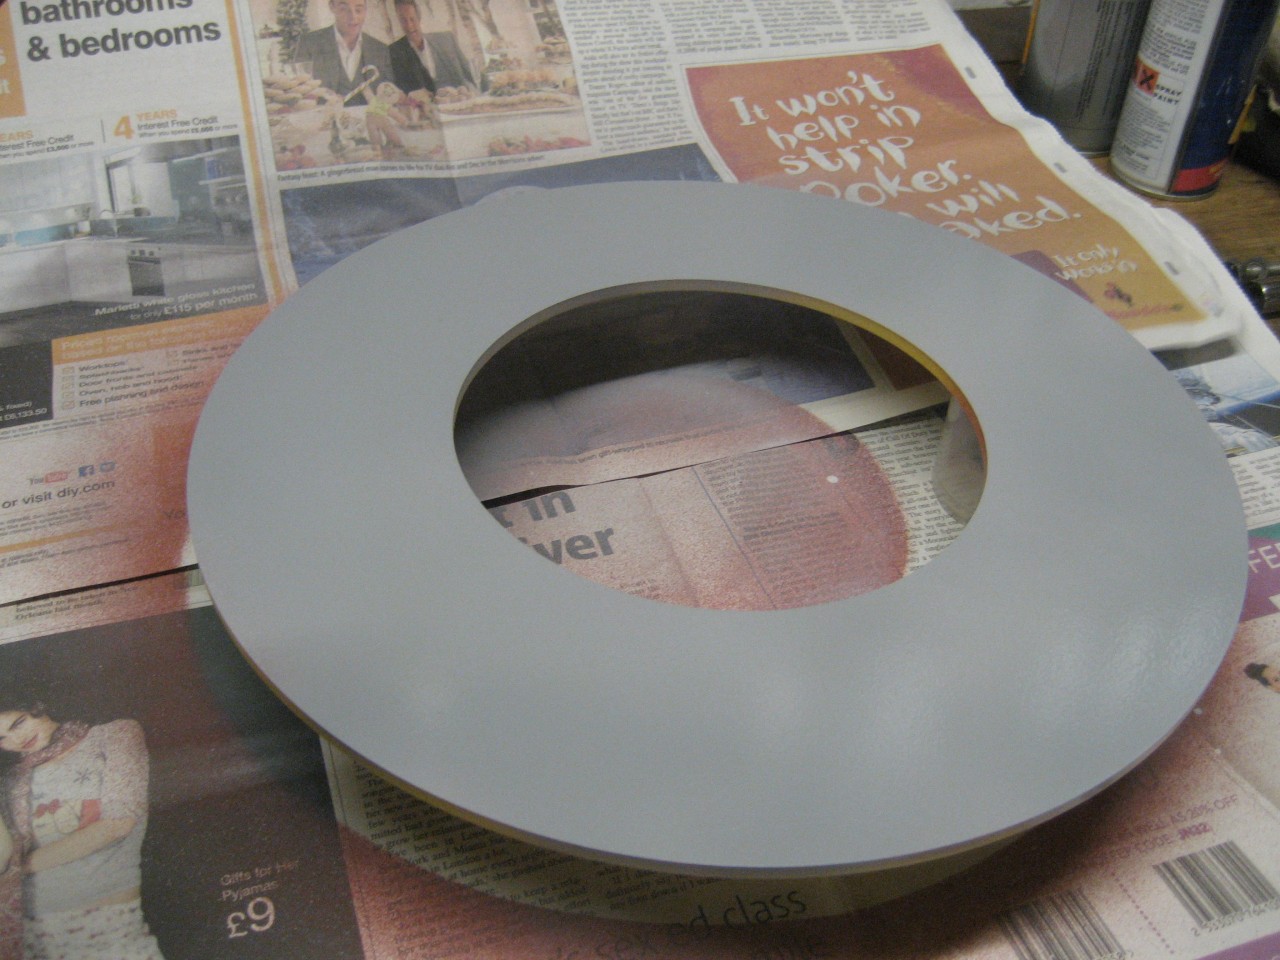 Painted and lacquered........... 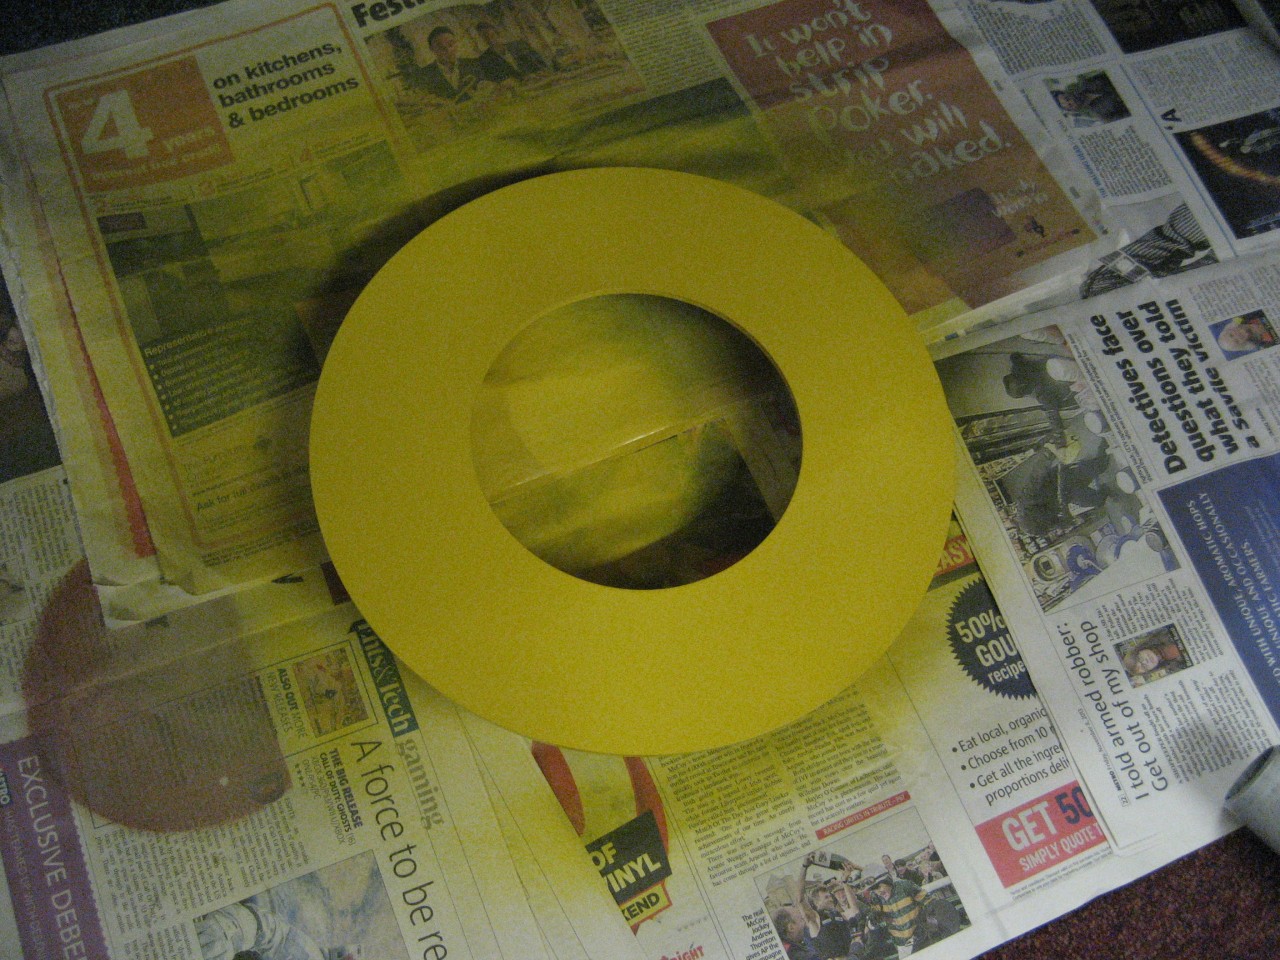 And refitted...................  And finally....... It's time I disclosed the number plate. I looked around for a while, considered YEll MOG, and YEl0 MOG, but several weeks ago........ Plumped for this................. 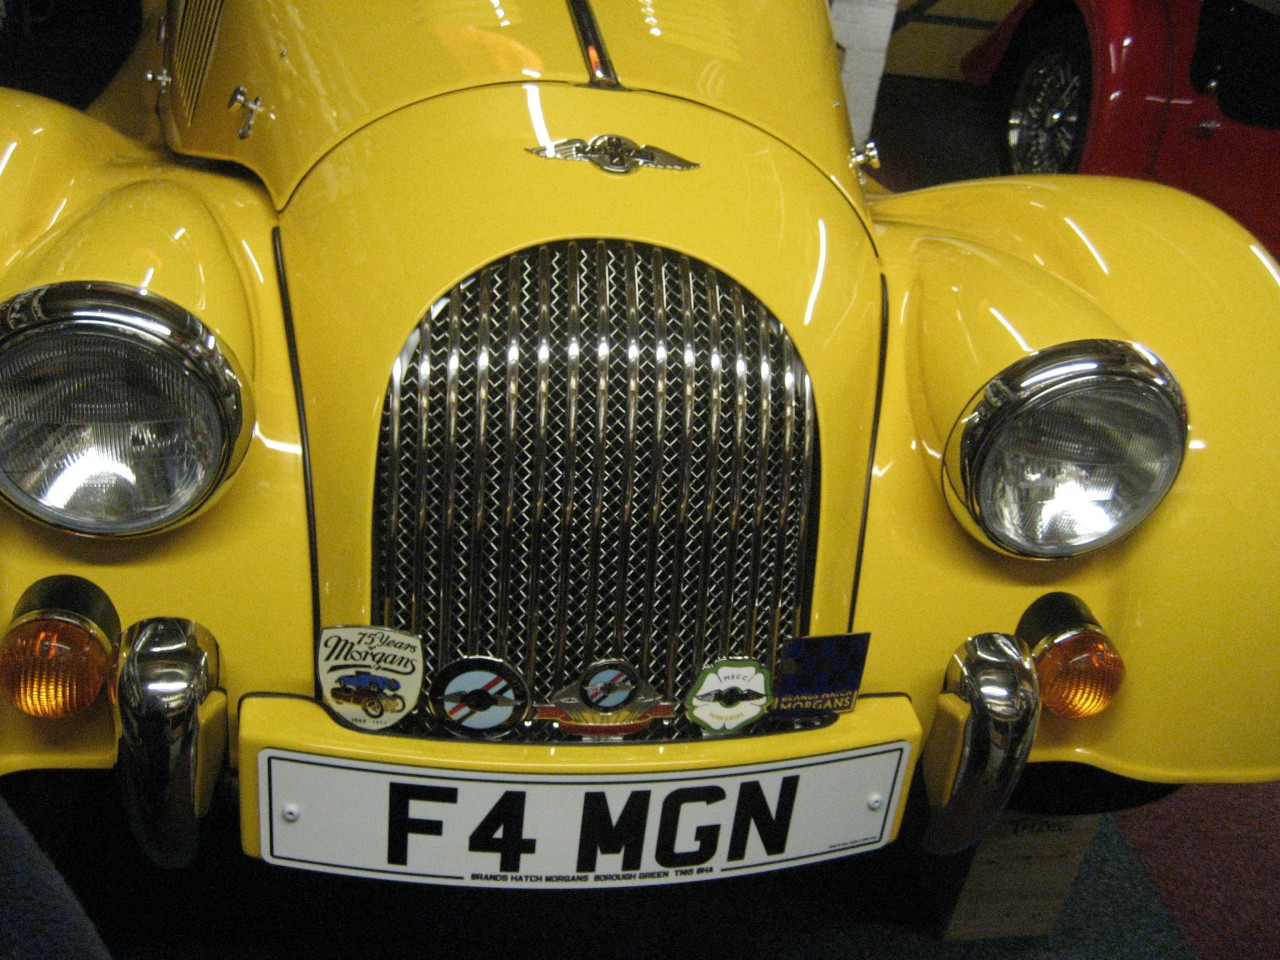
DaveW
'05 Red Roadster S1
'16 Yellow (Not the only) Narrow AR GDI Plus 4
|
|
|
|
|