Click here to return to the home page.
Image of a road.
Who's Online Now
12 members (sbarracl, James B W, Haggispeed, Pipmac, Morganmike, DJC, IcePack, PaulV, Ian Wegg, Simon, AlyMatt, TalkMorgan), 214 guests, and 30 robots.
Key: Admin, Global Mod, Mod
Top Posters(30 Days)
+8Rich 102
John V6 59
Newest Members
BenRoadster, Max5787, Jack Noir, phenompilot52, Orjan
9,638 Registered Users
Newest Topics
Aero 8 S5 Sound System
by Pittsartist - 14/09/26 10:21 AM
EV beckons....
by TBM - 14/09/26 09:45 AM
Eurotunnel – is it a Car or Motorcycle?
by Chris99 - 13/09/26 05:44 PM
Body Mounting Bolts
by M3WMW - 13/09/26 02:02 PM
What Matt Humphries has been up to
by Bunny - 13/09/26 10:01 AM
Contributions to the forum
by +8Rich - 13/09/26 07:47 AM
small hose from air cleaner - 1989
by Carbuilder - 12/09/26 04:50 PM
Latest Photos
New to me 95 plus 4 daily driver
by SailingTom2, September 12
Bits to give away
Bits to give away
by TigerTim, September 11
1989 Morgan Plus 4 in Ontario, Canada
by Carbuilder, September 5
First anniversary of Plus 4
by Strathaven, September 5
Wales
Wales
by Joske Vermeule, September 1
Forum Statistics
Forums39
Topics49,914
Posts838,179
Members9,638
Most Online1,063
Jun 14th, 2026
Today's Birthdays
Georgetoad, woolfie
Previous Thread
Next Thread
Print Thread
Page 4 of 4 1 2 3 4
Joined: Dec 2008
Posts: 22,371
Likes: 354
DaveW Offline OP
Roadster Guru
Member of the Inner Circle
OP Offline
Roadster Guru
Member of the Inner Circle
Joined: Dec 2008
Posts: 22,371
Likes: 354
Post Photobucket reboot from October 2009 continued...............

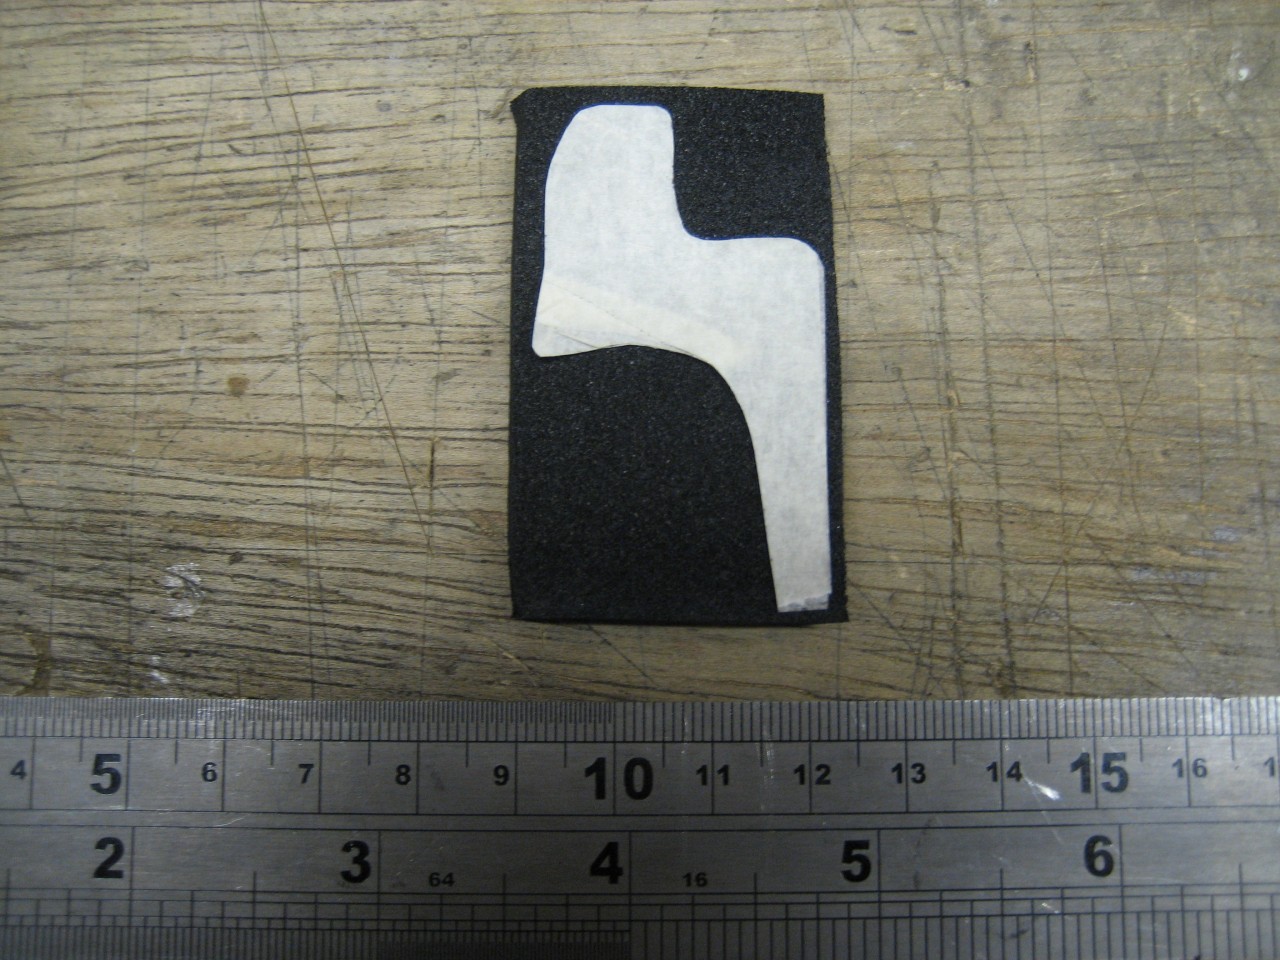
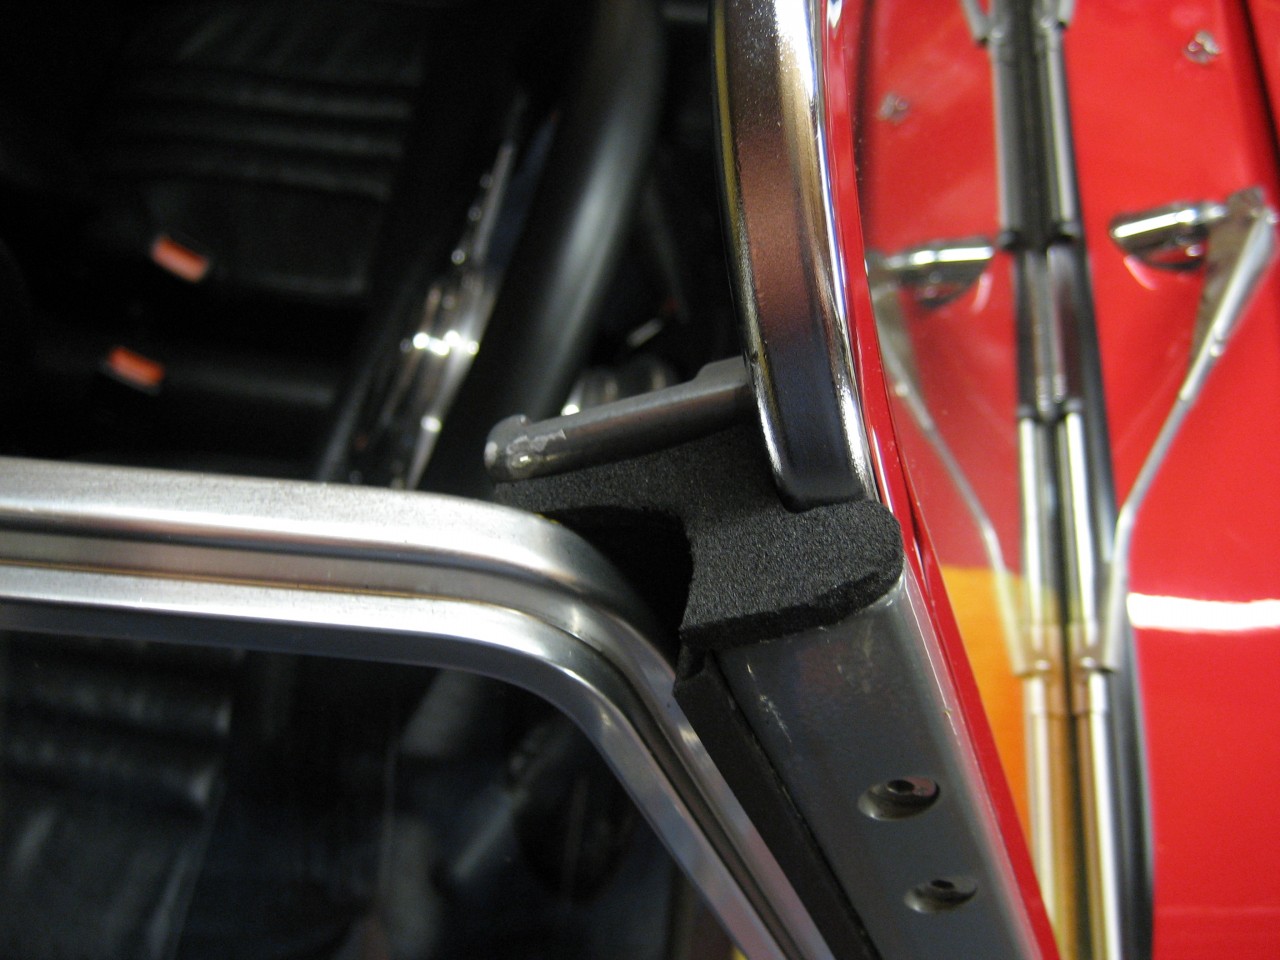
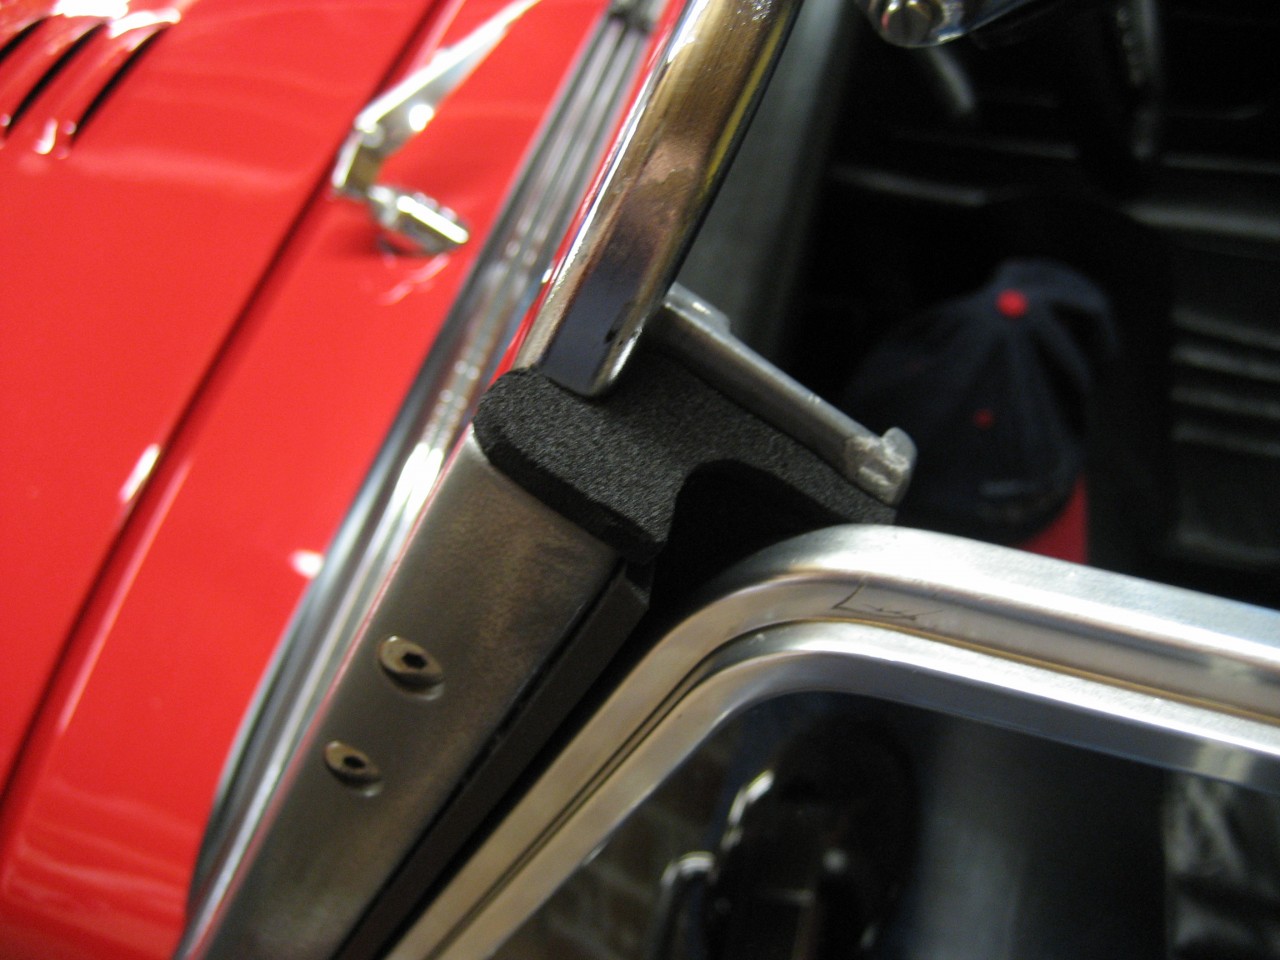
Tonight I had plans which were thwarted when it took absolutely ages to cut the two screen-frame-top-neoprene-patches to the right shape. I've used 4mm standard density neoprene, but it's a fiddly shape, and even a new Stanley knife blade wasn't good enough because the neoprene is very soft and this makes accurate cutting very hard. In the end I roughed it up with the Stanley, then trimmed with scissors and finished off with 240grit wet'n'dry!!!!!!
Actually MrsW's hairdressing scissors would be great for this, but I value my nuts too much to touch them.

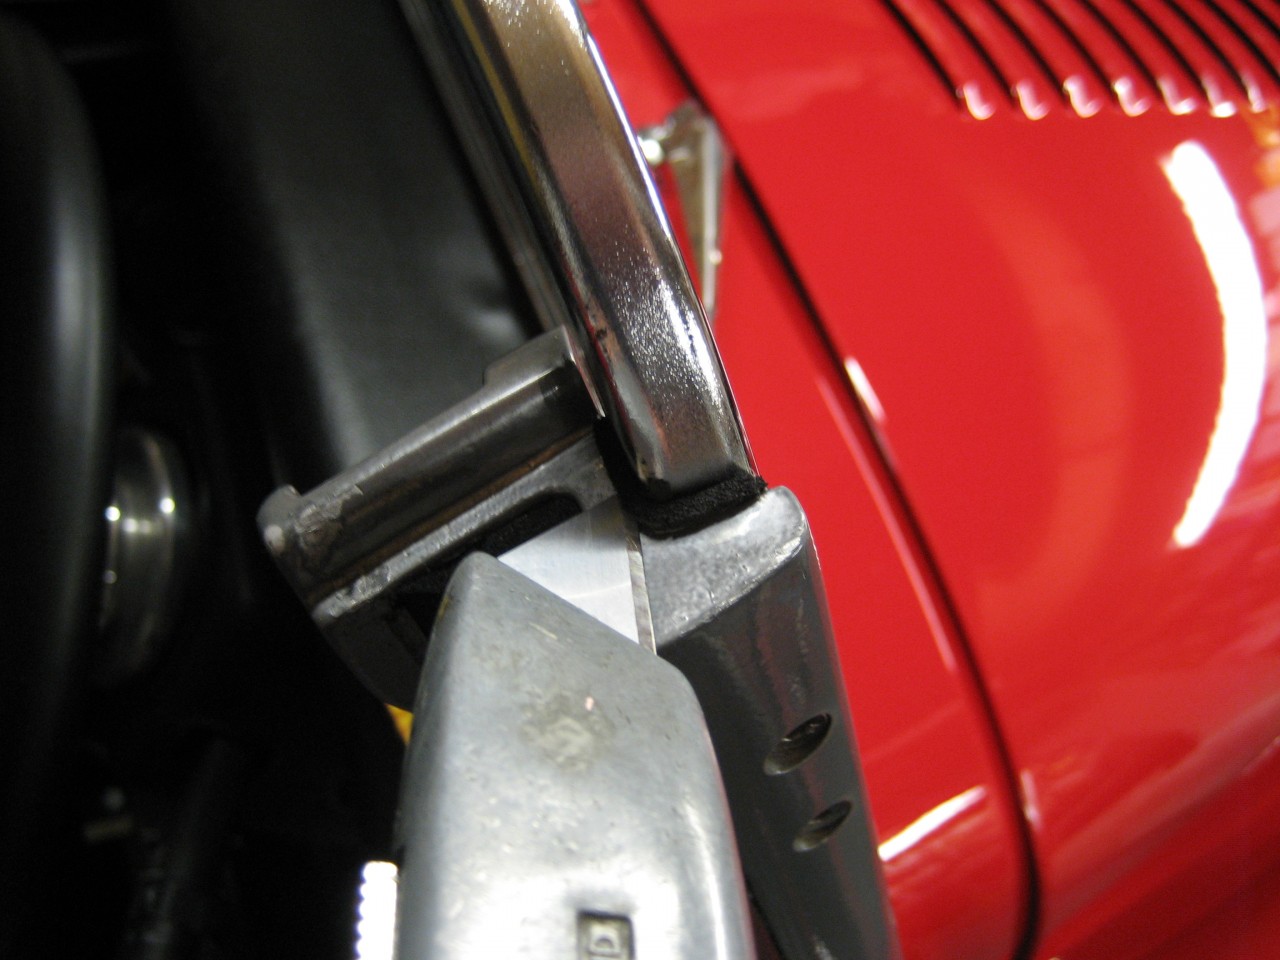
First, here's Mr Stanley taking off a small strip of surplus seal which is in the way.


This is a masking tape pattern laid on the neoprene, before I discovered it was Mission Impossible.........


But after an hour and a half..........
(I made five to get two) stars


The sidescreen/door seals must now wait until 'tomorrow'

More to follow >>>>>>>>>>>>>>>>>>>>


DaveW
'05 Red Roadster S1
'16 Yellow (Not the only) Narrow AR GDI Plus 4
Joined: Dec 2008
Posts: 22,371
Likes: 354
DaveW Offline OP
Roadster Guru
Member of the Inner Circle
OP Offline
Roadster Guru
Member of the Inner Circle
Joined: Dec 2008
Posts: 22,371
Likes: 354
Post Photobucket reboot from October 2009 continued..........

Well, due to other priorities, I've yet to do the sidescreen seals, but put the hood up on Sunday to test the fit of the top seals on the pillars. They work pretty well.

This picture shows how the header rail nips the top seal, and fits quite well with the recently added water deflector strip.
If you have the latest factory hood you can compare the original set up with this.
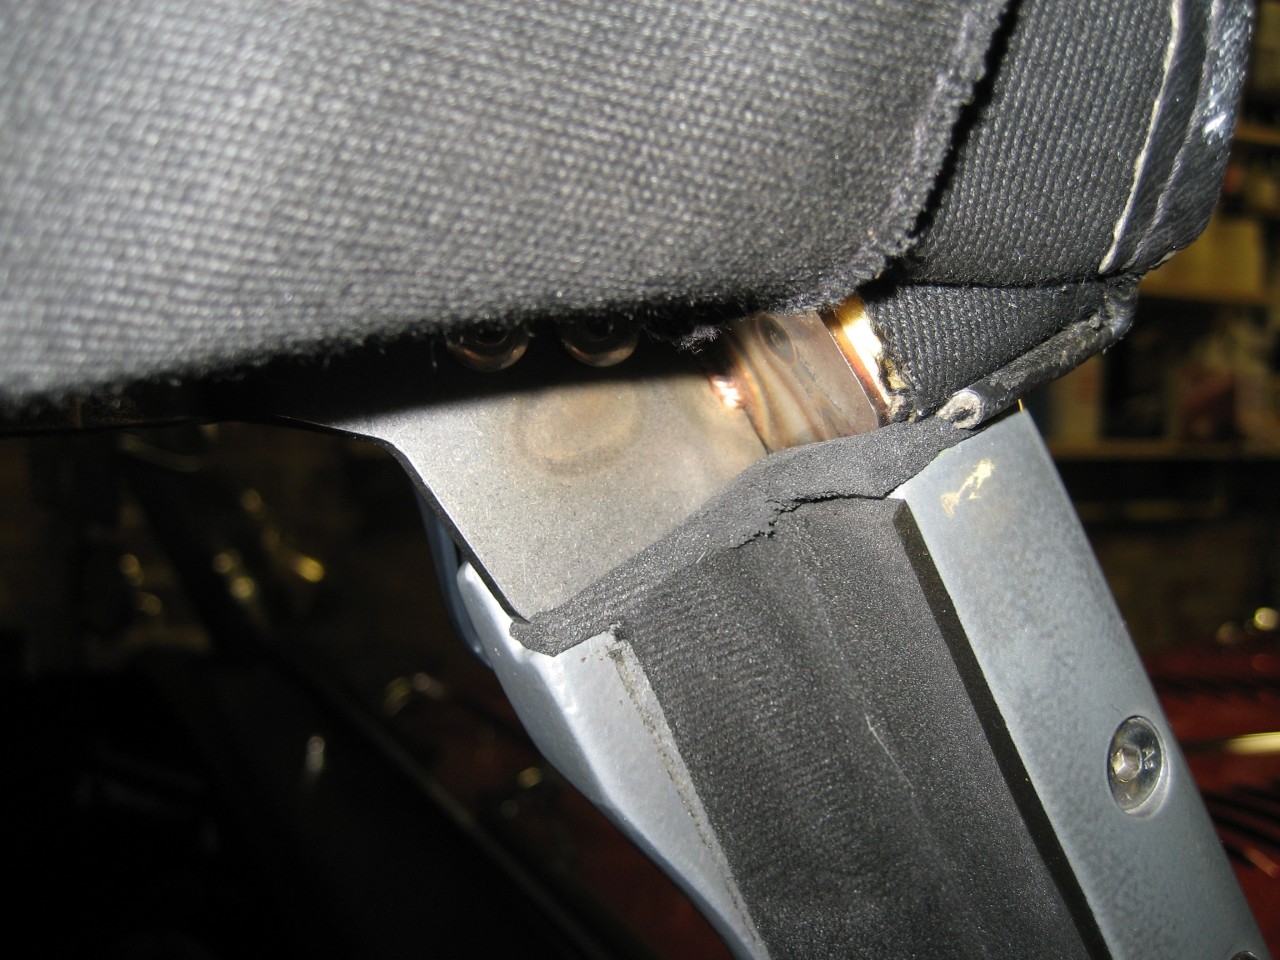


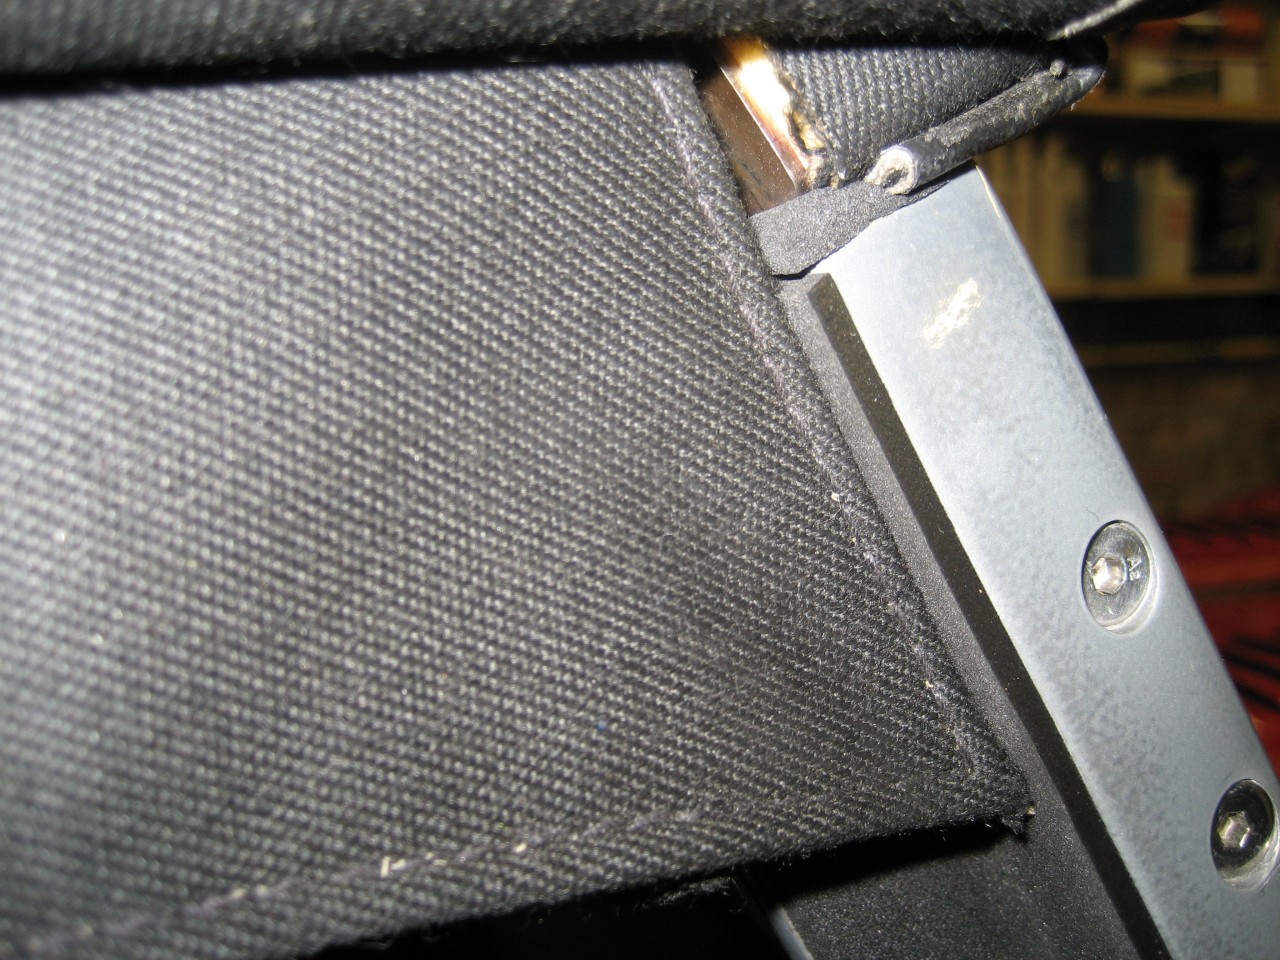
This picture shows the inner hood flap in place. There's still scope for water to get in at speed, but I might give this small 'gap' in the defences more thought on Saturday.


Tonight I've had a go. As you might imagine I have a mohair scrap 'box'. I also have a neoprene scrap box and a stainless/aluminium scrap box. This is because I never throw anything away that might possibly have a future use.....................

Here's the container of mohair offcuts, from the spring gaiters:
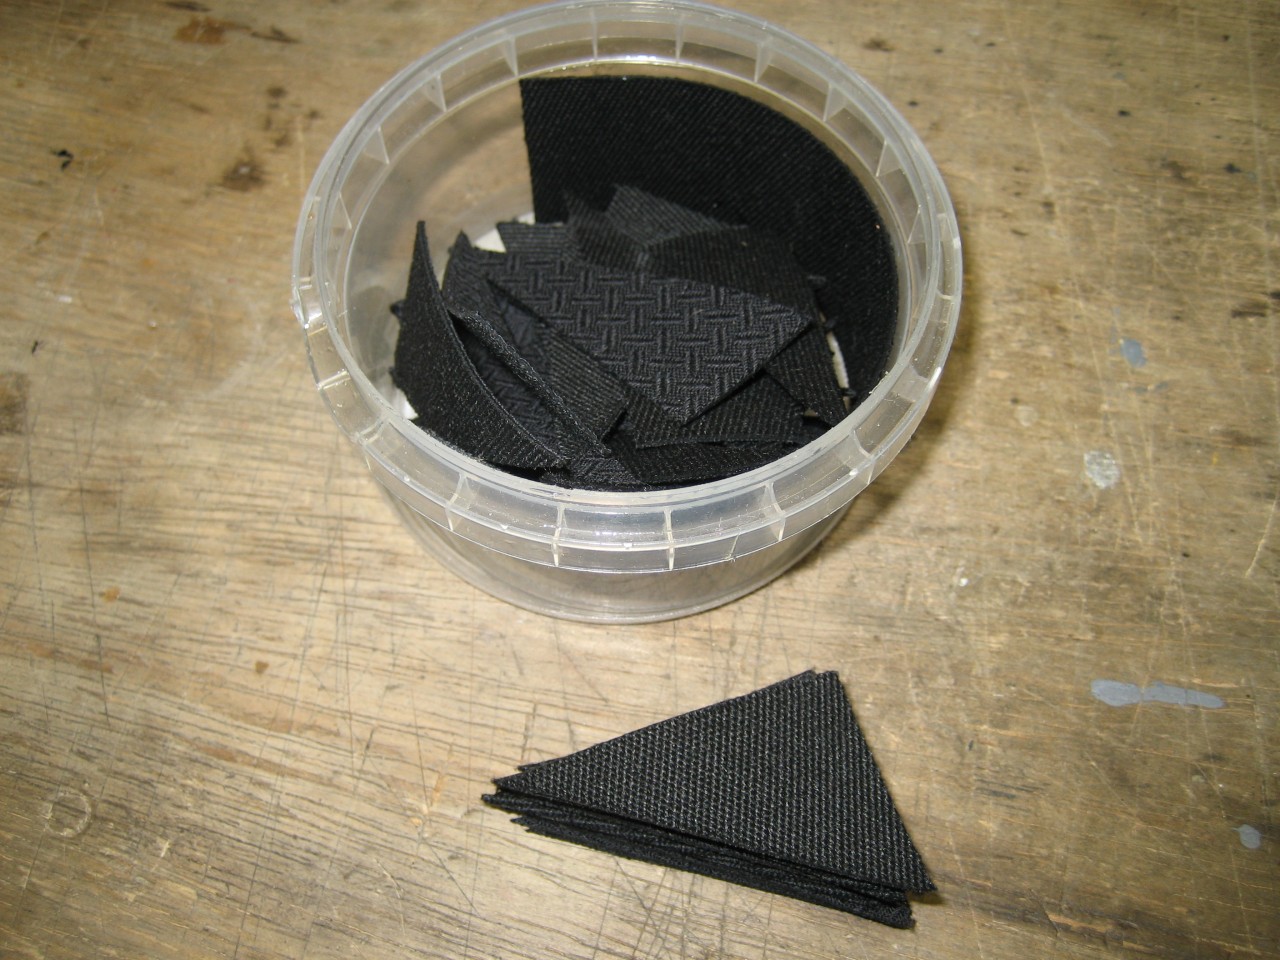


I wondered if the triangles would be the right shape

It turns out that once again, fate has provided a simple fix. Heavy duty Bostik is my glue of choice for 'mohair'.
Only the front half is glued. Compare this view to that earlier in this thread.
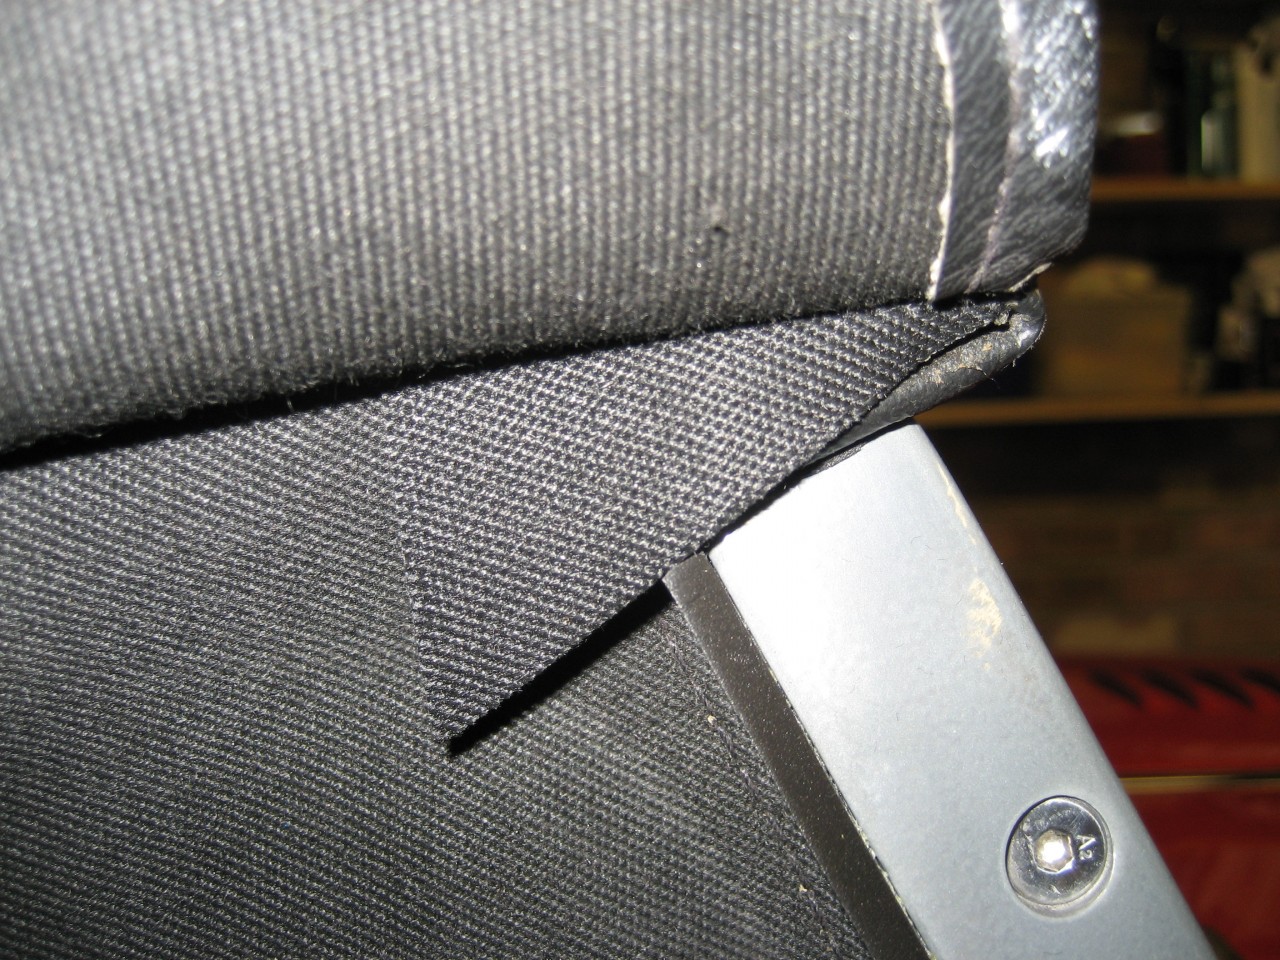
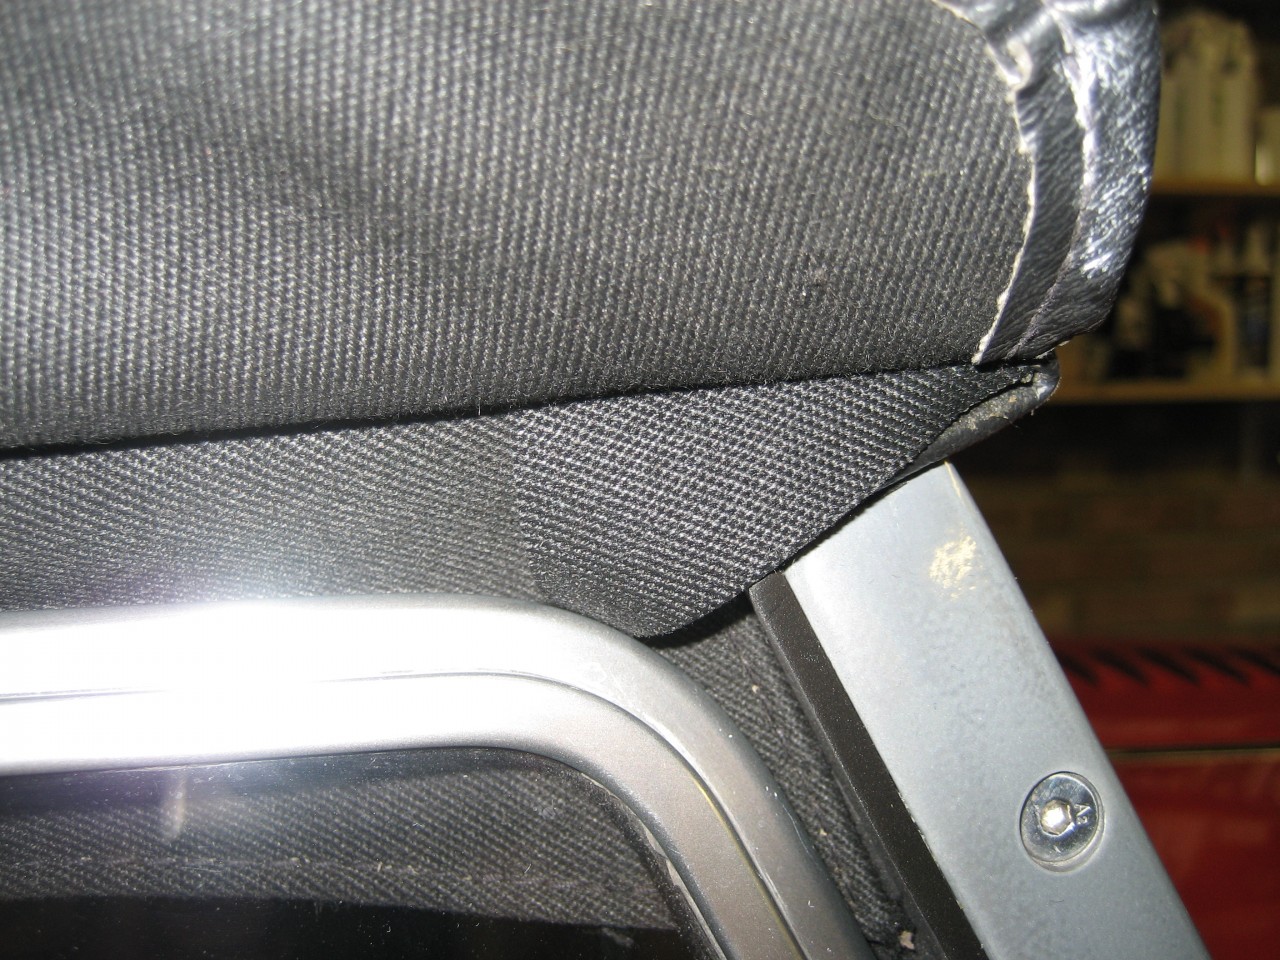


When the door is closed, the sidescreen frame just holds the corner. In wet weather it may be better if this was left to overlap the sidescreen - only time will tell.


Next the lower seals............


DaveW
'05 Red Roadster S1
'16 Yellow (Not the only) Narrow AR GDI Plus 4
Joined: Dec 2008
Posts: 22,371
Likes: 354
DaveW Offline OP
Roadster Guru
Member of the Inner Circle
OP Offline
Roadster Guru
Member of the Inner Circle
Joined: Dec 2008
Posts: 22,371
Likes: 354
Post Photobucket reboot from October 2009 continued......

There was an element of trial & error in this next part. The gaps in the sidescreens are around the two uprights, so two neoprene fillers are needed. I wanted a round profile on top, so the first step was to roll the edge of a piece of neoprene and stick with superglue. Next I trimmed to size, before the trial & error fitting process. The trick is to keep the top edge well down, so it's not obtrusive, but to avoid spacing the screen from the door. The lower edges are curved to fit the padding inside the trim. It's held with double sided tape to avoid damaging the sidescreen. I used 4mm standard density, which is thick enough to fill the gap but soft enough not to alter the position relative to the door. The rolled top edge adds more thickness, but just along the top edge.

Front offside.......


Rear offside.......


Front fitted.......


Rear fitted.......


And the full door.......


This turned out to be very simple, but I would like to make a better job, even though you can't see the rough edges, so I will probably go for a mark2 fix, and make up a symmetrical set.

More to follow >>>>>>>>>>>>>>>>>>>>>


DaveW
'05 Red Roadster S1
'16 Yellow (Not the only) Narrow AR GDI Plus 4
Joined: Dec 2008
Posts: 22,371
Likes: 354
DaveW Offline OP
Roadster Guru
Member of the Inner Circle
OP Offline
Roadster Guru
Member of the Inner Circle
Joined: Dec 2008
Posts: 22,371
Likes: 354
Post Photobucket reboot from October 2009 continued..........

Another idea hit me over the weekend.

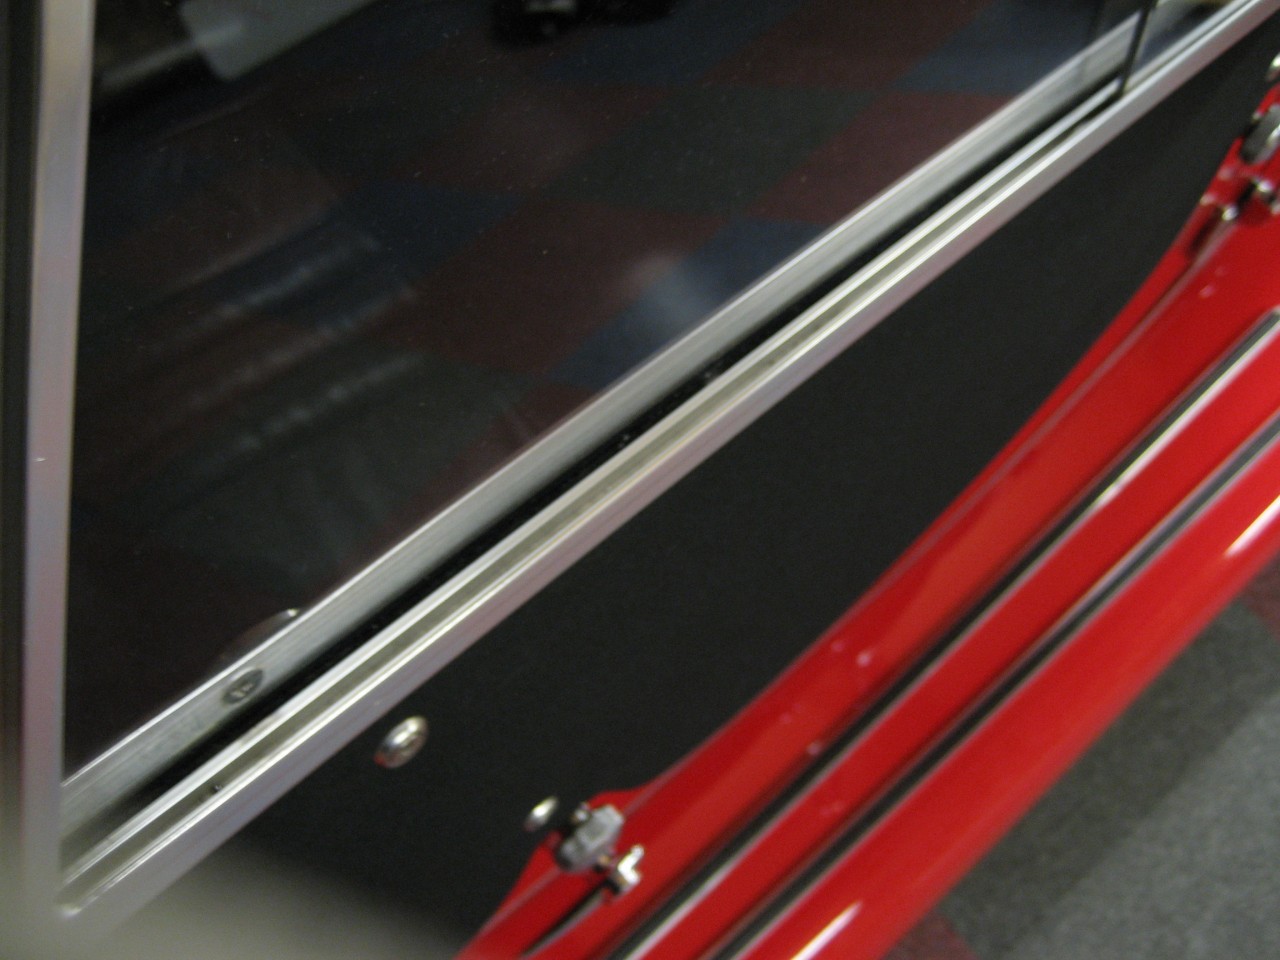
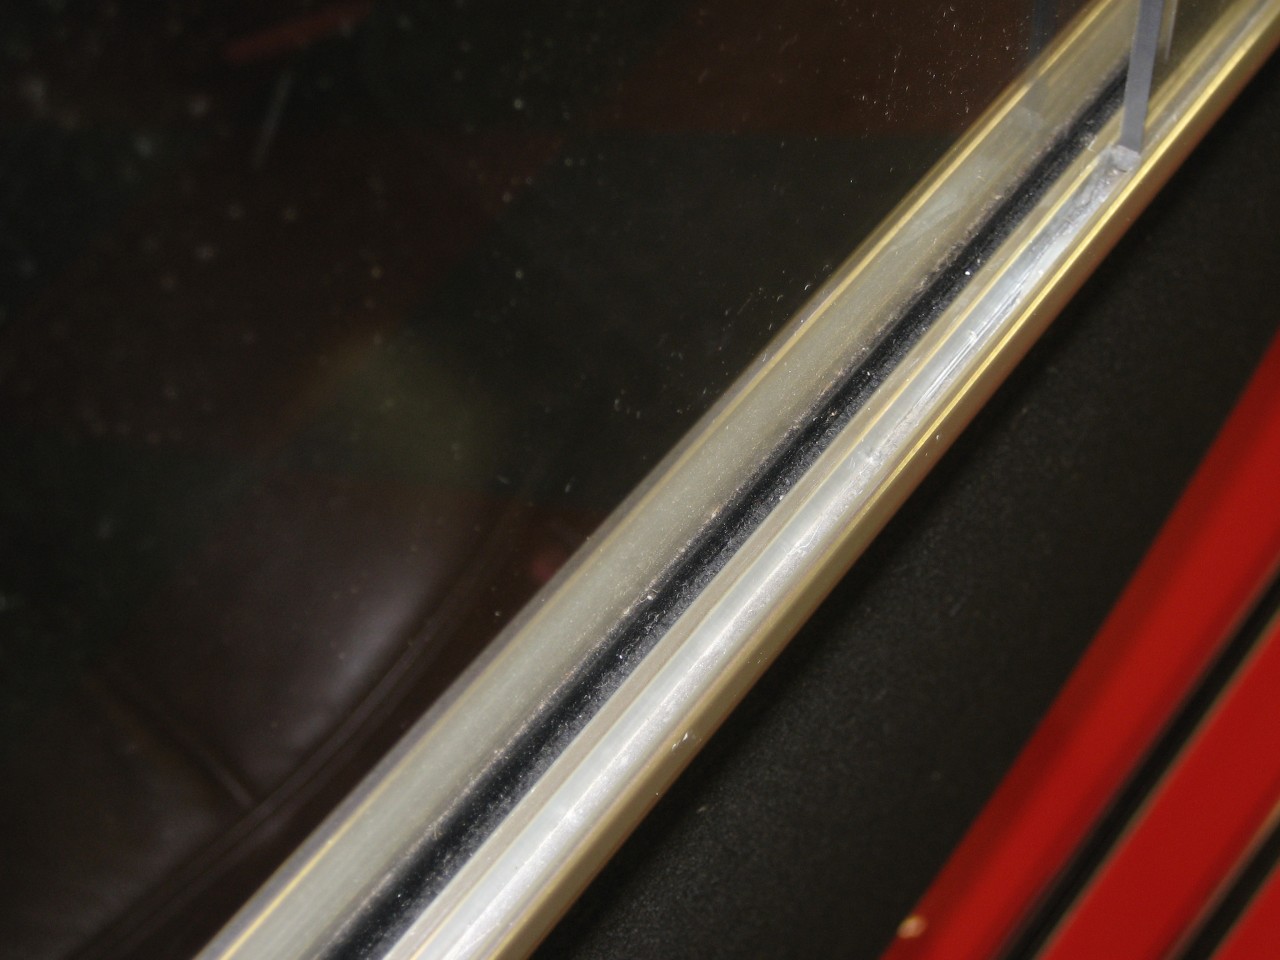
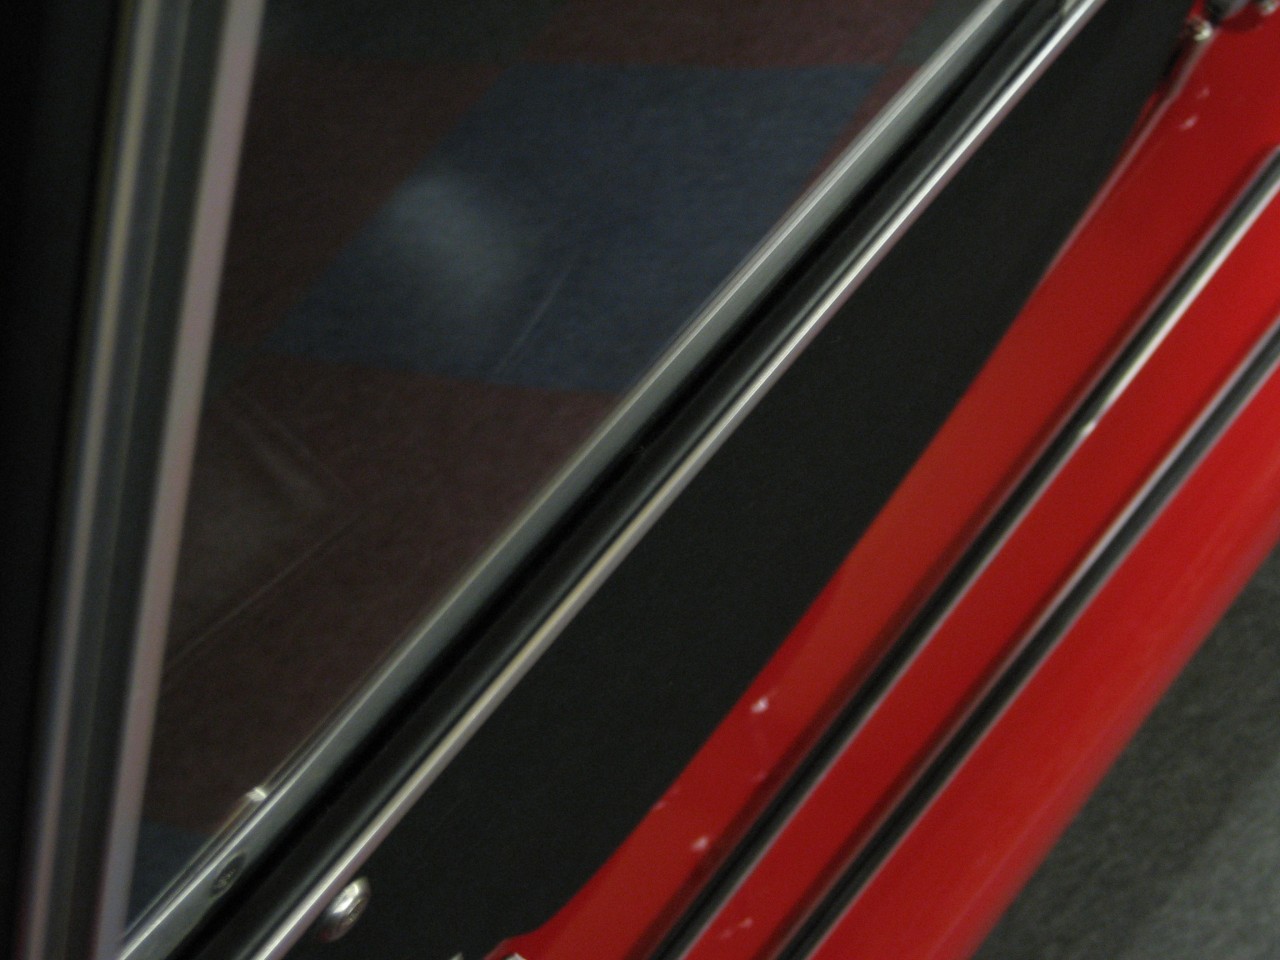
The rear sliding portion of the sidescreen has a narrow trough in front of it, into which the front plastic window is secured with clear silicon sealant.


Closer look - difficult to show clearly.......


COH Baines sell angle neoprene (L shaped with one leg thicker than the other) - reference IRS0822EP at £1.06 per metre......
The thick end slots in the trough and the thin leg fits close to the sliding window. This means that when it's wet, much less water can get in that slot. I've fixed it at each end with double sided tape. Although the tape doesn't stick well to the neoprene (due to the waxy release agent I suppose)- it helps to hold the seal in the trough. Just a small piece at each end.


Close up with flash (sorry about that dust........)


The only tricky bit is that there was some silicon residue at the fixed window end which took some shifting so the seal could fit properly. But this is a nice and easy quick cheap fix.
And one day it will get wet again.......


DaveW
'05 Red Roadster S1
'16 Yellow (Not the only) Narrow AR GDI Plus 4
Page 4 of 4 1 2 3 4

Moderated by  TalkMorgan 

Link Copied to Clipboard
Powered by UBB.threads™ PHP Forum Software 7.7.5