Nick, I hope you don’t mind me hijacking your old thread. I need somewhere to park the assembly notes for these things rather than sending them out by PM.
Rear suspension aids - Assembly notes. 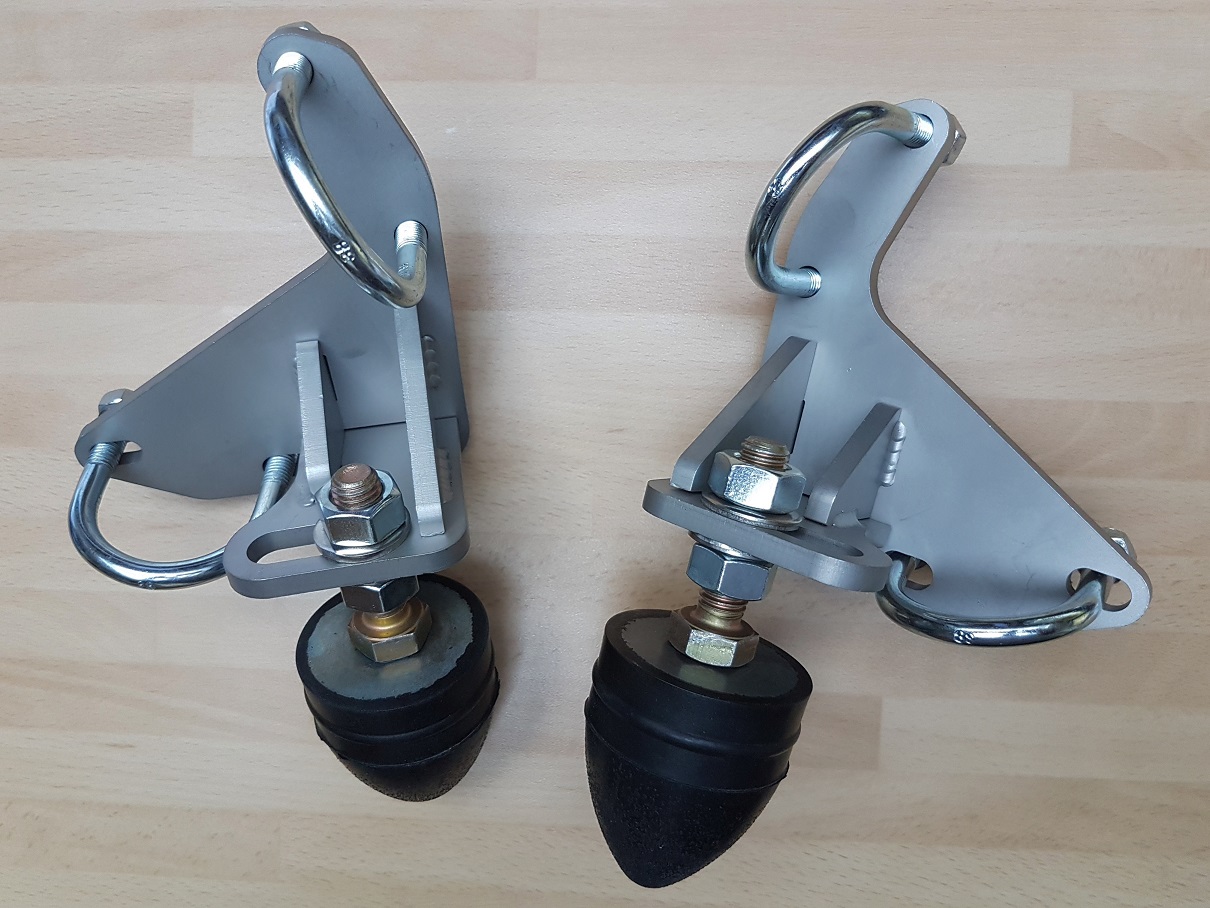 Gaining access for fitting
 Remove the rear parcel shelf and tool tray to gain access to the damper mounting hoop.
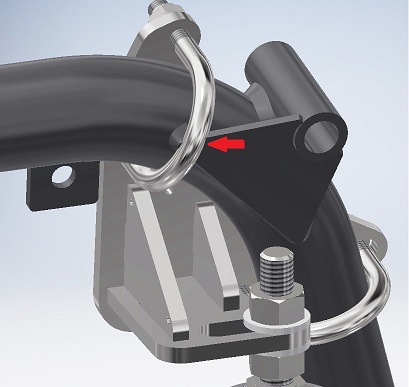
Fitting First assemble the brackets to the hoop but without the rubber stops. Don’t fully tighten the U-bolts just yet.
Levelling Level the brackets with a small spirit level before fully tightening the U-bolts. When tightening “wiggle” the U-bolts from side to side to ensure that they clamp up perpendicular to the tube. It’s easy to tighten the U-bolts slightly skewed and run the risk that may work loose over time.
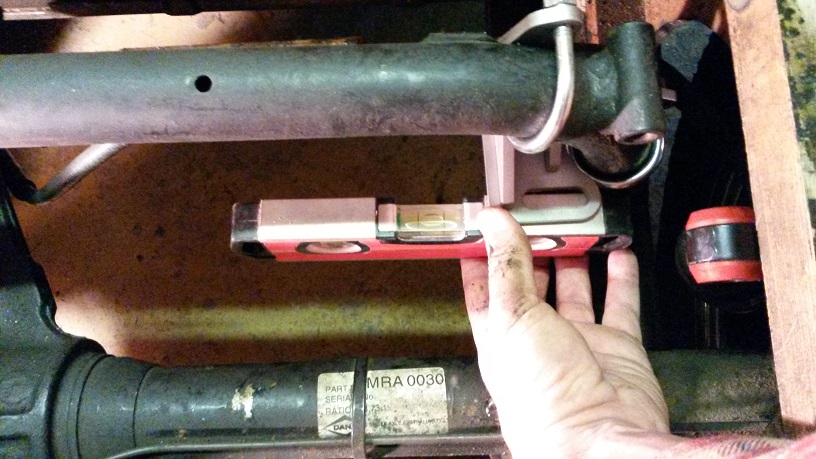
N.B. No need to remove the damper top fixing. The bump stop assembly can be fitted with the dampers in place.
Centralising the stopsPosition the stops in the brackets so that they are above the centre of the springs.
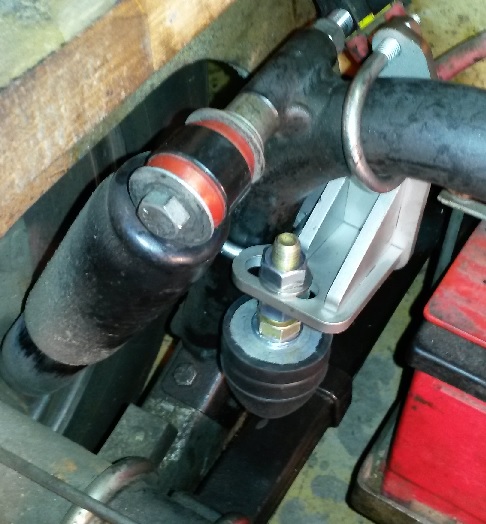 Setting the stop height
 The objective is to set the stops as high as possible whilst preventing the suspension from impacting the body. Start off by setting them high and slowly lower them. This may take a few attempts or journeys to get right but should minimise the load transferred to the hoop and brackets.
When checking/adjusting the gap between the spring and stop be sure to bounce the car a couple of times to find the car’s correct rest position. Sometimes the dampers or the stiction between the leafs can hold the car in a false position especially if you have been leaning on the car whilst working.
For information only... the gap between the top surface of the spring and lower tip of the stop is about 32mm on my car. I suspect all cars may differ.
It can be tricky measuring the gap precisely. I use blocks of wood cut to thickness as setting gauges.
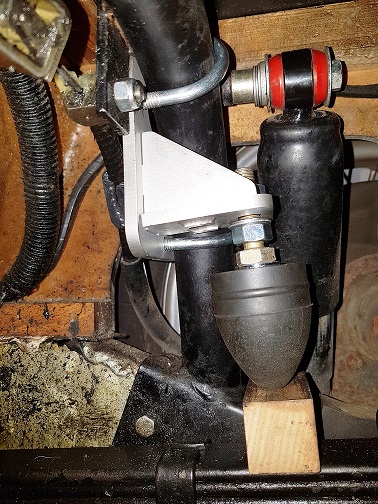 Caution.... These devices are experiment with limited testing! I have on experience of the consequences of setting the stops lower than necessary. Also, the stops are not intended to be a fix for soft degraded springs. They may be subjected to much higher impact forces in those circumstances. Protecting the handbrake cables
 If you have one of the hoop configurations where the hand brake cable is attached to the same side of the hoop as the bump stop brackets are mounted (type 1 and 2 below) then care should be taken to protect the cable from rubbing.
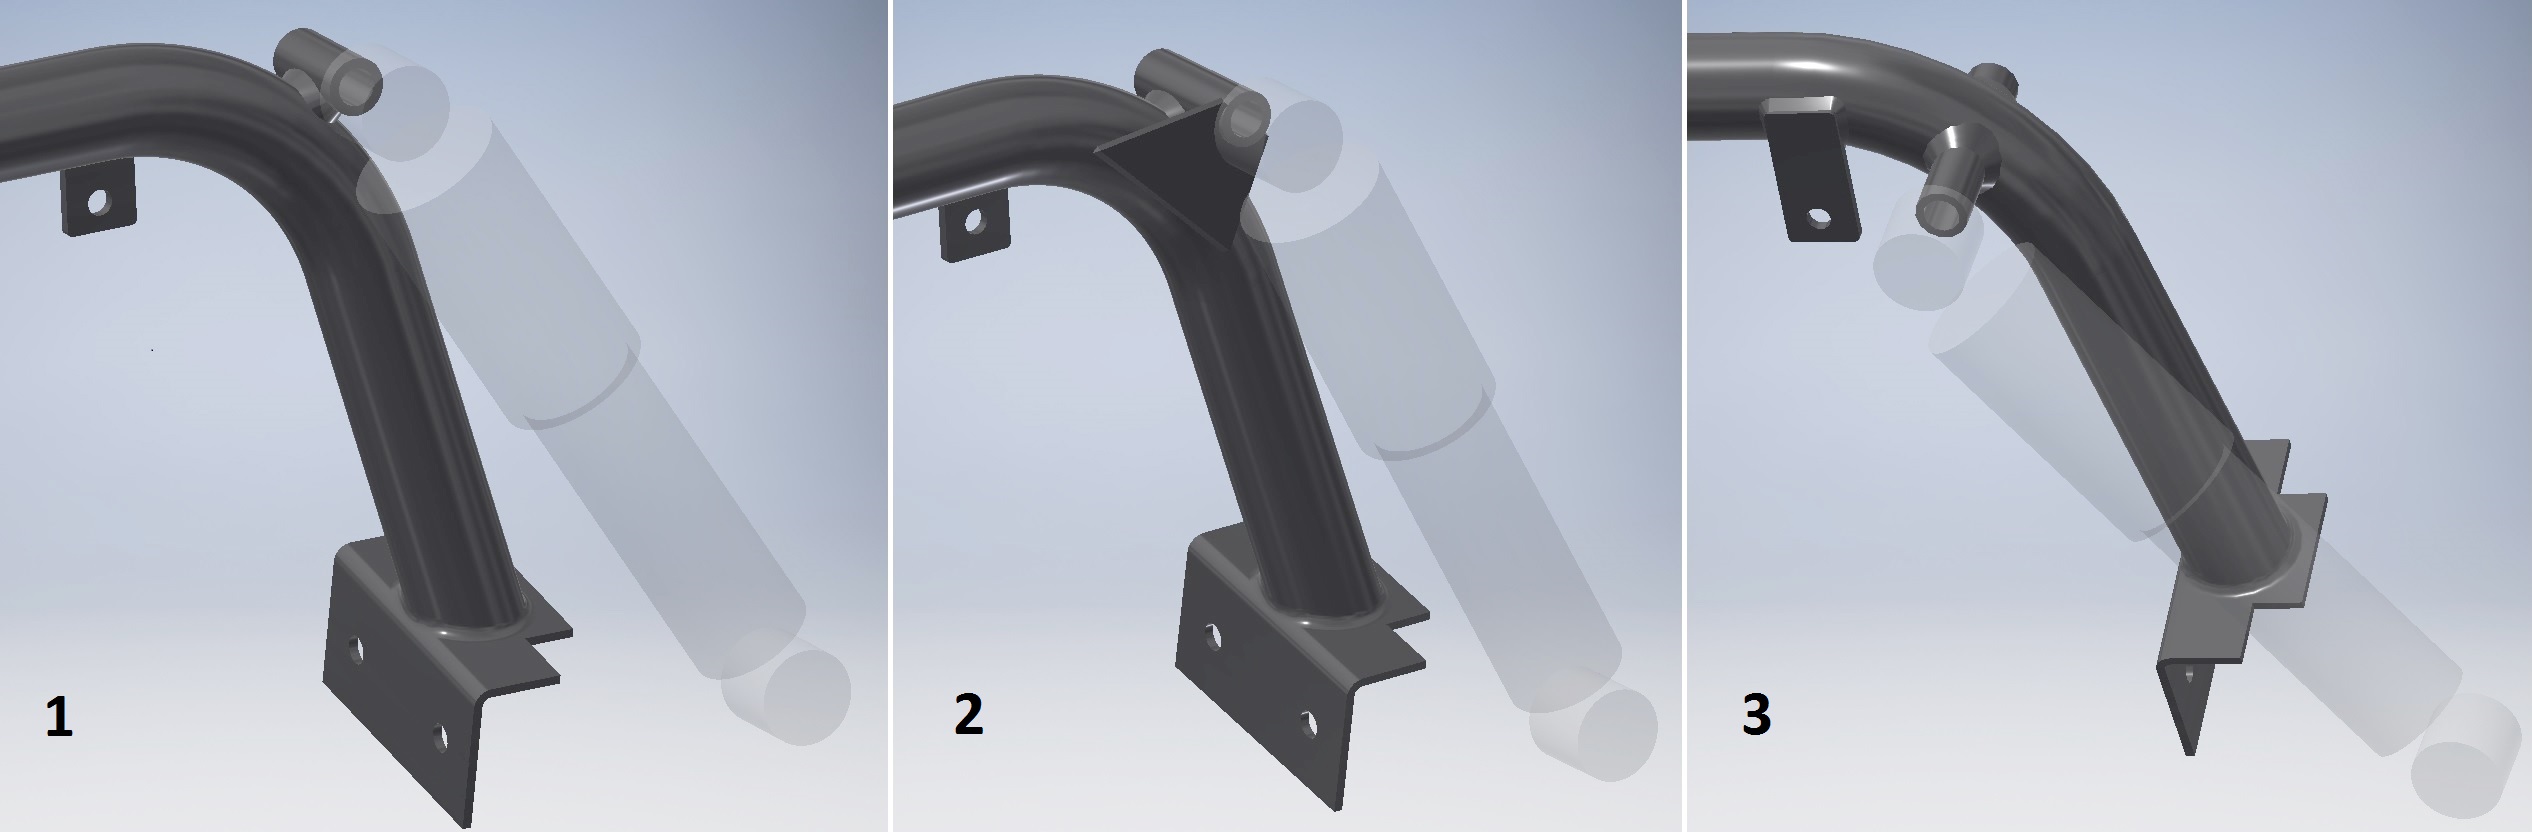
If the cable runs close to the brackets bounce the rear of the car and observe the cable movement. Look for any rub points where the cable may chafe. Add the two plastic nut cap protectors to the offending nuts.
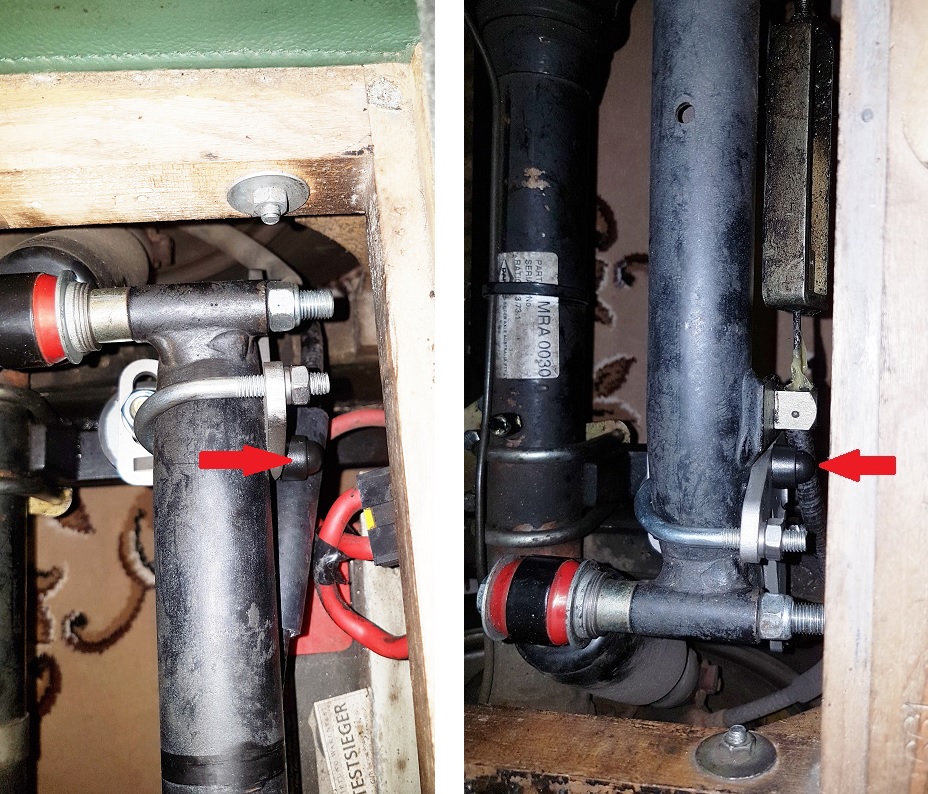
For extra protection I had some small bore rubber heater hose that I slit with a Stanley knife and slipped over the cable.
And finally don’t forget to check the bolts are tight and the cables are not rubbing after a few miles.