Click here to return to the home page.
Image of a road.
Who's Online Now
2 members (Julian BB, Marmota), 375 guests, and 40 robots.
Key: Admin, Global Mod, Mod
Top Posters(30 Days)
+8Rich 93
Newest Members
Scot_SJI, Jimmers, Breen60, Davidmog, Stevecarr
9,596 Registered Users
Newest Topics
3.7 Roadster Greasing Q
by ScottMellor - 26/08/26 05:31 PM
Goodbye Dolly
by Clipper - 25/08/26 09:57 PM
Hot start .... vapour lock
by Pittsartist - 25/08/26 08:00 PM
Immobiliser
by Clipper - 25/08/26 12:42 PM
Monza style fuel cap
by Lionel Mandrake - 25/08/26 09:01 AM
UK car tax on CX Plus Four - bit of a rant
by Neil A - 25/08/26 07:33 AM
tow bar
by G Walker - 24/08/26 06:52 PM
Latest Photos
tow bar
tow bar
by G Walker, August 24
Prescott double anniversary
by CooperMan, August 18
Air Crash Sites: Cairngorms
by RedThree, August 13
Four-seater luggage rack
by Soleng, August 9
New M3W orange 2012
New M3W orange 2012
by jejemek, August 7
Forum Statistics
Forums39
Topics49,836
Posts837,276
Members9,596
Most Online1,063
Jun 14th, 2026
Today's Birthdays
There are no members with birthdays on this day.
Thread Like Summary
OZ 4/4
Total Likes: 1
Original Post (Thread Starter)
by DaveW
DaveW
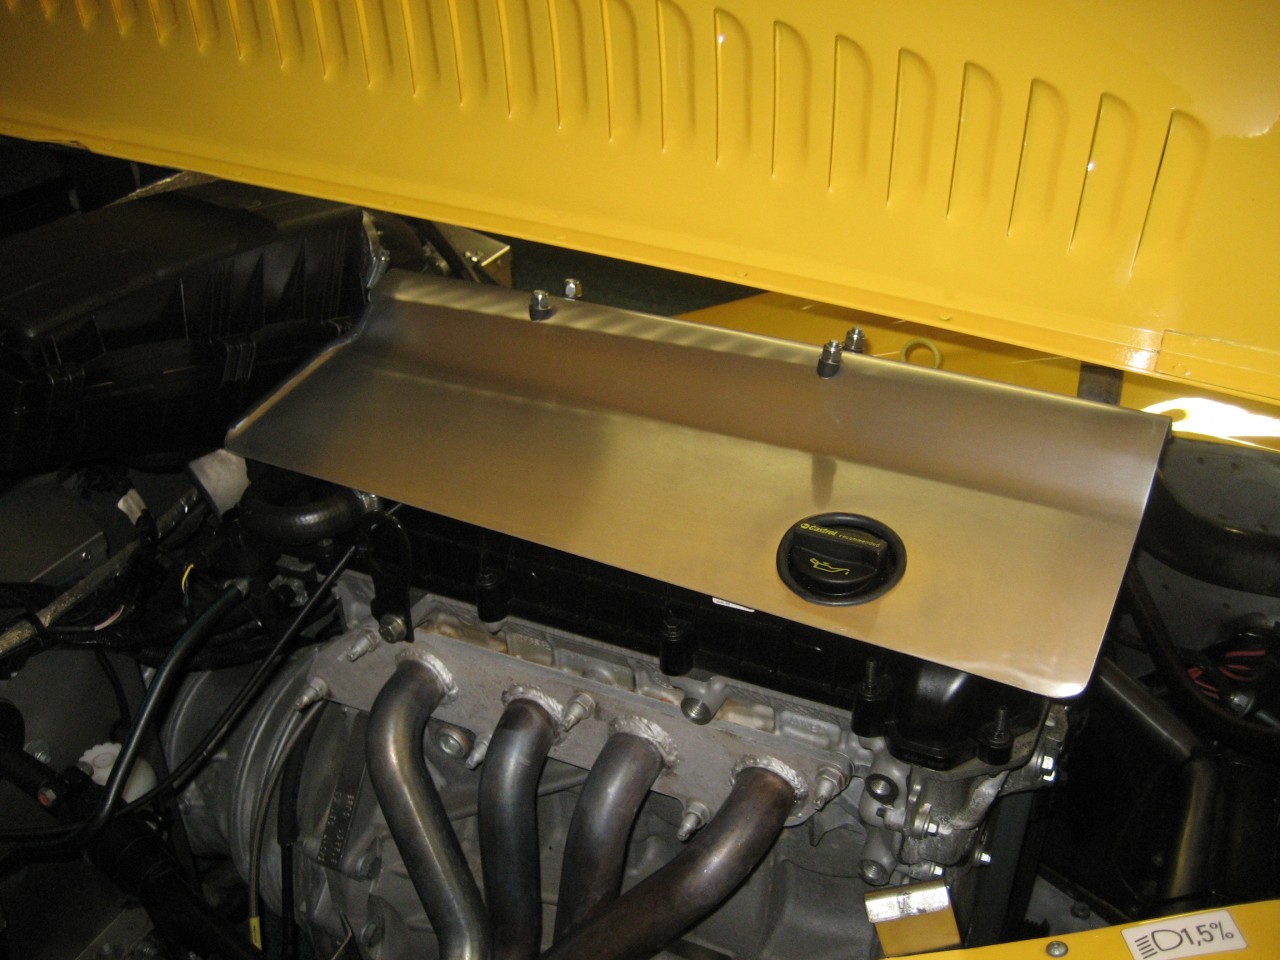
I left off with a teaser photo of the aluminium engine cover.

This is a good idea with the 4 cylinder because rain can enter through the louvres and collect between the cam covers, and on the coil pack. I started off with a sheet of 1.2mm aluminium.
It's necessary to make a hole for the oil filler.
Initially I was going to use the tapped holes in the cam cover to secure this, but decided there was another way.........
Here it's just resting on the engine.


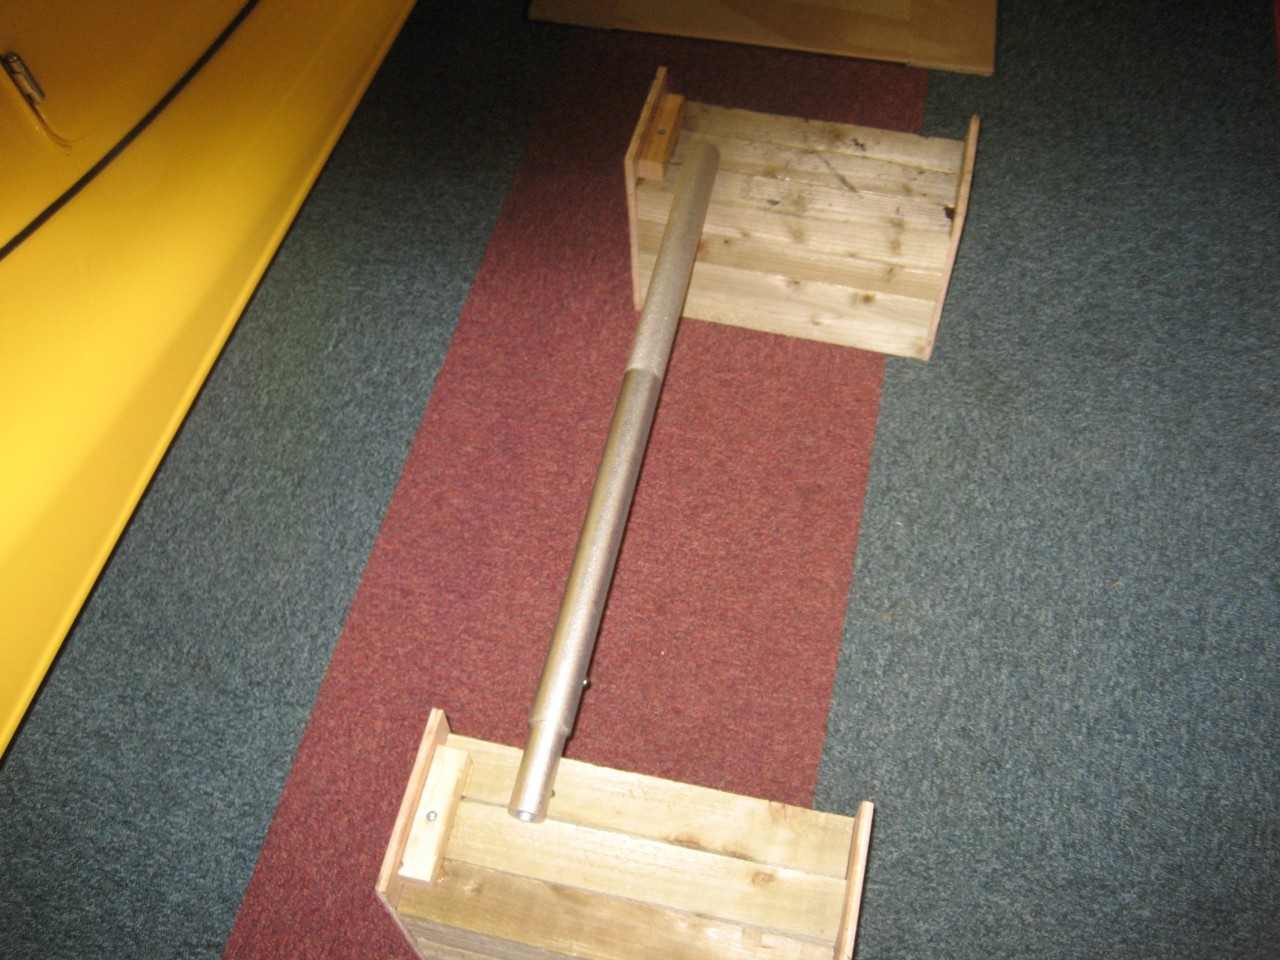
I decided to contour the cover and to fix it to the stainless water hose using U bolts.
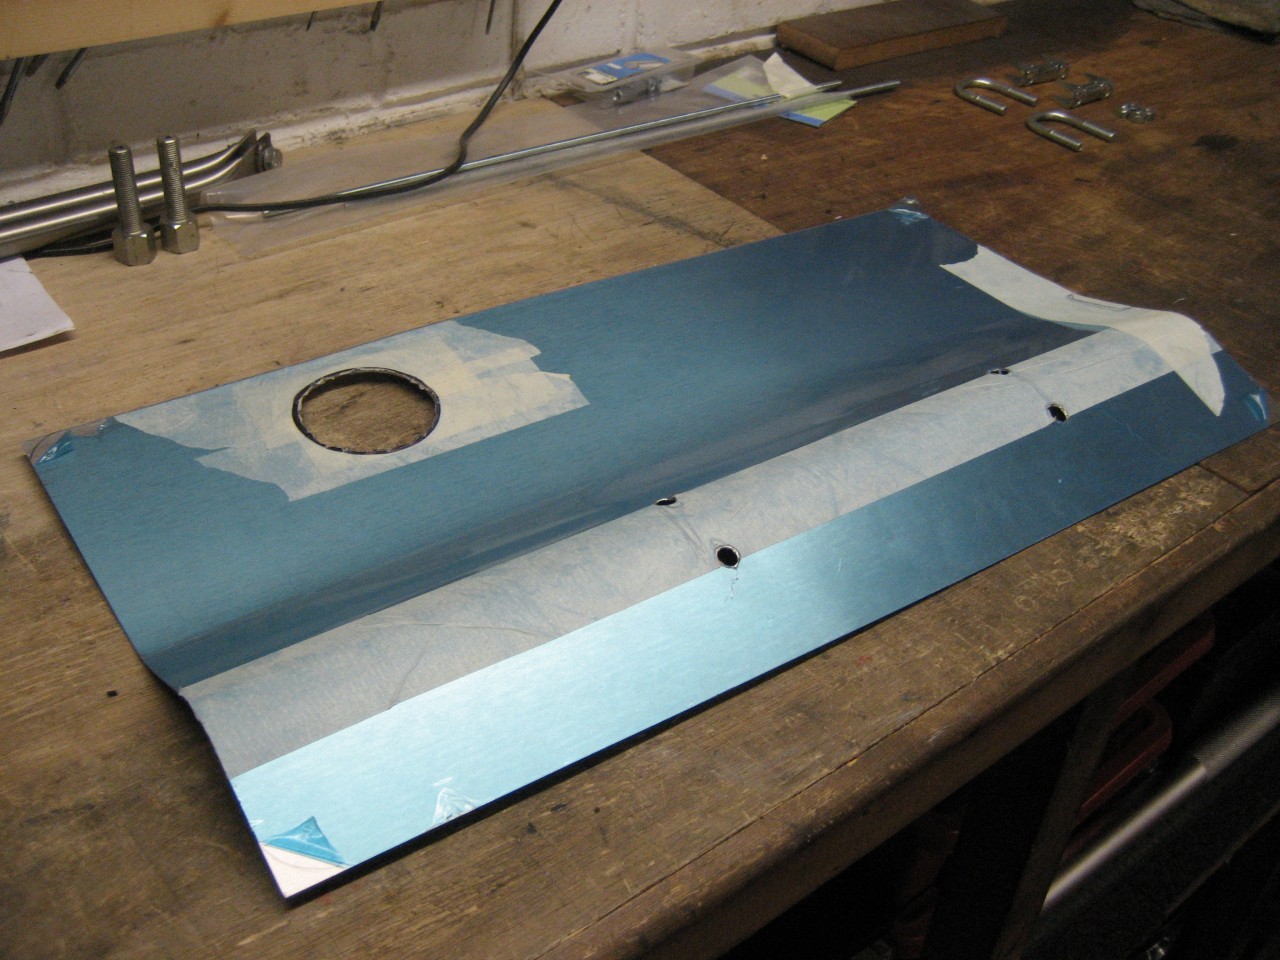

Here is the shaping gear.........
The wooden blocks were a really useful addition.......


This is the trial fit of the brackets.......


And this is the final spec, with neoprene.


Test fitted, corners rounded off..........


And finally, I added edging - it looks better, even though the water will have to climb over the edge. On the trailing edge, I've turned the edge up, and used thicker edging to keep water off the coilpack.


The test will come in summer, if the cover retains too much heat. We'll have to wait & see!
thumbs
Liked Replies
by DaveW
DaveW
Post Photobucket Re-Boot from November 2013:

I left off with a teaser photo of the aluminium engine cover.

This is a good idea with the 4 cylinder because rain can enter through the louvres and collect between the cam covers, and on the coil pack. I started off with a sheet of 1.2mm aluminium.
It's necessary to make a hole for the oil filler.
Initially I was going to use the tapped holes in the cam cover to secure this, but decided there was another way.........
Here it's just resting on the engine.

The two images from here are not available.

I decided to contour the cover and to fix it to the stainless water hose using U bolts.


Here is the shaping gear.........
The wooden blocks were a really useful addition.......
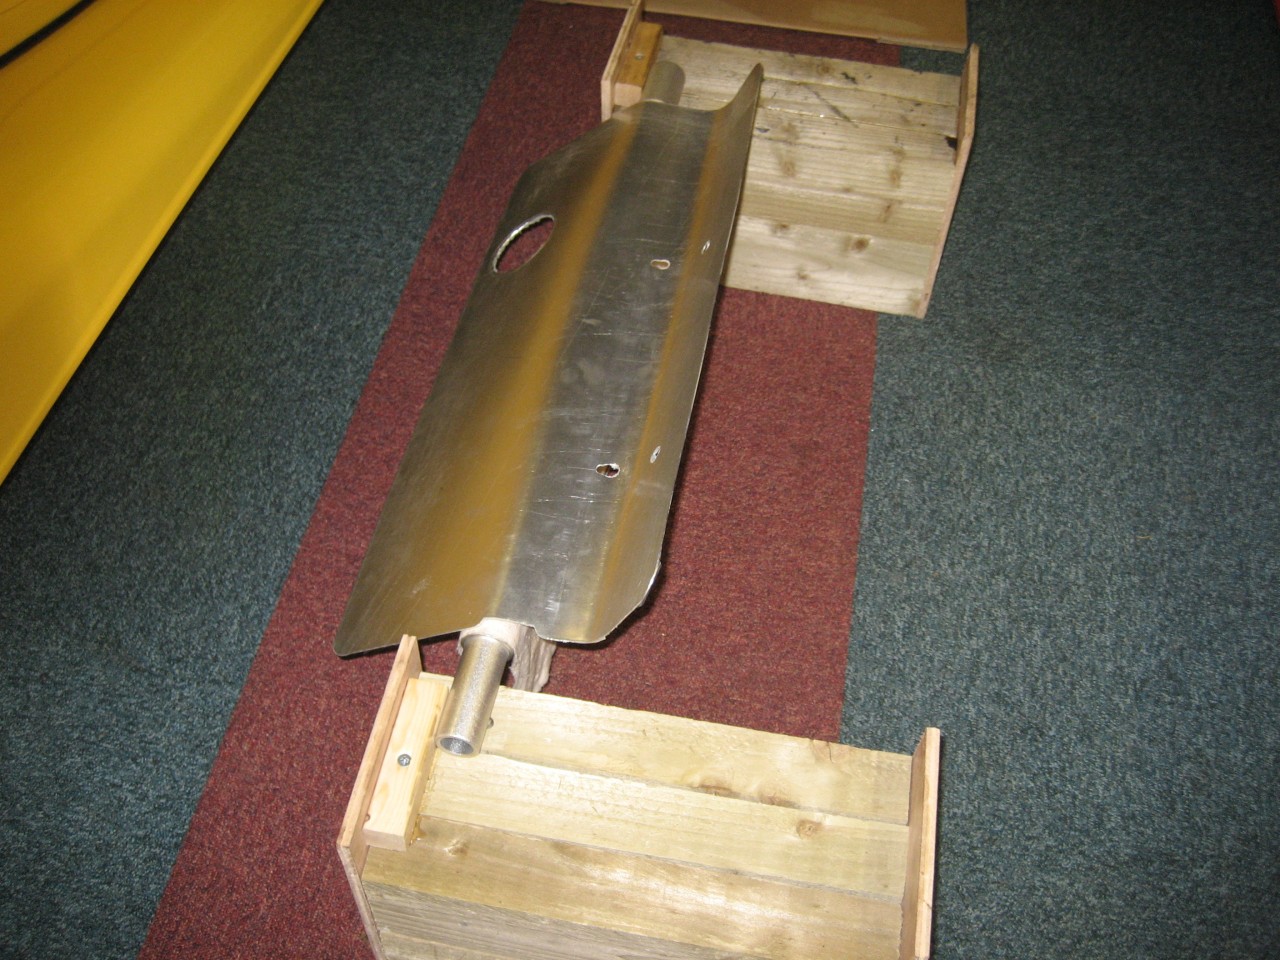


This is the trial fit of the brackets.......
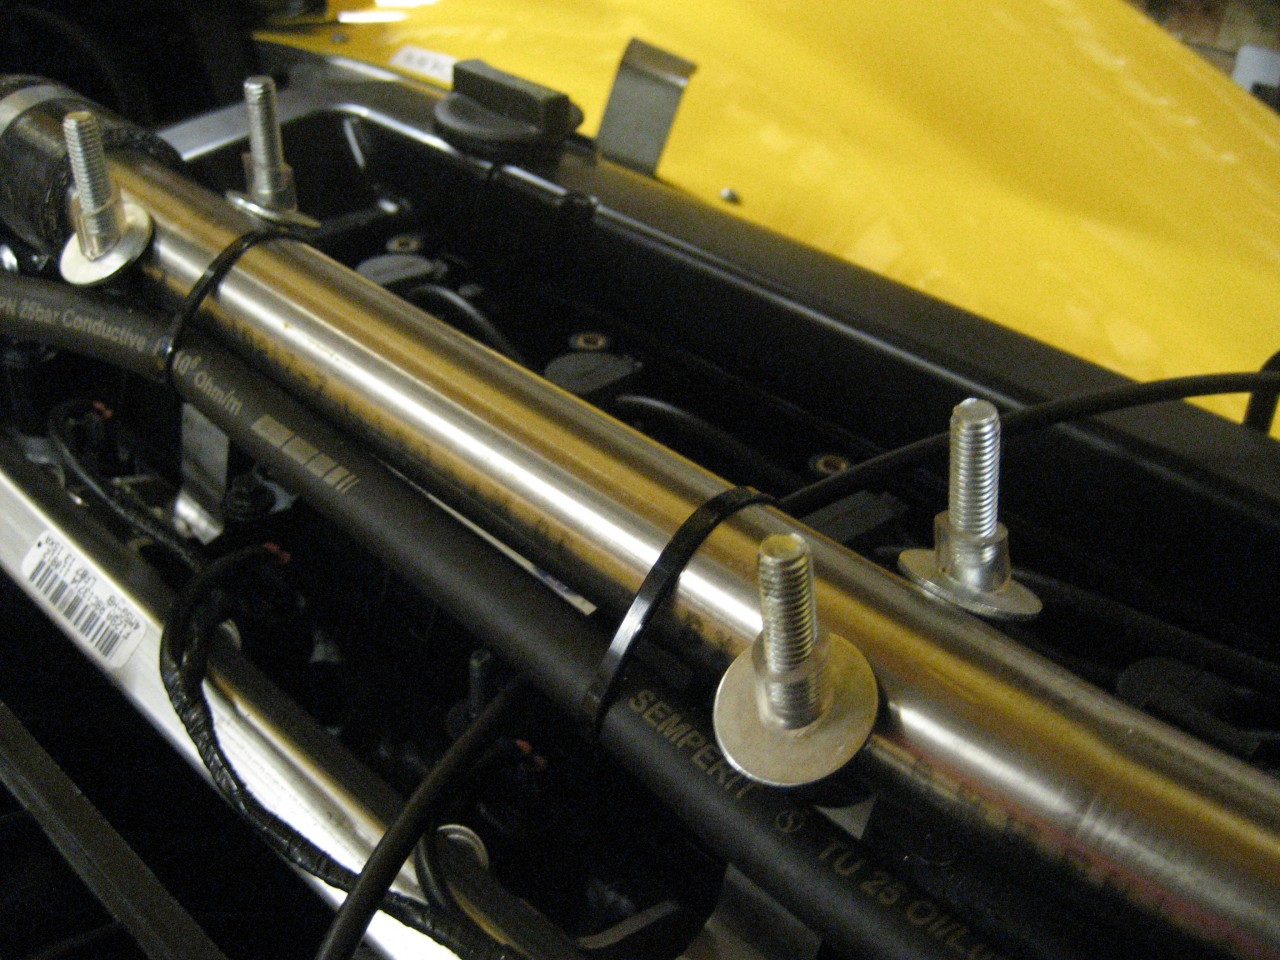


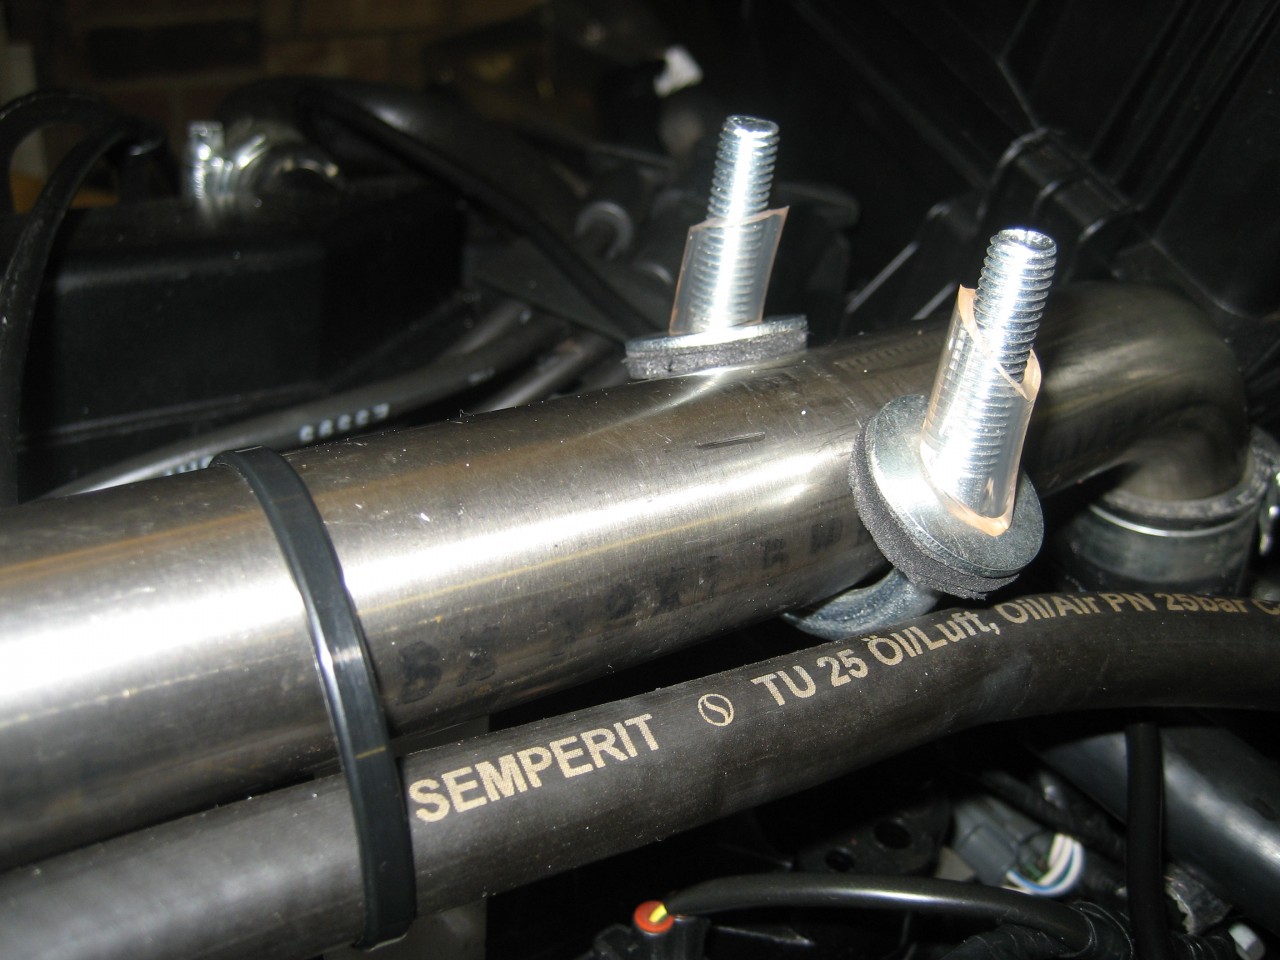
And this is the final spec, with neoprene.


Test fitted, corners rounded off..........
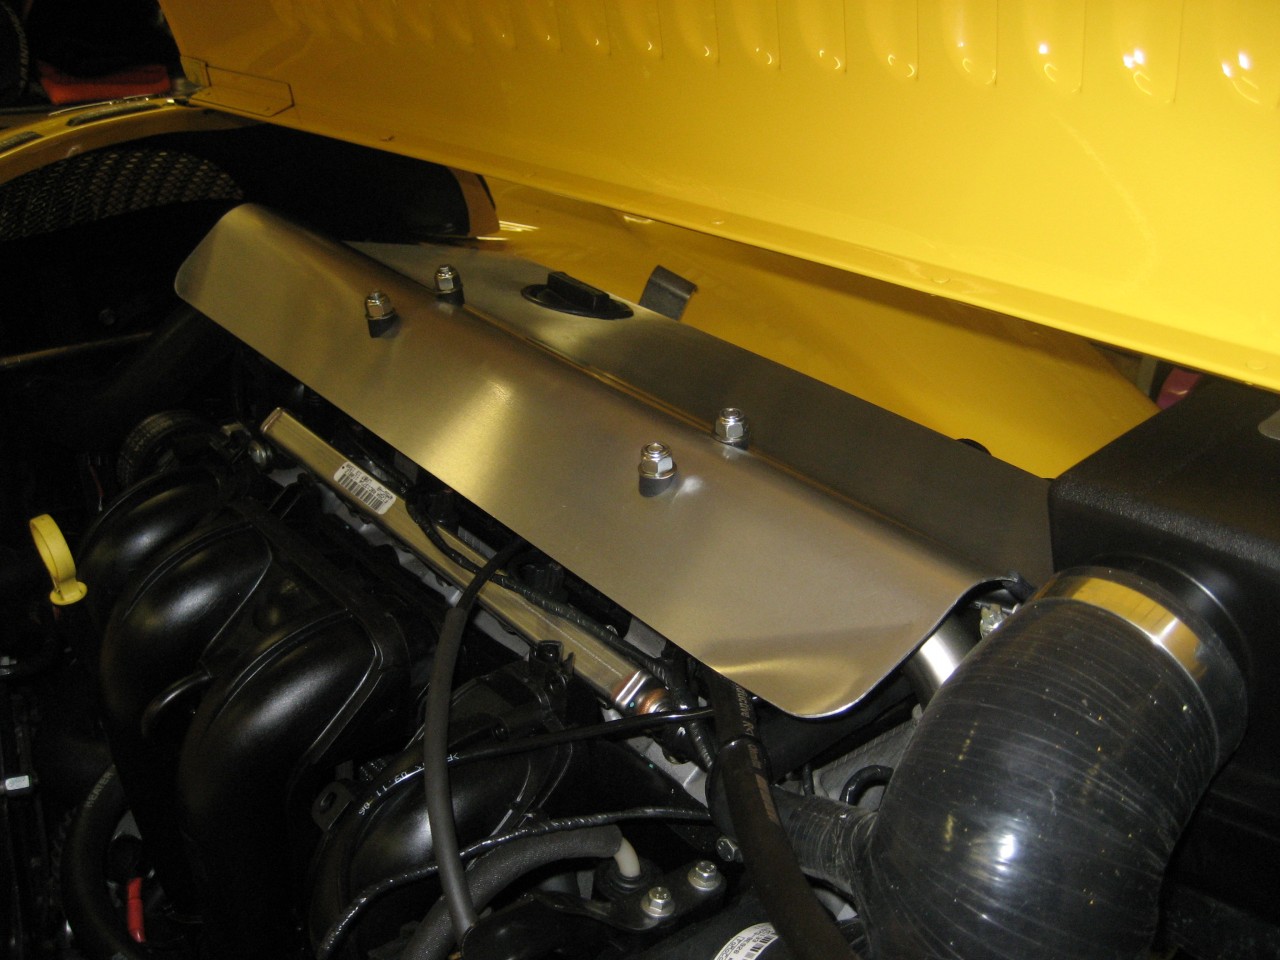


And finally, I added edging - it looks better, even though the water will have to climb over the edge. On the trailing edge, I've turned the edge up, and used thicker edging to keep water off the coilpack.
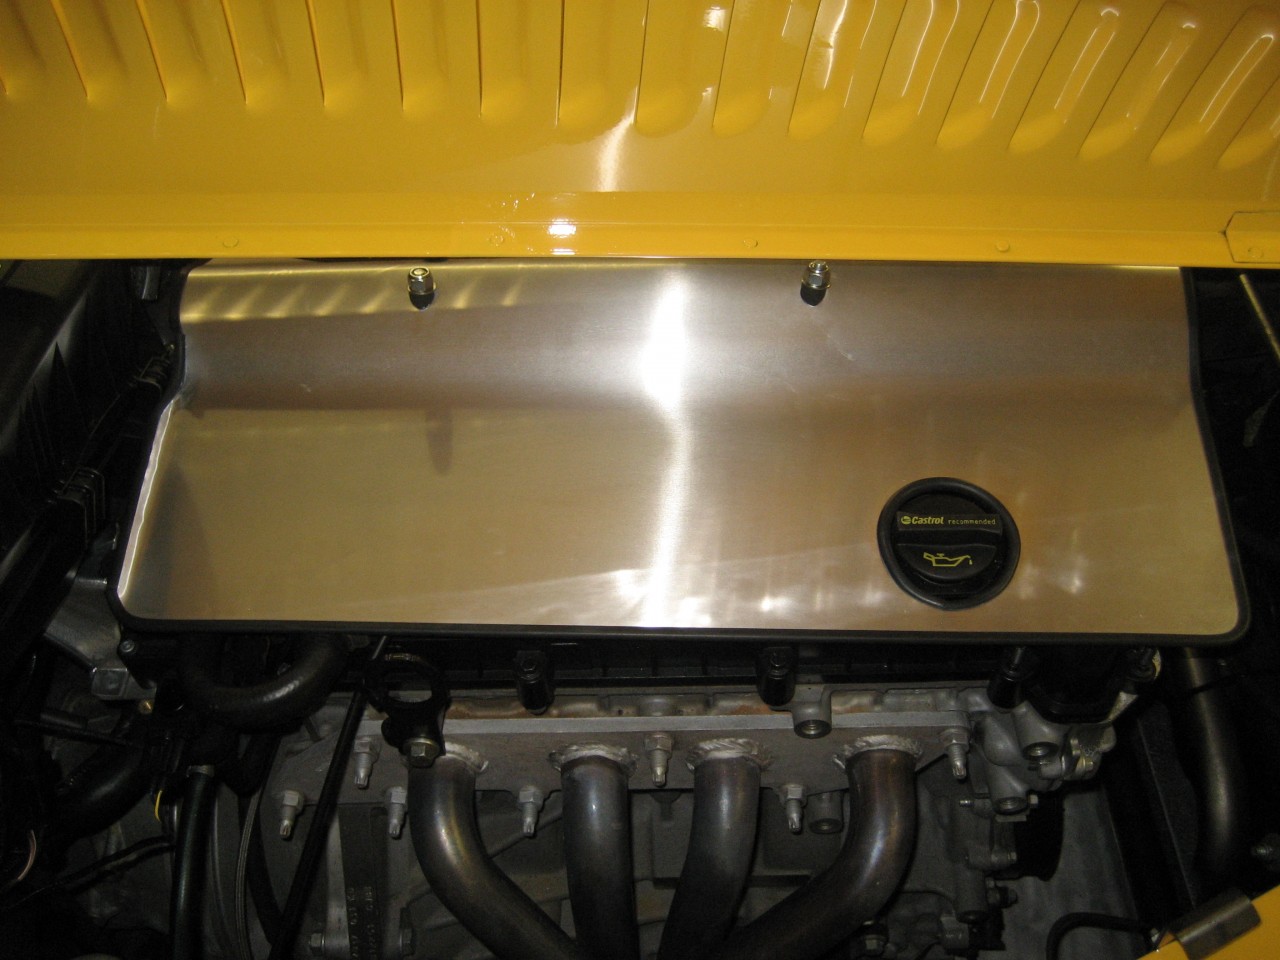
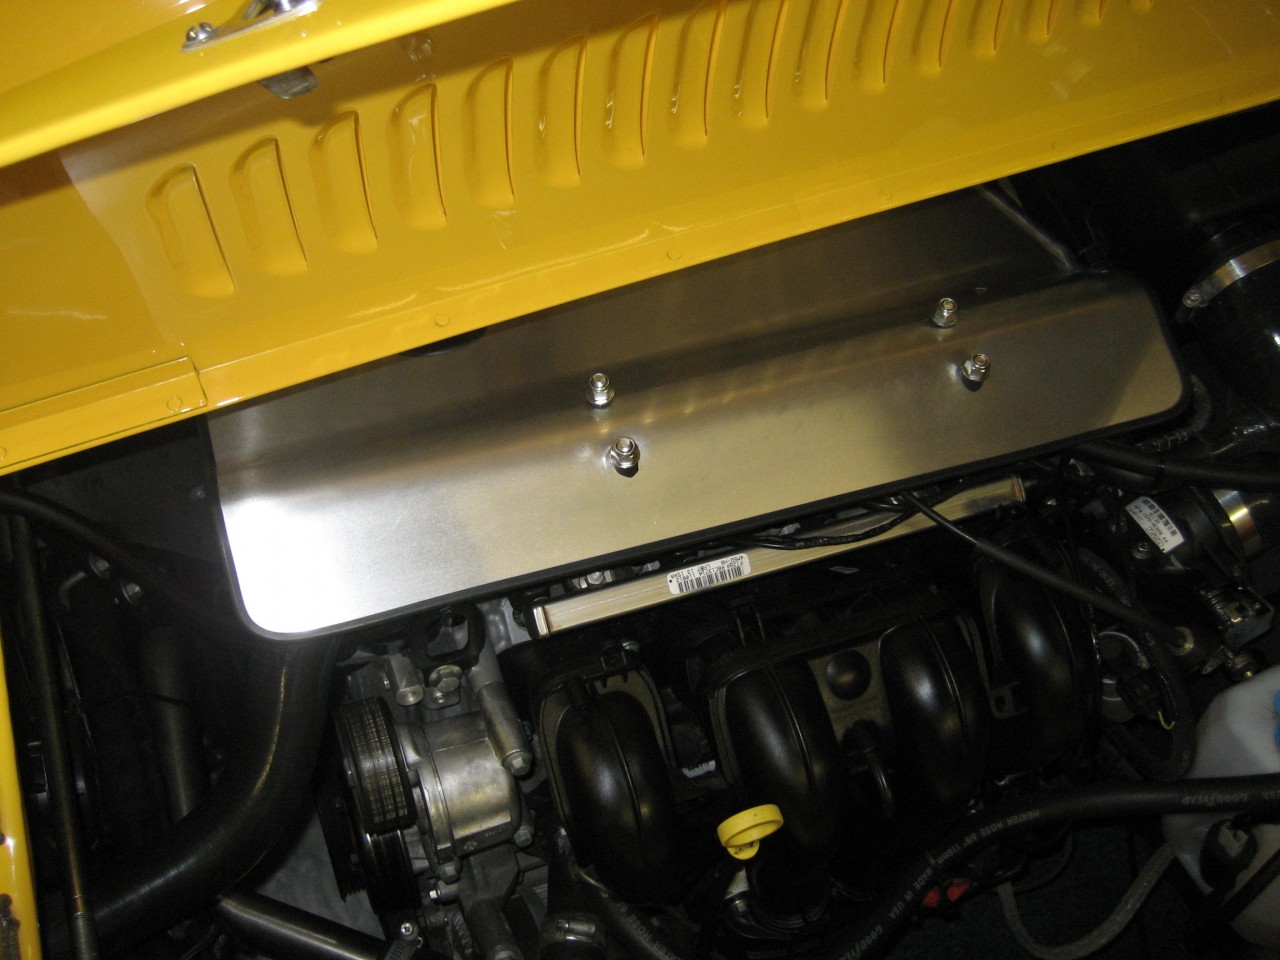
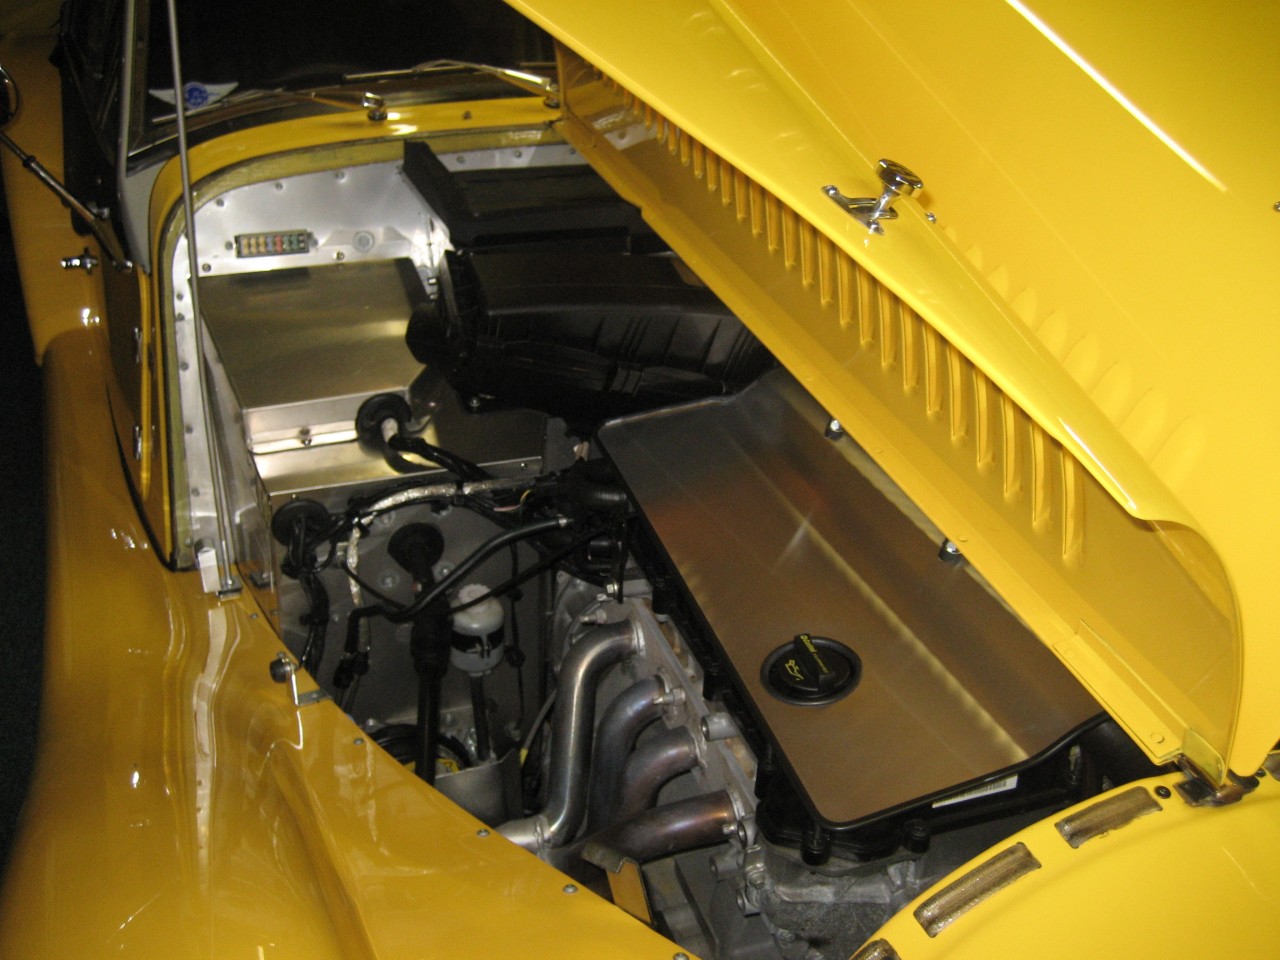


The test will come in summer, if the cover retains too much heat. We'll have to wait & see!

1 member likes this
Powered by UBB.threads™ PHP Forum Software 7.7.5