Post Photobucket reboot from September 2013. On with the story:
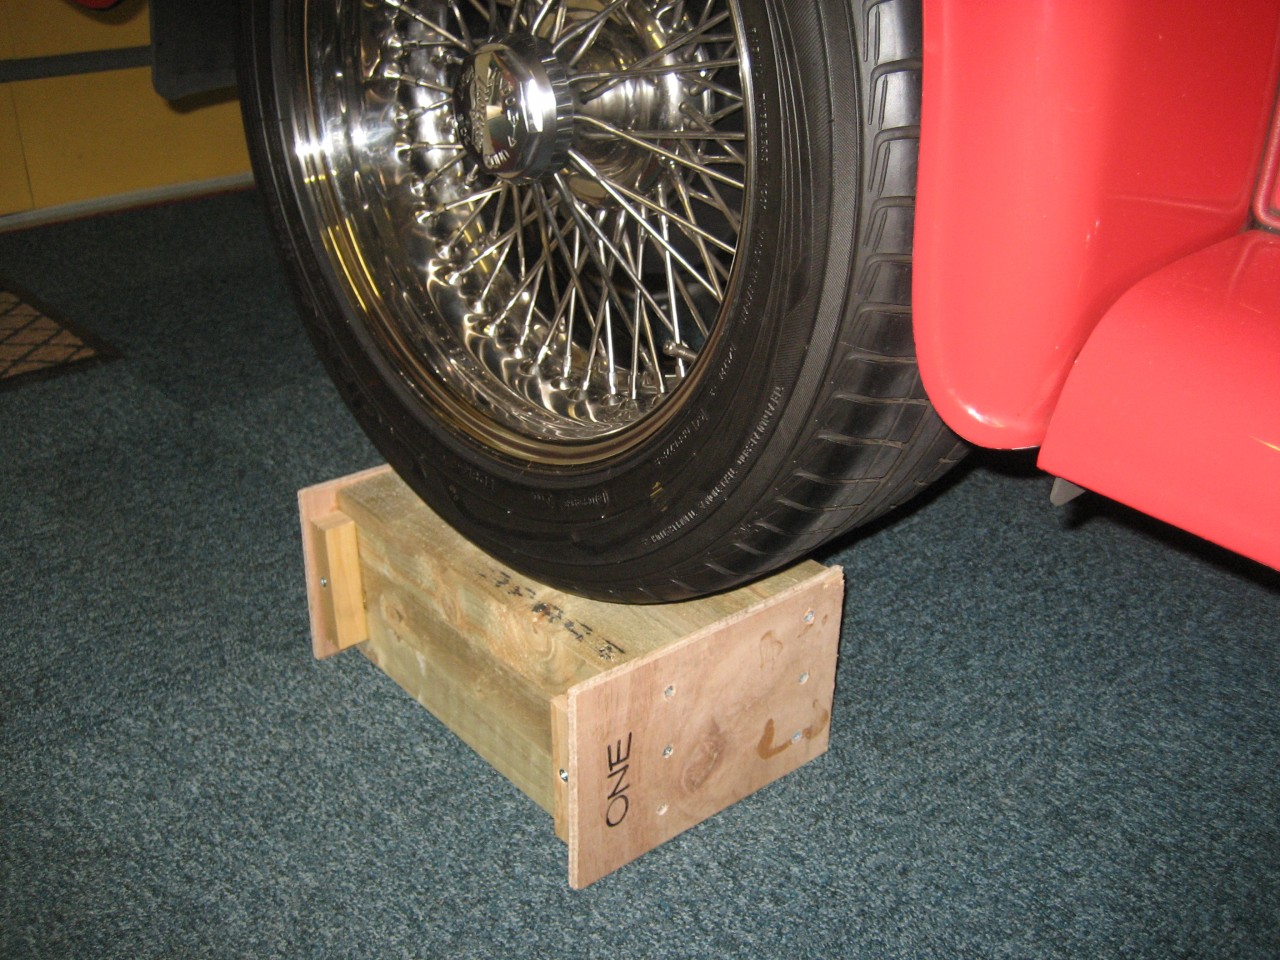
I made myself some wheel stands - had some offcuts left over from the raised veg patch upgrade, and suddenly thought of the idea.They will work this way:
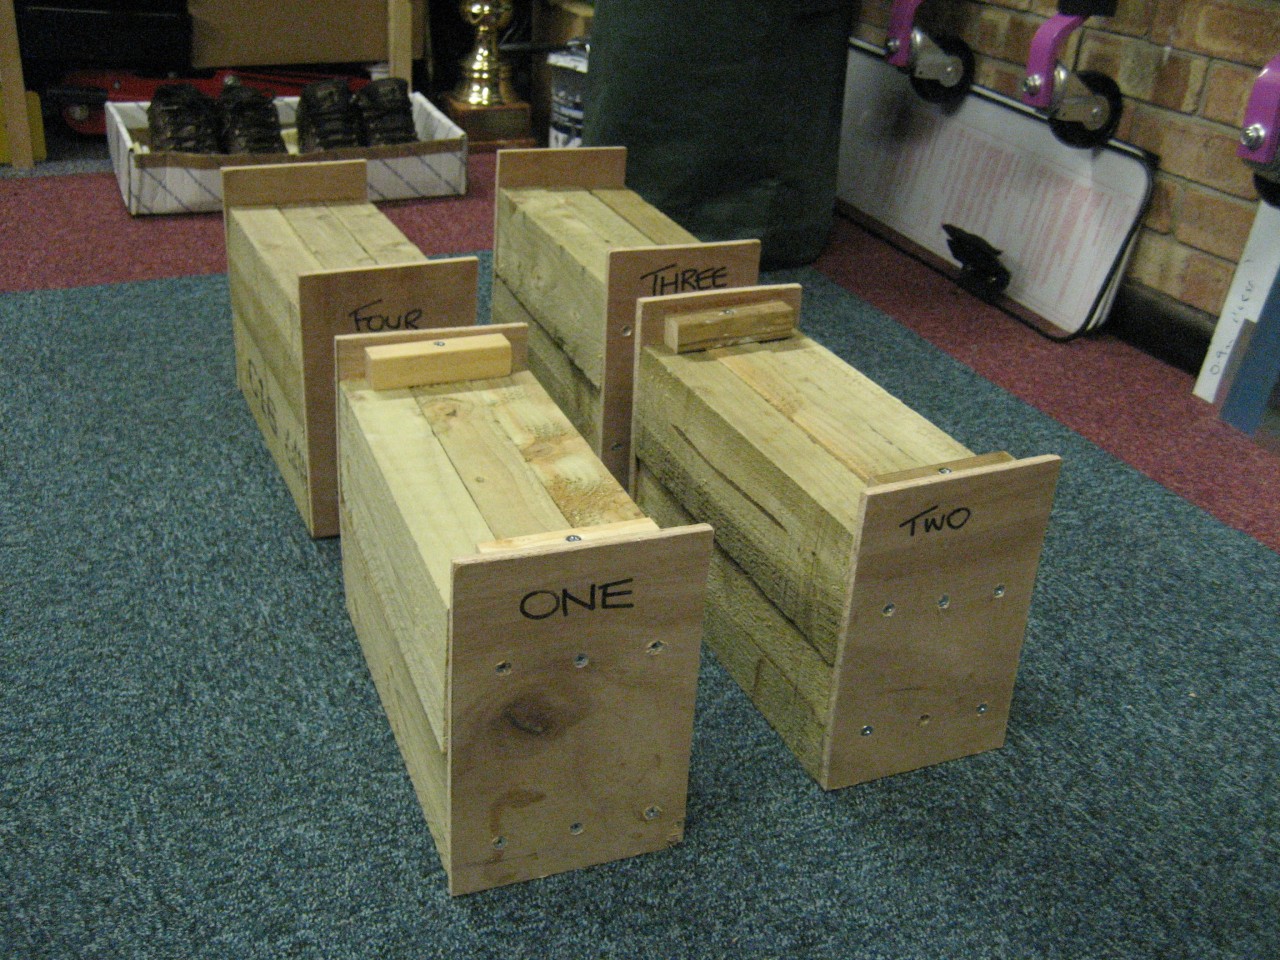
Or this way:
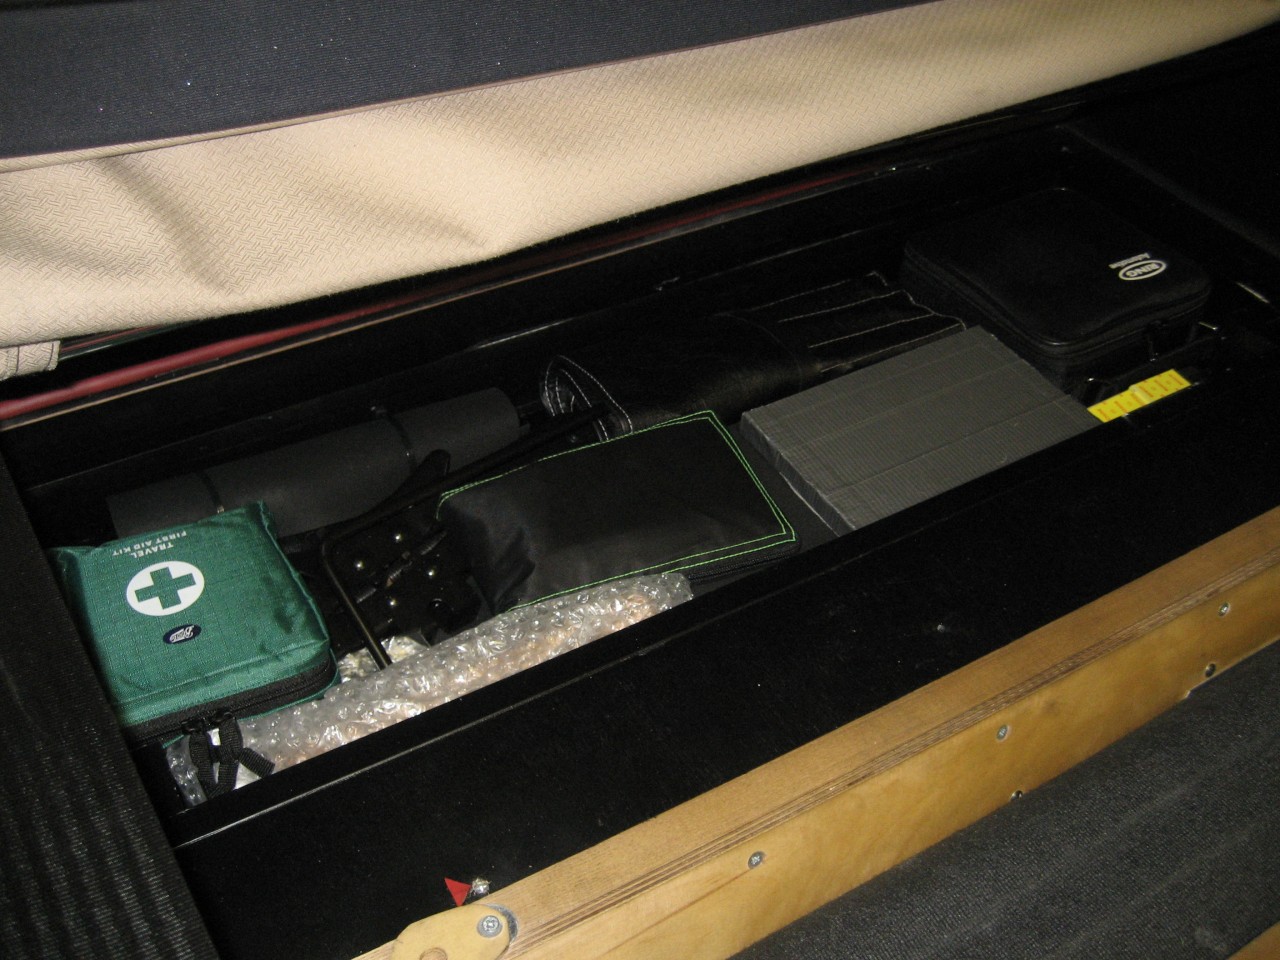
Here is the tool tray for those who haven't found it on TM:
This is the hole punched by the breather!
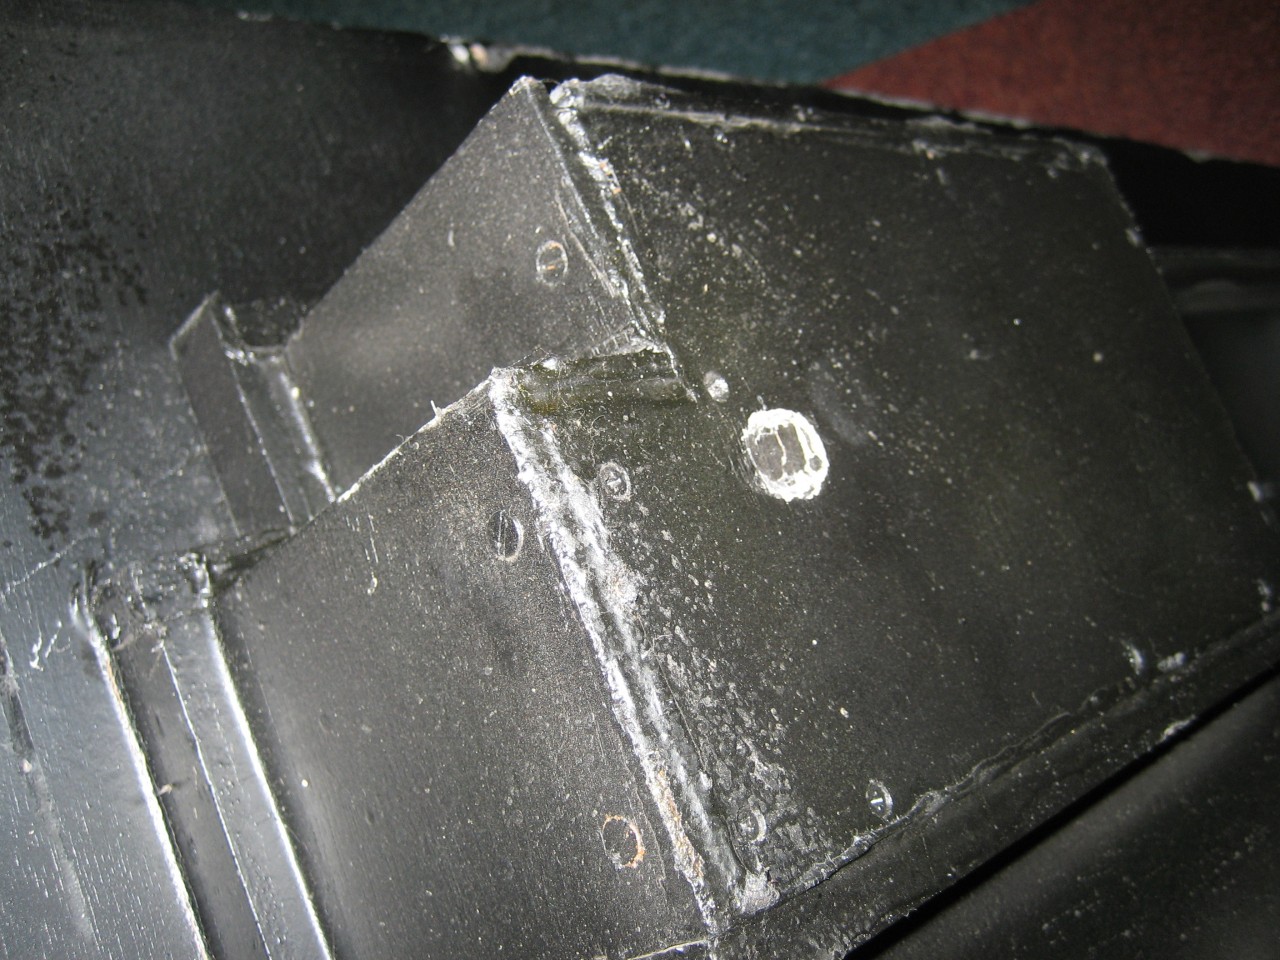
And it needed some repair work on the edge:
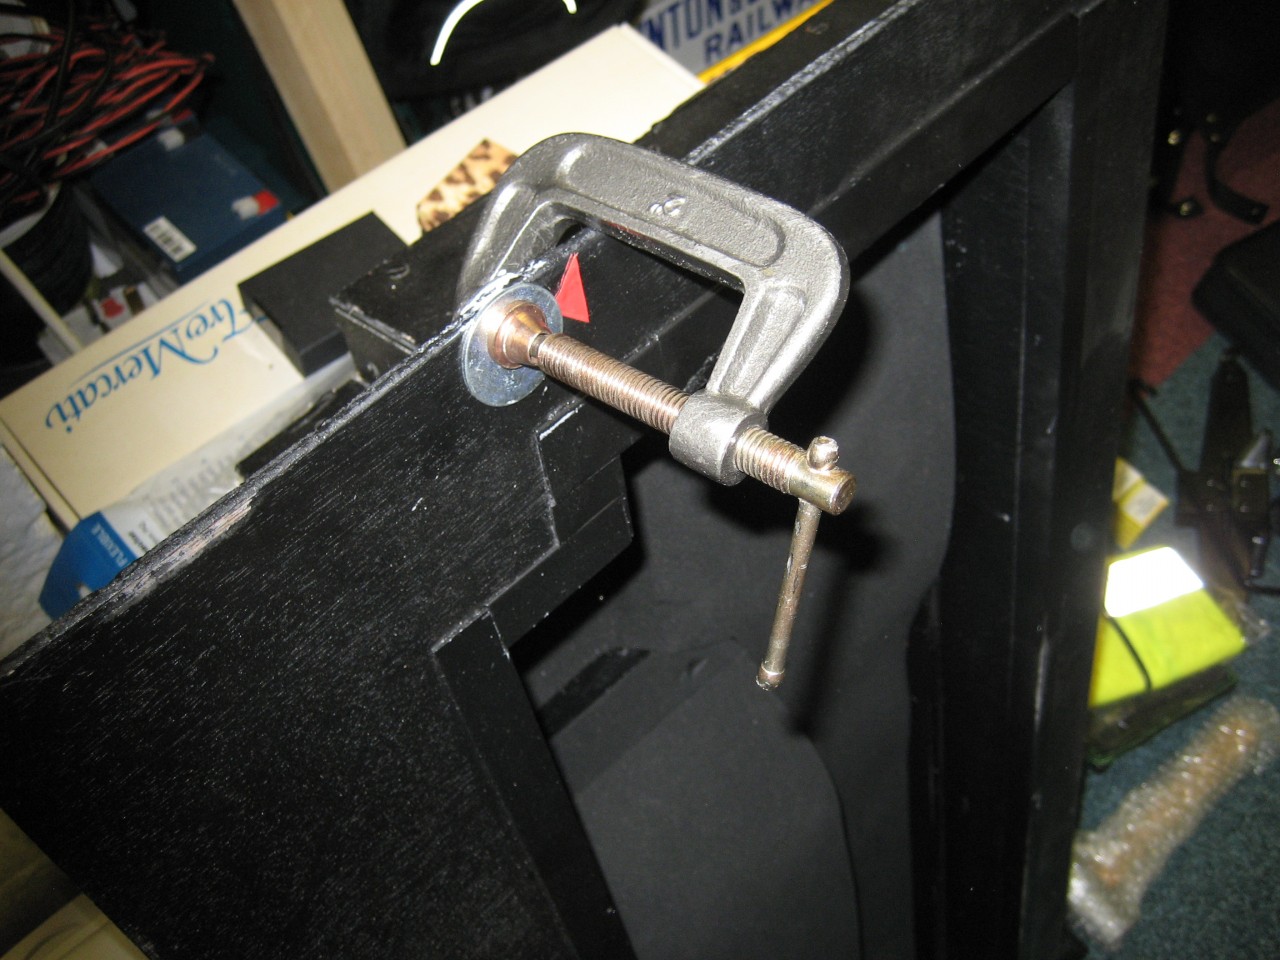
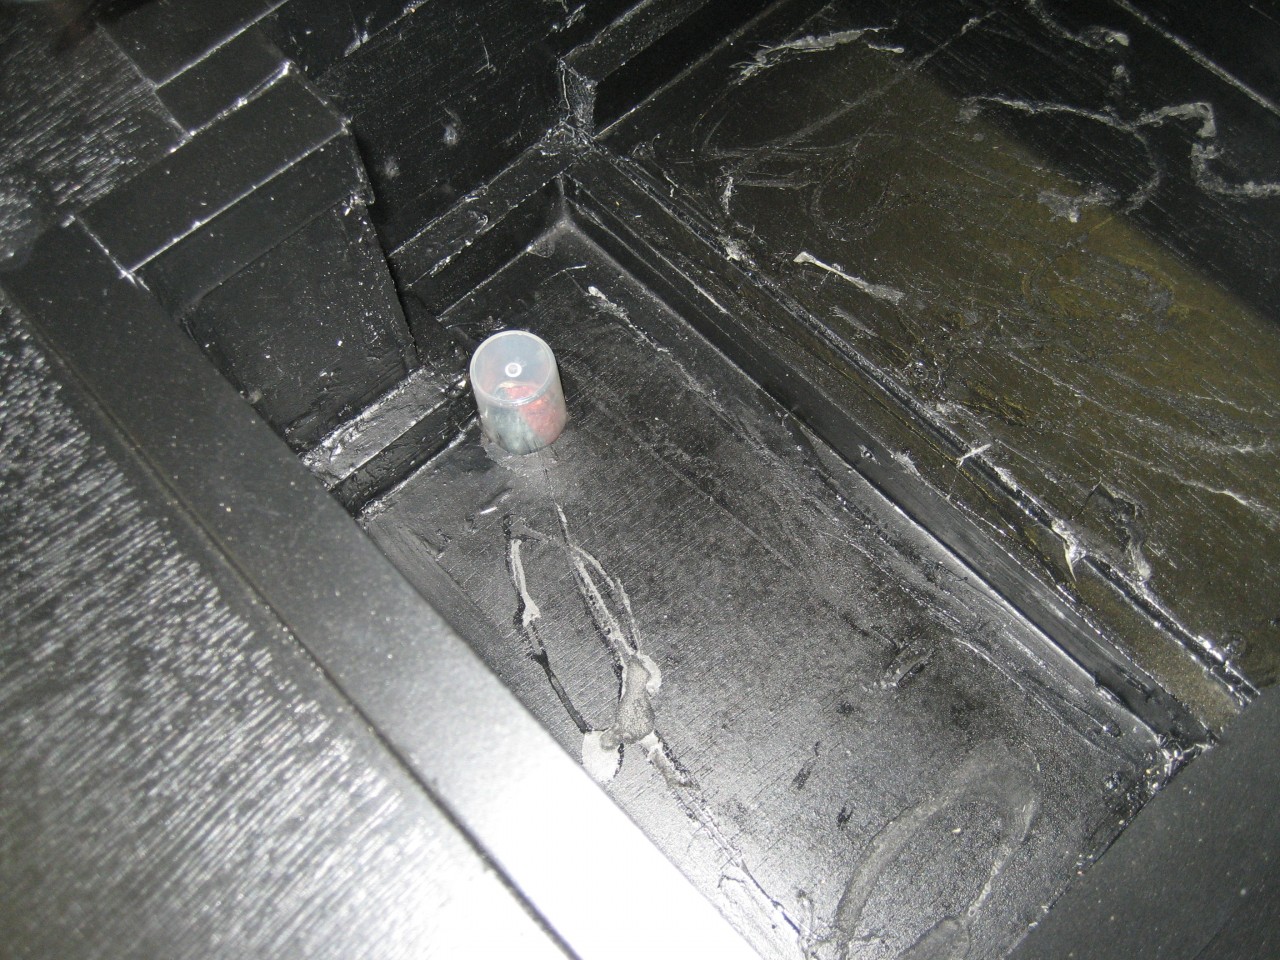
This is my fix. I've enlarged the hole. This is a soft plastic cover, a push fit, which is now painted black.
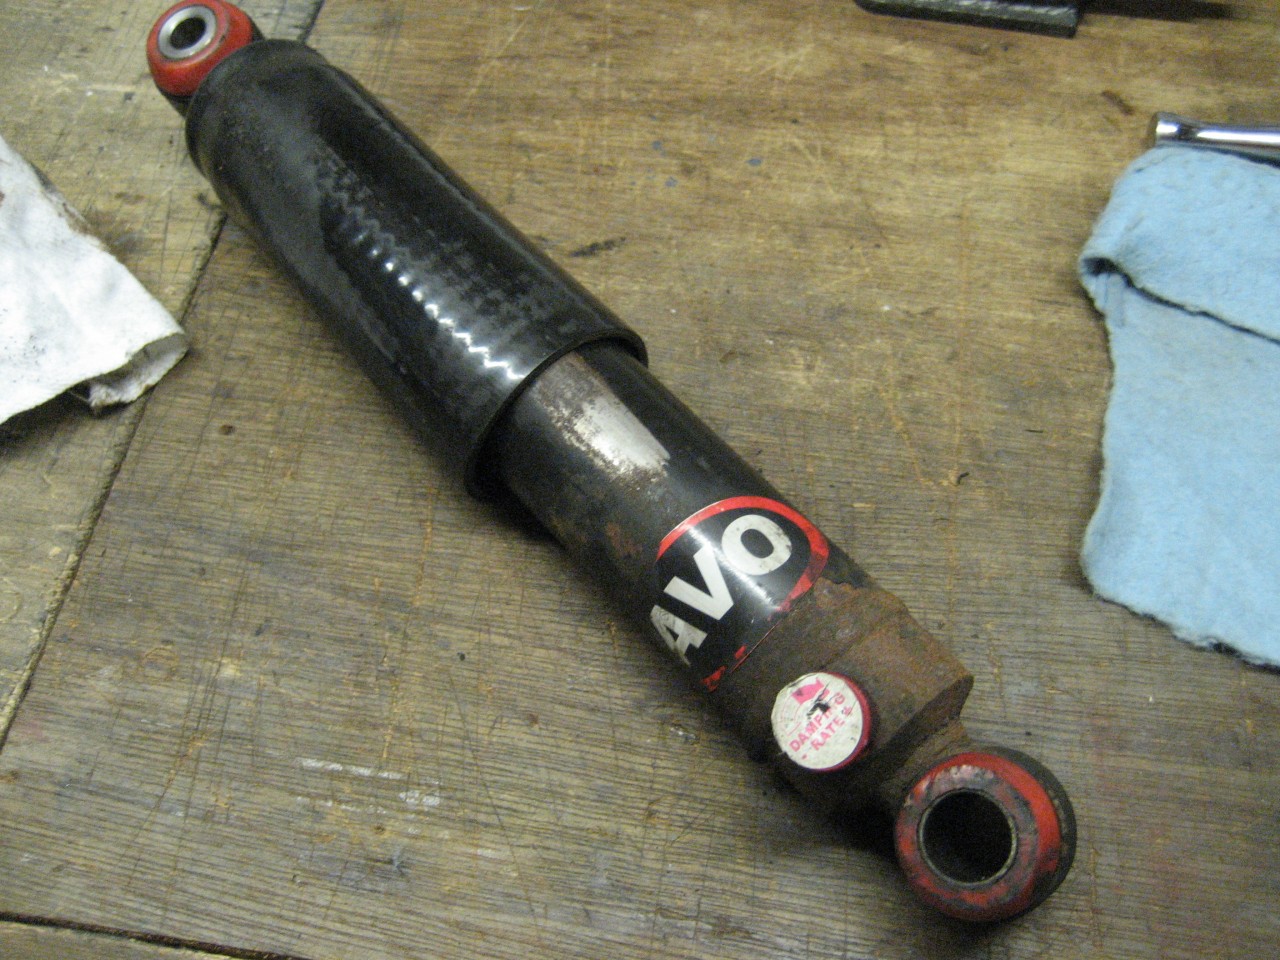
Here is one of the rusty AVO's: You can see the chafing to the lower red bush.
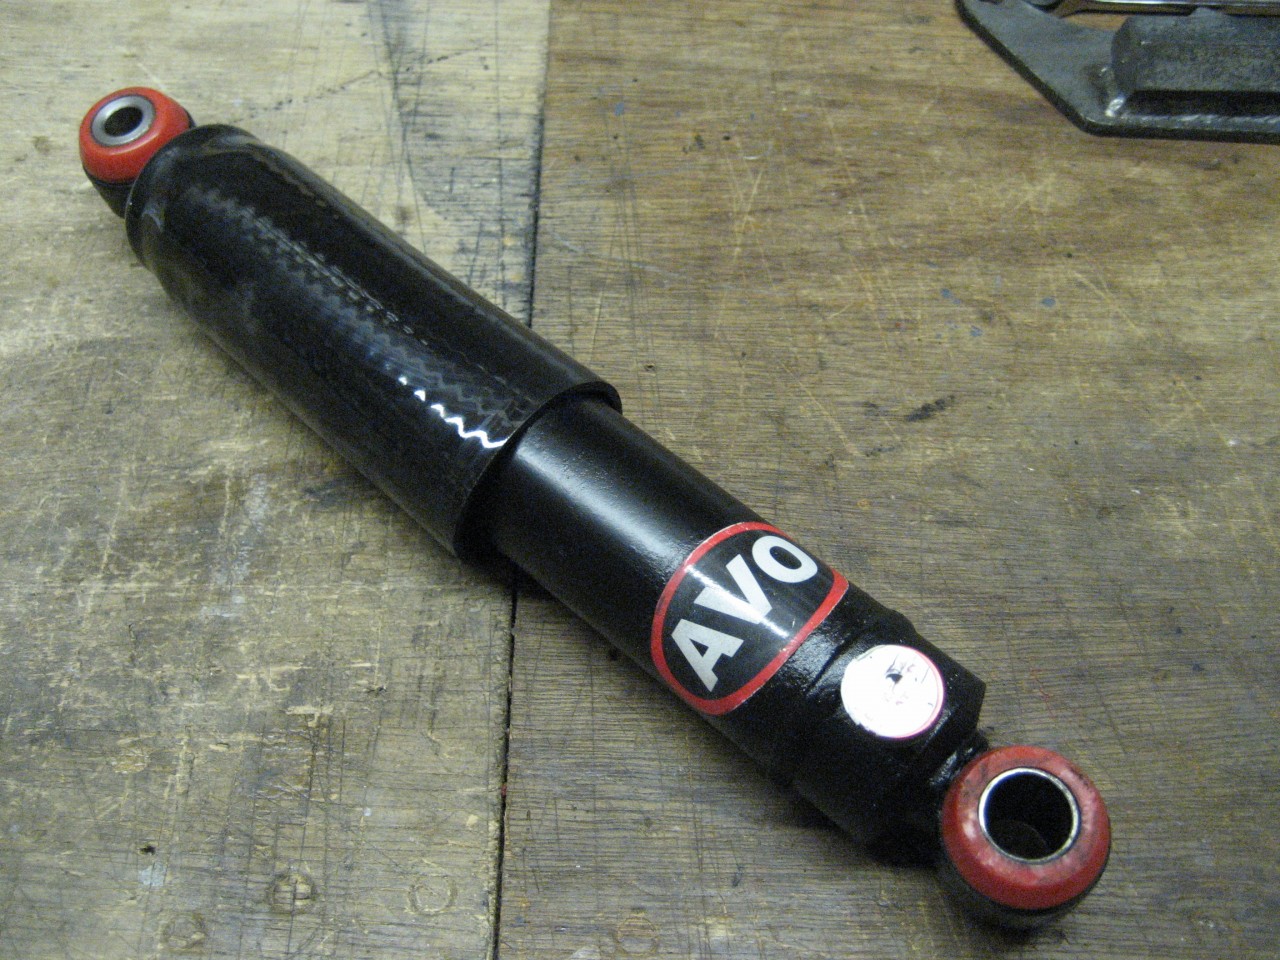
And here it is after some TLC:
More to follow................
*****************************************************************************
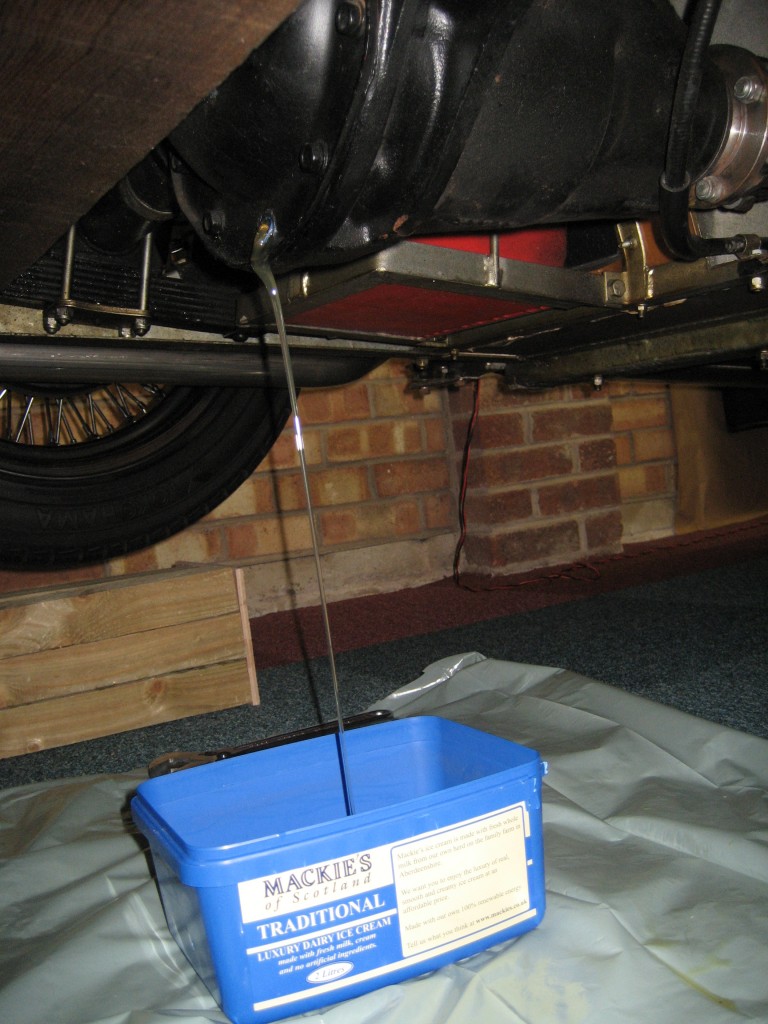
And so to the axle oil. A 2 litre ice cream tub makes a great container:
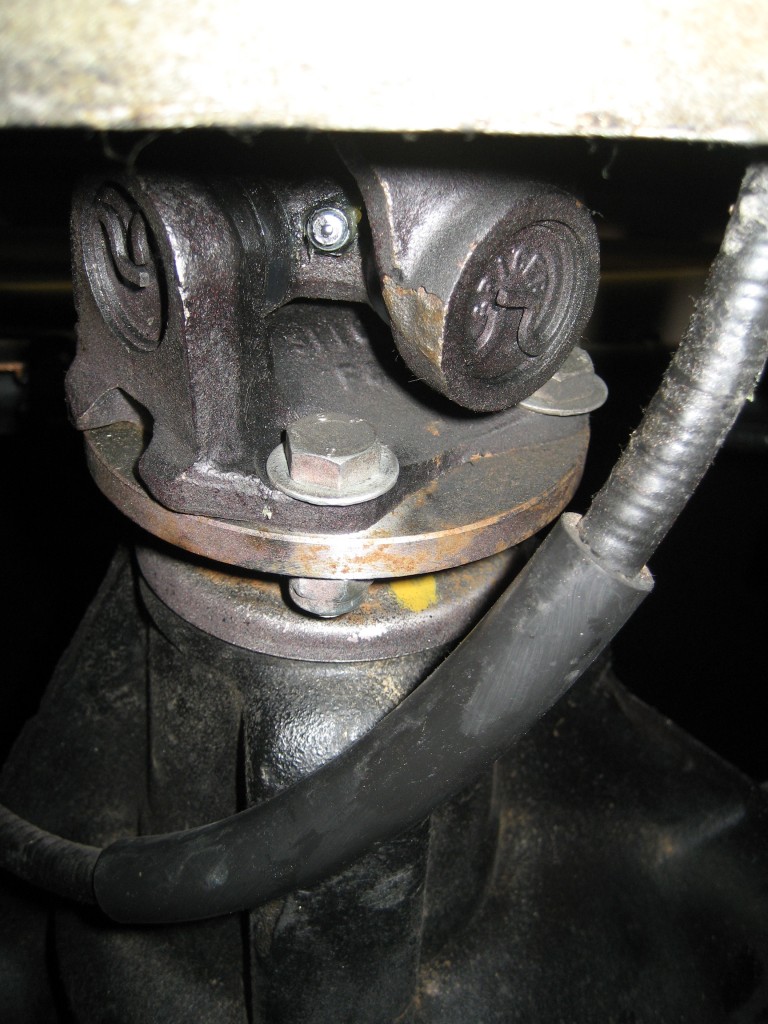
This is the grease nipple on the rear u/j. Easy to get at, and don't overdo the number of pumps.
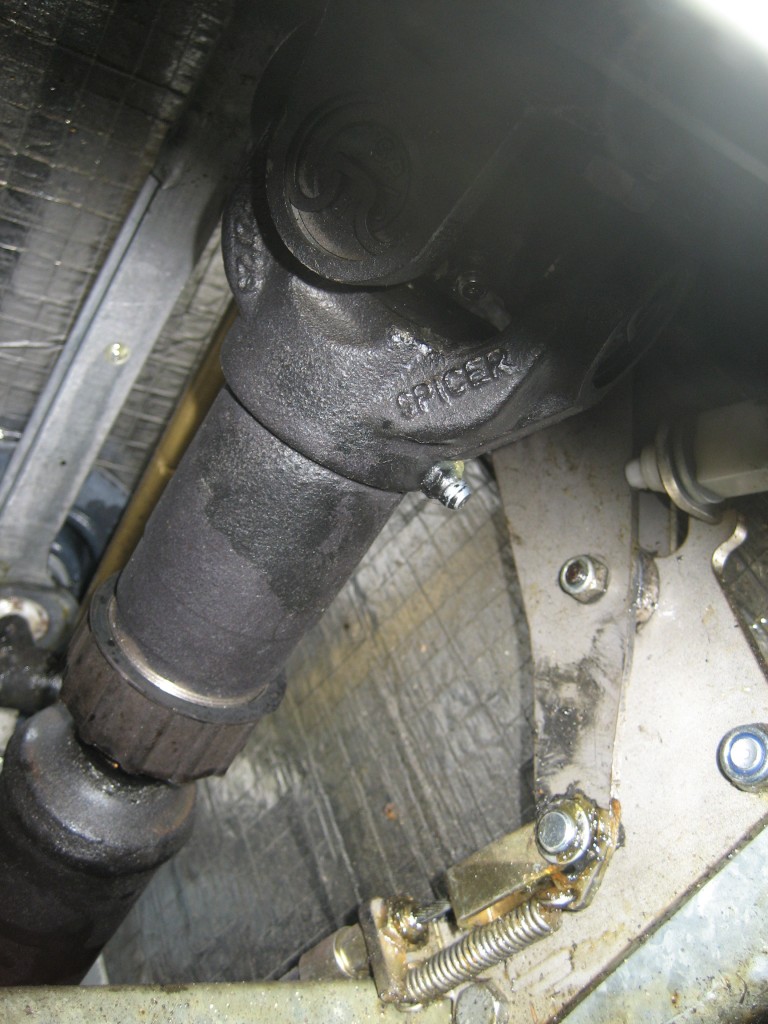
Handbrake linkage and grease nipple obvious on the sliding yoke. The u/j nipple is in the shadows. Again, all easy to get at. Gearbox remote linkage just visible above.
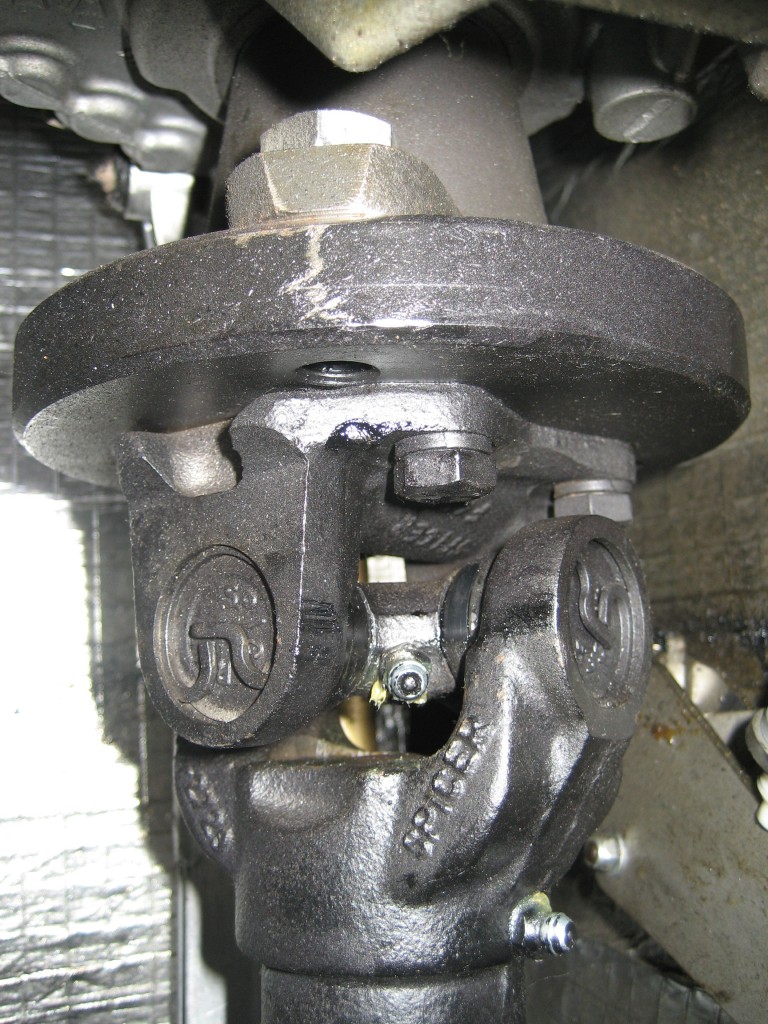
A better view of the front u/j grease nipple:
My fill routine - takes ages and always takes more than you expect.
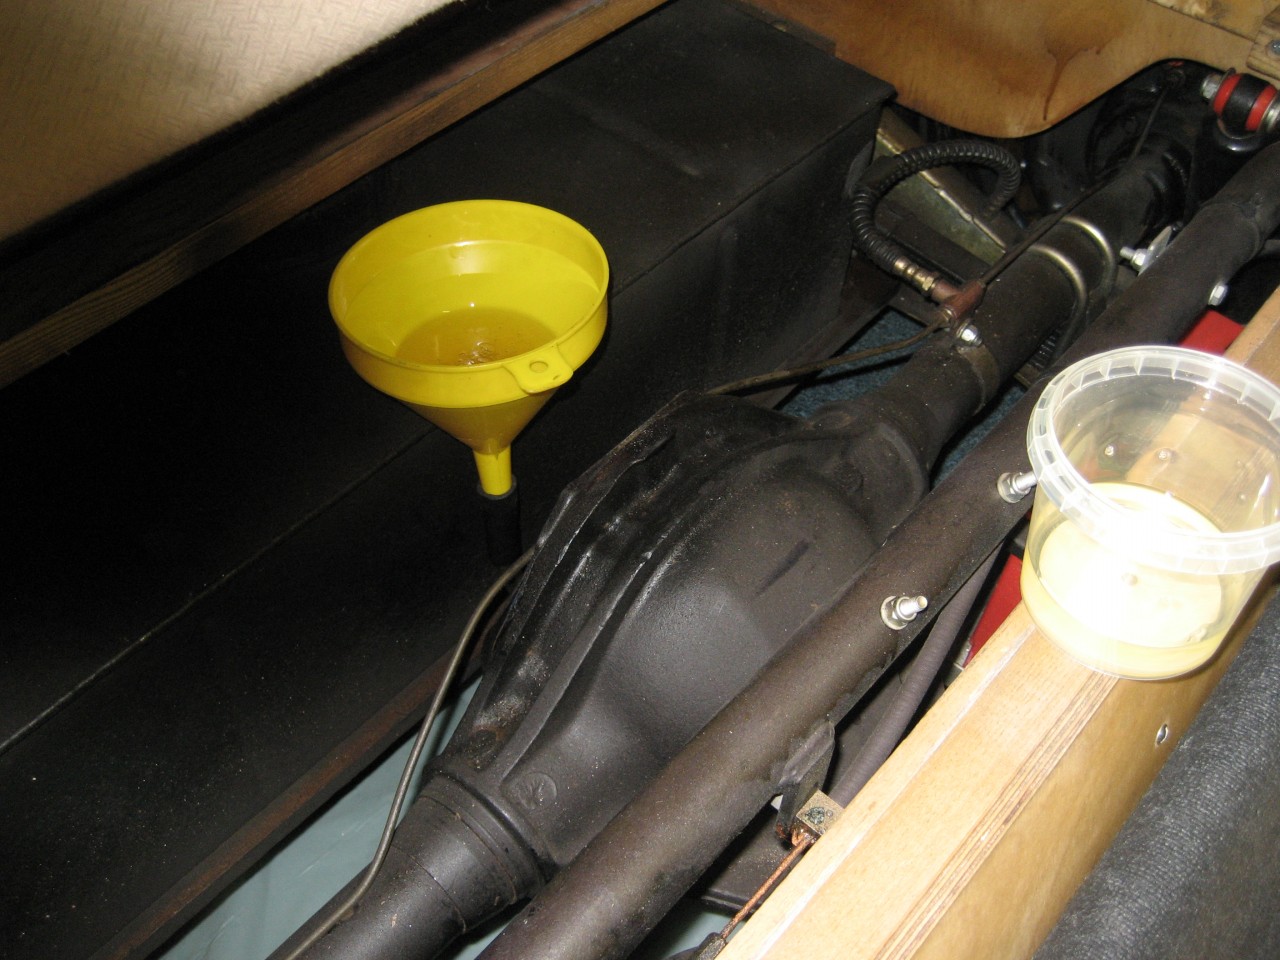
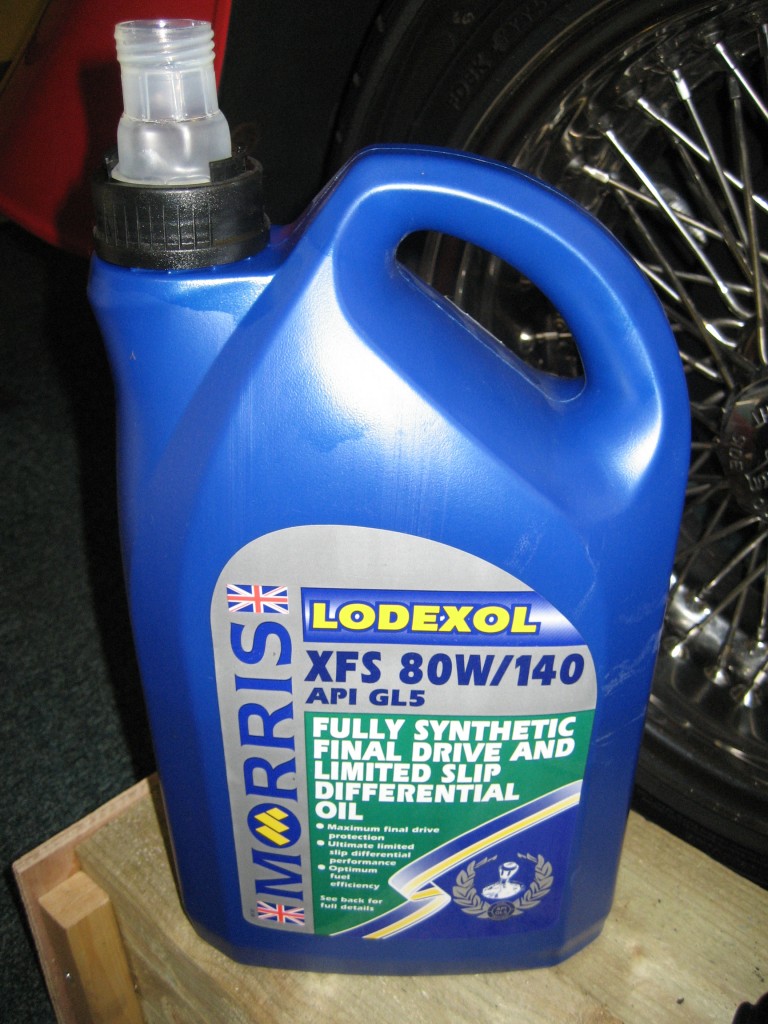
There are some strong views on line as to what should be used in the BTR LSD. It's not my style to dictate what you should use. I read up on the subject and considered all the evidence. I consulted some specialists in the field and this was my choice, after careful consideration. You have to make your own mind up, as always. Last time I used semi-synth with friction modifier, but this time I had more information to hand.
More to follow..............
**************************************************************
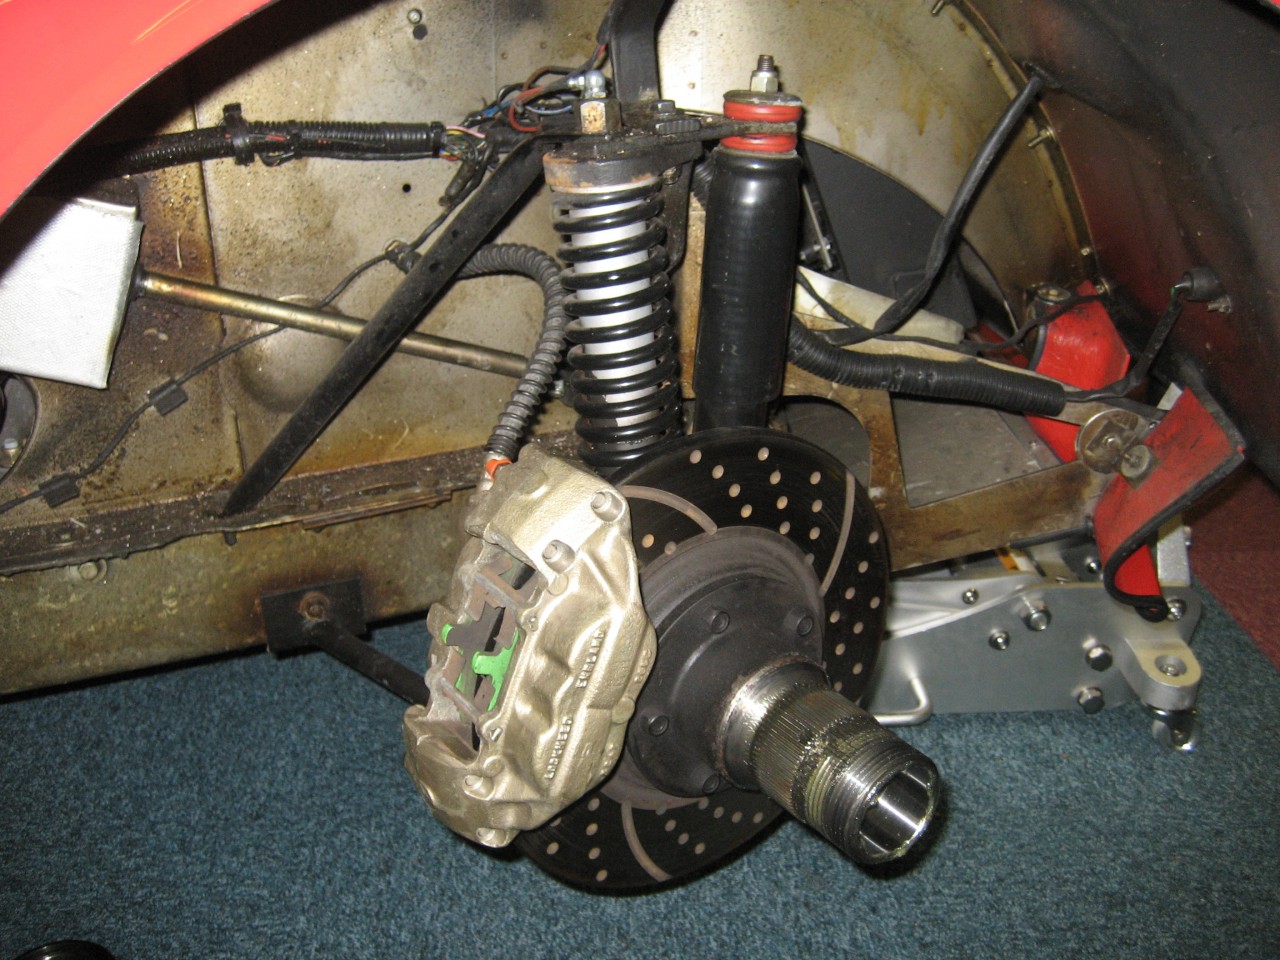
Under the front wing looks quite clean. All I've done is lick over the caliper with a bit of gold paint, and touched up the black.
Note how the main spring has stayed very clean.
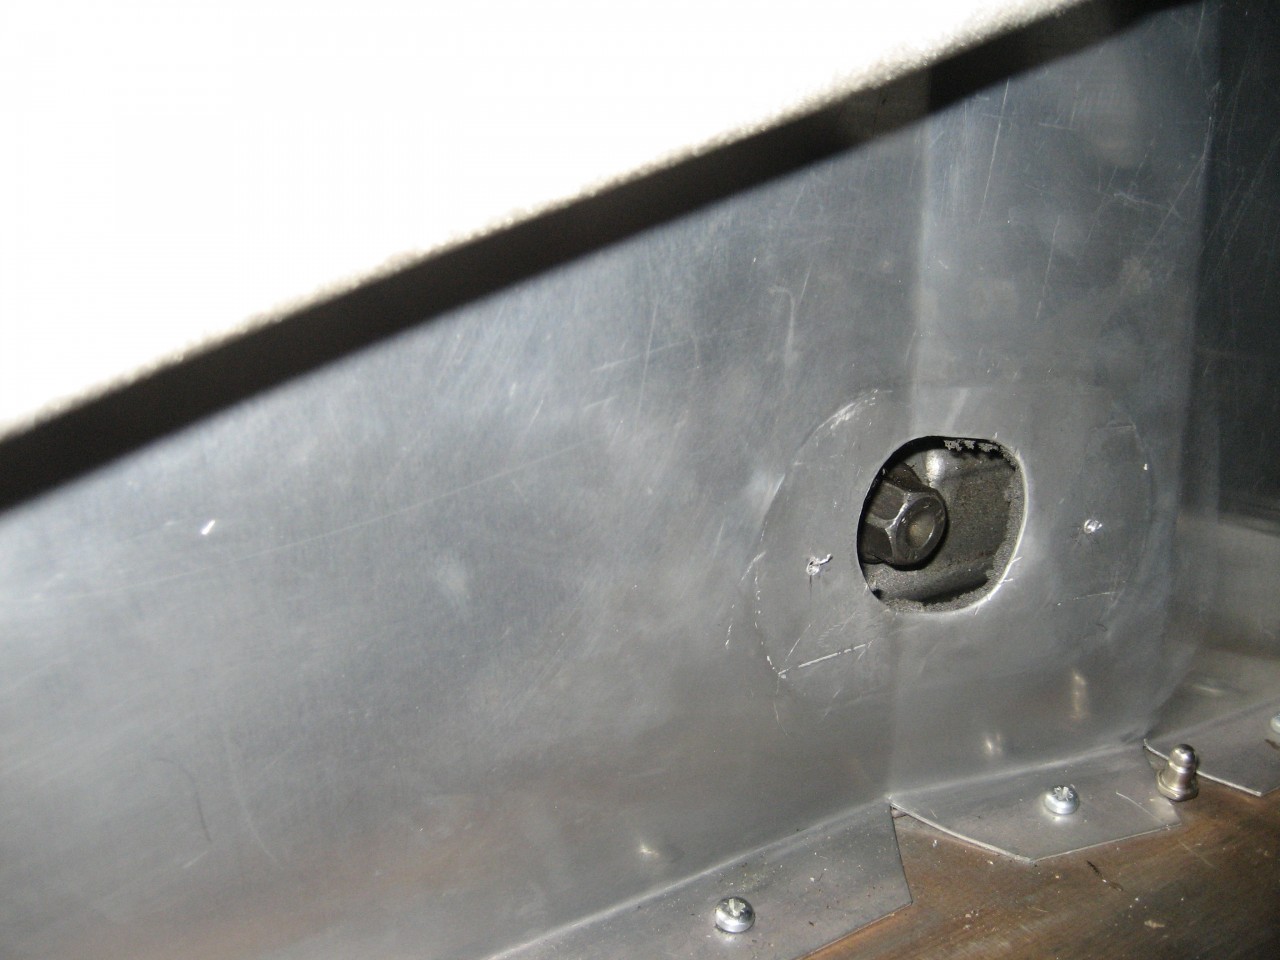
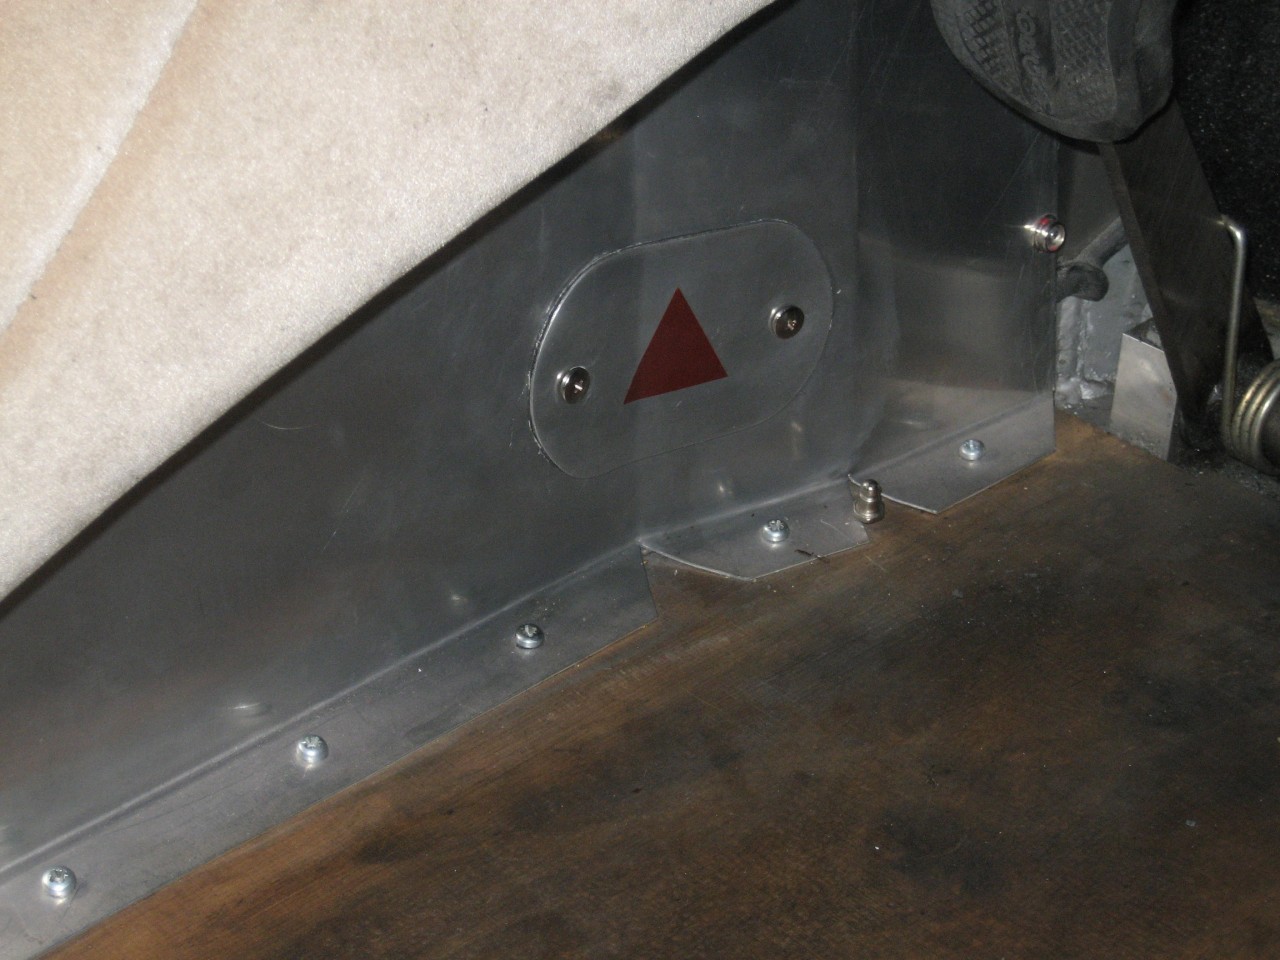
Some of you will recall that I had to enlarge the access hole because it did not align with the level plug. You may also recall that the heat insulation had not been cut, so despite three dealer services, the gearbox oil level had not been checked. My Dremel made short work of this.
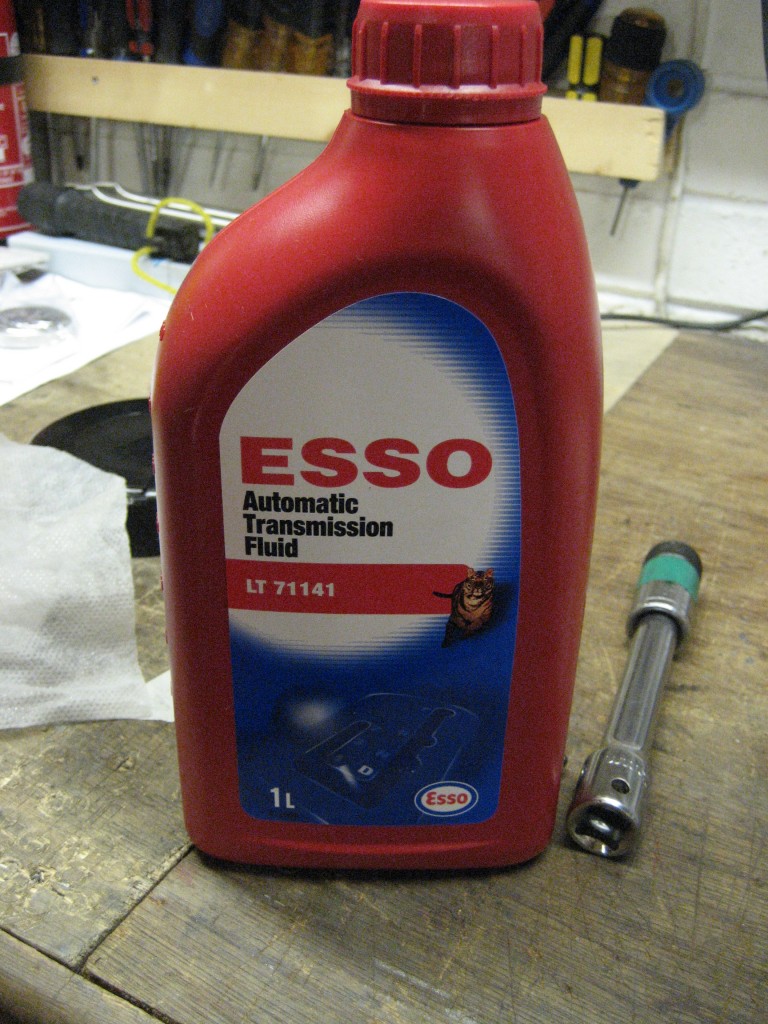
The Getrag gearbox has a specific oil requirement, which took some finding. When I found some a few years ago, I stocked up!
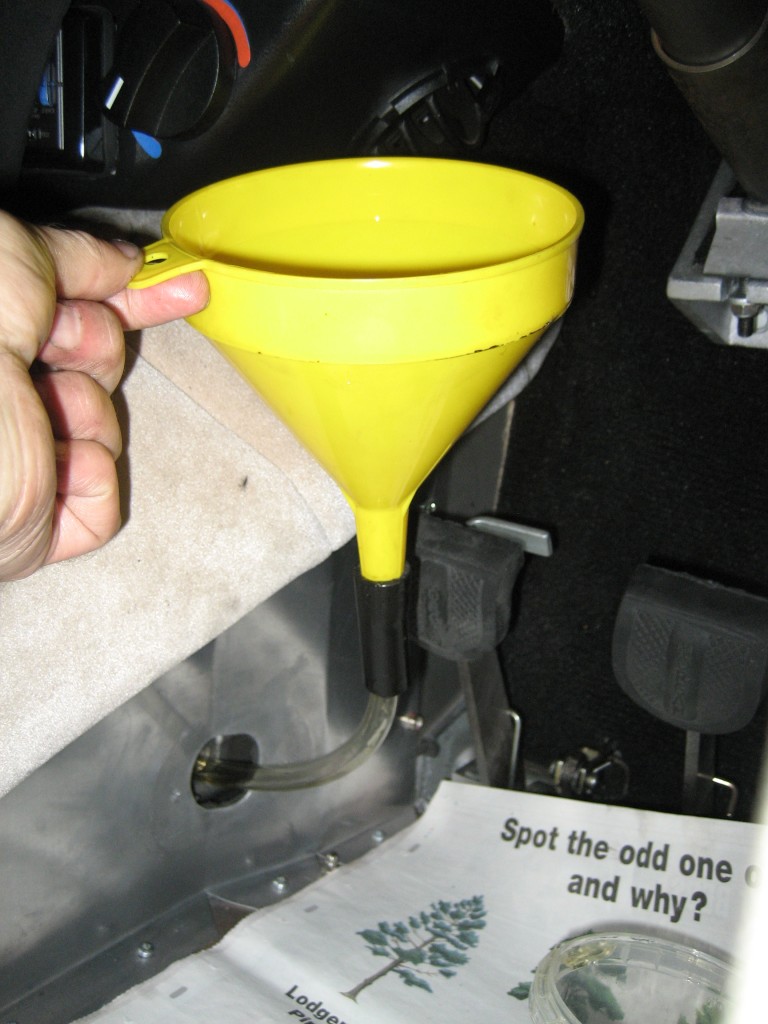
My gearbox fill routine - very tight access.
And here's my replacement plug:
And that's as far as I got today.
************************************************************
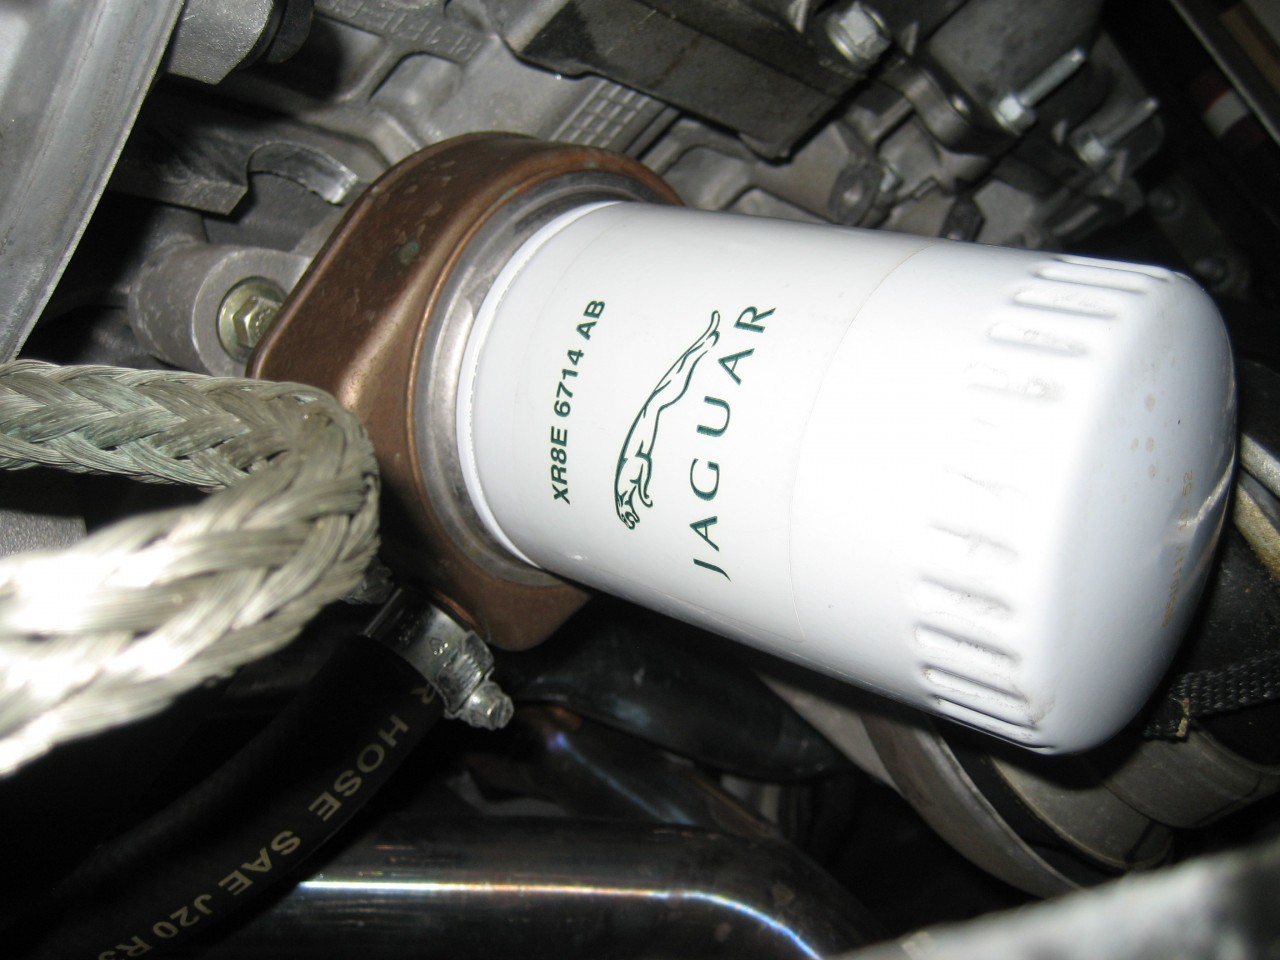
Finally a reminder about the filter. The alternative is the Zetec filter. Note that the ST220 Mondeo filter will not fit.
(Other branded filters are available).
Oil used was Mobil 1 0/40 synthetic, after a long discussion with my tame lubrication expert about the ins and outs of various options.
Roadster mileage:
From 30th August 2008 to June 2009 2,353 miles
To September 2009 3,332 miles
To September 2010 2,161 miles
To May 2012 (MOT) 304 miles
To September 2013 2,089 miles
Apart from a few doses of grease, I didn't service the Roadster in 2012. I had all the parts in stock, but being such a washout year, mileage was so low that it didn't seem worth doing.
I'll post a clearer view on Mr Bumble's brakes after a few miles, but they were one of two immediate differences I noticed in the first hundred yards. The other was the appalling roller throttle pedal!!
The Roadster brakes need a firm shove, almost as if unservo'd, but have excellent bite once warm with a tiny amount of judder.
Final note: I've also removed two of the badges on the front, and am assembling/have assembled a similar (not quite the same) collection for Mr Bumble.
Tool Tray.............
The original is a flimsy plastic affair which has rested in my garage for the last five years.
My replacement is made of wood and screwed & glued together. It's not symmetrical because there is more room on the offside.











