On reading the Geoff Williams’ article in the February addition of Miscellany regarding the replacement of rear cylinders I was reminded that I had tackled this a few years ago on one side of the axle and it was a ‘real pain’ to fit the ‘clip’ to the rear of the cylinder once placed on the back plate.
At the time only one of the cylinders needed replacing and I was really pleased that I didn’t have to replace the other one at the time (I know … I should have, I hear you all shout!!)
I have put off investigating the state of the second cylinder dreading the battle I had with the removal of the drum and the replacement of the cylinder. But.. it comes to a time when you have to take the bull by the horns and have a look.
The first phase was surprisingly simple (removing the drum) using the ‘bang the drum on’ technique with rubber mallet and then tapping from the rear of the drum with a wooden drift. Exposed I was relieved to see that brakes were ‘dry’ but on closer inspection saw that the cylinder was ‘past it’s best’.
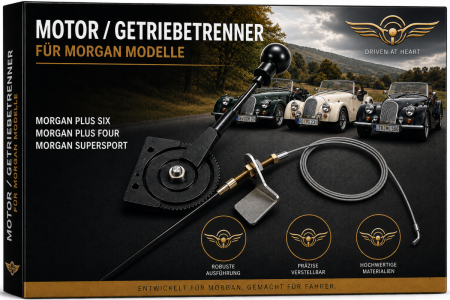
Off to find a replacement cylinder and contacting Cain at Wolf Performance knowing he held stock of Morgan replacements in Miscellany adverts. While placing the order they informed me of a ‘tool’ that had been developed to assist with the replacement of the cylinder ‘clip’. It had to be worth a go as I had ‘lost’ two screwdrivers and hammers last time as they were hurled out of the garage with strong ‘words’ trying to fit the other one!
![[Linked Image]](http://www.talkmorgan.com/gallery/26/full/40219.jpg)
The cylinder and tool arrived the next day and it looked a simple solution.
The tool screws into the back of the cylinder where the brake line connects and the nut slides a ‘piston’ along sliding the clip over a taper and into position and allowing the clip to ‘click’ into place securely on the cylinder.
![[Linked Image]](http://www.talkmorgan.com/gallery/26/full/40220.jpg)
Fortified with the thought that this may be a simpler process I set off. I removed the brake retaining pins and spread the shoes, as best I could, using cable ties threaded through the backplate to keep them off the cylinder. I then removed the old cylinder after removing the old clip and undoing the brake line. It is a struggle to squeeze the cylinder out as it is a very tight clearance between the hub and the backplate. But after due ‘persuading’ with a screwdriver it was removed.
Now to the replacement. I had to undo the bracket holding the brake line on the axle to allow me to position the brake line out of the way to fit the ‘tool’ to the cylinder from behind. As ever, not an easy task working back to front while using a mirror (and trying to get photos!!) but here is what you should have.
![[Linked Image]](http://www.talkmorgan.com/gallery/26/full/40221.jpg)
It was easy to set up but a few tips to bear in mind.
Ensure the clip is positioned so it doesn’t foul the bleed nipple (this photo taken via a mirror was before I realised the error!)
Ensure the clip is the right way around and apply a small amount of grease to allow the clip to slide over the taper.
After tightening the nut on the bolt you get a satisfying number of clicks as the clip ‘drops’ into position. Simply remove the tool, fit the brake line and replace the brake shoes into position and fight with putting the drum back! (Fitting new ¼ UNF bolts and shake washers).
As Geoff stated GOMOG.com has very good section on ‘Brakes’ with other guidance and tips.
Good luck!