|
7 members (MATTMOG, Mogdavid, deano, TeddyAds, JMcL, Bunny, Mark+4),
337
guests, and
87
robots. |
|
Key:
Admin,
Global Mod,
Mod
|
|
|
Forums39
Topics49,849
Posts837,415
Members9,596
| |
Most Online1,063
Jun 14th, 2026
|
|
|
|
Joined: Dec 2008
Posts: 22,358 Likes: 353
Roadster Guru Member of the Inner Circle
|
OP

Roadster Guru Member of the Inner Circle
Joined: Dec 2008
Posts: 22,358 Likes: 353 |
2012 update. I decided to extend the rear mudflaps a couple of inches over winter. This is simple because the rears are two piece. This extension protects the rear wing right down to the bottom, but the neoprene is a shade floppy, so I may re-engineer these in proper rubber when time permits. 
DaveW
'05 Red Roadster S1
'16 Yellow (Not the only) Narrow AR GDI Plus 4
|
|
|
|
|
Joined: Mar 2011
Posts: 518
Talk Morgan Regular
|
|
Talk Morgan Regular
Joined: Mar 2011
Posts: 518 |
Great idea and why is it not available off the shelf? What about using the big rubber mud flaps used for tractors/lorrys and cut them to shape to work as inside wing protectors (fixed the DaveW way)?
|
|
|
|
|
Joined: Oct 2011
Posts: 541
Talk Morgan Regular
|
|
Talk Morgan Regular
Joined: Oct 2011
Posts: 541 |
But, how to fasten them? And wouldn´t there be airflow betseen the shields and the wings?
Ken.
Ken in Sweden - SM7CQY
Mr BRUM - Morgan Roadster 2004 Series 1 in Royal Ivory
|
|
|
|
|
Joined: Apr 2013
Posts: 4
New to Talk Morgan
|
|
New to Talk Morgan
Joined: Apr 2013
Posts: 4 |
Hello Dave,
I am new to being registered on this forum but have been watching your superb efforts and many of your interesting and inventive ideas. Great work and support for the members of this forum.
I really like your idea of flaps to stop the wings being damaged by flying stones..Thank you I will make up a set. Yes, very surprising this kind of thing ios not a factory option or on the shelf somewher.
Two years ago I acquired a 1968 Plus 4 that I bought (in almost scrap condition) Have done a bare chassis refurb and had good use out of it last summer.
It is a super project and I have learned a lot from you and others at Talk Morgan,also Lorne Goldman and GoMog in Canada where I live. Could not have done it without all the snippets of info I gathered. Never having owned, or even driven a Morgan before I would have been completely lost..and it is a good feeing to know there are others struggling with all the same things, even if I can't see these people.
Front axle tips.
It is an old topic but one I suspect may be of interest to all with the Morgan sliding pillar suspension.
When doing mine I used needle roller bearings and suitable adapters on the top of the main springs and on the top of the rebound springs. These are rated to carry enough load for this job.
They work very well to minimize wheel wobble. Even removed the old saw blade thing and kept all the old parts together in a box.
In the aluminum adapter plates for the neddle bearings I incorporated "O" rings that work as wipers to keep grease in and dirt out.
To protect the lower part of the shaft from dirt I used medical bungee wrapping like you would use for a sprained knee etc. It is an elastic open weave bandage. A few turns of that There is room for about 5 turns) with a plastic tie each end securing it makes a very good and flexible dirt filter that can be easily removed for shows and changed when dirty.
For the main spring I made a vinyl sleeve that reaches the bottom of the main spring. It clamps to the top needle bearing adapter with a hose clamp (screw clamp hidden from view, and velcro down the sids (at the back. This can also be easily and quickly removed for shows etc.
Thank you so much for your sharing your knowledge.
david (Safari-1)
|
|
|
|
|
Joined: Jul 2011
Posts: 3,643
Talk Morgan Addict
|
|
Talk Morgan Addict
Joined: Jul 2011
Posts: 3,643 |
Hello Safari1, welcome to the forum. You have some good ideas in you note.
Any more are welcome.
Ian
2011 Plus 4
Wild Mogs Reims 2019, Goodwood 2018, Isle of Man 2017, Carried on to Caramulo" 2016
|
|
|
|
|
Joined: Apr 2013
Posts: 4
New to Talk Morgan
|
|
New to Talk Morgan
Joined: Apr 2013
Posts: 4 |
Hi Dave,
Something I tried last summer that completely removed the steering "wobblies" (in addition to the needle thrust washers on both main and rebounmd springs) was a (temporary, now permanent) diagonal 1/2" aluminium box section between the right hand front of the chassis and the left corner of the chassis at the rear left corner of the engine space. (My car is left had drive if it matters).
The wobbling was not as bad as I have heard some people describe, but it was there at about 40 mph. (Now it is not).
I felt that the front section of the chassis might be wracking in response to the wheel wobble, sort of feeding on itself once it started.
Since the wobble disappeared immediatley after installing this brace this seems likely. It would not need much of a wracking movement to start things going in a sympathetc oscillation fashion.
I have already cut and will soon instal a 1/8" aluminium sheet covering the bottom of the engine space and bolted to the chassis at three locations each side. This will stiffen everything enough to stop wracking and still allow chassis flexibility.
A + _ 6" hole under the engine oil drain plug will give some ventilation.... May even make a round cover with two retaining screws for this if ventilation is adequate with this opening closed..
There should be plenty of louvers for the cooling air from the radiator and engine space to escape.
A slicker underbody surface will almost certainly make for less wind resistance, perhaps quieter and less under body turbulence.
This mod will not interfere with any of the visuals of the car, and can easily be removed for shows etc.
david
|
|
|
|
|
Joined: Jul 2007
Posts: 28,898 Likes: 352
Salty Sea Dog Member of the Inner Circle
|
|
Salty Sea Dog Member of the Inner Circle
Joined: Jul 2007
Posts: 28,898 Likes: 352 |
Don't know how old your car is David, but it is worth checking the triangulation plates just ahead of the bulkhead (firewall) that are welded to the chassis legs. Rust can build up between these and the chassis, forcing them apart and removeing the support provided to the chassis front end. If that has happened, it is worth fitting the plates from the later chassis, which are considerably longer and give greater support.
Graham (G4FUJ)
Sold L44FOR 4/4 Giallo Fly
'11 MINI Countryman Cooper D All4
'90 LR 90 SW
|
|
|
|
|
Joined: Apr 2013
Posts: 4
New to Talk Morgan
|
|
New to Talk Morgan
Joined: Apr 2013
Posts: 4 |
Hello Graham,
Thanks for your reply, points valid and well taken. It is a 1968 Plus 4 four seater with 34,000 miles in canada, almost certainly never driven in winter or it would be dust by now. It sat unused for 15 years in a barn where I found it with a baffed TR4A engine......in true "barn find" condition it needed everything. Still finishing him up.
I had the front axle frame out when I did the bare chassis job. There was some rust but not serious. Bottom of the scuttle skirts too, replaced metal there.
Installed the brake braces to stiffen up the front suspension frame too.
Do you know if anyone making trailing arm rods and coil-over-shock kits and Panhard rods for the rear?
In my mind I see removing the cart springs completely and using trailing paralelogram rods usong the forward spring mounting bolt and one fabricated above it. Using adjustable height and rate AVO (or similar)coil-over shocks. Without the springs there would be plenty of room to put a panhard rod, or a Watts linkage...and probably 40 lbs less weight with the springs not there.
Best regards
david
|
|
|
|
|
Joined: Jul 2007
Posts: 28,898 Likes: 352
Salty Sea Dog Member of the Inner Circle
|
|
Salty Sea Dog Member of the Inner Circle
Joined: Jul 2007
Posts: 28,898 Likes: 352 |
Hi David, It was worth checking as that was part of the problem with my '76 - took a year or so before the true cause of the wobbles was found! You want to completely revamp the rear suspension? Talk to Peter Mulberry: http://www.mulfab.co.uk/He has developed a complete replacement rear end for his own car (and a front end too). Whether he is selling them as kits is another matter... Cheers,
Graham (G4FUJ)
Sold L44FOR 4/4 Giallo Fly
'11 MINI Countryman Cooper D All4
'90 LR 90 SW
|
|
|
|
|
Joined: Dec 2008
Posts: 22,358 Likes: 353
Roadster Guru Member of the Inner Circle
|
|
OP
Roadster Guru Member of the Inner Circle
Joined: Dec 2008
Posts: 22,358 Likes: 353 |
Post Photobucket Reboot from February 2009:First a few quick wins. The chassis plate is now (2005 Roadster) glued to the bulkhead, but still has a hole in each corner where they were once screwed or riveted. Anyway, I had an idle ten minutes, so I dug out four allen bolts (from my box of assorted fasteners), cut the shanks off with the hacksaw and araldited the heads in place. My chassis number isn't 0000 by the way. That's cunning photoshop work. 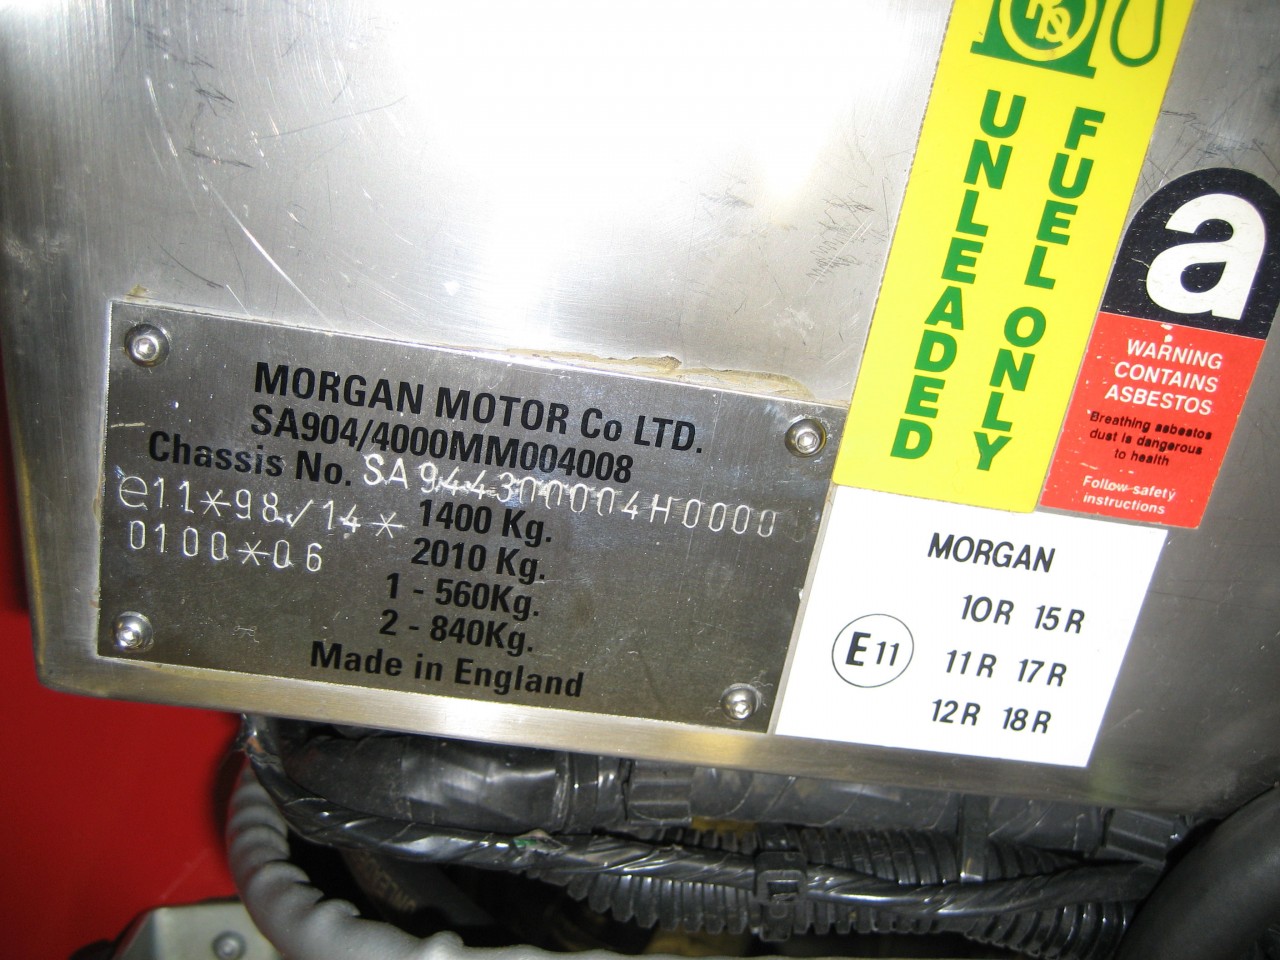 When I bought the Roadster, it had clear indicator lenses........ 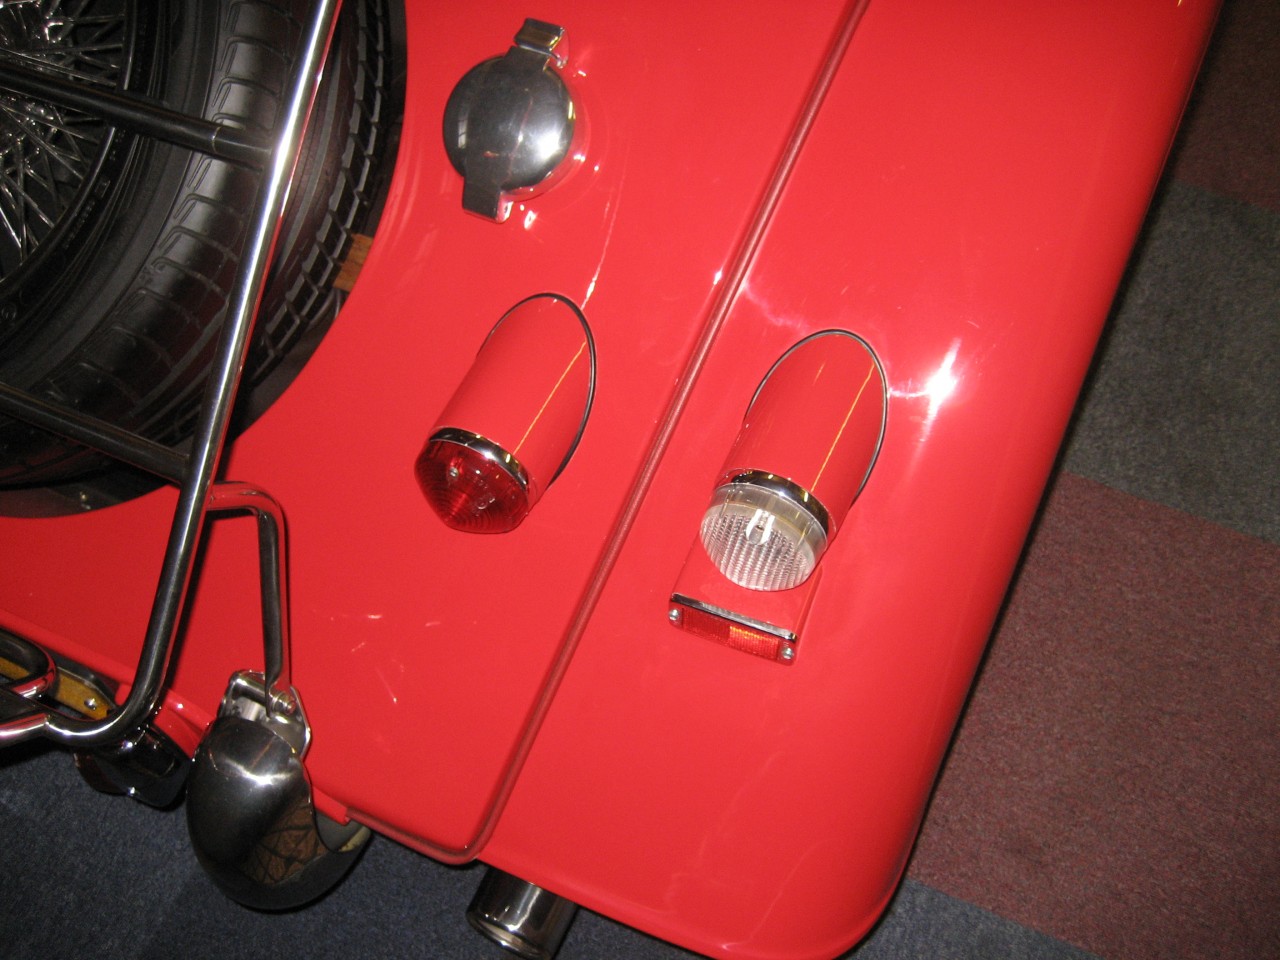 I don't think clear looks good with red paint, so I've swopped back to orange, but used two front lenses because they provide a slightly larger surface area. The threads for the fixing screws are different threads front to back, but could be changed as the female end in the lamp unit is brass and removeable. However the front fixing screws are longer than the original rears, so I've left well alone for now and used the rear fixings that came with the clear lenses. 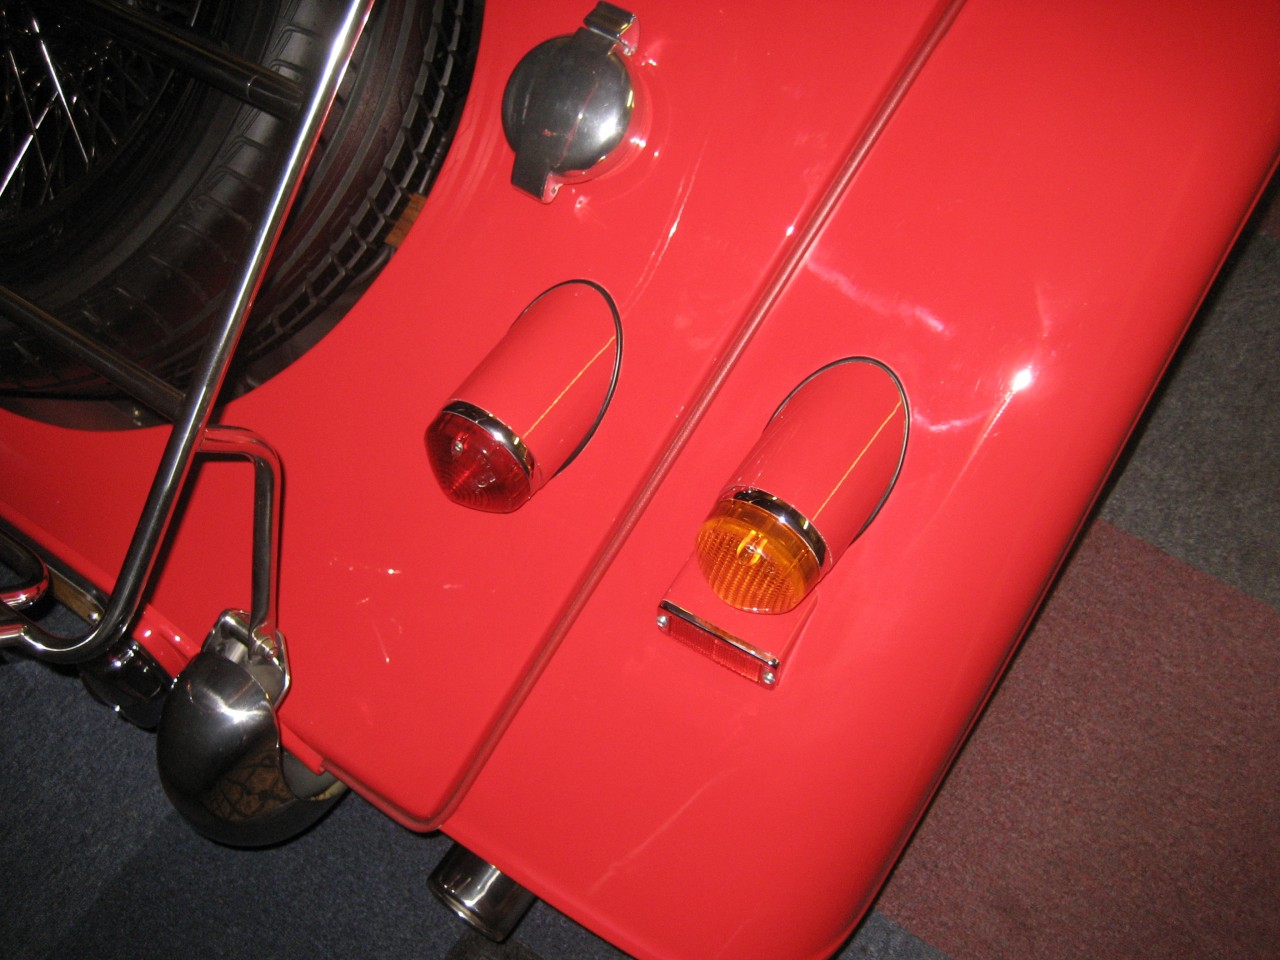 Finally on the quick wins, when I bought my luggage carrier, I was advised to fit the spacer so that the rack frame rested on the spare wheel sidewall. I wasn't keen on this solution as the spacer was not a 'best fit' that way round. So I reversed it and fitted two shaped pieces of rubber hose. This just sits off the sidewall, but when loaded will help to take the load. 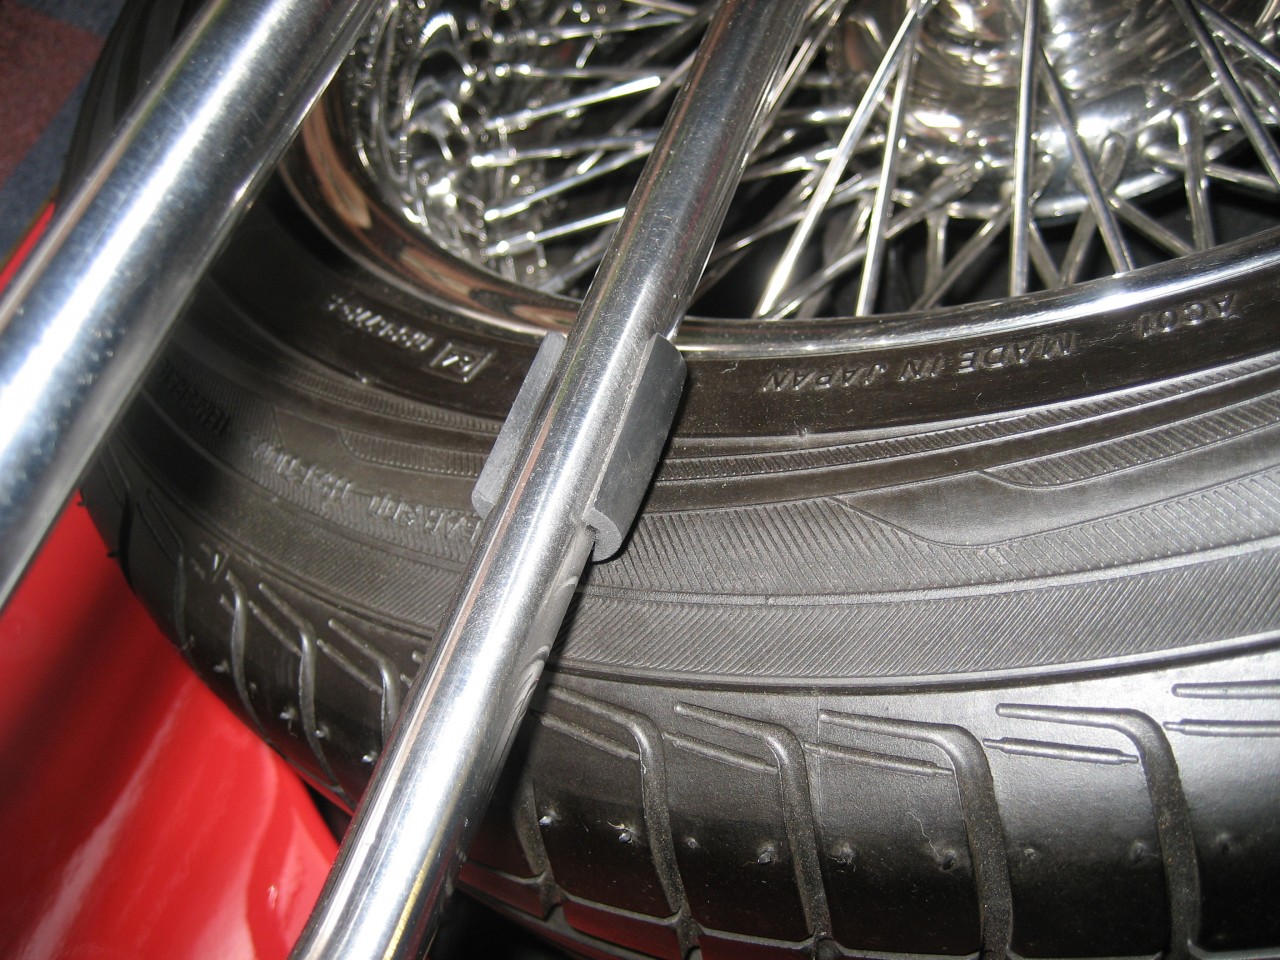 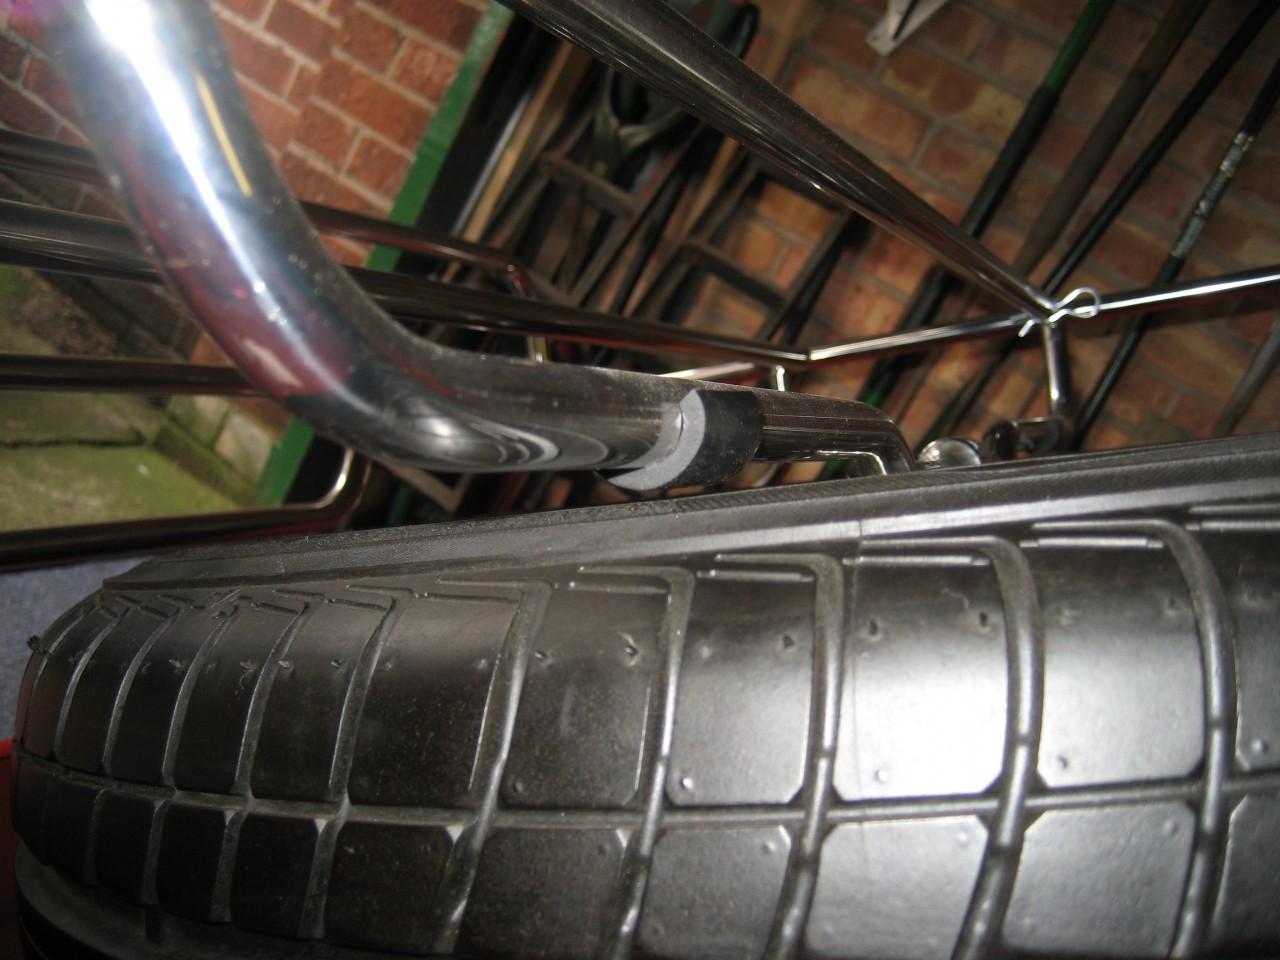 More to follow shortly. I just have to resize some photos. The front wing protectors were completed yesterday!!!!!!
DaveW
'05 Red Roadster S1
'16 Yellow (Not the only) Narrow AR GDI Plus 4
|
|
|
|
|