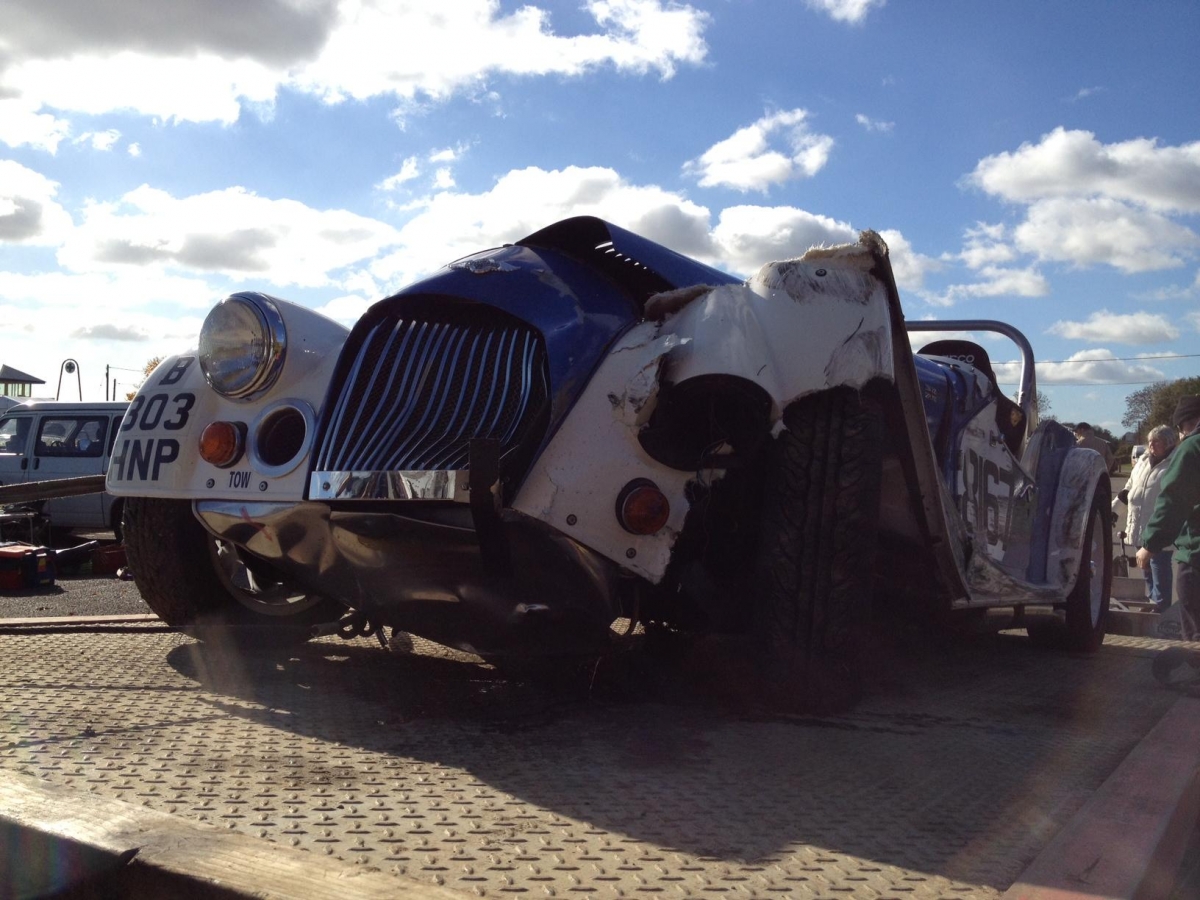
Update 34 - Second fit front wings, radiator and Intake design and fabricationIn the last few weeks we have managed to progress with some more work on the blue and white car.
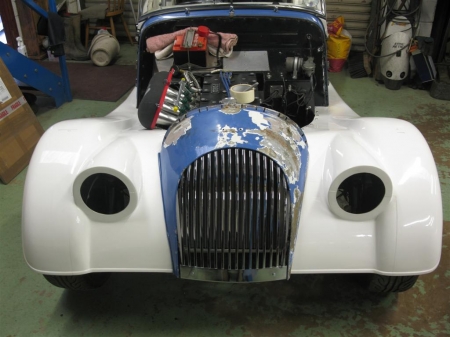
First up, was sorting out the front wings. Last time we'd made the basic cuts to get the wings onto the car but the front end had not been set-up so we'd left the front end raw.
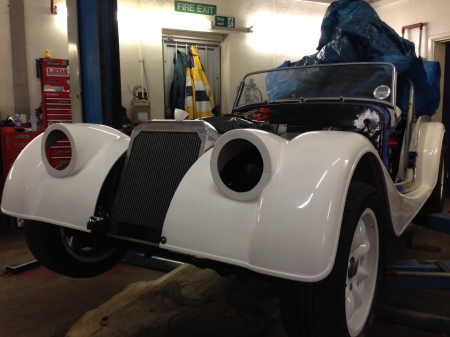
So this week saw us use our front end alignment jig to get the inner bay panels tweaked to be in alignment centrally as well as fitting round the radiator. A slight bellying in the section in front of the crosshead.
We also checked width, making sure the wings overlap the wheels equally both sides and that the leading edge of the wings are both aligned in the horizontal plain both at the bottom and the top.
With all this clamped in place we fixed two bolts into the wing by the bulkead, one at the top most part of the wing and one in the lower front.
The reason for only putting these in, is that it allows you to fix each dimension but being able to adjust and measure as we went. Additionally we didn't want to complete putting holes in the section of the wing in front of the crosshead as we wanted these to be completed when the cowel is made.
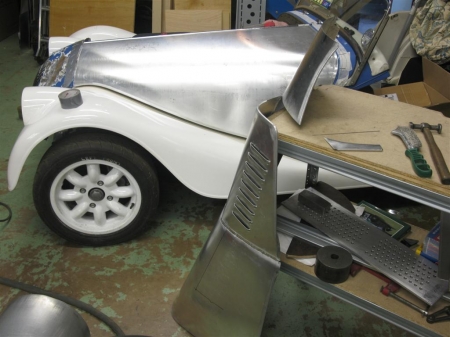
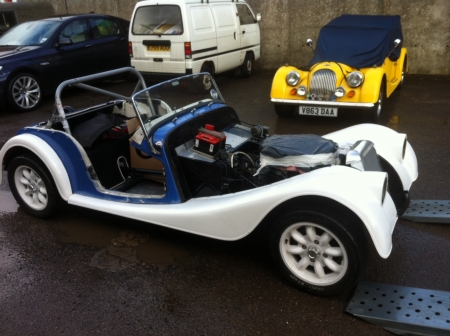
The in the end we have mounted the front wings for the final time before paint.
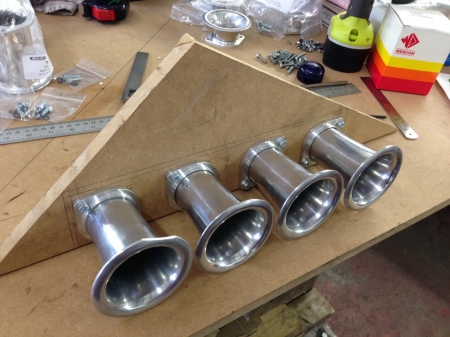
Next up was the finalisation of the intake... this has been a bit of a journey. Many different ideas have been explored.
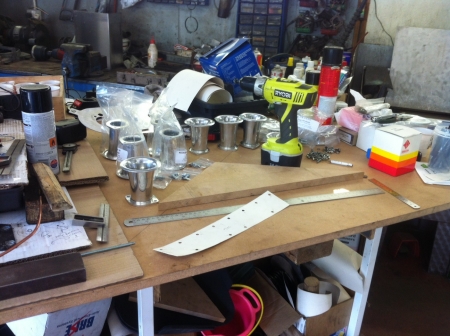
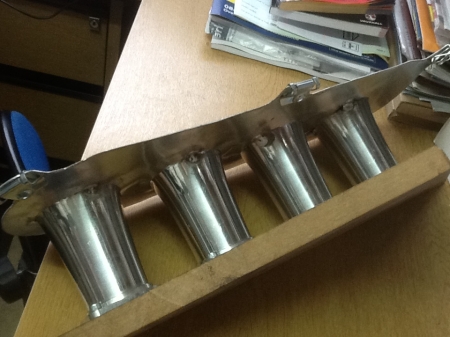
Three sets of trumpets, two different filter back plates and two different depths of filter.......
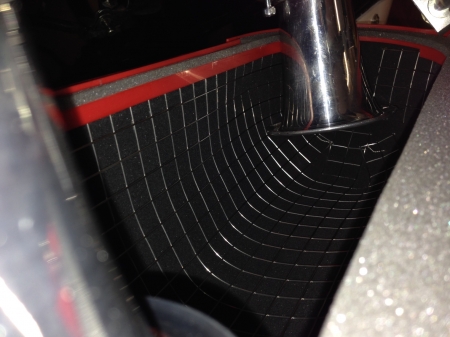
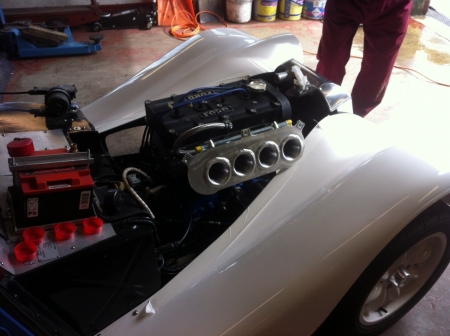
This is the situation as we left it
A quick trial fit of the trumpets finds that the longer trumpets are going to be the ones to go for.

Having test fit the back-plate it was clear neither the shallow 30mm deep backplate nor the 60mm option was going to be any good.
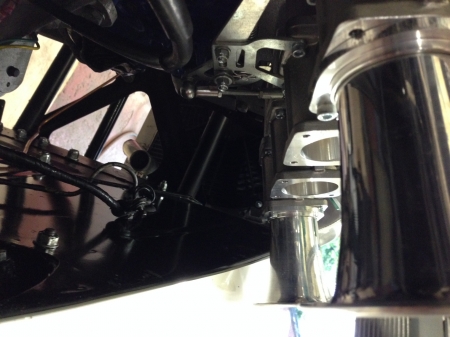
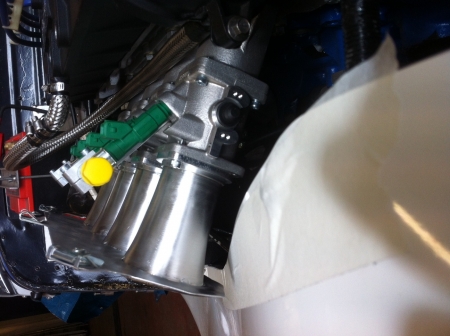
Looking at the filter alignment we could either put the filter on the inside our outside of the inner bay pannel... (no idea exactly how this was going to be attached... but it gives an idea of the next design challenge - how to attach the filter)
This pic shows that with the filter on the inside of the bay panel its not going to work either - which means that the filter in its entirety it needs to be over the wing.
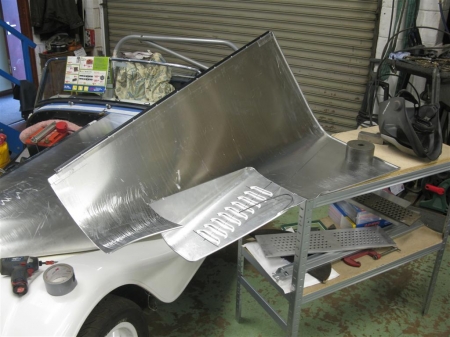
In the end something completely different.
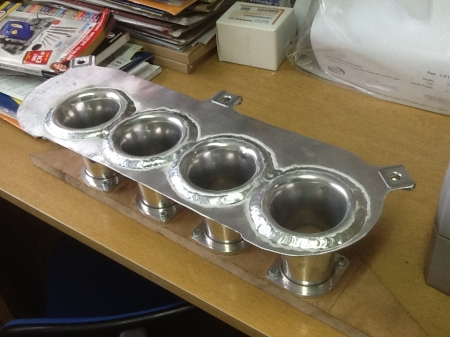
Make an alloy backplate but attach it to the back side of the trumpets.. rather than part way up, have it welded to the back of the bell-mouths.
So, as in previous years, I need to make a alloy back plate with suitable spaced holes. Tracing the outline of one of the backing trays this gives an outline.
Next up is to find out where the holes need to go.. this starts by creating a template.
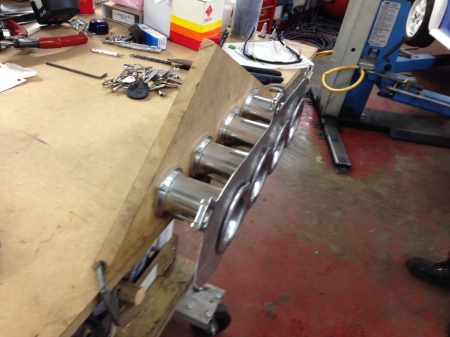
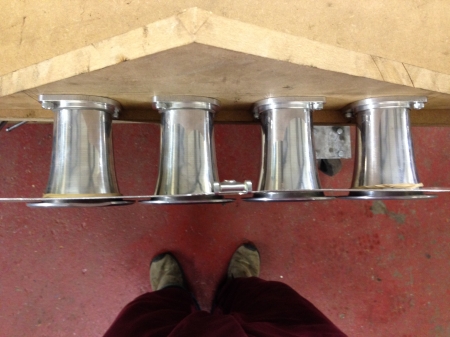
Using the mock up, the correct spacing found and having made the blank back-plate. The holes were cut and slipped over the trumpets.
Good to see things worked out fine.
Unfortunately we don't do out own ali welding on site, but handily I have a mate down the road who sorts me out when needed so popped these off to him for a welding job.
Handily he did them pretty much straight away so not long to see if everything worked out as expected.
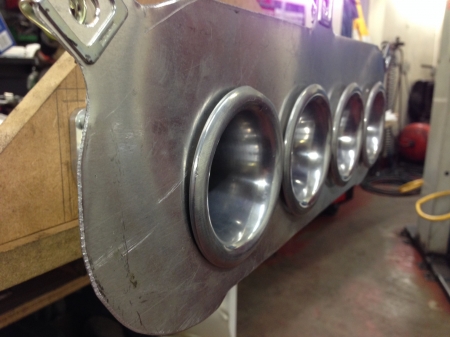
Just back from the welder.
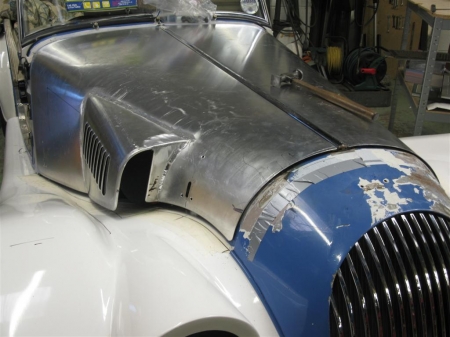
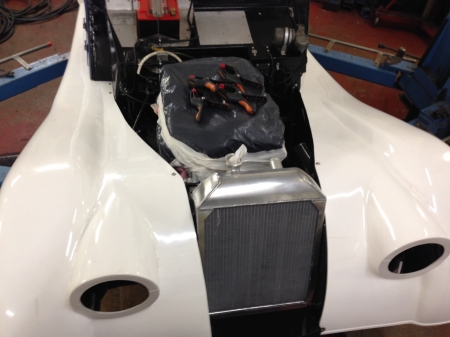
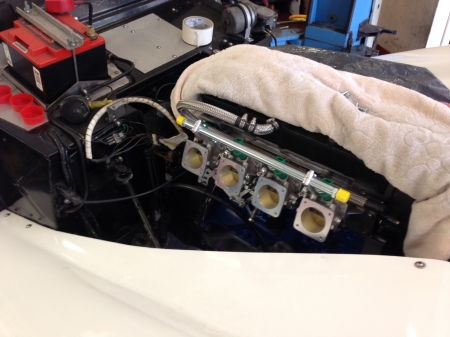
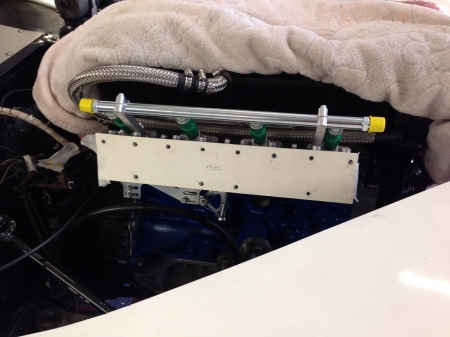
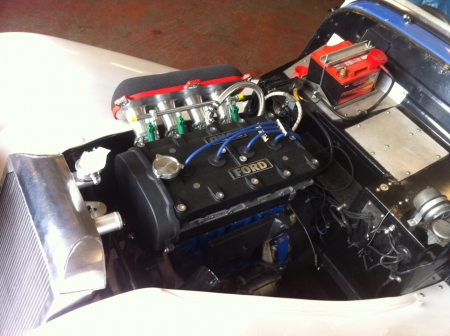
Today saw the intake mounted to the engine.

You can see this bring the filter (the 60mm one) mounting point right over the wing (into what will be the SS bonnet scoop). Due to the fact that the opening of the trumpets is level with the back plate we don't have the issue with the mouth of the trumpet becoming obstructed by the inner filter edge as it curves round.. It also means that we have been able to off-set the back-plate to suit the available space.
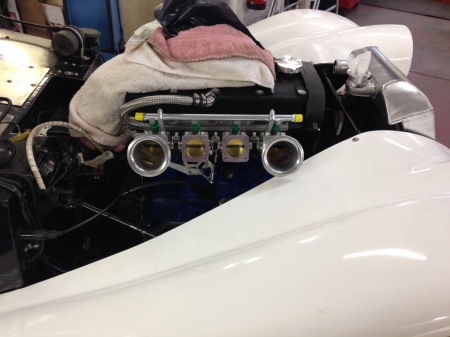
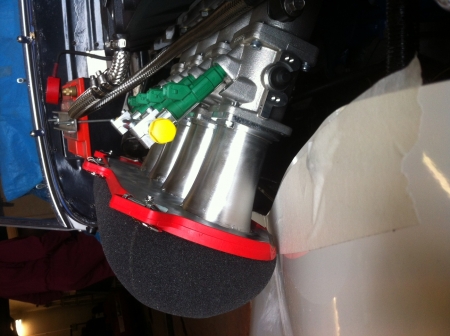
So with minor fettling of the inner edge of the filter plastic casing we have this..... looks pretty smart.

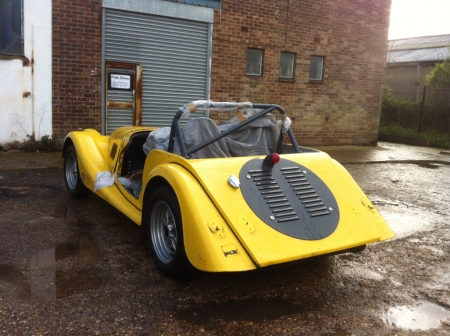
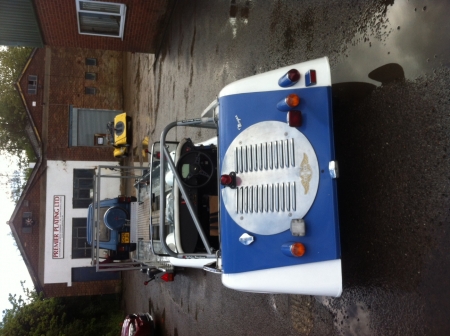
That brings us up to the point of having the car ready for the bonnets and cowel made. So off with Woodstock from the trailer and on with the blue and white car...
Now onto focusing on Woodstock...