Click here to return to the home page.
Image of a road.
Who's Online Now
2 members (Saxonian, +8Rich), 392 guests, and 42 robots.
Key: Admin, Global Mod, Mod
Top Posters(30 Days)
+8Rich 84
Newest Members
Scot_SJI, Jimmers, Breen60, Davidmog, Stevecarr
9,596 Registered Users
Newest Topics
4/4 Suspension Install - is this normal?
by ScotiaSteve - 31/08/26 10:52 PM
Delay to bring up oil pressure ( 2006 +4 )
by Cerberas - 31/08/26 03:11 PM
Clarkson Review of Supersport 400
by Stephen888 - 31/08/26 01:09 PM
M3W Treffen Grindelwald 2026 /2
by Laurens - 31/08/26 01:03 PM
M3W Treffen Grindelwald 2026
by Laurens - 31/08/26 01:01 PM
Hood catches rear
by AndyGoff - 31/08/26 11:34 AM
Spare Ignition Key ............
by Pittsartist - 31/08/26 10:58 AM
Latest Photos
tow bar
tow bar
by G Walker, August 24
Prescott double anniversary
by CooperMan, August 18
Air Crash Sites: Cairngorms
by RedThree, August 13
Four-seater luggage rack
by Soleng, August 9
New M3W orange 2012
New M3W orange 2012
by jejemek, August 7
Forum Statistics
Forums39
Topics49,860
Posts837,485
Members9,596
Most Online1,063
Jun 14th, 2026
Today's Birthdays
Jonny72
Previous Thread
Next Thread
Print Thread
Page 5 of 5 1 2 3 4 5
Joined: Jun 2014
Posts: 77
Just Getting Started
Offline
Just Getting Started
Joined: Jun 2014
Posts: 77
Thanks for that, Dave. The Kingpins are ok for now having passed an MOT, but there is very slight wear evident (just over 16,000 miles). I am happy with the suspension and steering for now but will probably seriously consider an upgrade during next year. Keep up the good work. We can all service our Mogs if we follow your excellent blogs.


David
Morgan Plus 4 2005
Jaguar XJ8 1999
LR 110 Station Wagon 2008
Volvo V90 D4 2017
Joined: Dec 2008
Posts: 22,358
Likes: 353
DaveW Offline OP
Roadster Guru
Member of the Inner Circle
OP Offline
Roadster Guru
Member of the Inner Circle
Joined: Dec 2008
Posts: 22,358
Likes: 353
This is the link to the fitting of the replacement speed sensor.

http://www.talkmorgan.com/ubbthreads.php/topics/234513#Post234513


DaveW
'05 Red Roadster S1
'16 Yellow (Not the only) Narrow AR GDI Plus 4
Joined: Dec 2008
Posts: 22,358
Likes: 353
DaveW Offline OP
Roadster Guru
Member of the Inner Circle
OP Offline
Roadster Guru
Member of the Inner Circle
Joined: Dec 2008
Posts: 22,358
Likes: 353
Post Photobucket re-post...........................

Today I made a start on the service. It's already part-way done, having changed the rear springs in the summer, and having just put the front suspension back together. So I know that the nuts and bolts are nice and tight.

Todays jobs were to check the rear brakes, and bleed the brakes and the clutch.
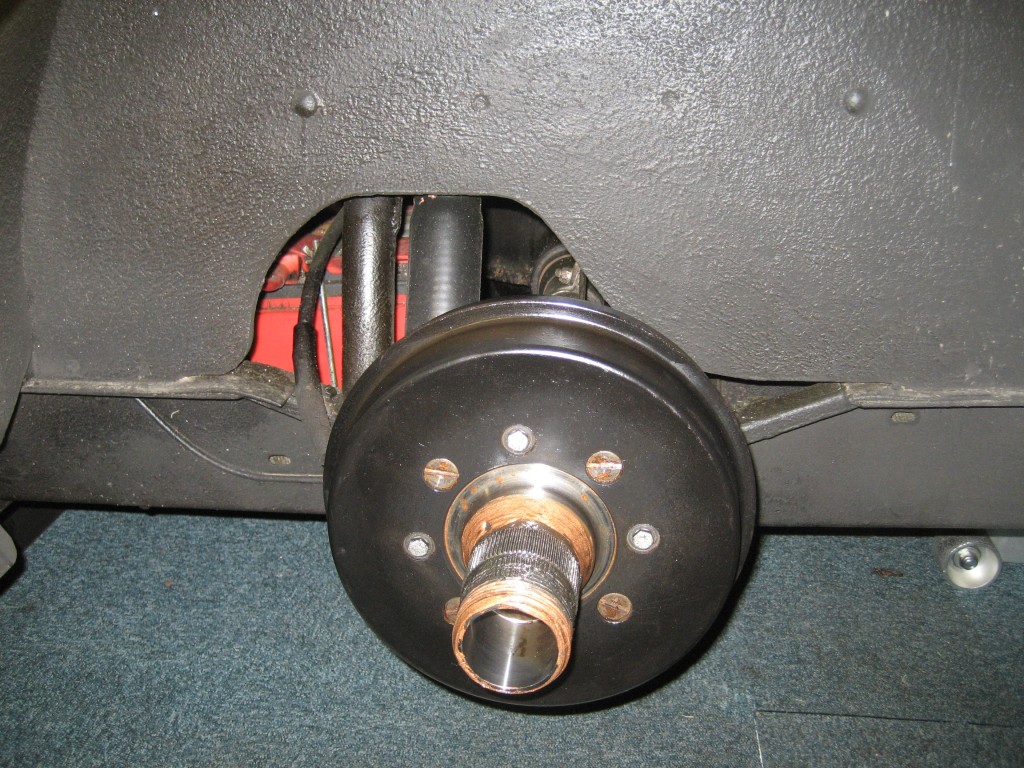


So first I lifted the rear and removed the drums. They came off quite easily. Sometimes you have to wiggle the handbrake cable, just to get complete release. It was reassuring to find Coppaslip on the bolt threads, which shows a certain level of thought applied at the last service which you can't take for granted everywhere. (Well done BHM!).

This looks remarkably clean - but I've done nothing to it - this is after quite a lot of bad weather through the year, especially in Scotland. The small bolts hold the drums in place. The slotted setscrews can be left in place, they can be removed if you need more wiggle space, but its not necessary.
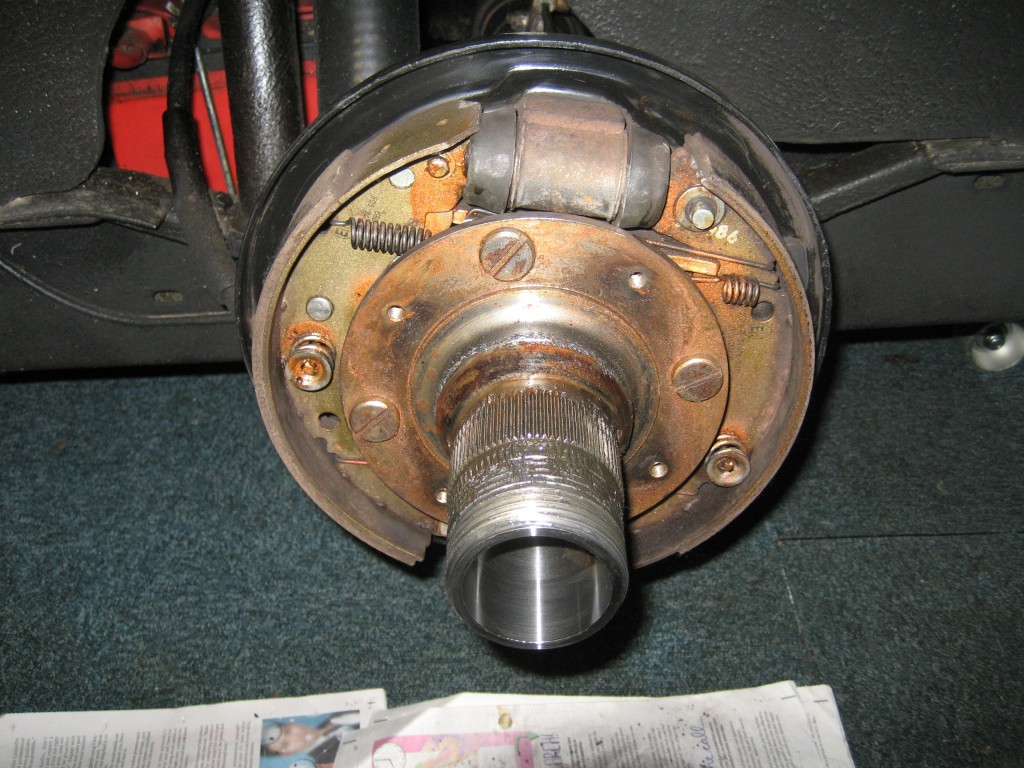


The inside was reasonably clean, but I cleaned off the dust and tidied it up. The cylinder is dry, as is the cylinder on the other side.

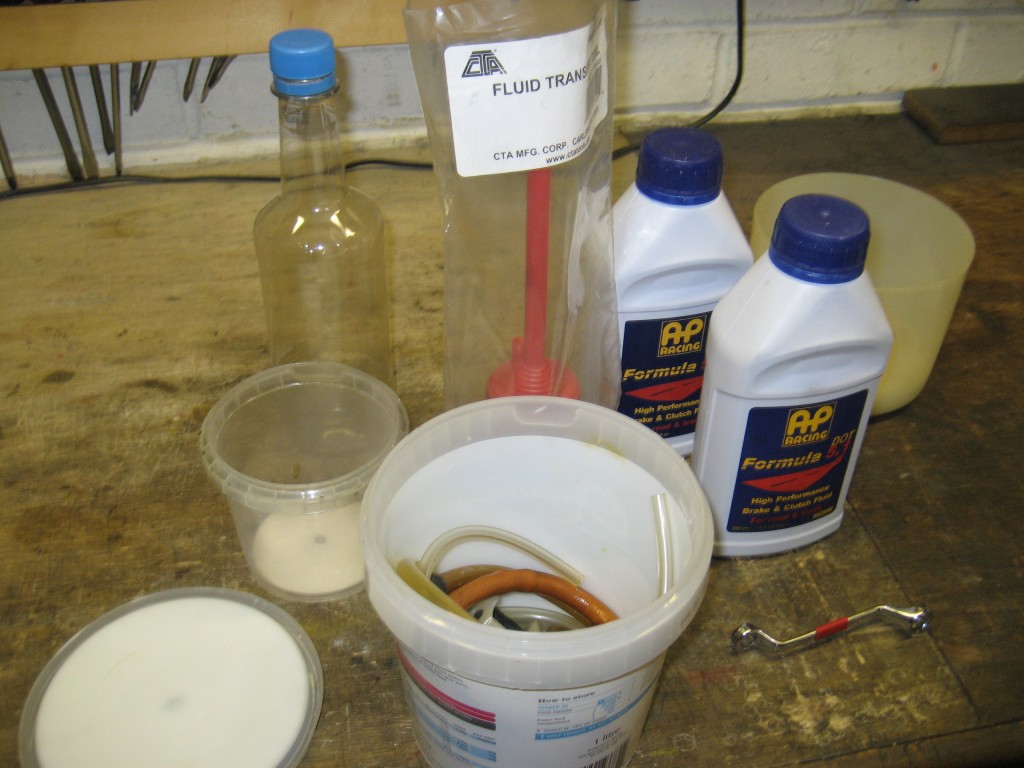
Once that was out of the way it was time to assemble the bleeding gear. A selection of containers and a selection of bleed tubes, plus my fluid transfer tool, which is invaluable.


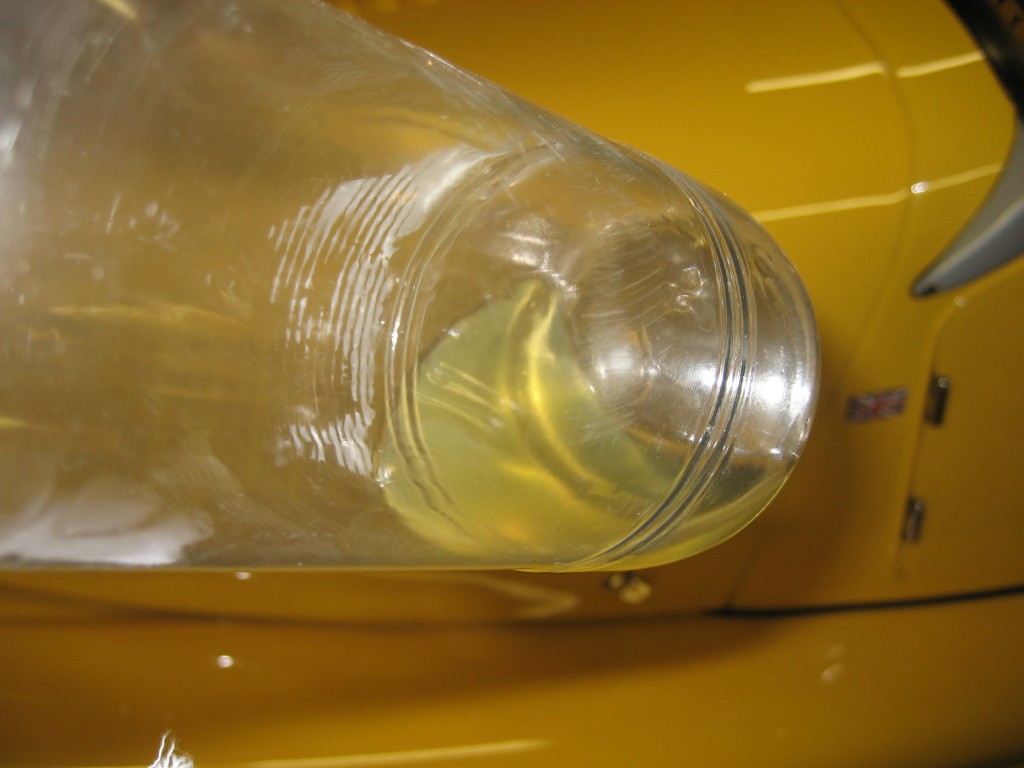
First job was to remove most of the old fluid from the master cylinder using the transfer tool. This means that I can fill the master cylinder with fresh fluid from the start, and don't have to pump all the old fluid through. Done carefully, no air gets admitted at this end. That fluid looks pretty good actually. Basic precuations are essential. Plenty of rags which get thrown away at the end, and never carry anything containing brake fluid over the paintwork - if it drips, it may damage the paint.
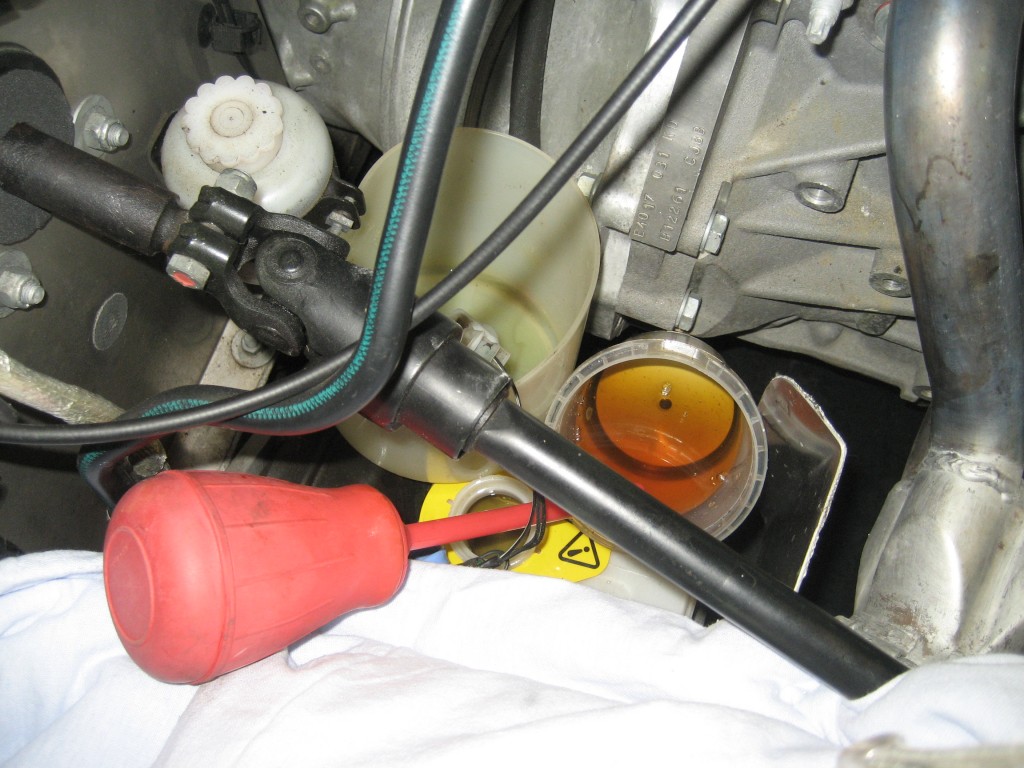


In this photo, the master cylinder cap is tucked away at the top so it can't drip. I use a small aerosol plastic top to pour new fluid into the master cylinder. Space is tight and this works a treat.
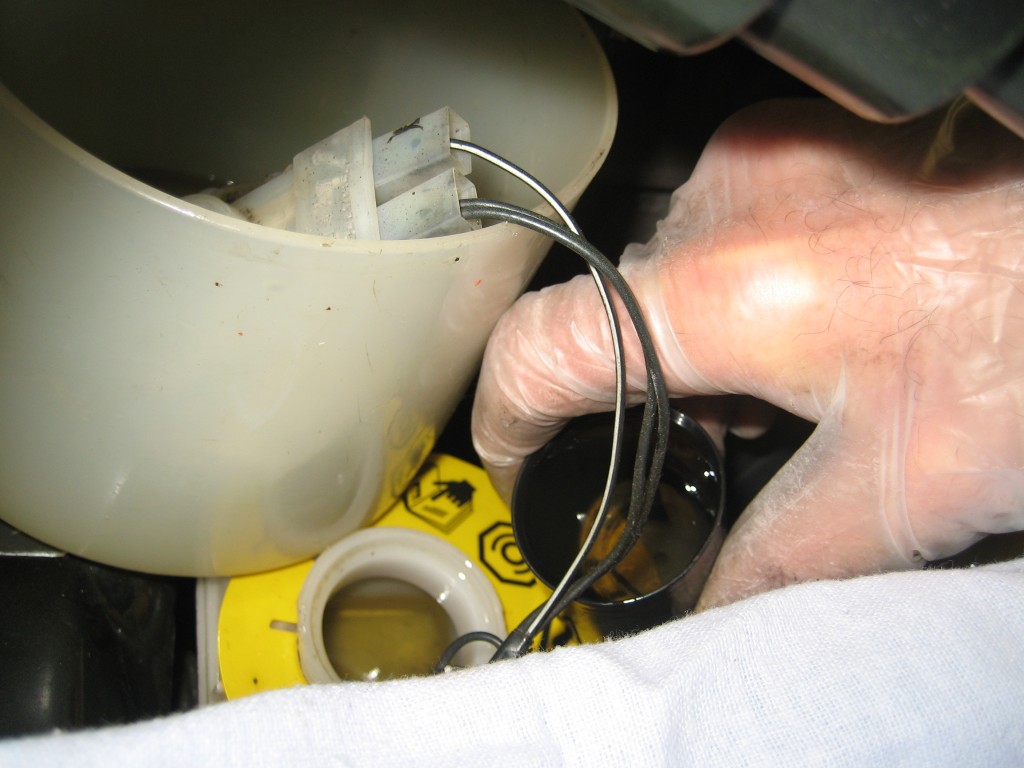


The bleed nipples are 5/16"AF, and I started furthest away from the Master Cylinder. What came out of the rear nearside was badly discoloured.
It took 30 strokes before it ran clear.
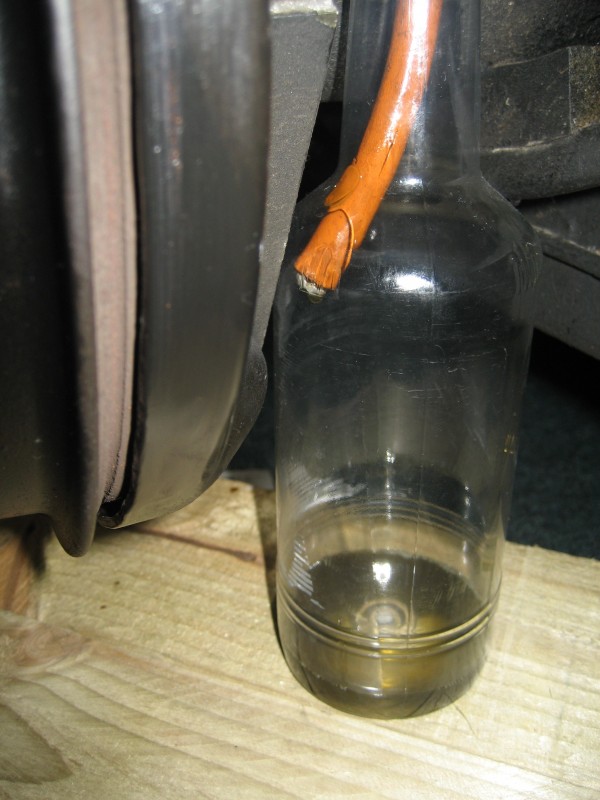


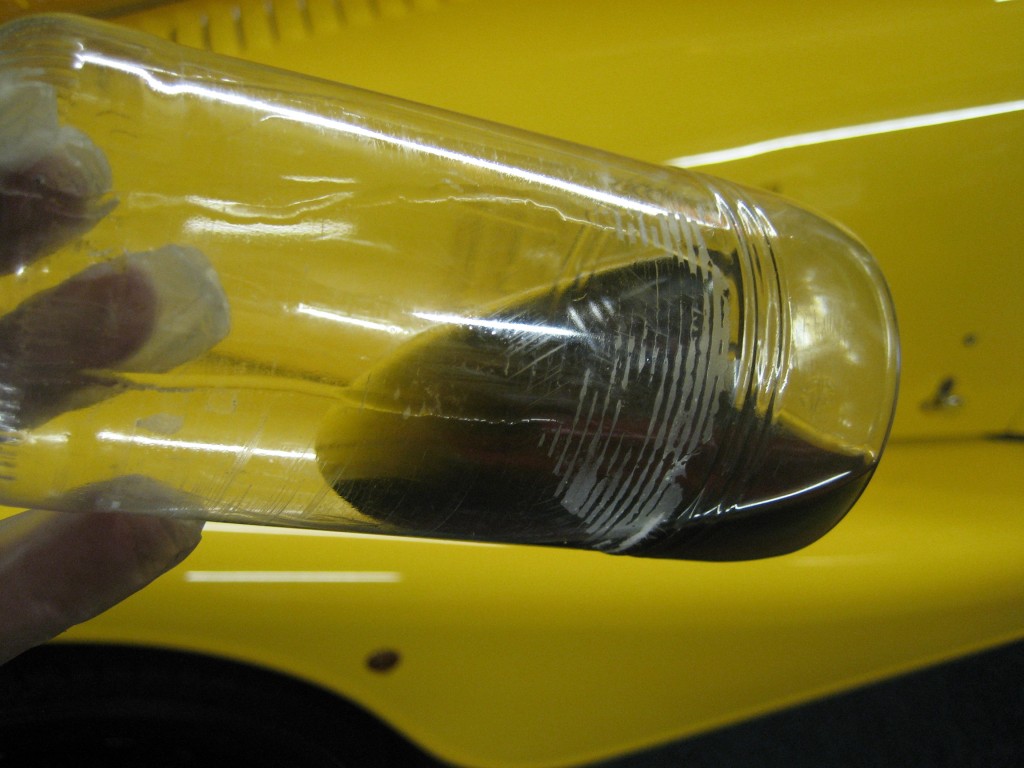
Fluid should be changed at two years. Many owners don't bother, but this shows clearly why you should - it's only two and a half years old. The offside took twenty strokes before it ran clear. Less than the nearside because the front to rear pipe had been replenished earlier, so there was less old fluid to purge.


With the rear of the car back on the floor, I lifted the front, and diverted into bleeding the clutch. Using the same approach - first, removing the old fluid from the master cylinder.
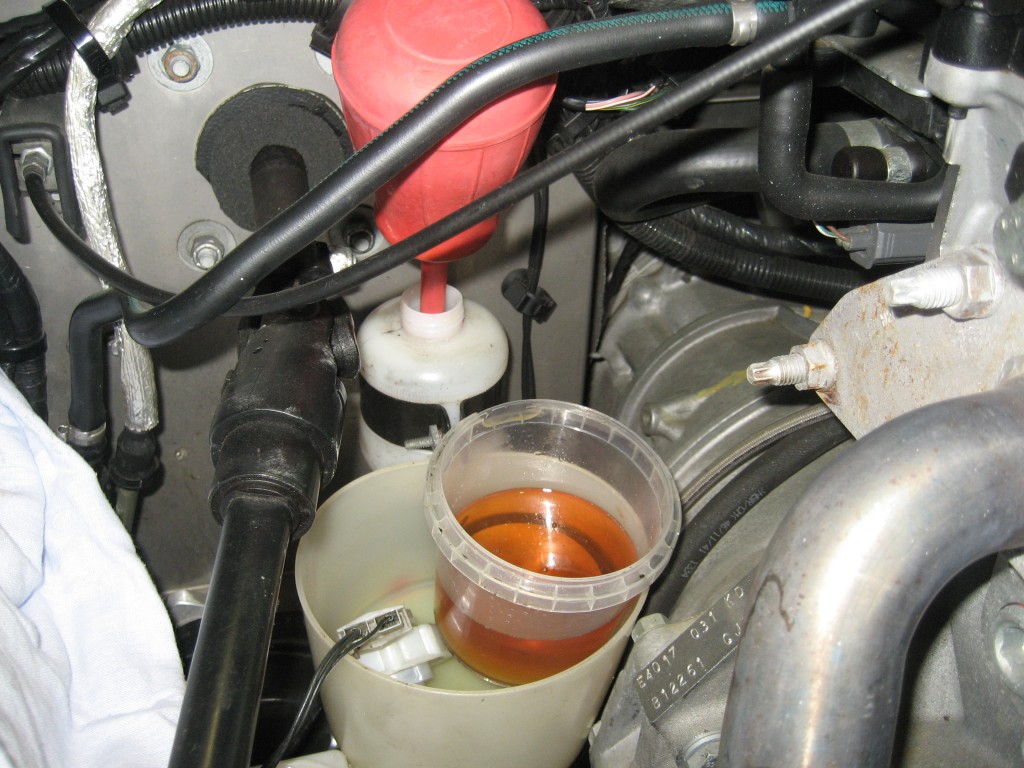


The clutch fluid came out in pretty good shape. The bleed nipple is 5/16"AF. Up to this point I had used 500ml of new fluid. The whole job took around 750ml.


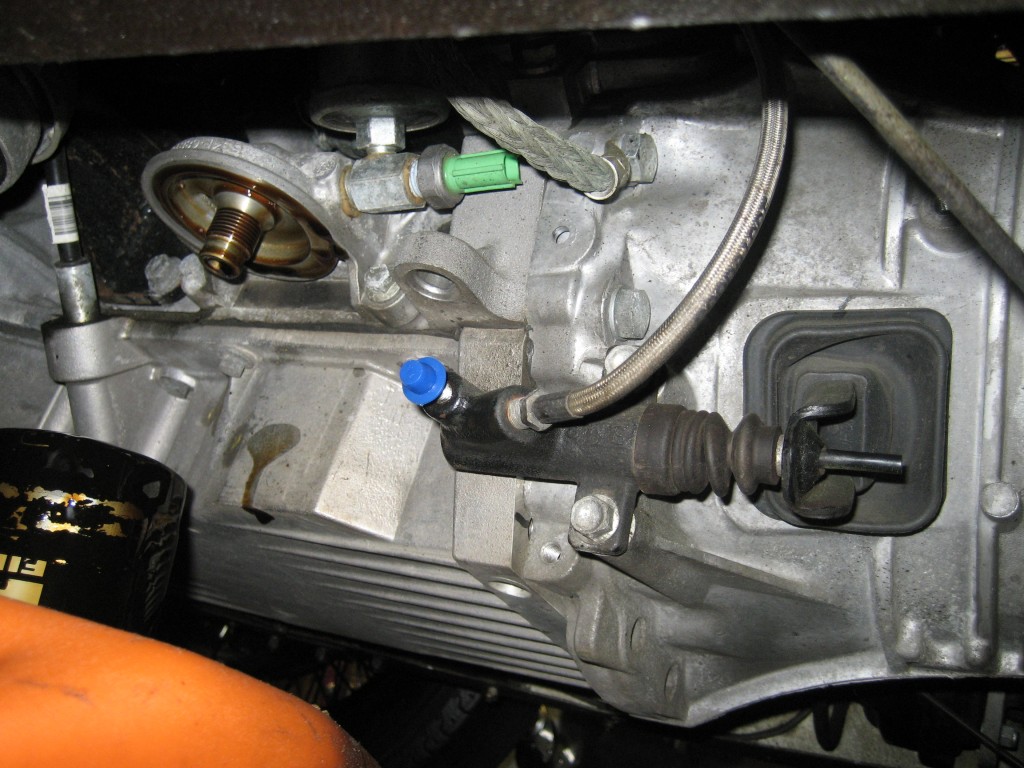
At this point is was convenient to remove and replace the oil filter, even though it was not on my list for today. It was tight and needed a chain wrench to start off.


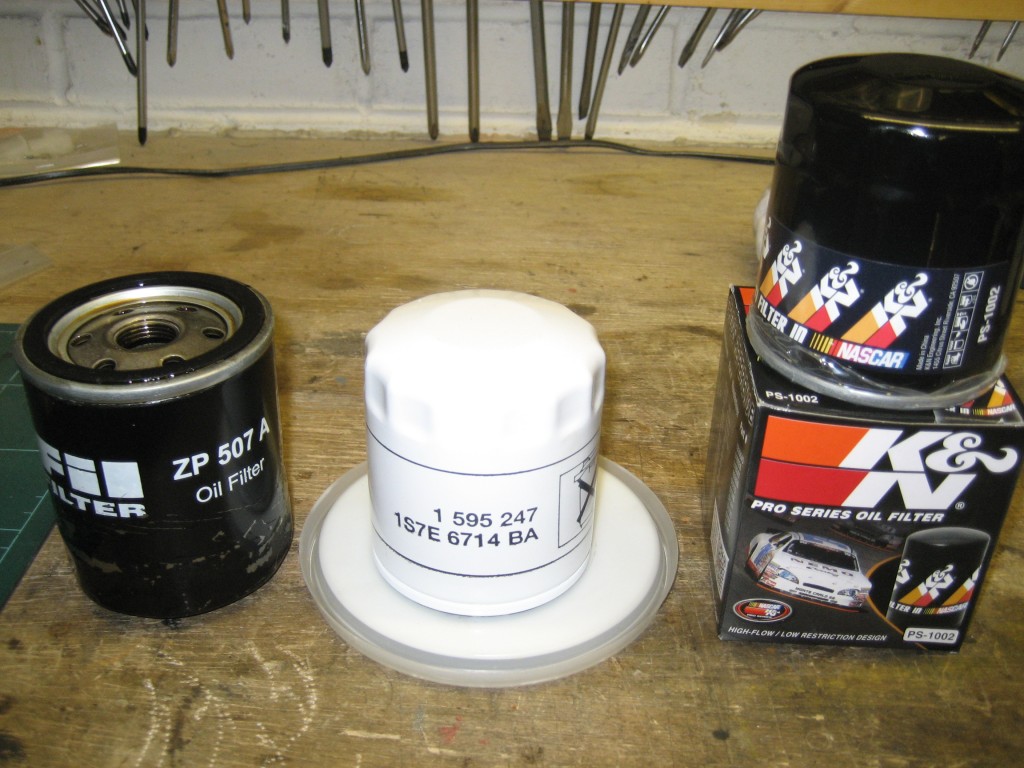
The filter on the car was a FIL ZP507A - not a brand I'm familiar with, and hard to track down on the internet for a cross reference. To cut a long story short I obtained a K&N PS1002, which I have fitted this time. But I also paid a visit to my local Ford Dealer to find out what the standard Ford filter is. It's always a lot of fun doing this, because the parts counter works on Reg numbers, but not when you have a Morgan, and the engine number is no use. They have also stopped using the EFL numbers which old blokes like me know about.
So here are all three, in a row for your information, and you can see the Ford part number.


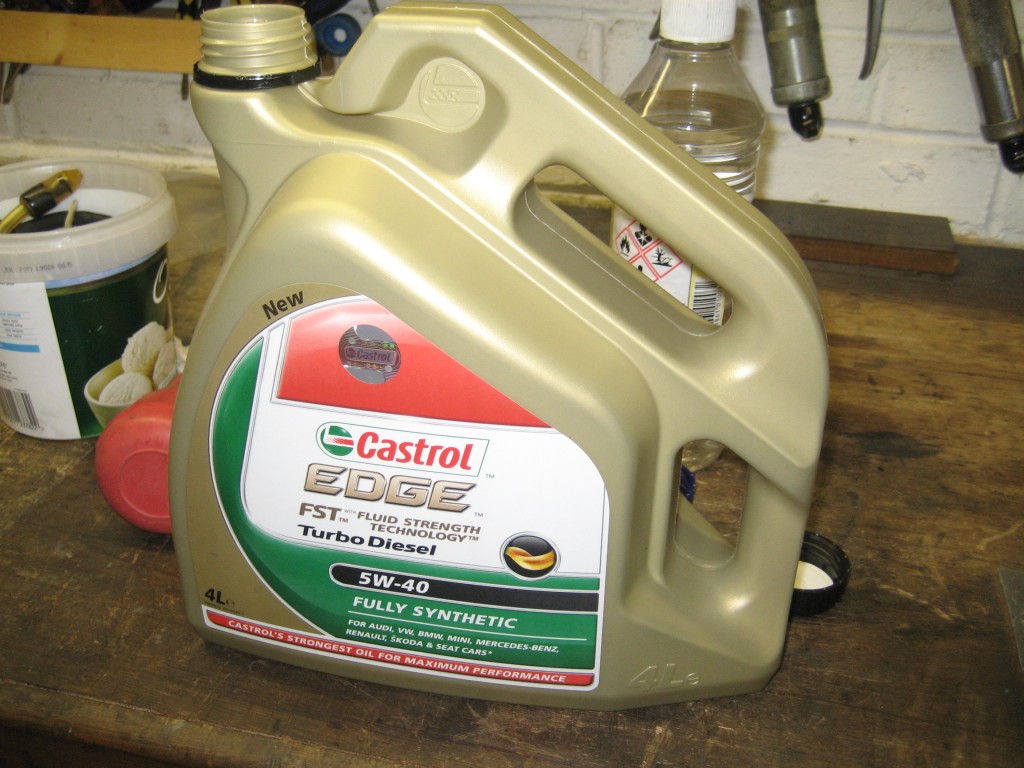
The handbook lists one option as synthetic 5W 40 and the oil cap suggests Castrol, so..........
I always fill the filter before refitting so as to minimise the delay in building oil pressure.


I didn't take a photo of the front brakes being bled, but this photo shows the location of one bleed nipple. There is another one on the inside edge of the caliper, and an external brake pipe links the two halves of the caliper along the bottom edge.
The caliper nipples are 7/16" AF
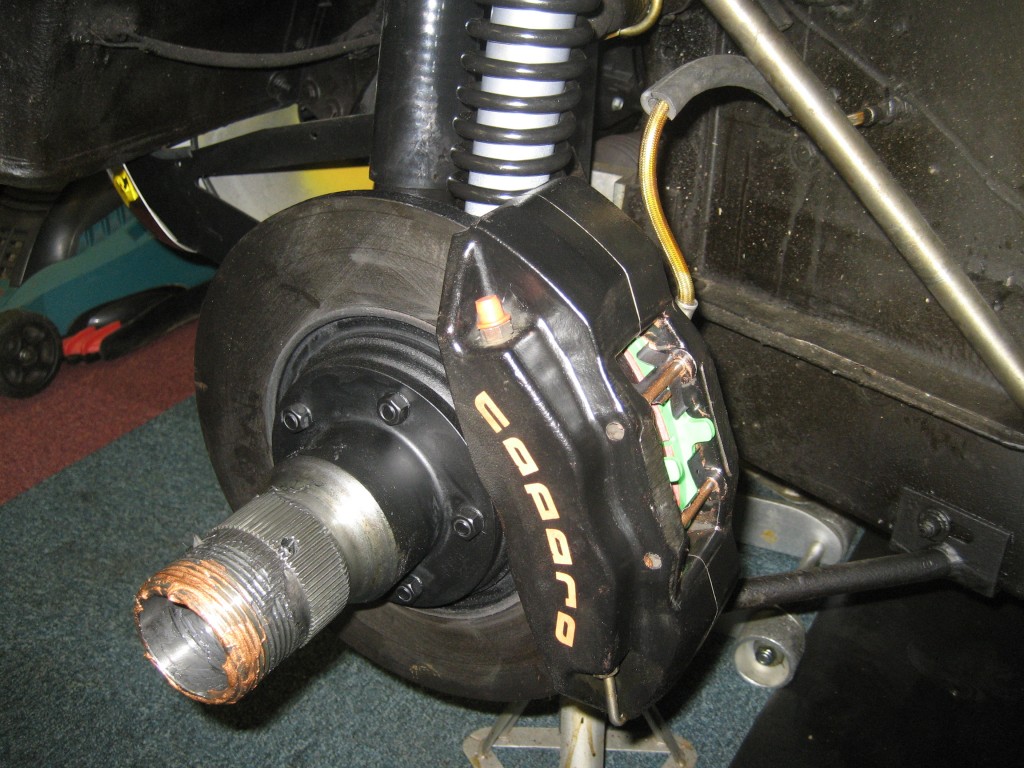


First I did the nearside, starting with the outer nipple, so as to purge the external brake pipe. The fluid was very clean in comparison to the rears. Fifteen strokes to the outer nipple and ten to the inner, with regular master cylinder top ups. And the same procedure on the offside, before refilling the master cylinder to level and refitting the cap.

Finally I decided to replace the engine oil today. The plug is 13mm.
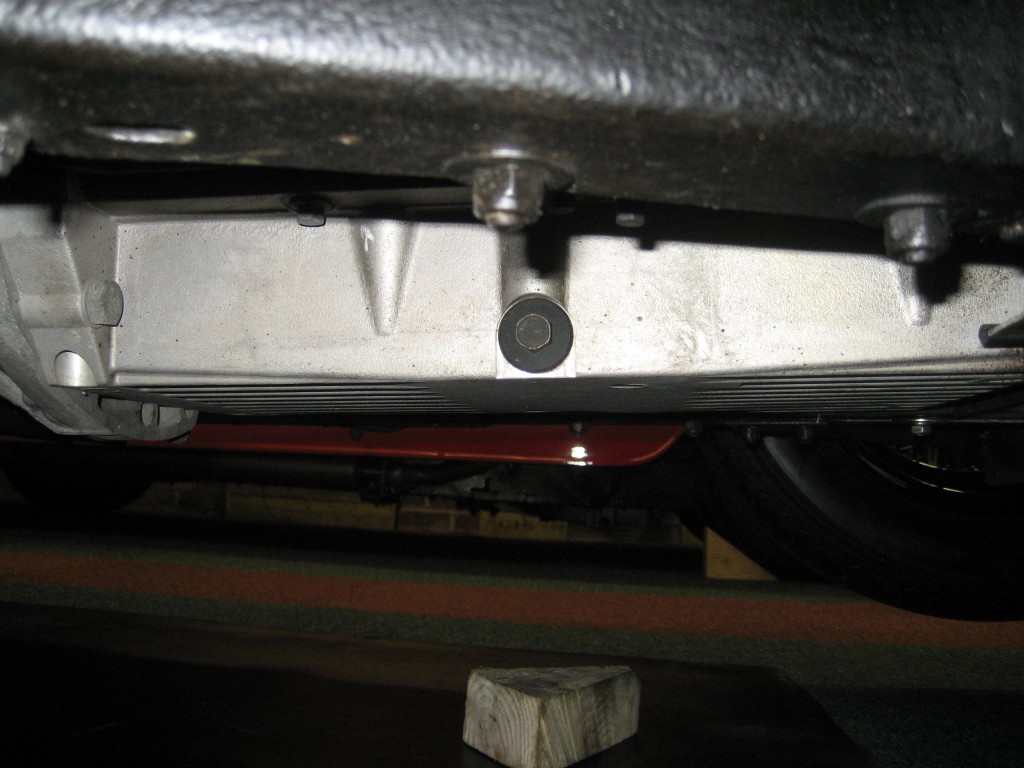


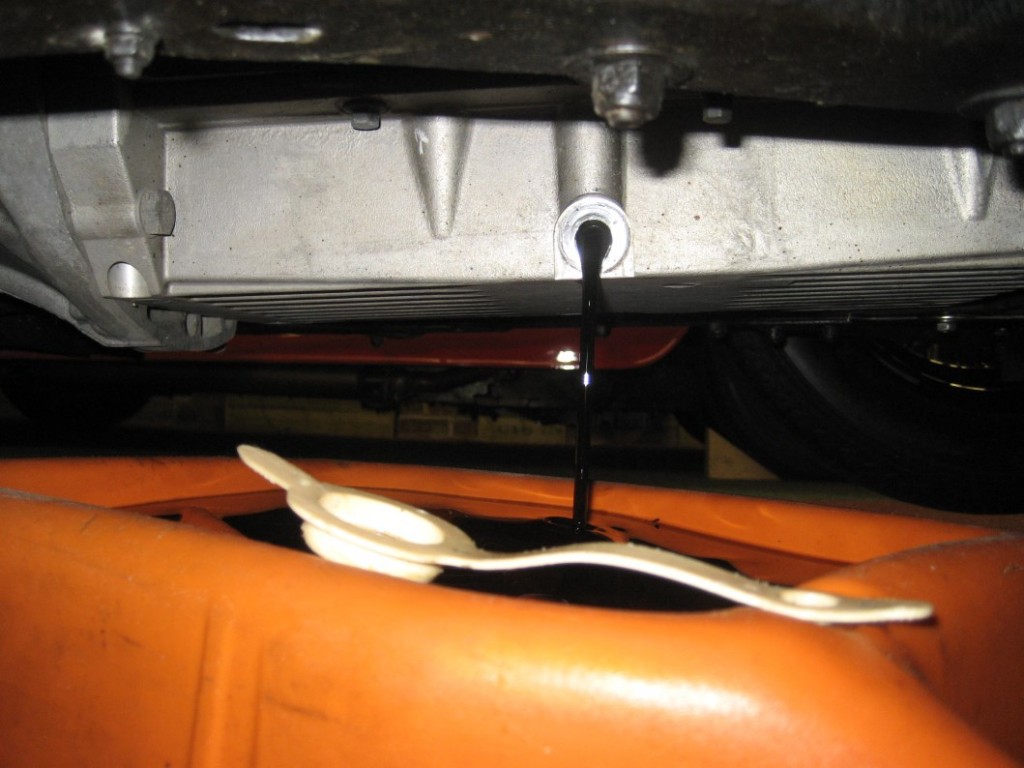
It came out black............................


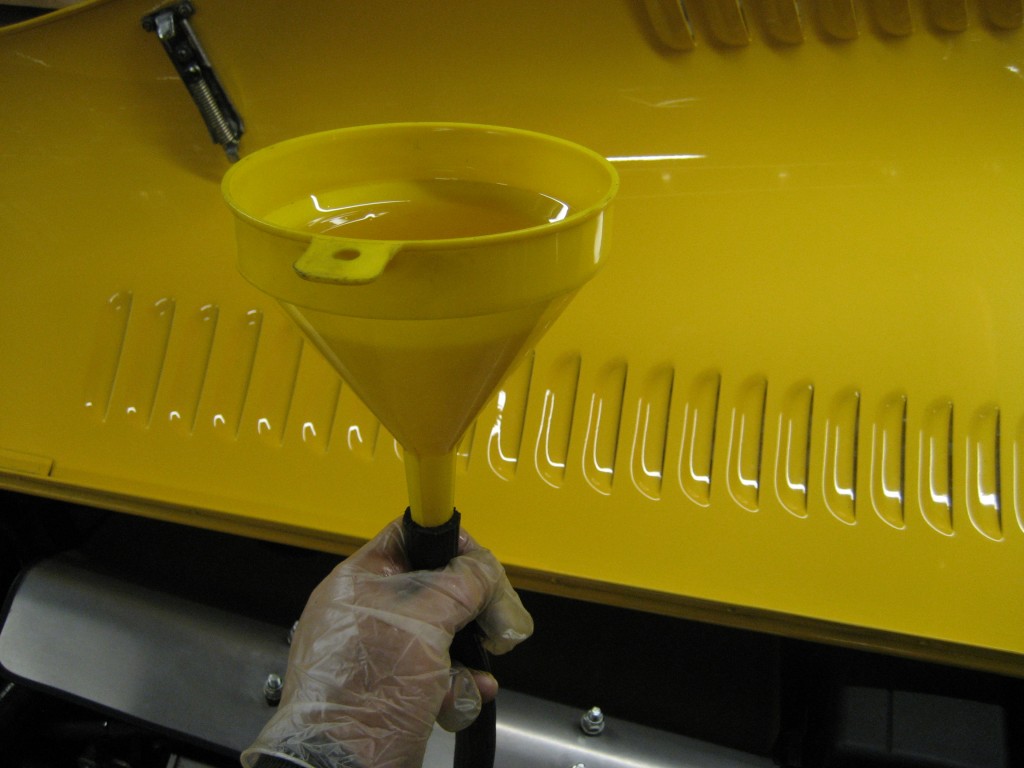
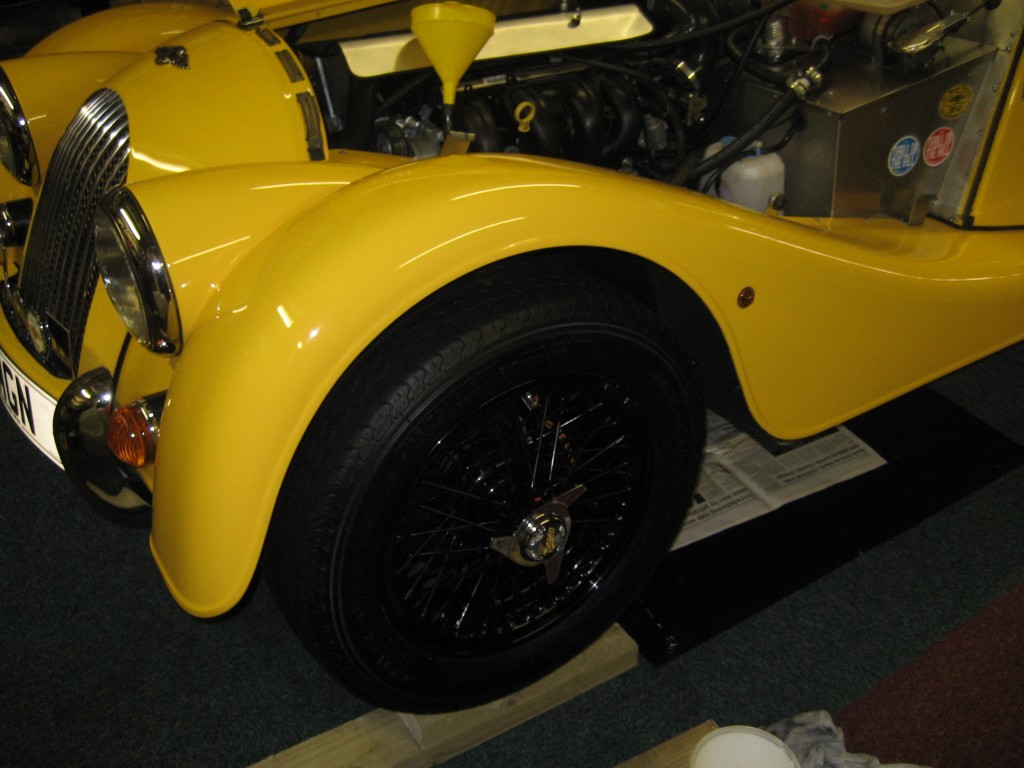
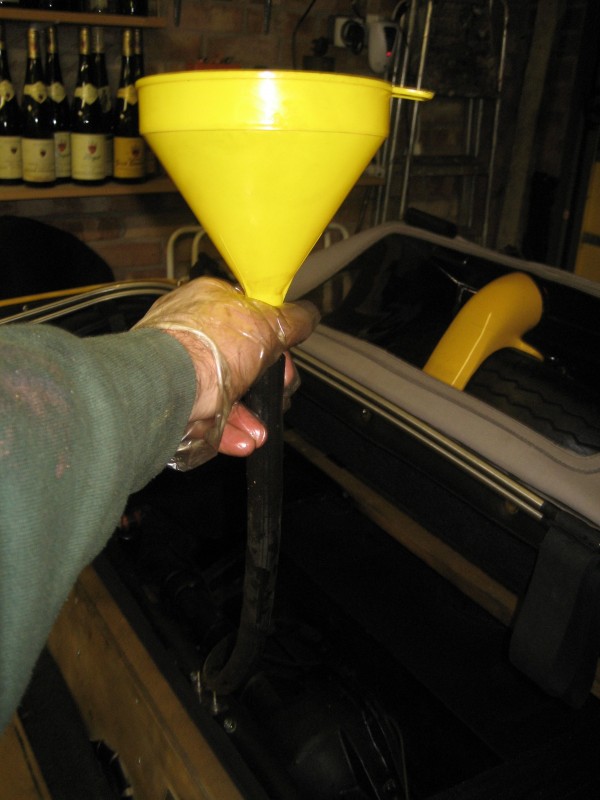
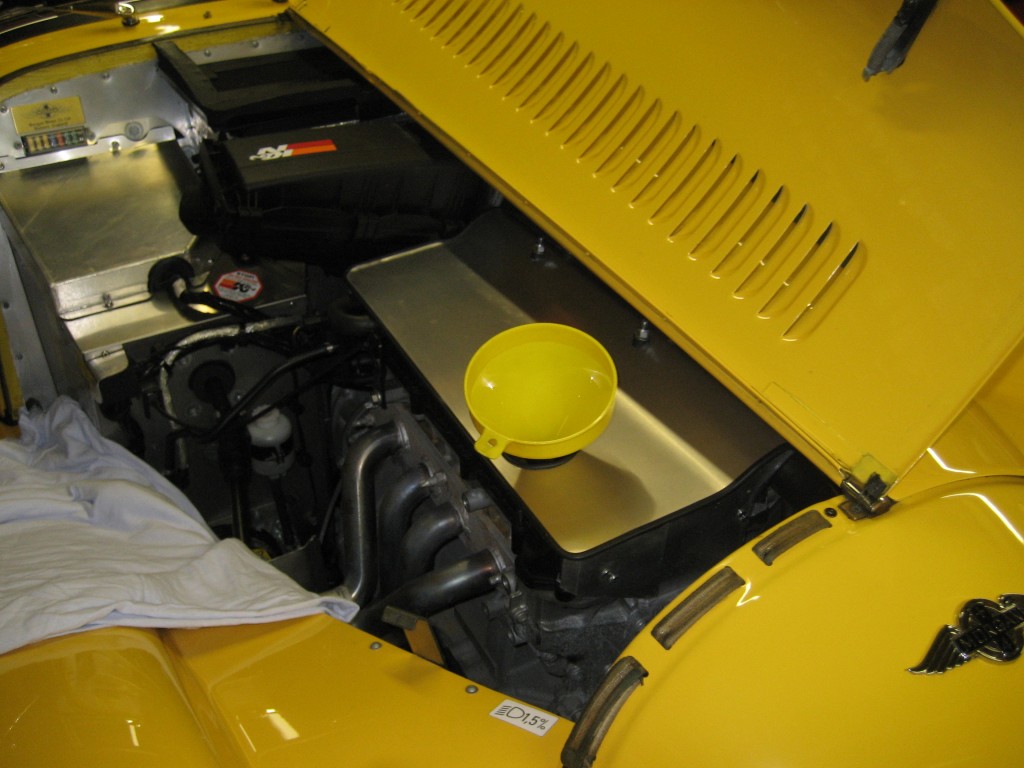
Finally, use a funnel to avoid spillage and recheck the level after running the engine up to temp. The yellow funnel is a coincidence, honest.


I keep myself entertained during these days in the garage with lashings of tea, an occasional square of dark chocolate, and state of the art (or is that ark) sound system, tuned in to Radio Hallam - a Sheffield commercial station.
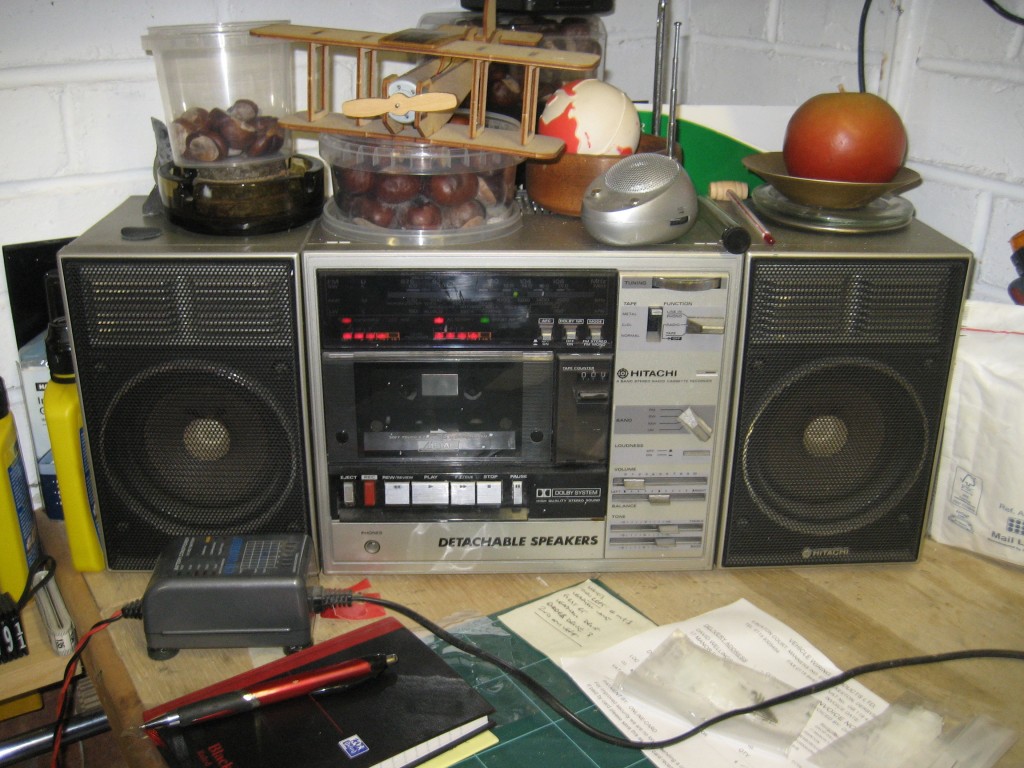


All that remains to do now is the gearbox and axle oils...........


DaveW
'05 Red Roadster S1
'16 Yellow (Not the only) Narrow AR GDI Plus 4
Joined: Dec 2008
Posts: 22,358
Likes: 353
DaveW Offline OP
Roadster Guru
Member of the Inner Circle
OP Offline
Roadster Guru
Member of the Inner Circle
Joined: Dec 2008
Posts: 22,358
Likes: 353
So today I set about the gearbox and axle............
Remember - always do the level plug first.

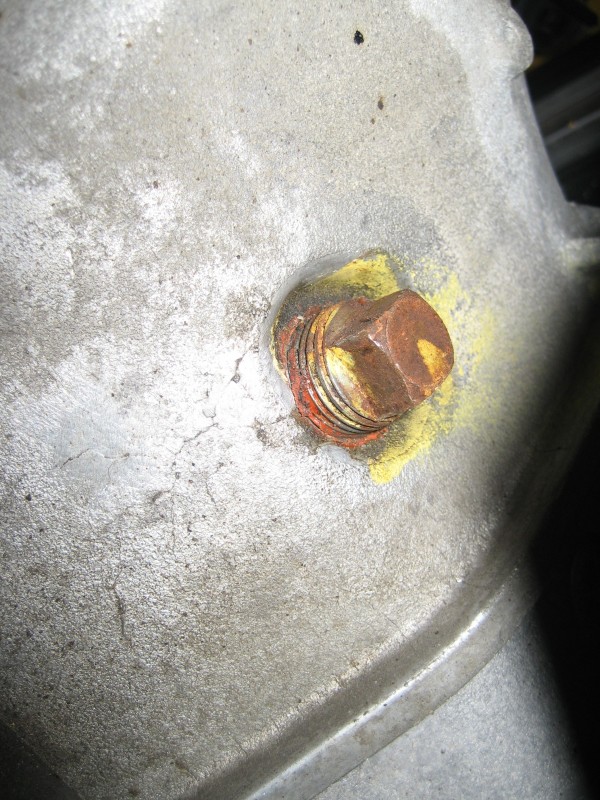
The gearbox level plug looks like something on an old BL car.
Or something FROM an old BL car


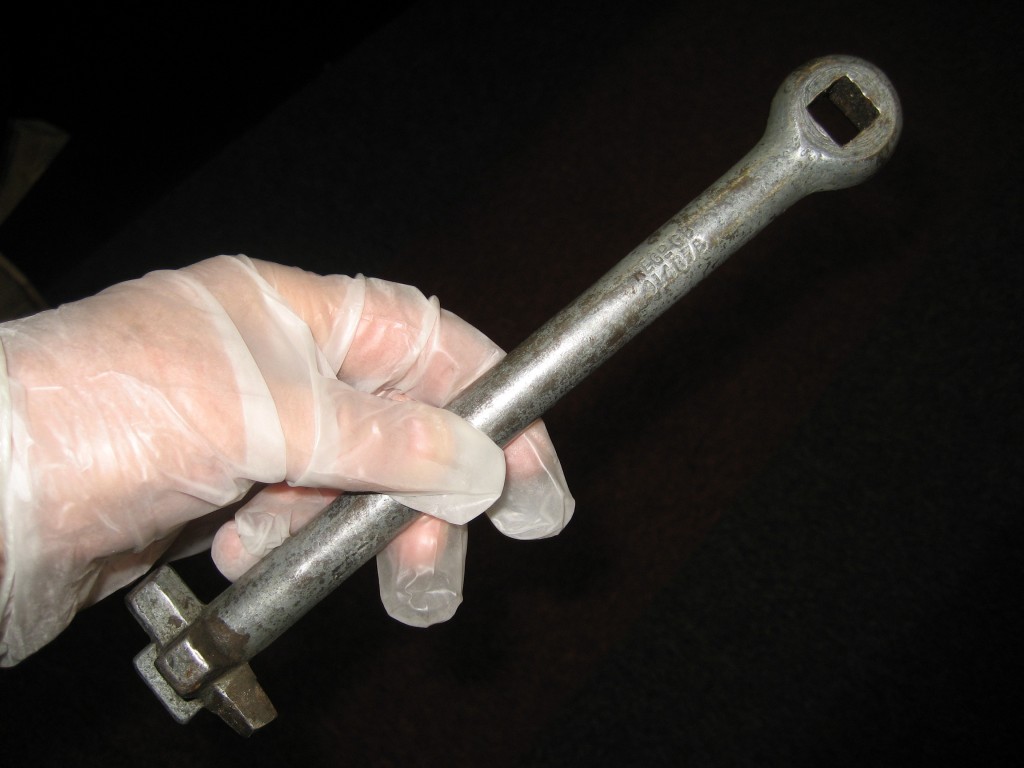
So In order to crack this off, I dug out my trusty, but ageing tool. Once loosened it will take a 14mm open ender.


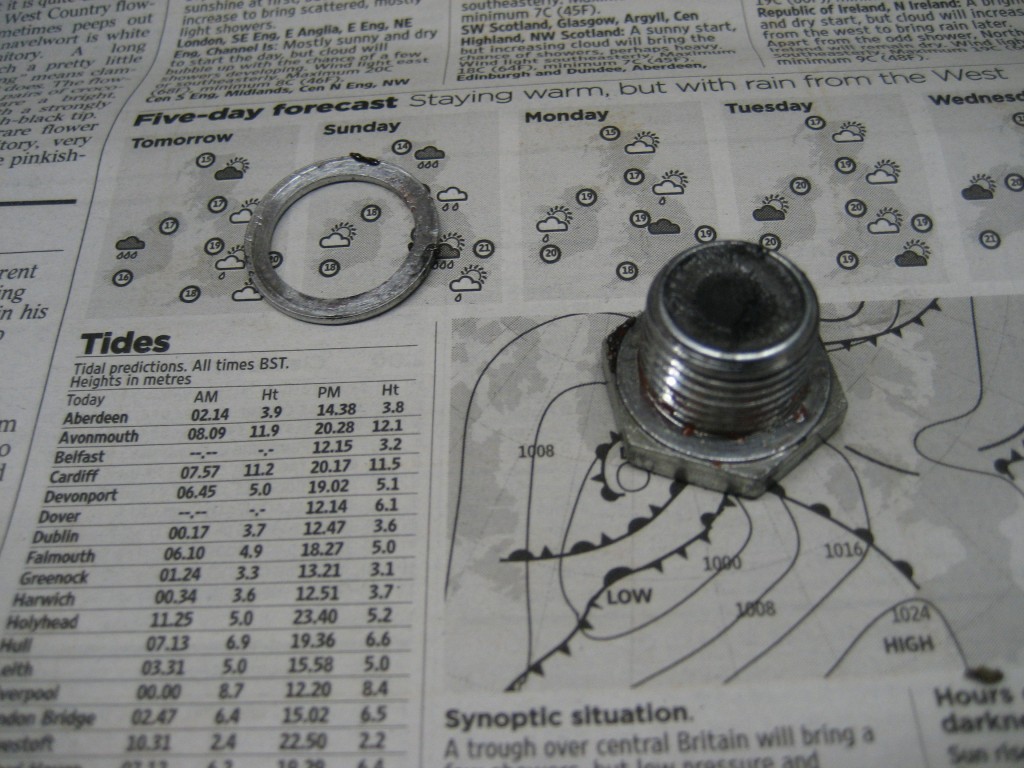
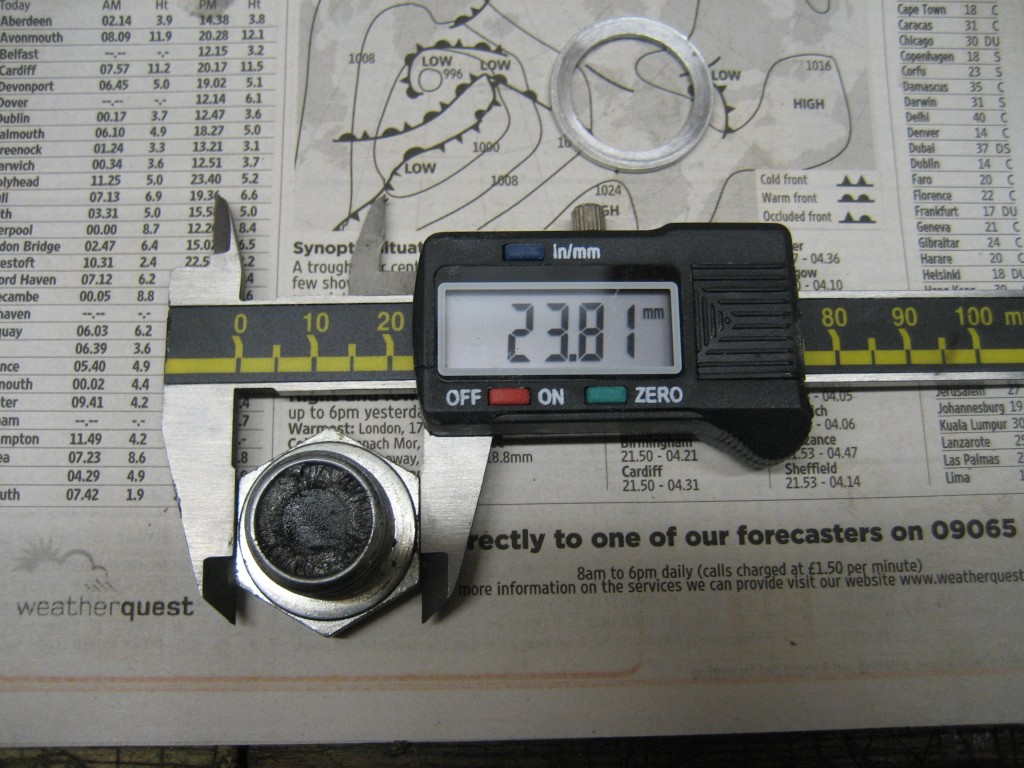
The drain plug is very different. 15/16"AF of all things. Both were skimmed with what looked like red Hermatite.


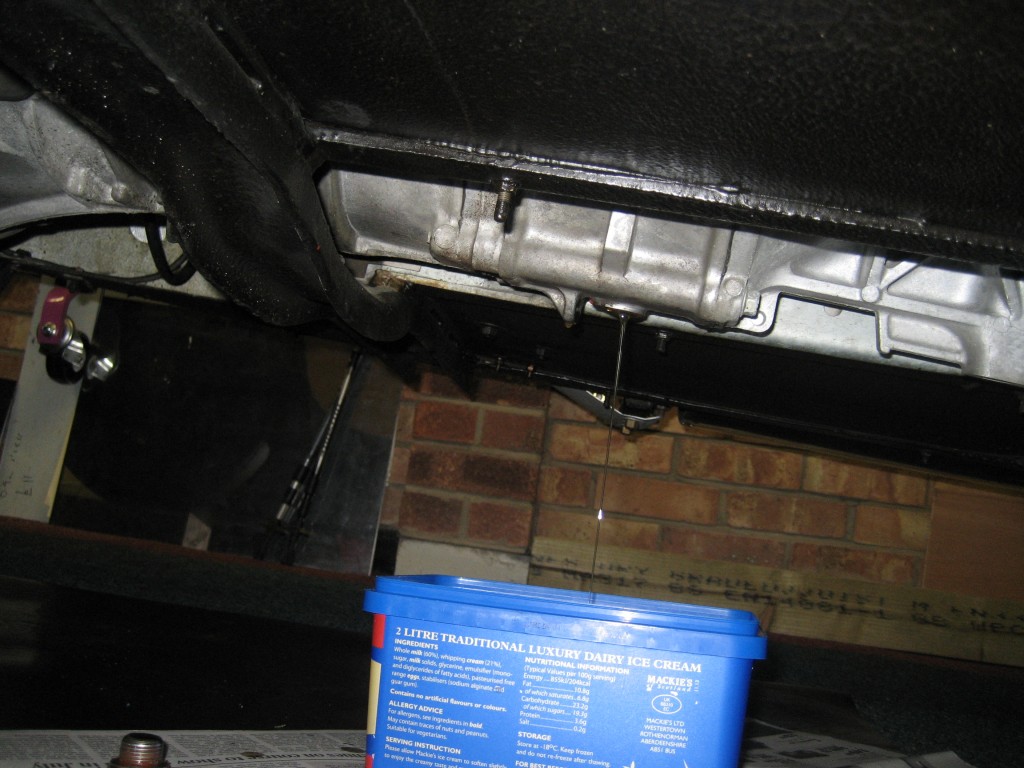
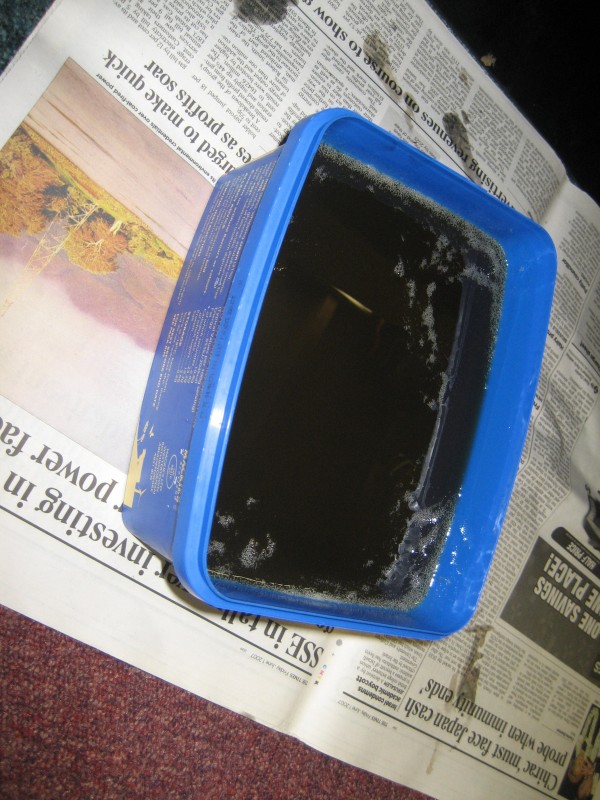
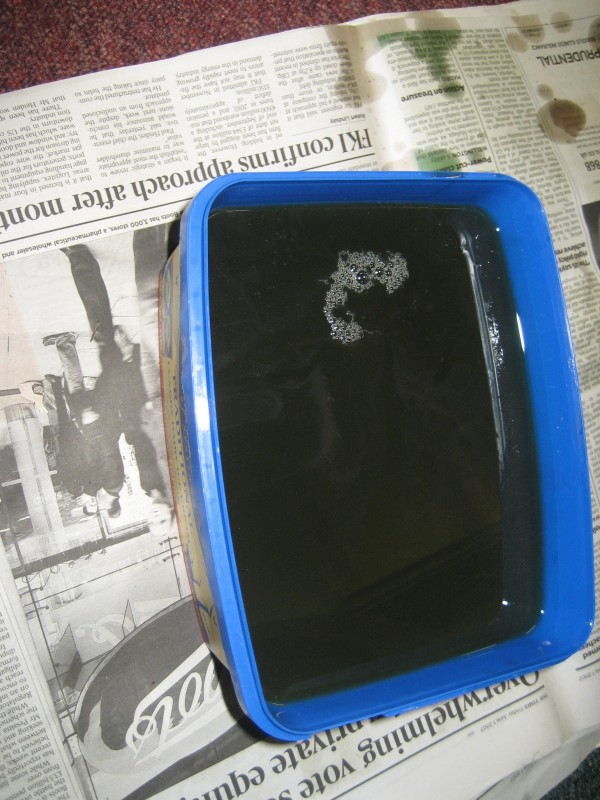
Although the handbook states - filled for life, I don't really subscribe to this approach. A 2 litre ice cream tub is ideal for the 1.7L capacity, and can be disposed of at the end.


Here's the drain plug after being cleaned.


And here's the strange size - not metric.


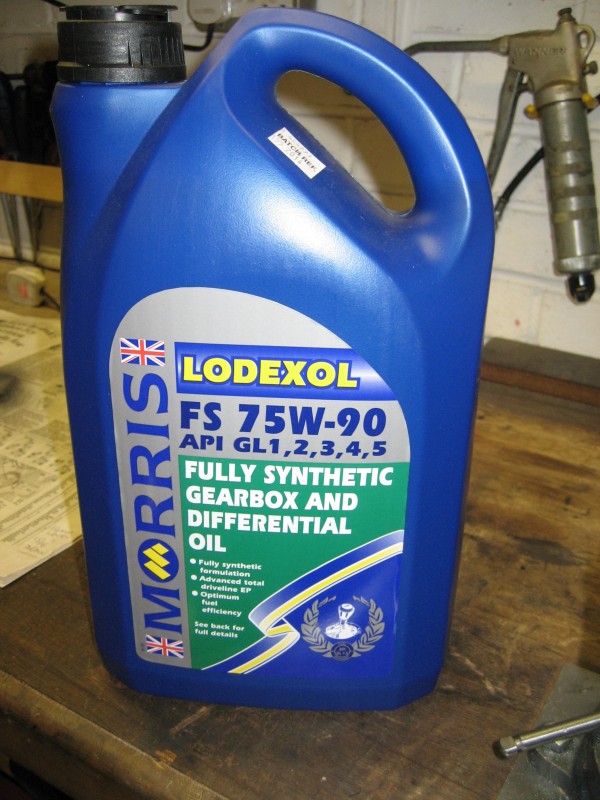
The recommended grade of gearbox oil.


This is what came out - not as black as it looks.


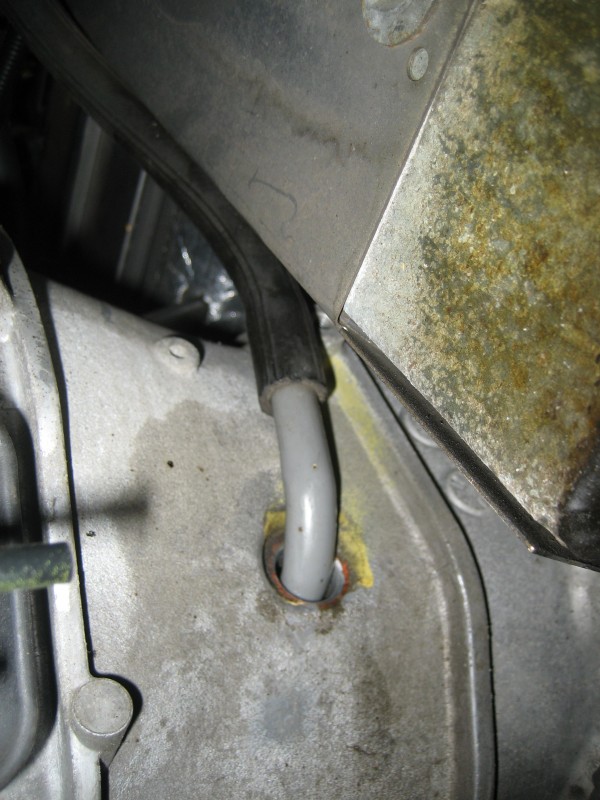
This is my home made filler spout in place.


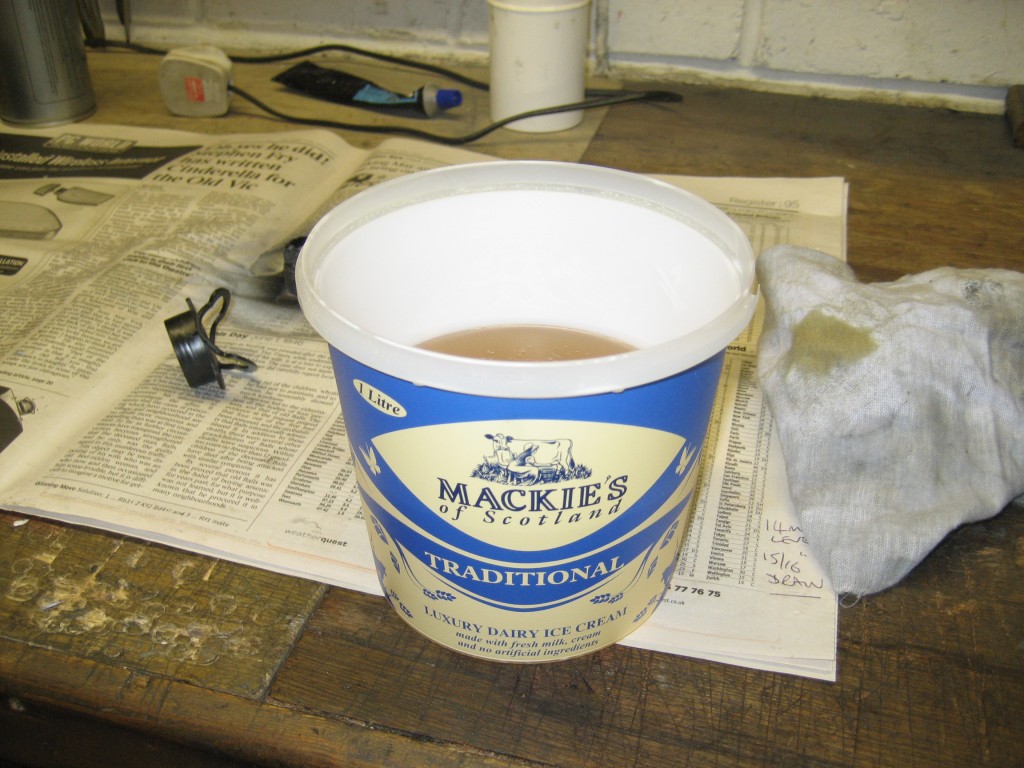
I use a 1 Litre ice cream tub for filling - in 500mil sessions so I can estimate quite well when the gearbox will be full.


Because the gearbox is angled over to the nearside at about 15 degrees, I lifted that side of the car when filling to get the right level.


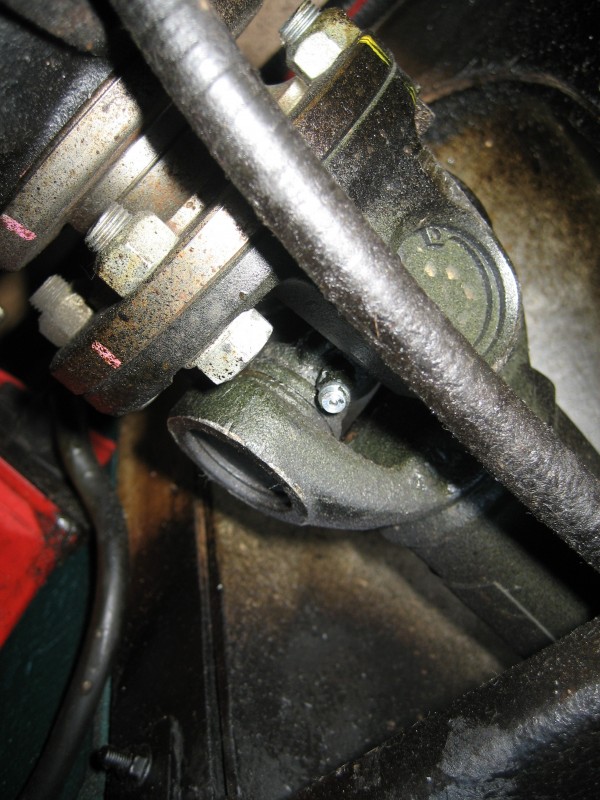
Don't forget the propshaft UJ's. If you recall I enlarged the slot between floorboards earlier in the year to gain access to the front UJ. They don't need much grease, and not very often either.


More to follow..........

DaveW
'05 Red Roadster S1
'16 Yellow (Not the only) Narrow AR GDI Plus 4
Joined: Dec 2008
Posts: 22,358
Likes: 353
DaveW Offline OP
Roadster Guru
Member of the Inner Circle
OP Offline
Roadster Guru
Member of the Inner Circle
Joined: Dec 2008
Posts: 22,358
Likes: 353
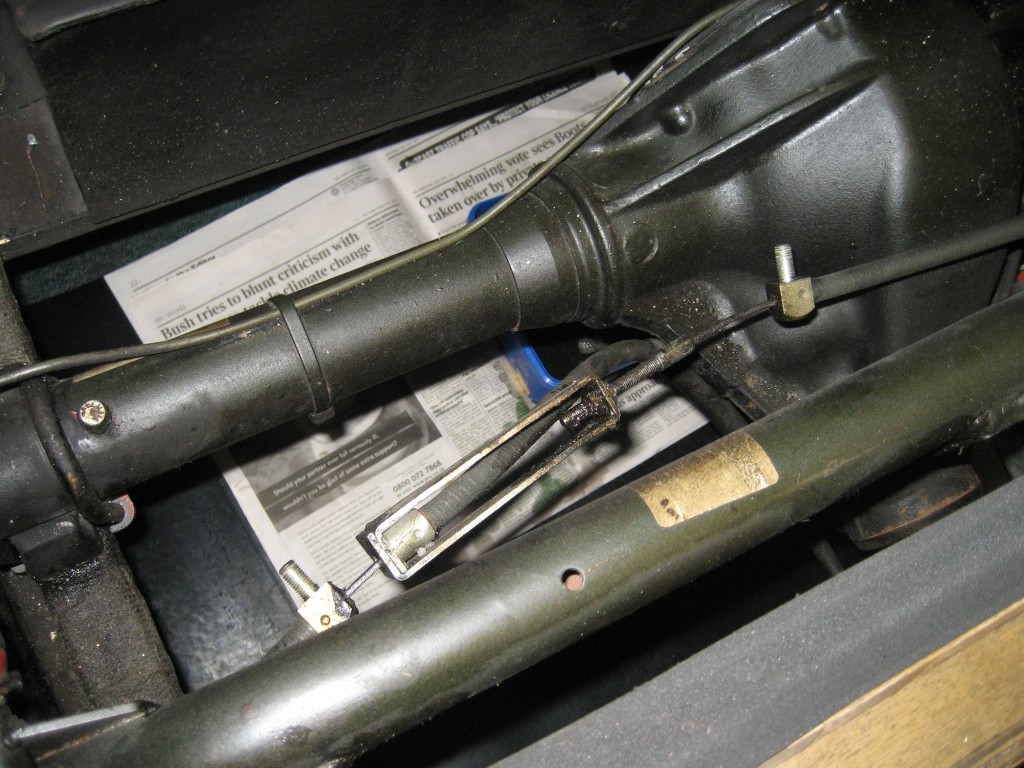
Next the axle, but first the handbrake. After reading this month's Miscellany, where there is a feature on a broken handbrake cable - I checked to see if my outer sheath had cracked, and on the offside it has. With rusty stains evident.So it's only a matter of time before the cable either sticks or breaks on that side. So I removed the two fixings.......


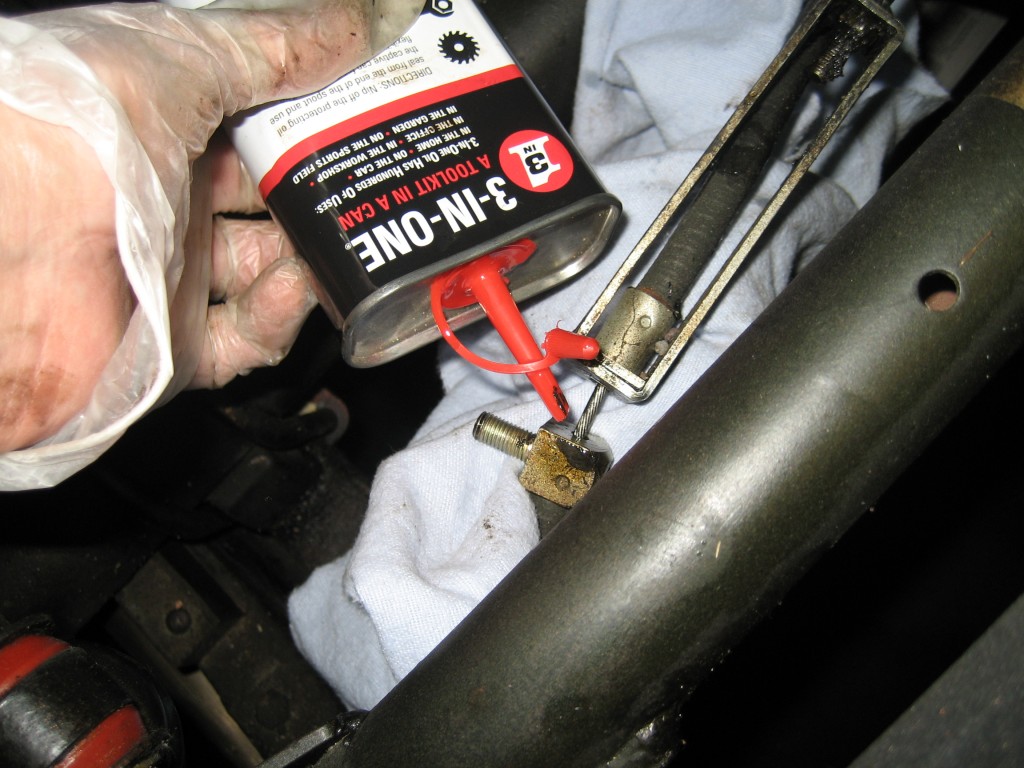
And this allows 3 in 1 oil to be dribbled down the inner cables. It won't do much good but might help a bit!


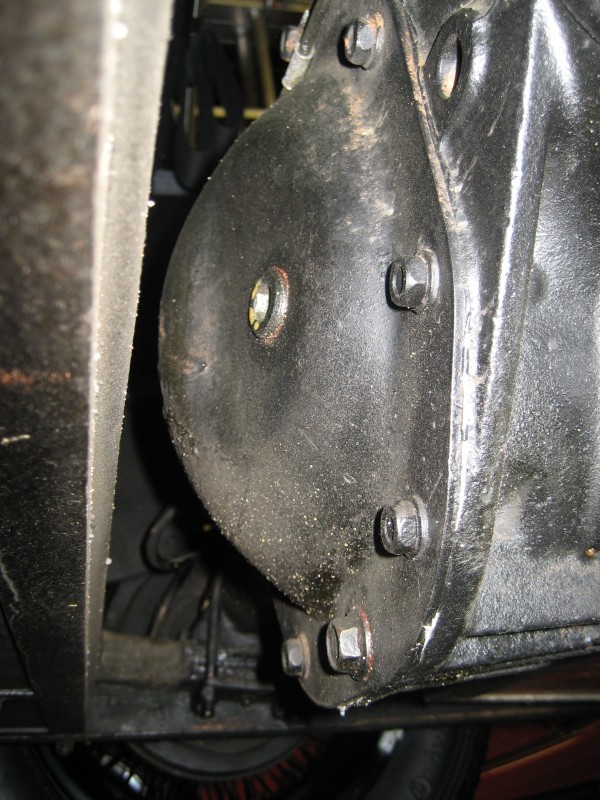
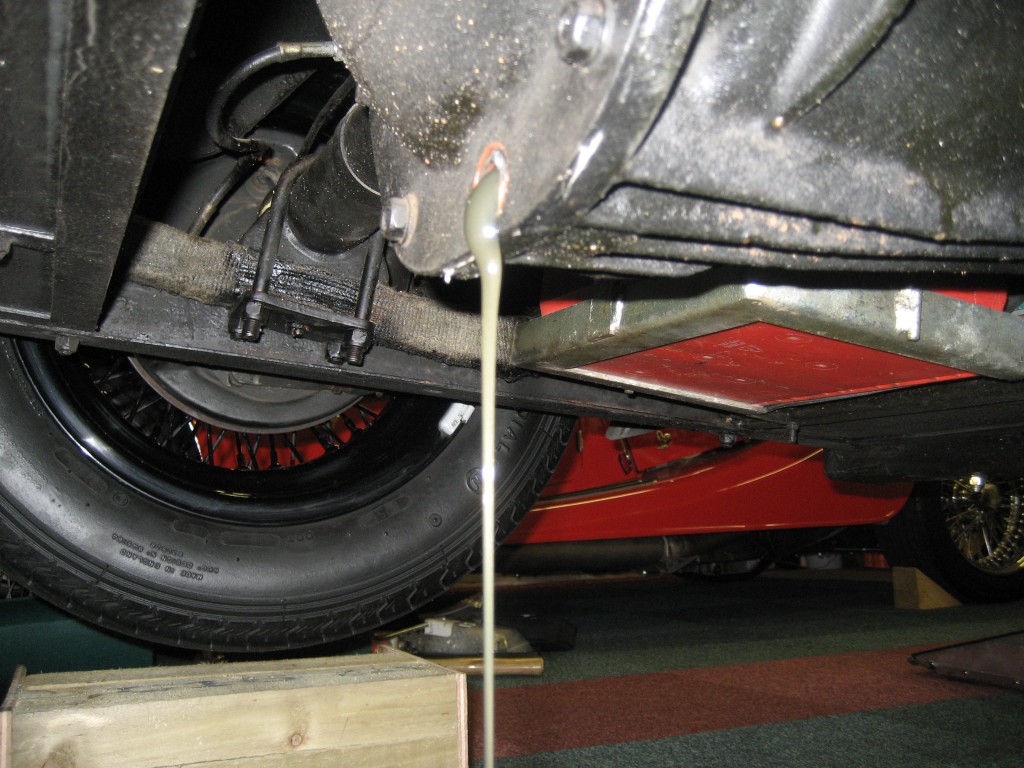
The axle level plug isn't like the S1 Roadster, which is a large bolt head, it's a 10mm Allen Key and access is very very tight up against the tank. The drain plug is the bottom bolt and is 15mm (or 19/32"AF).


The oil looks a funny colour here but it wasn't green or grey.


It wasn't as black as it looks here either!


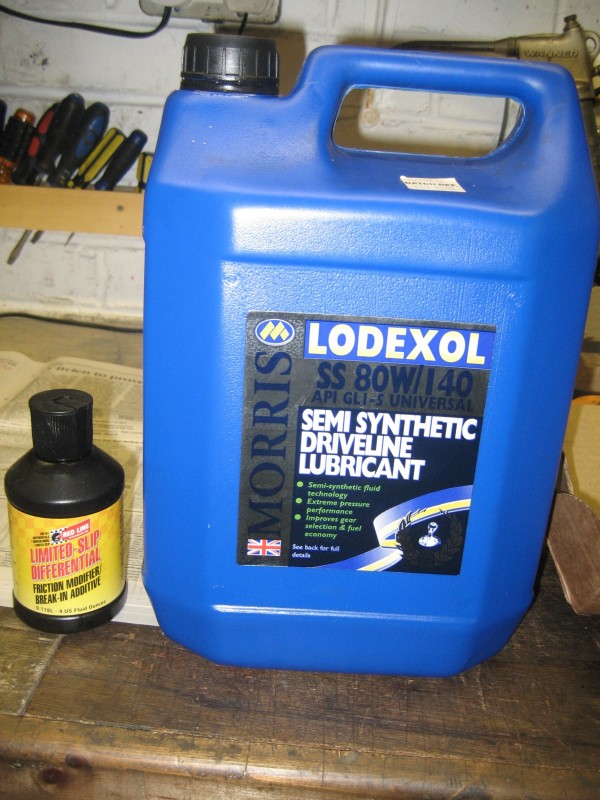
I had some semi-synthetic gear oil left over from my first Roadster oil change, so I've used this with a slosh of friction modifier. The Roadster handbook was not exactly accurate, and since then I've used fully synthetic (after checking things out). This will do the job.


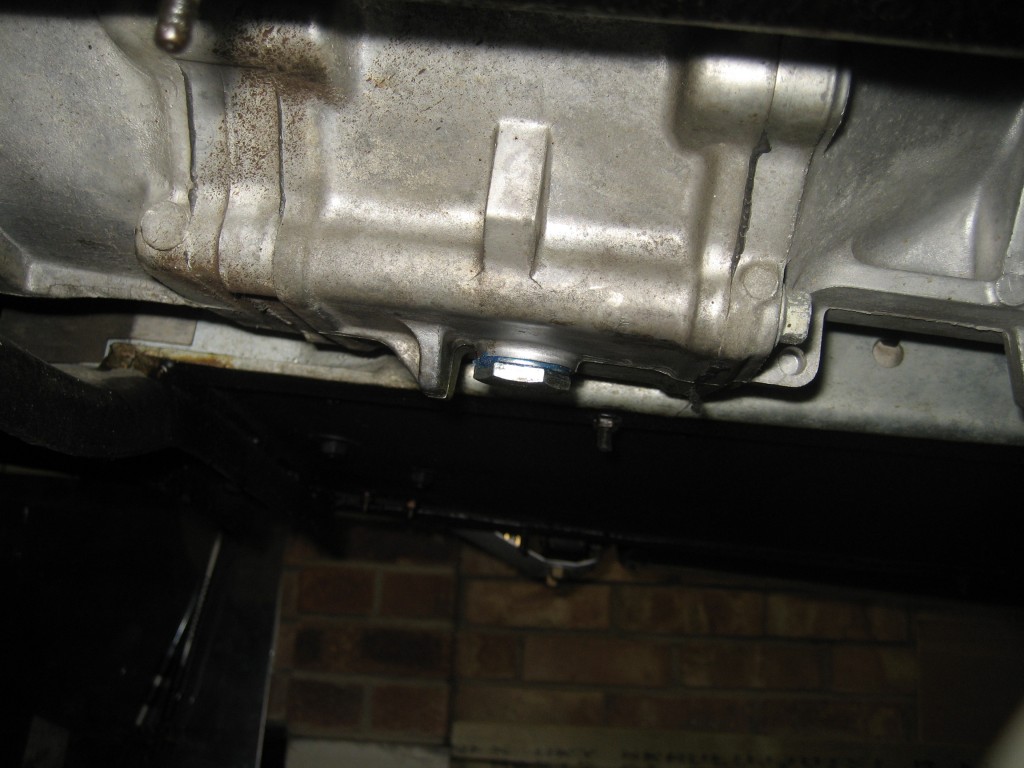
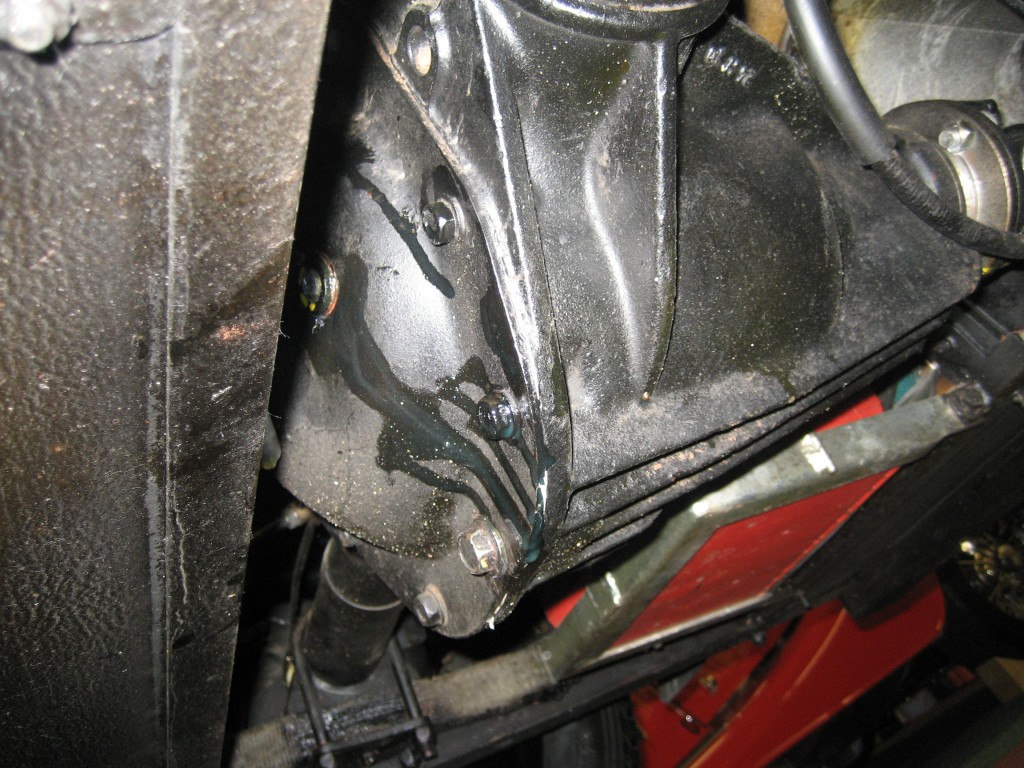
The usual tried & tested fill method - the rear has to be lowered to get the right level, before replacing the level plug. Again, both plugs were smeared with red Hermatite. I'm not fan of sealers on transmissions, but decided to use blue non setting sealer (was called Hylomar - but not sure if that name is still around).


All done, but ready for a thorough wipe down. It's a very messy job, and consumes vast amounts of rubber gloves and rags, and containers. But well worth doing. thumbs


The final job is to replace the tool tray and then give the inside a thorough clean - lots of oily fingermarks.......


DaveW
'05 Red Roadster S1
'16 Yellow (Not the only) Narrow AR GDI Plus 4
Page 5 of 5 1 2 3 4 5

Moderated by  TalkMorgan 

Link Copied to Clipboard
Powered by UBB.threads™ PHP Forum Software 7.7.5