Update 39 - old wings off and new wings onWhilst Woodstock had a complete set of wings they were now some years old and the patina of racing was clearly visible. The odd bit of crazing of the gel-coat here and there along with flaring of the original aluminium wings.
So to freshen everything up I had a full set of fibreglass wings from Sid Watson, this time ordered in yellow. (and a very loud yellow it was).
First up was stripping off the rear wings and getting those trimmed and fitted - these form part of the rear datum line for the fitment of the fronts. Additionally they can be checked for coverage of the rear wheels (given we run wider rubber than the high profile originals).
Ot also allows us to take a look the condition of the woodwork between the wing and the tub woodwork.... not too bad at all.
We also stripped off the front wings whilst we were at it.
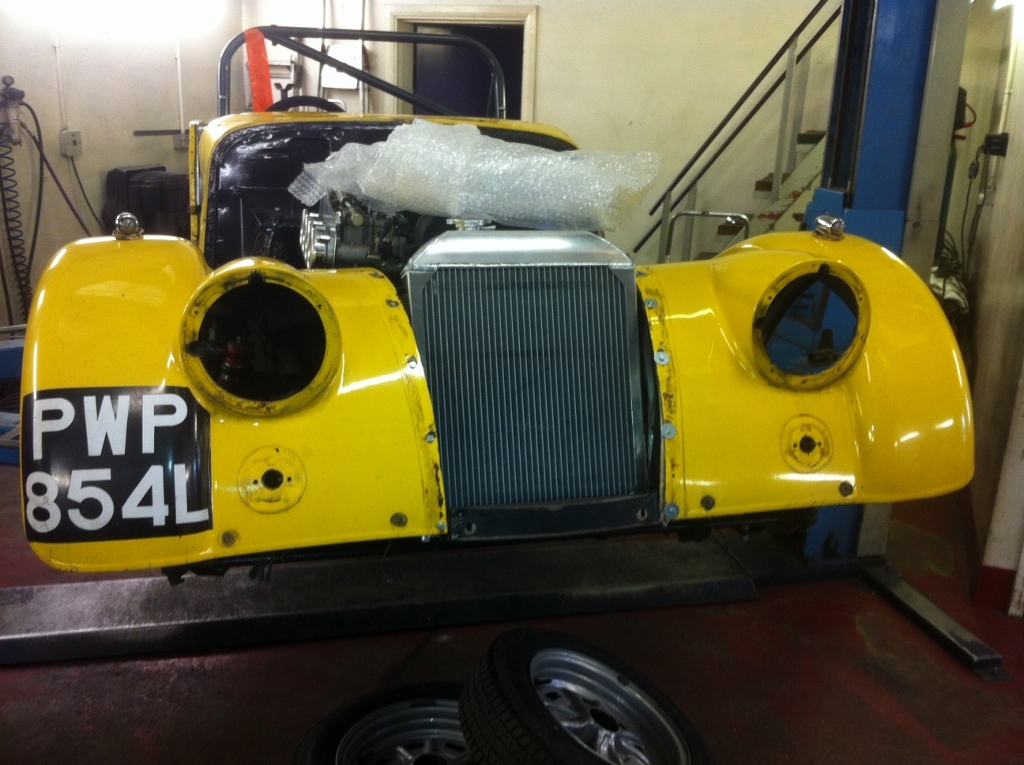
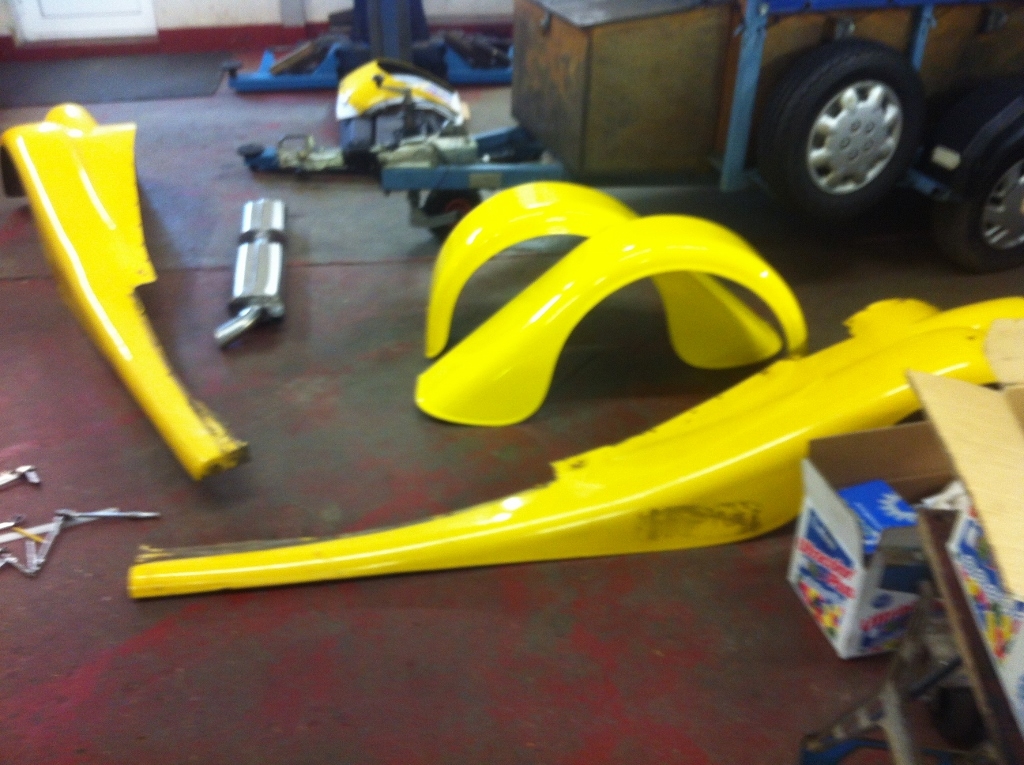
[img[http://www.talkmorgan.com/gallery/26/full/22880.jpg[/img]
this brings us back to the main tub, chassis and inner bay panels at the front. A couple of the old front wings and the new rear blanks laying around.
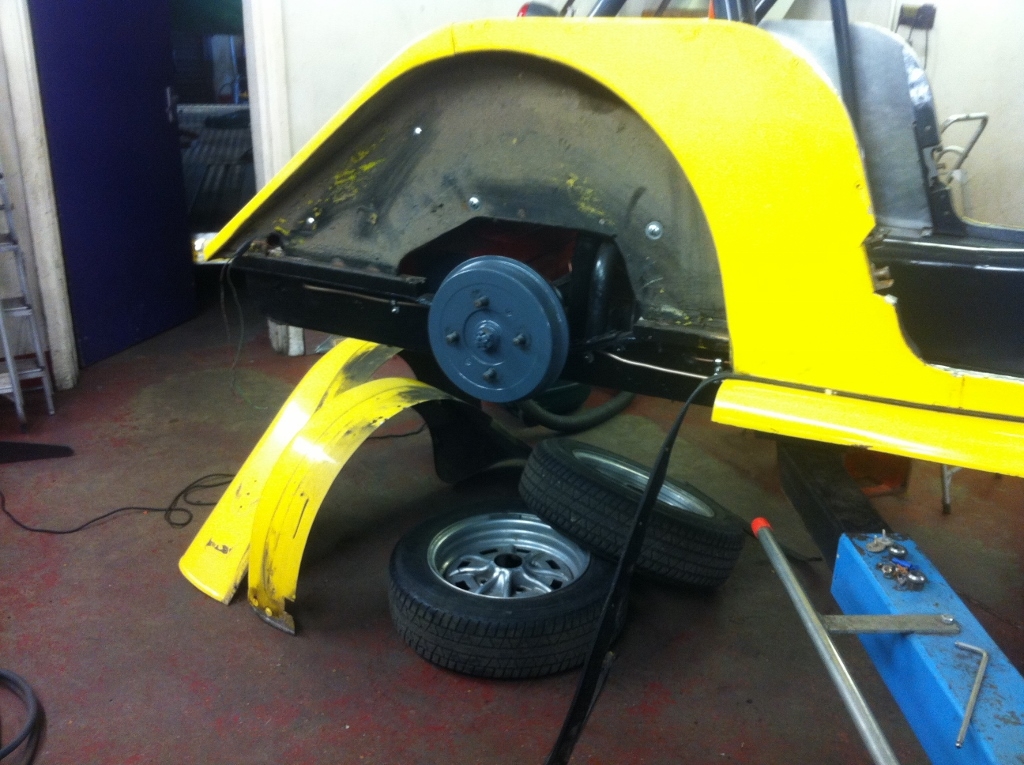
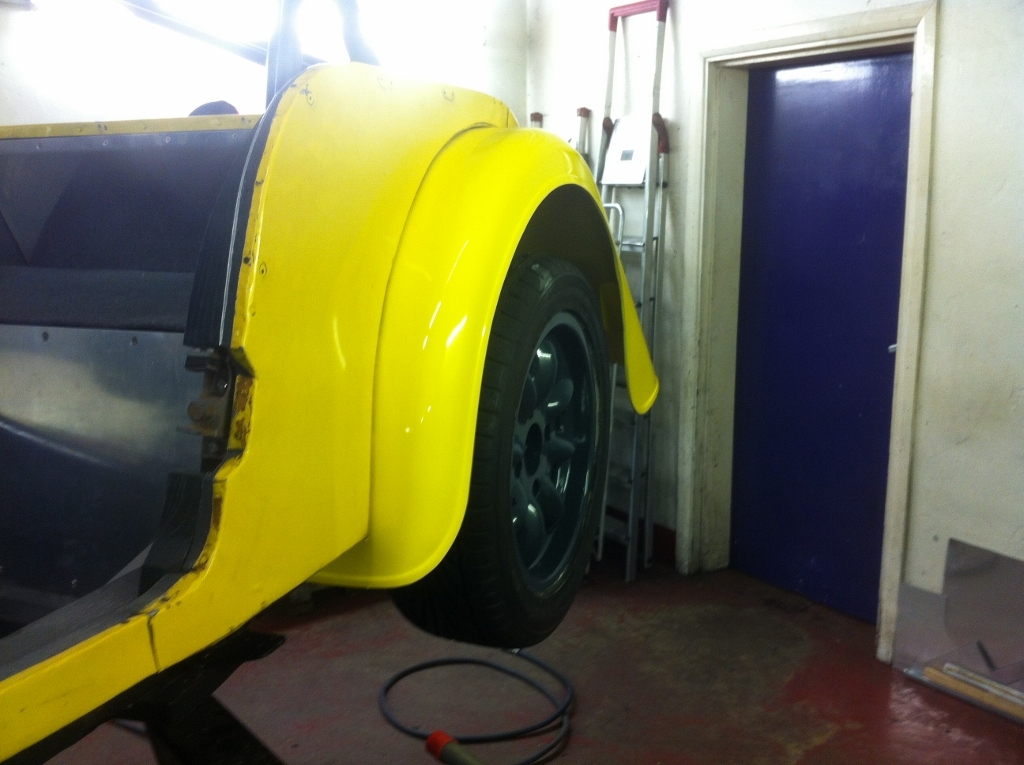
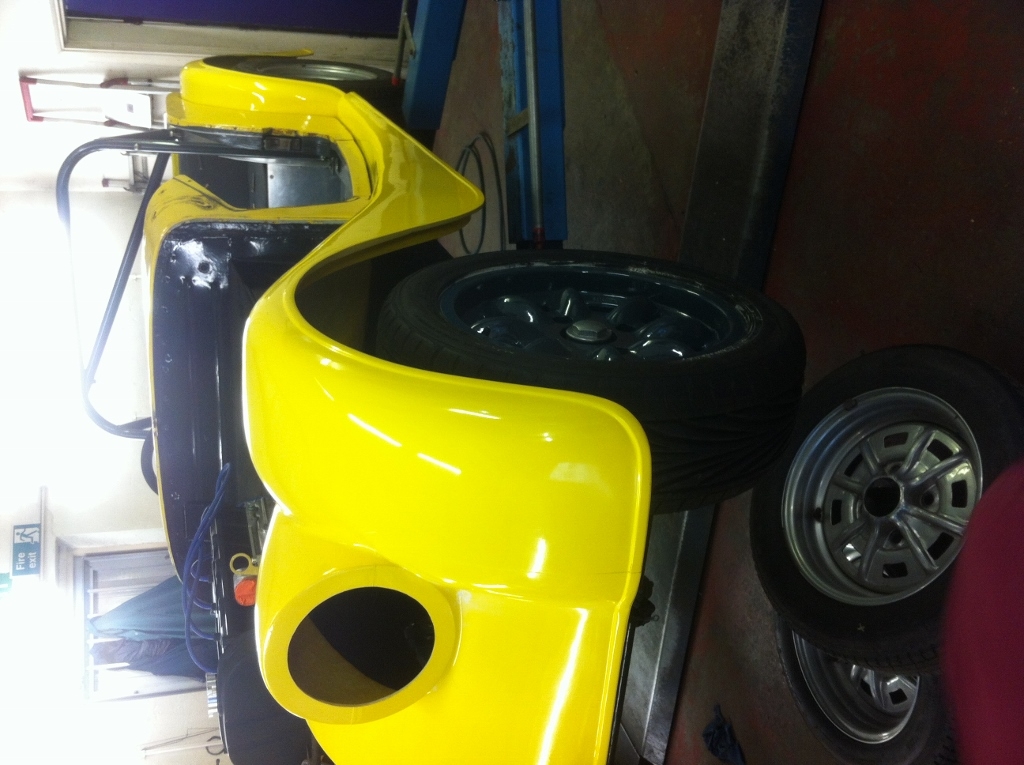
For the fitment of the rear wings we only trim off about an inch from the "blank". This allows maximum overlap with the tub section protecting it from road detritus that gets thrown up whilst on the move. It gives an overall width similar to the CVH model or an early +8. It covers the wheels nicely.
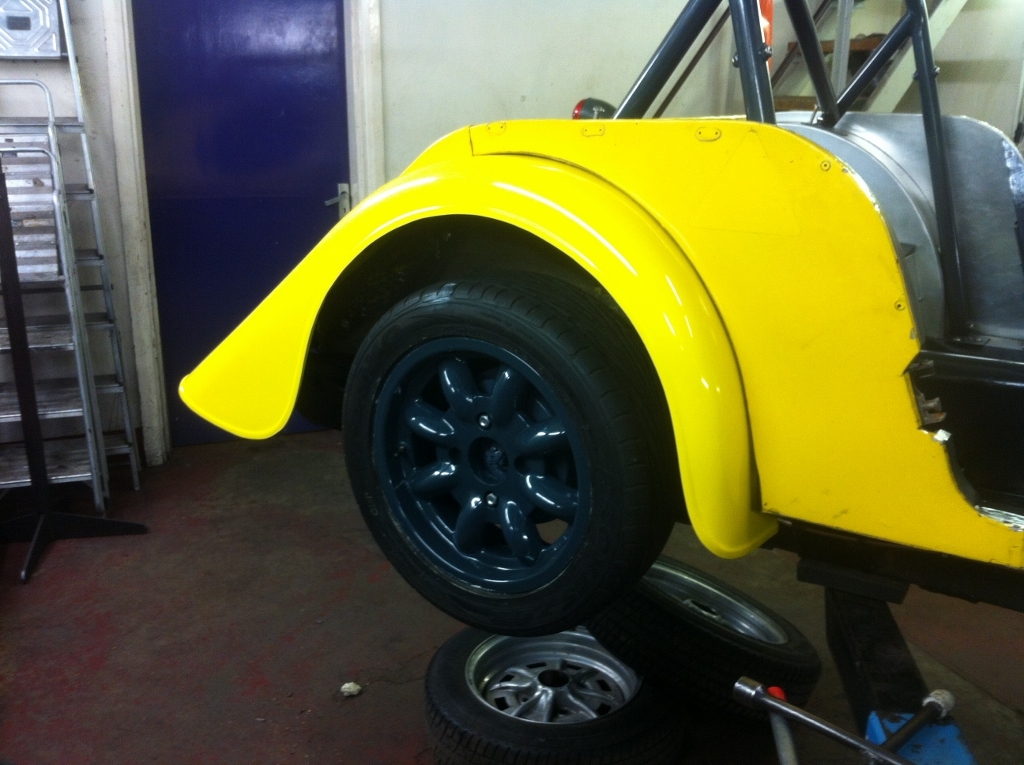
You can also see from this picture the lower part of the tub in front of the rear wing on the O/S does not follow a nice line with the wing - I'm not sure if this is a quirk of the original build or something that has happened later (the cause looks like it's a quirk of the original build). We'll be sorting this and other tub metal characteristics out later.
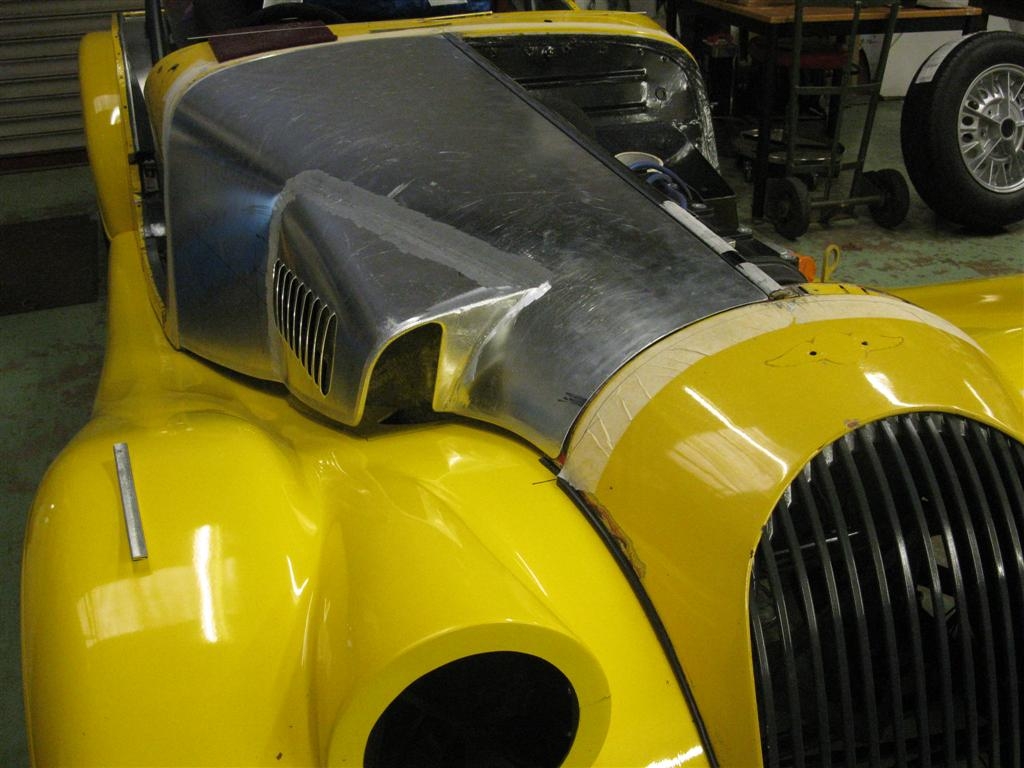
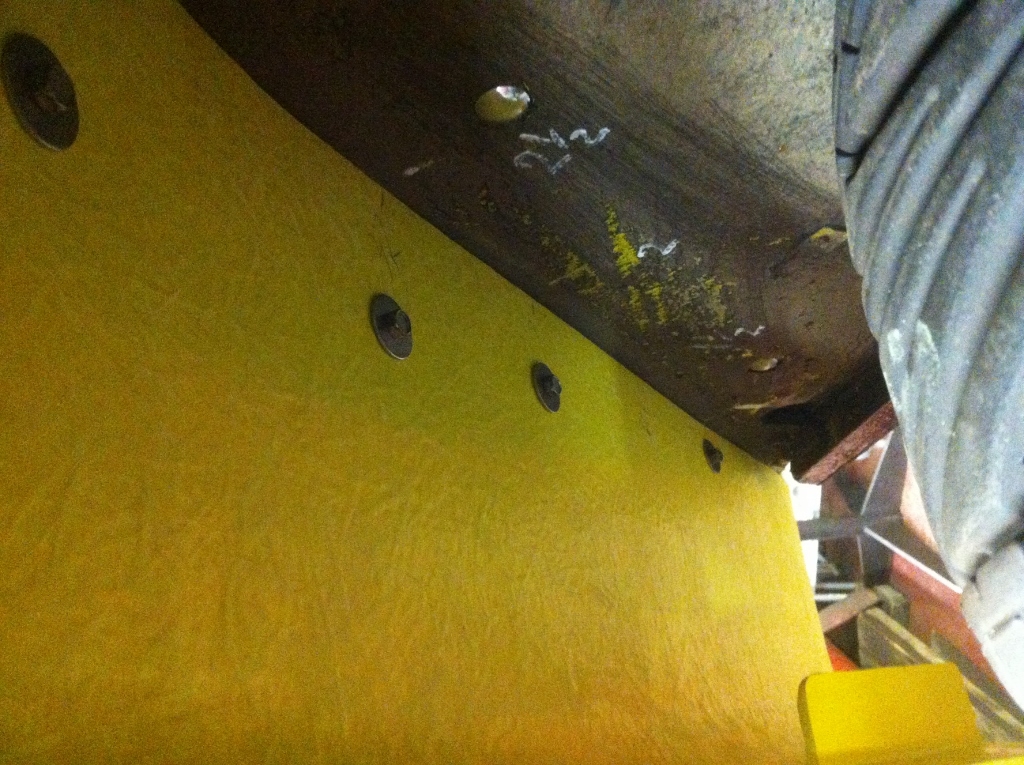
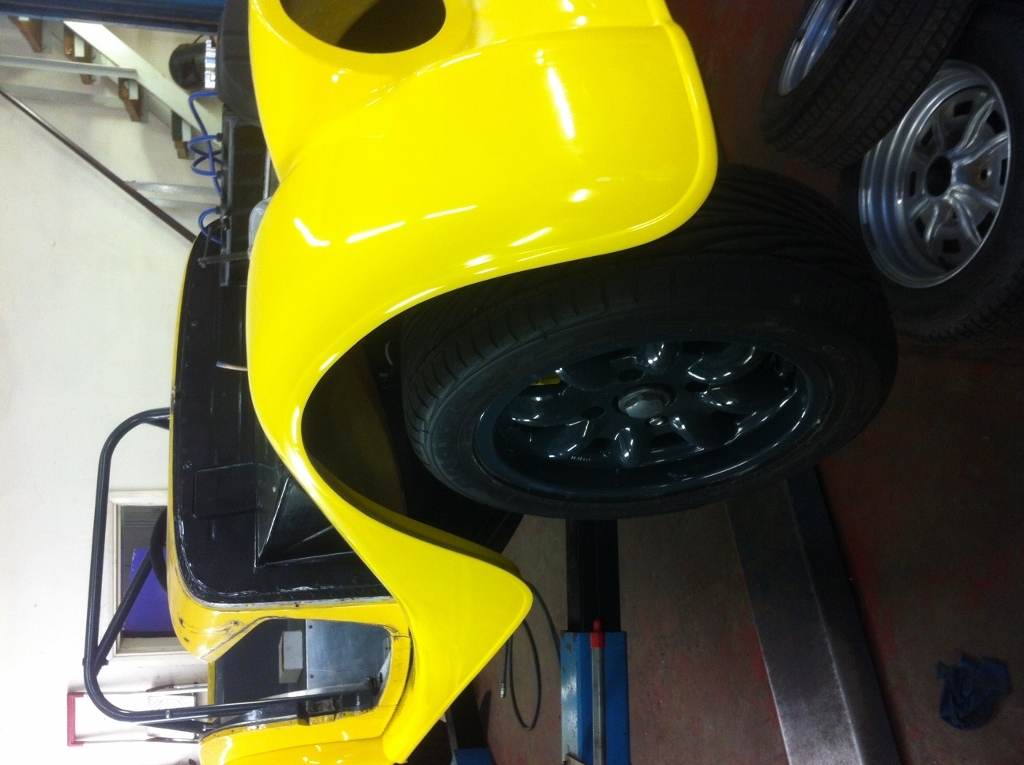
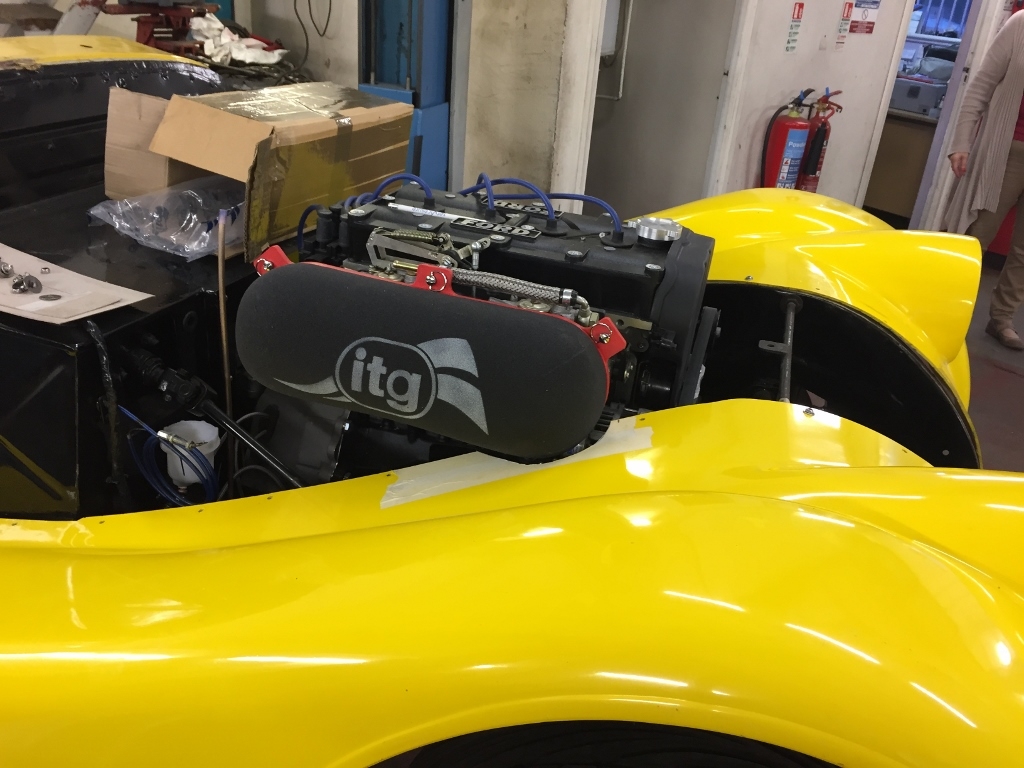
We use 3/4 inch large diameter nut headed SS screws.... you can see the tight fit in the image below.
Looking back in the wheelarch
Looking forward in the wheelarch
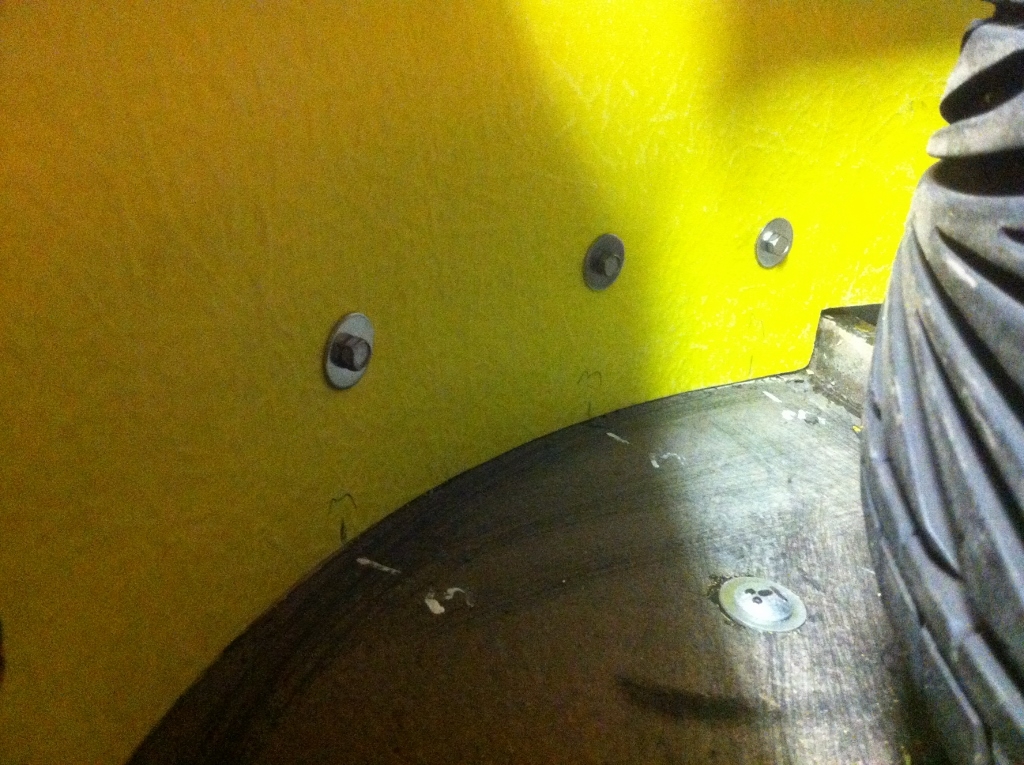
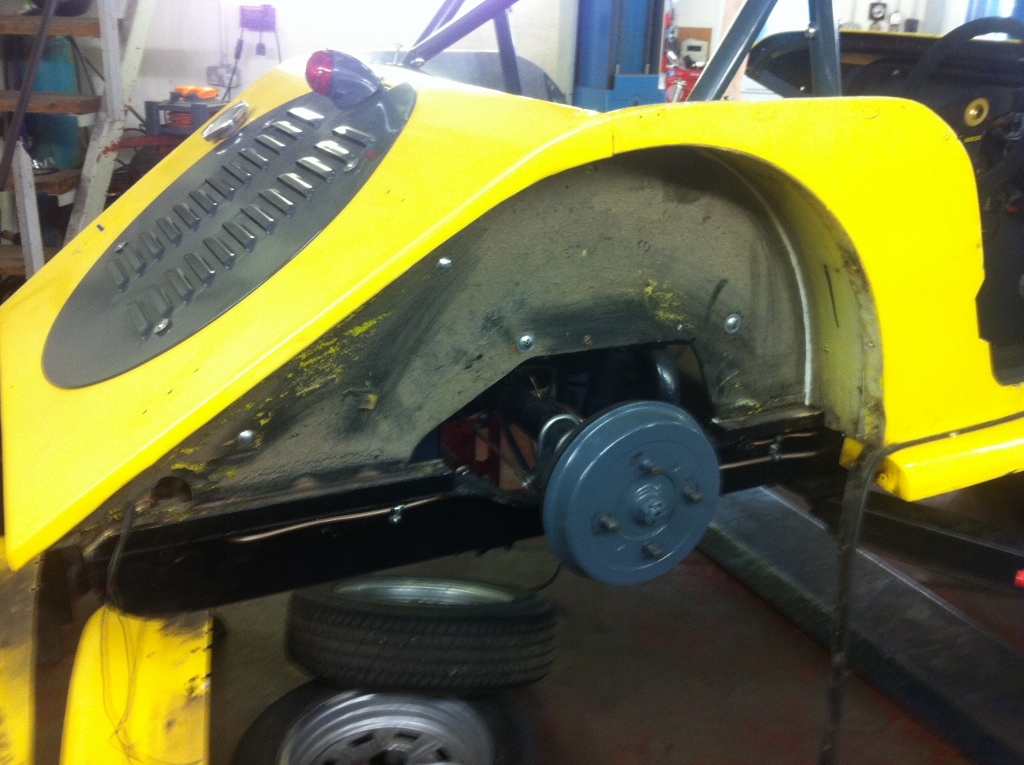
The N/S body is much better finish and the wing fits in nicely.
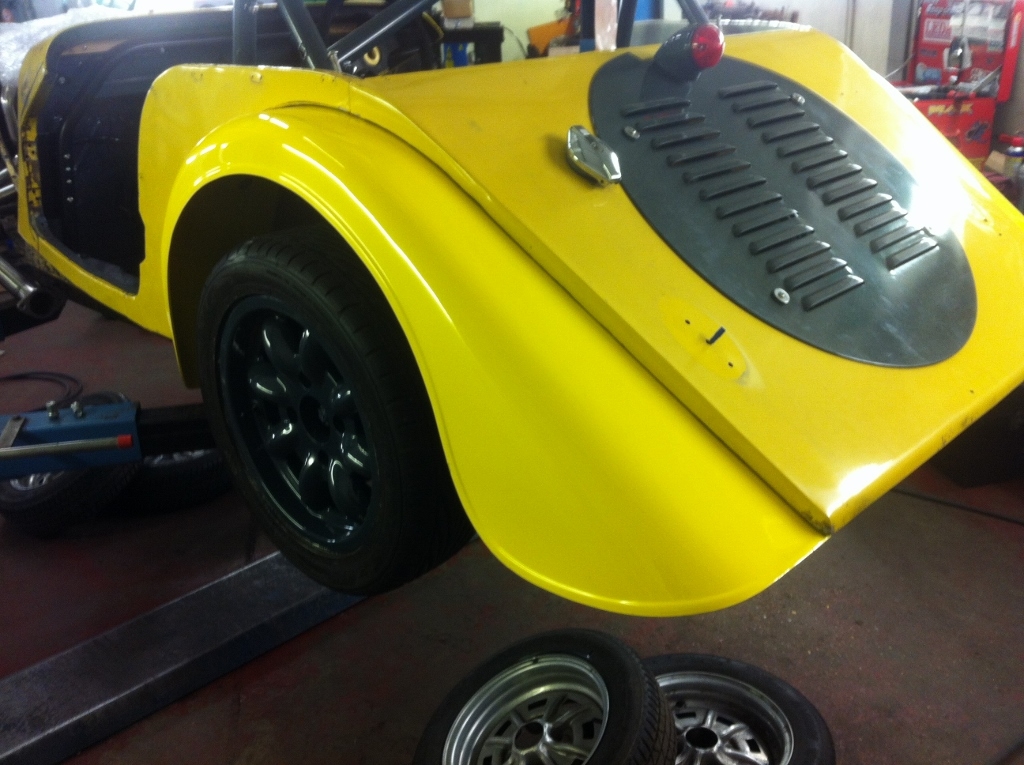
In the final fit these wings will have new rubber beading and also automotive window sealant to provide an enduring yet flexible bond/barrier for any moisture trying to come past the beading or from the inner edge of the wing.
Now onto the front wings--- out with the trusty detail work bench, pattern paper, masking tape, masks and the reciprocating air saw.
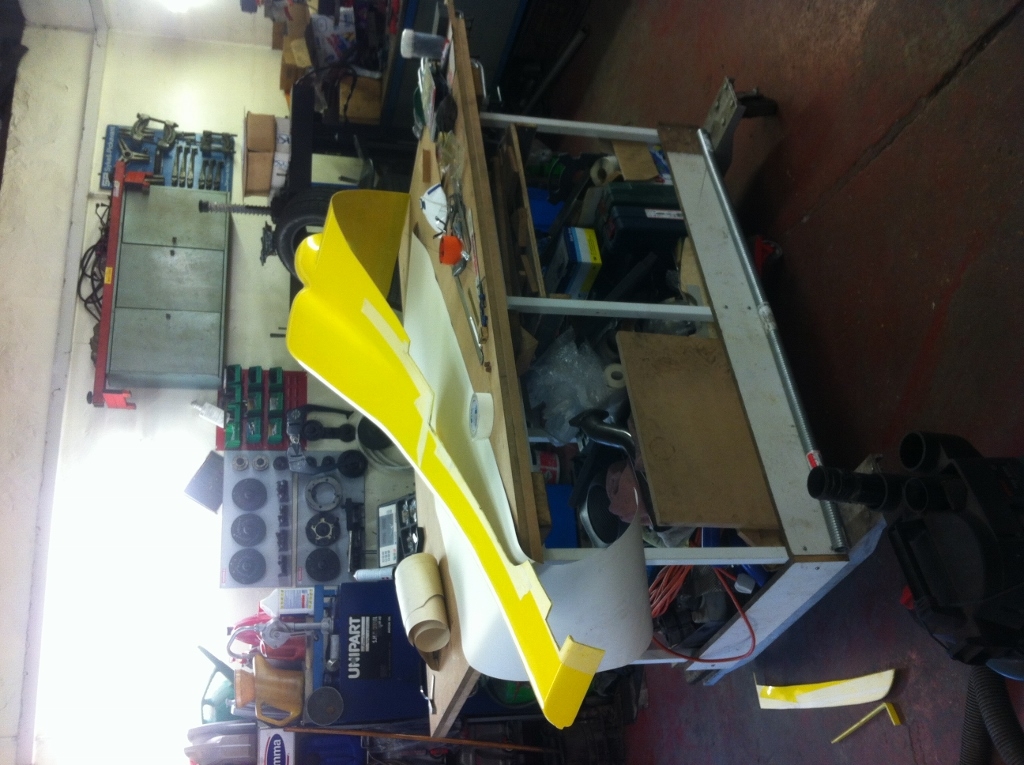
We used the old wings to create an outline template that was subsequently offered up and cleaned up against the tub and inner wings. This gave us a nice quality line to transpose onto the front wing blank - we find that cutting these wing blanks in two stages gets best results... cutting the rear section on the running board forward until the front edge of the bulkhead. Once a reference bolt has been put in at the bulkhead inner corner we can then run a pencil line up the inner wing to mark where the trimming needs to be done. If you trim the top of the wing to early/quickly you can trash a wing blank as the leading edges of the wing may not be parallel or follow the front inner wing radius properly.
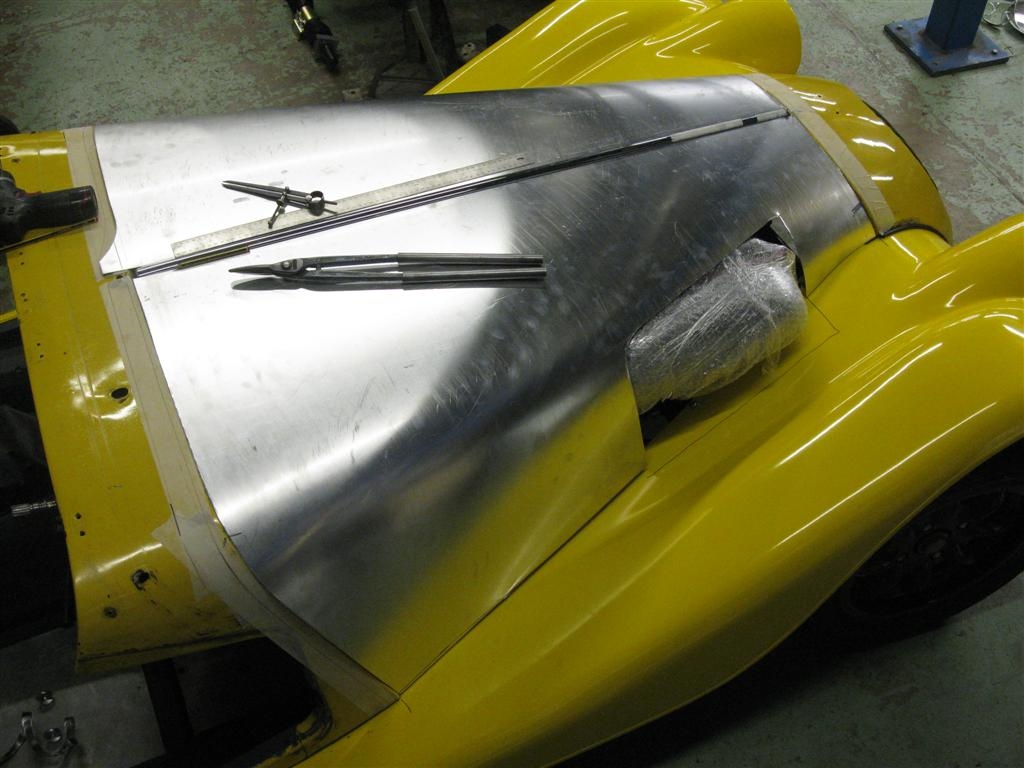
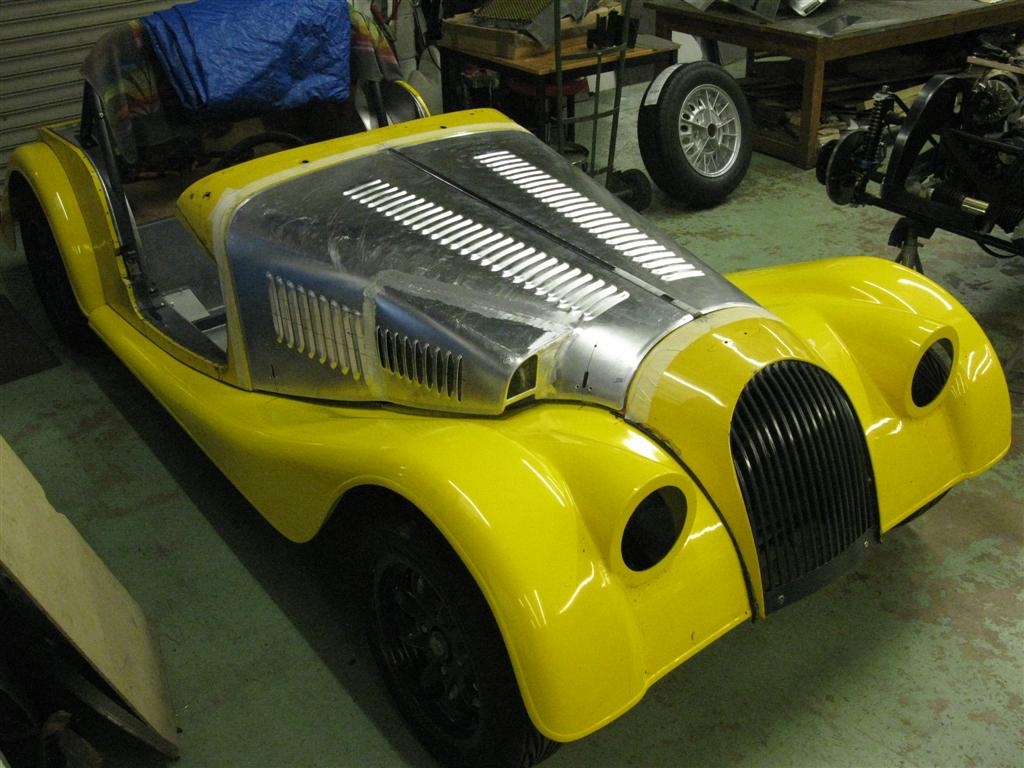
This is us checking our front alignment.
Checking N/S alignment front to rear
Checking O/S alignment front to rear
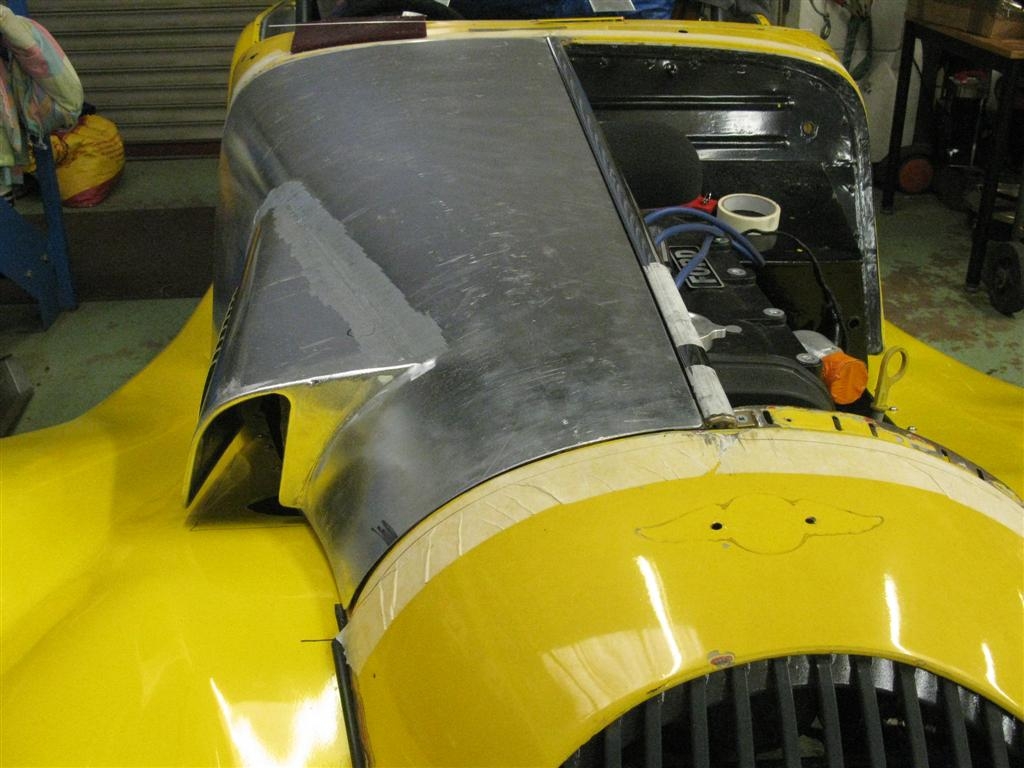
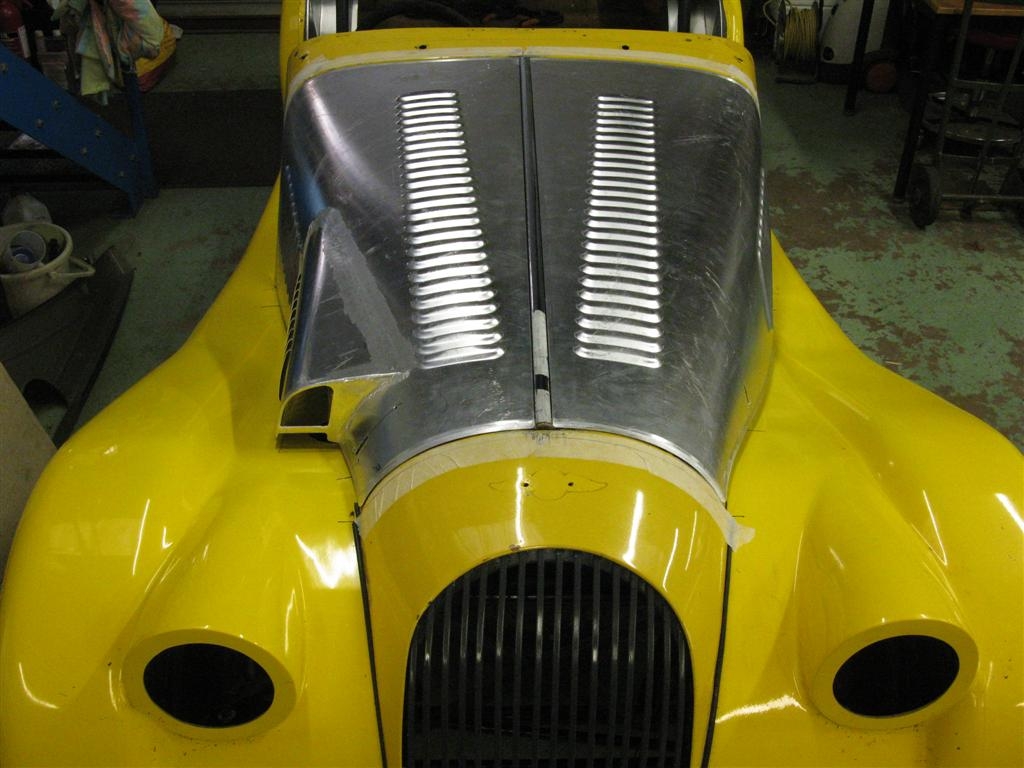
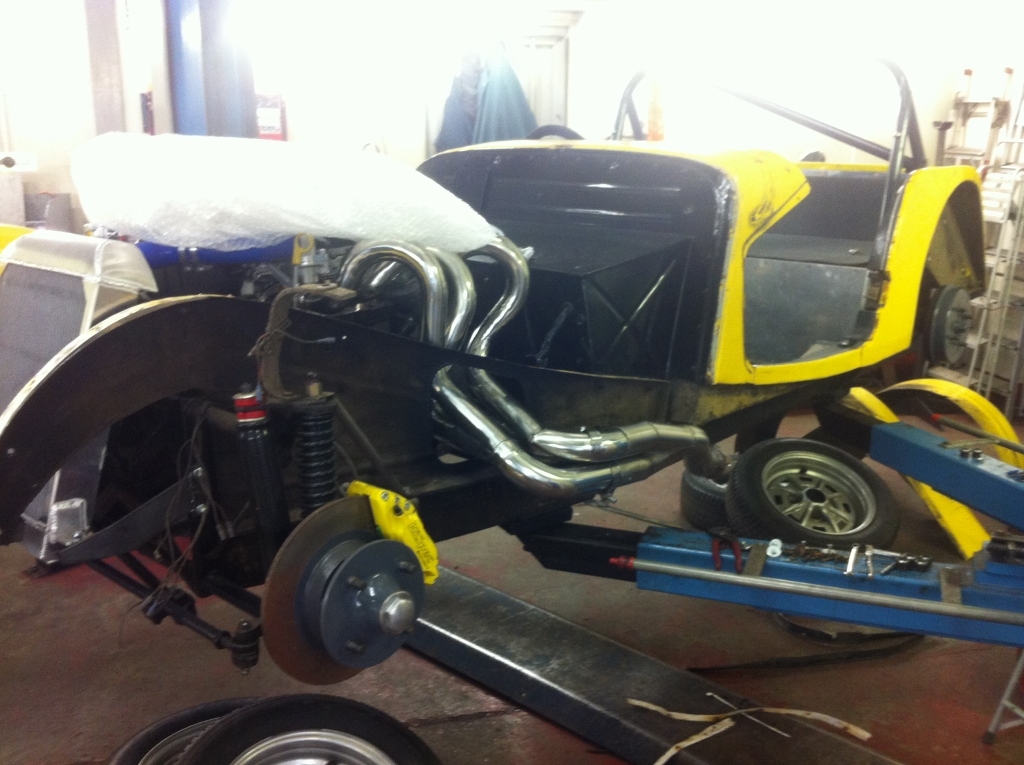
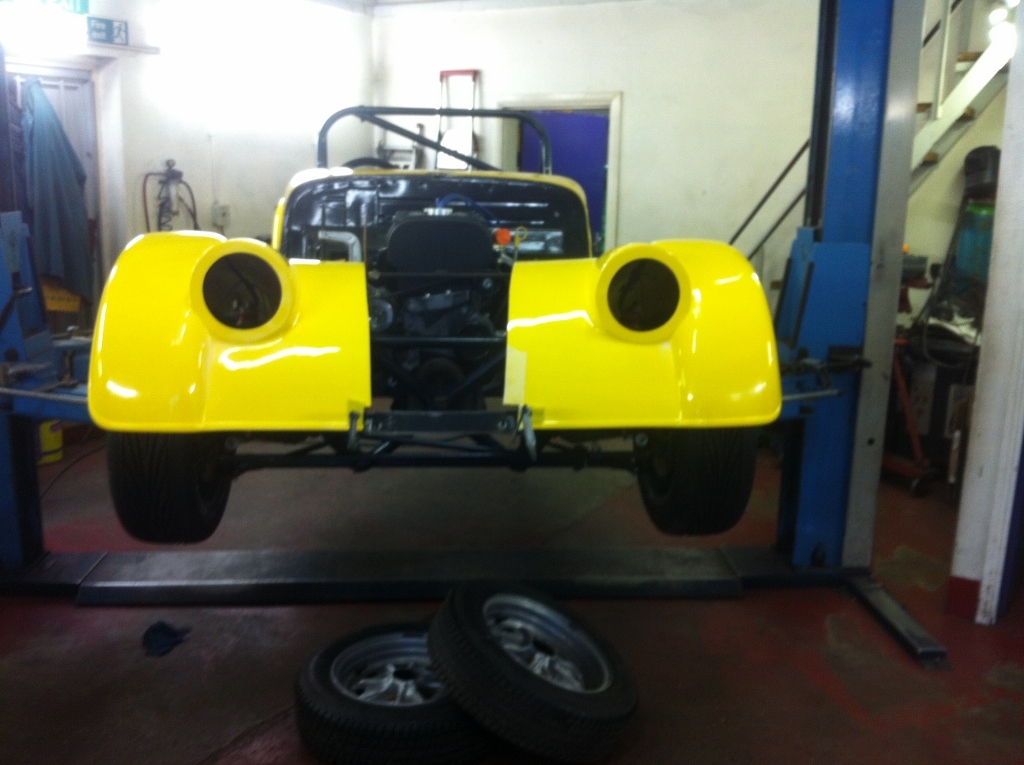
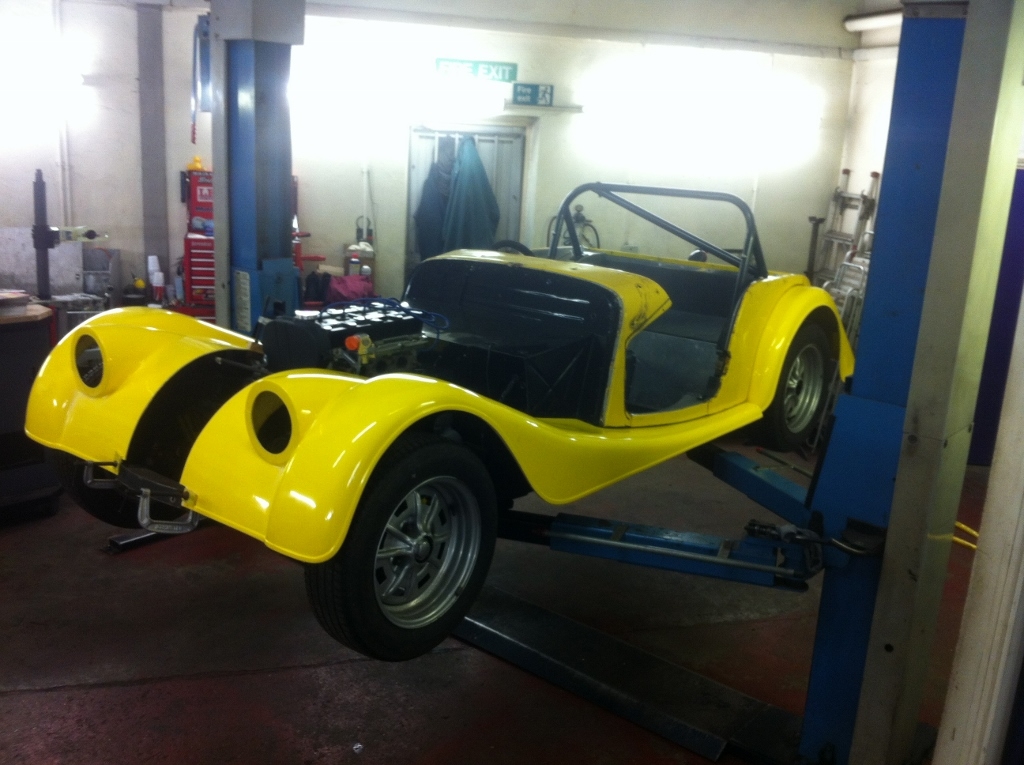
You can see the overview here - the second stage of wing trimming has not been done yet - the down-side of this approach is that you have to strip off the inlet and exhaust manifolds...
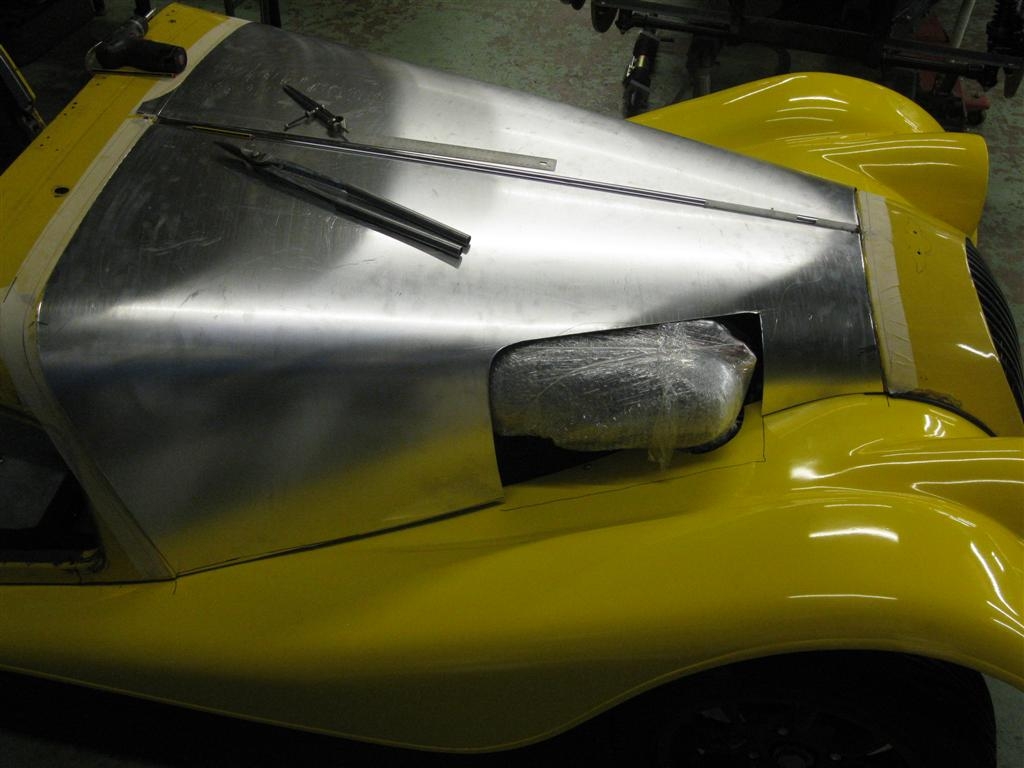
Having made the second second cut there is the complication of the intake manifold on this car due to the carbs - you remember the template we made in the last stage - this was hooked out to mark the trim curve onto the wing....
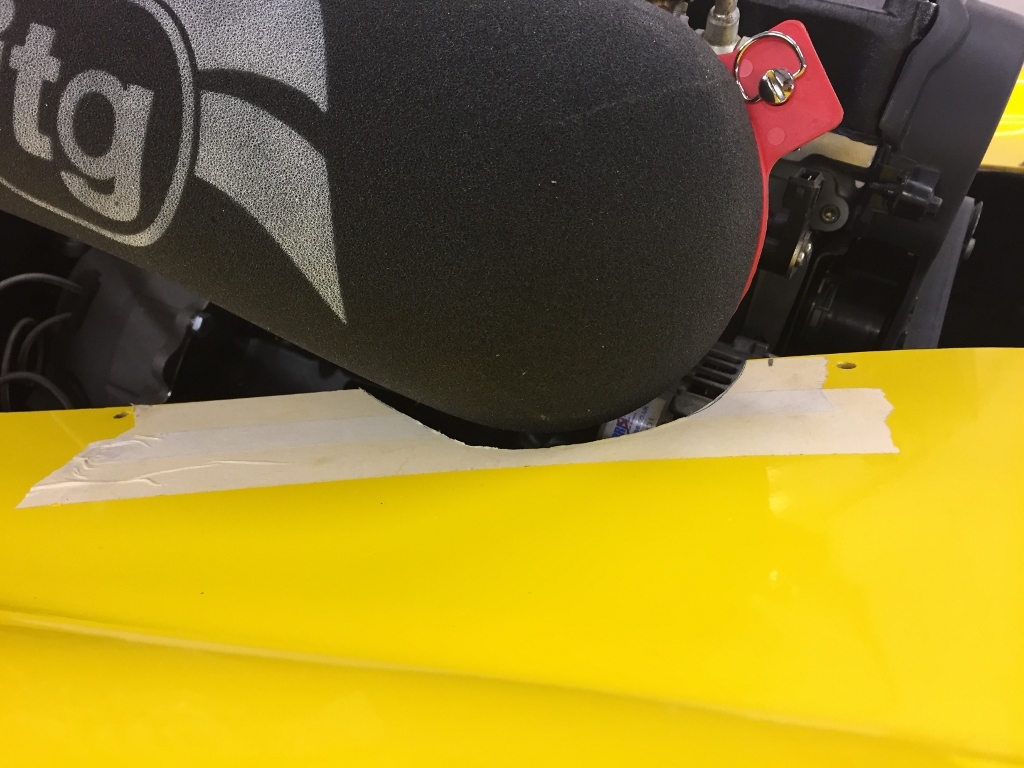
some handy use of the air-saw gets the curve cut out cleanly in one go.
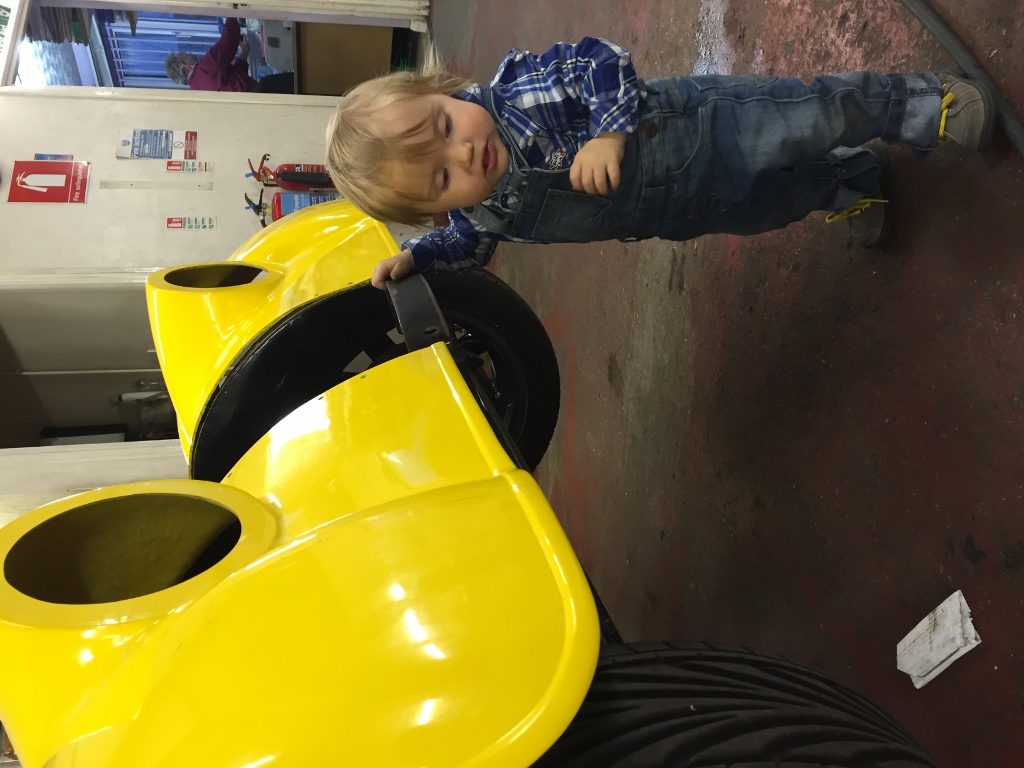
Harrison helped out as well checking the alignment
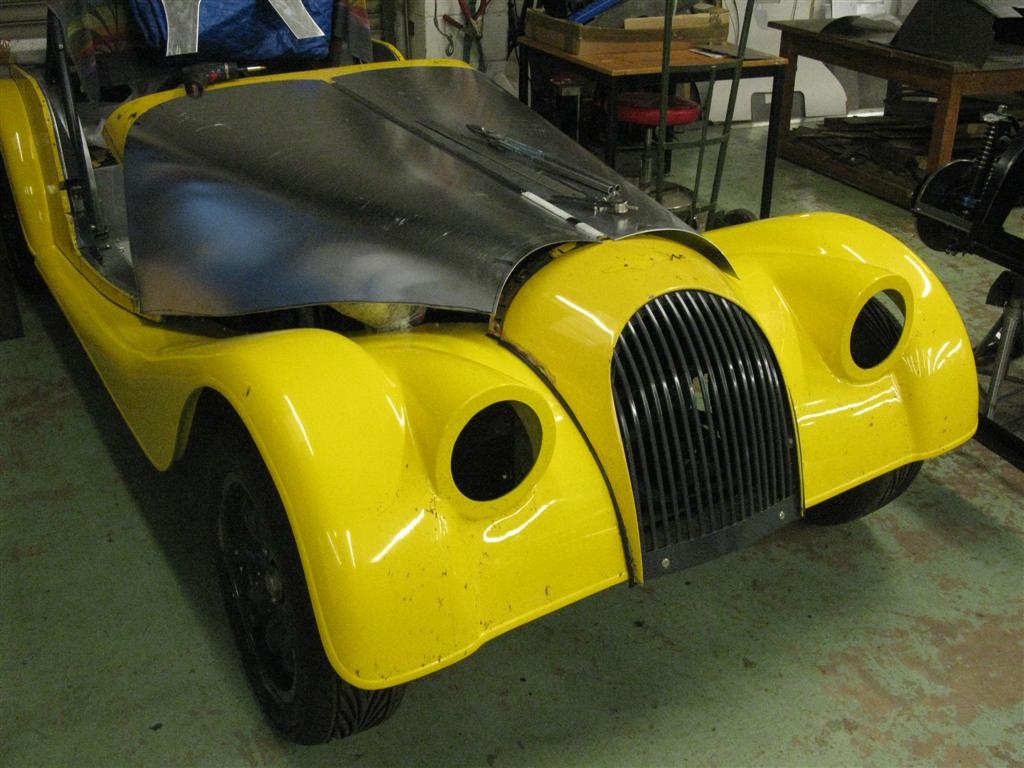
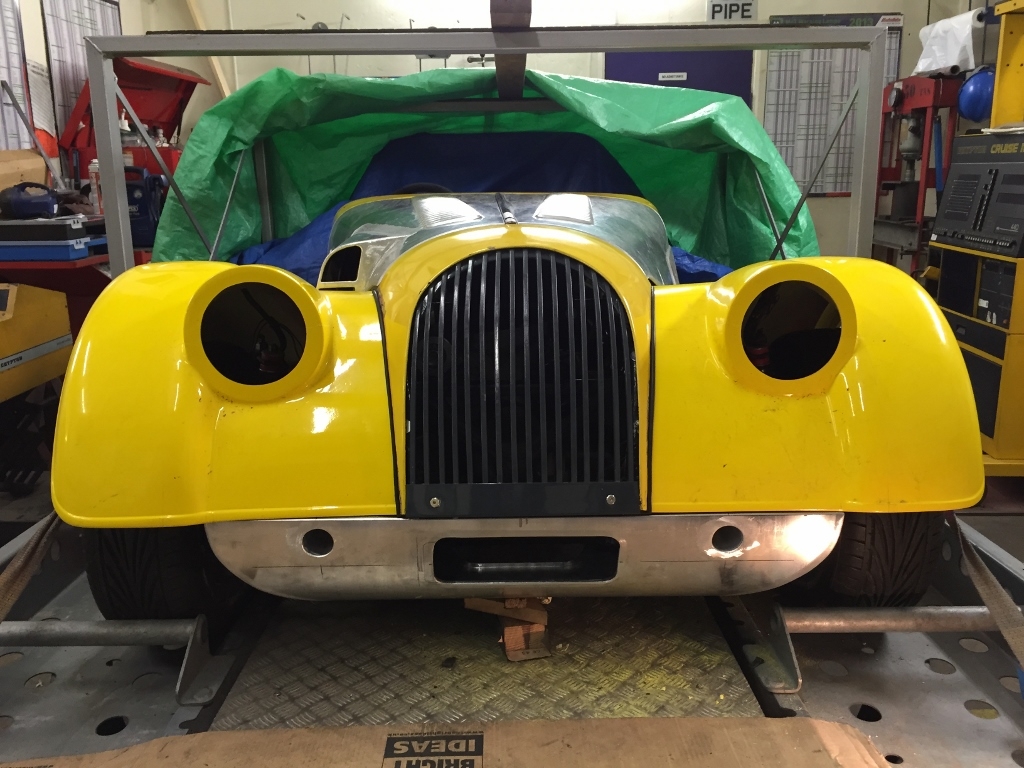
Finally there is checking the final alignment with the cowl on and the central bonnet hinge in place.
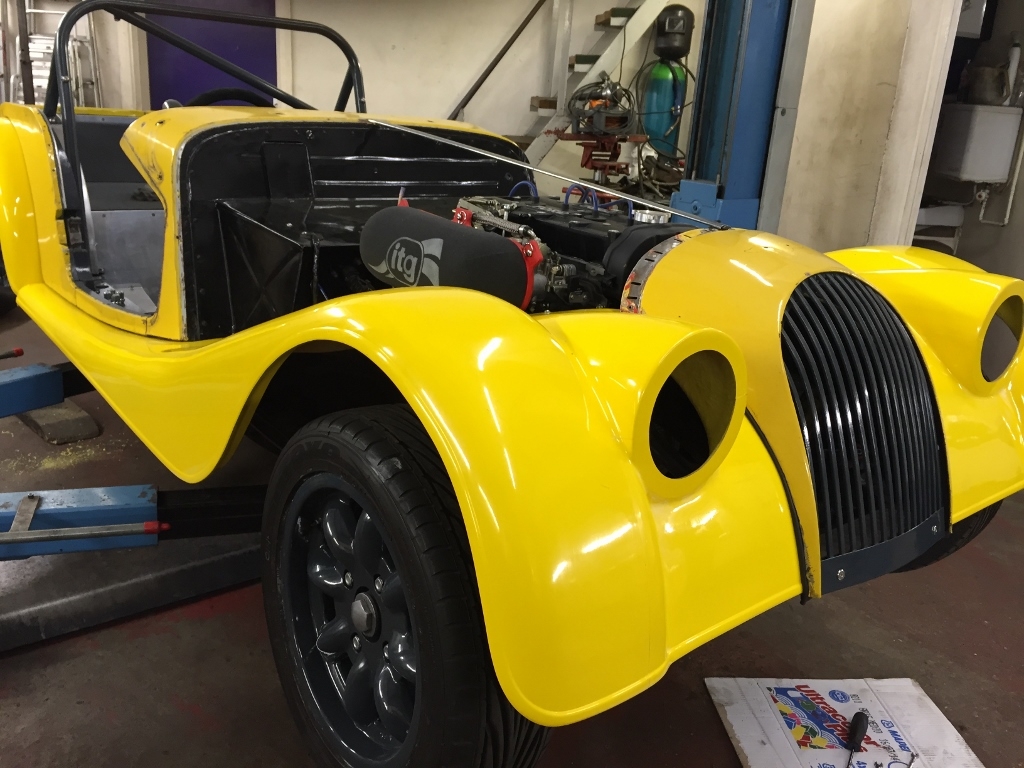
Looks good - the blanks are through first fit.. some small detail jobs to do but a major step forward.