Click here to return to the home page.
Image of a road.
Who's Online Now
8 members (+8Rich, Mark Turner, Themorganeer, ajg141, HeadlessBlue, Mauli, bmgermany, david nathan), 234 guests, and 40 robots.
Key: Admin, Global Mod, Mod
Top Posters(30 Days)
John V6 78
+8Rich 71
DaveW 67
Luddite 57
Newest Members
Ulfulf, Wilfried, Classic-Line, BrunswickGreen44, Franco Morgan
9,203 Registered Users
Newest Topics
Technical drawings, dimensions, 3D model M3W
by Oskar - 20/07/25 04:13 PM
Goggle eyed
by Roady - 19/07/25 06:16 PM
FOR SALE AERO8 series 1 WHEELS
by t50 - 19/07/25 12:07 PM
Lions Tour
by OZ 4/4 - 19/07/25 11:55 AM
Morgan rebuild on Facebook
by TBM - 19/07/25 10:50 AM
Ride Comfort & Tyre Age – Plus 4 Duratec
by Nick B - 19/07/25 10:22 AM
Super3 Accessory Rails for Side Blades
by BillHart - 18/07/25 11:59 PM
Latest Photos
Motorworld München
Motorworld München
by Oskar, July 20
visit to Classic Remise Düsseldorf
my book
my book
by Oskar, July 20
More Pictures of the MHR Visit
by DaveK, July 19
Visit to the Factory- Historic Morgan Group
Forum Statistics
Forums34
Topics48,335
Posts812,896
Members9,203
Most Online1,046
Aug 24th, 2023
Today's Birthdays
kamo30
Previous Thread
Next Thread
Print Thread
Page 35 of 41 1 2 33 34 35 36 37 40 41
Joined: Oct 2006
Posts: 2,403
C
Talk Morgan Expert
OP Offline
Talk Morgan Expert
C
Joined: Oct 2006
Posts: 2,403
Update 47 - Fitting the bonnets and sorting out a few other things

Now we're pretty much finished under the bonnet lets get those beautiful bonnets fitted. First off we need to fit the cowl and work from there.

So, out with the cowl lets get that fitted....


Nice new beading rubbers and also fabric tape - looks smart in the contrasting white and blue.


We can now fit the grill in place.

With the hinge brackets sorted, its out with the bonnets for fitting...


Check out the louvre's on those!!


However - not so easy - whilst some of the bonnet catches are easy to fit the custom nature of the bonnets make the others a bit more complicated... so a lot of fiddling, bending and tweaking to get them to work with the new positioning.


A relatively small job but this took most of the day - on and off.. the small details eat time.

All the catches fitted and working smoothly


So there you have the bonnets fitted.....


Next up is some of the interior things - the trans/prop tunnels finish from the factory were not great - these were sent along with the roof bars to be shot blasted and powder coated satin black. We can then decide what of this is fitted with leather cover or just raw. I suspect the prop tunnel can be fitted raw and possibly make some smart partial covers for the gearbox cover....


So taking the roof bars and assembling them onto the tensioners and popping them into the car we have the frame... looking better than new given the quality of paint used originally.


Its coming along nicely....


Some interior electrical's left to do, seats in and doors to be assembled and fitted.

Ooooohhh then it's ready to go to have its first start and ECU tuned.


Joined: Oct 2012
Posts: 6,538
N
Talk Morgan Sage
Offline
Talk Morgan Sage
N
Joined: Oct 2012
Posts: 6,538
Fantastic feedback/report!
What an amazing detailed project...thanks for posting all these updates!


Neil

Joined: Dec 2009
Posts: 413
S
Learner Plates Off!
Offline
Learner Plates Off!
S
Joined: Dec 2009
Posts: 413
the opening is to evacuate the hot air?


Don't Worry, Be Happy
Morgan 4/4 1985 2,0 Zetec
BMW R1200 GS
Triumph TR140
Joined: Jan 2012
Posts: 14,976
Likes: 1
Member of the Inner Circle
Offline
Member of the Inner Circle
Joined: Jan 2012
Posts: 14,976
Likes: 1
Great read as ever.


Richard
1976 4/4 4 Seater
Joined: Jul 2007
Posts: 26,746
Likes: 419
Member of the Inner Circle
Offline
Member of the Inner Circle
Joined: Jul 2007
Posts: 26,746
Likes: 419
Great to see progress


JohnV6
2022 CX Plus Four
2025 MG ZS EV aka Trigger
Joined: Oct 2006
Posts: 2,403
C
Talk Morgan Expert
OP Offline
Talk Morgan Expert
C
Joined: Oct 2006
Posts: 2,403
Originally Posted By Sukram
the opening is to evacuate the hot air?

Which one? on the bonnet (the scoop) - that's the intake which allows the air filter and intake manifold to extend over the wing SS style.


Joined: Oct 2006
Posts: 2,403
C
Talk Morgan Expert
OP Offline
Talk Morgan Expert
C
Joined: Oct 2006
Posts: 2,403
Originally Posted By 4/4Boy
Fantastic feedback/report!
What an amazing detailed project...thanks for posting all these updates!

Its been an interesting journey - having been hands on with almost every part of the two cars and much being custom fabrication of one sort or another.... it makes one hell of a build record!


Joined: Dec 2009
Posts: 413
S
Learner Plates Off!
Offline
Learner Plates Off!
S
Joined: Dec 2009
Posts: 413
Originally Posted By cerealsurfer
Originally Posted By Sukram
the opening is to evacuate the hot air?

Which one? on the bonnet (the scoop) - that's the intake which allows the air filter and intake manifold to extend over the wing SS style.

on the end of the bonnet is there not a opening to evacuate more hot air as usual?

Last edited by Sukram; 23/01/15 08:01 PM.

Don't Worry, Be Happy
Morgan 4/4 1985 2,0 Zetec
BMW R1200 GS
Triumph TR140
Joined: Oct 2006
Posts: 2,403
C
Talk Morgan Expert
OP Offline
Talk Morgan Expert
C
Joined: Oct 2006
Posts: 2,403
[b]
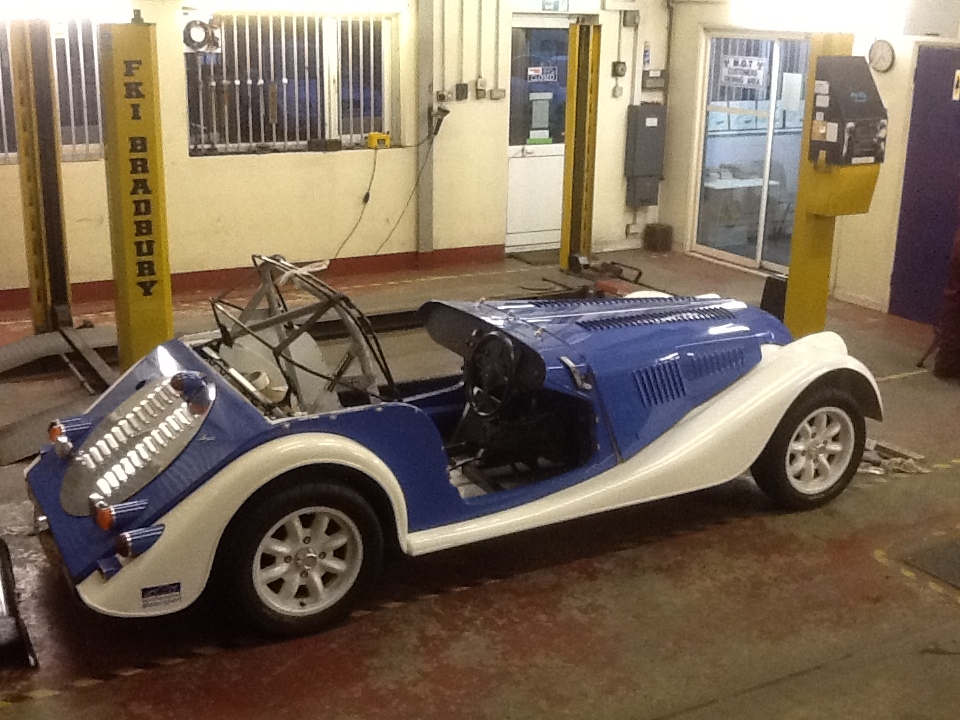
Update 48 - Final ECU electricals, Trans tunnel, door jams, dash pad and seats[b]

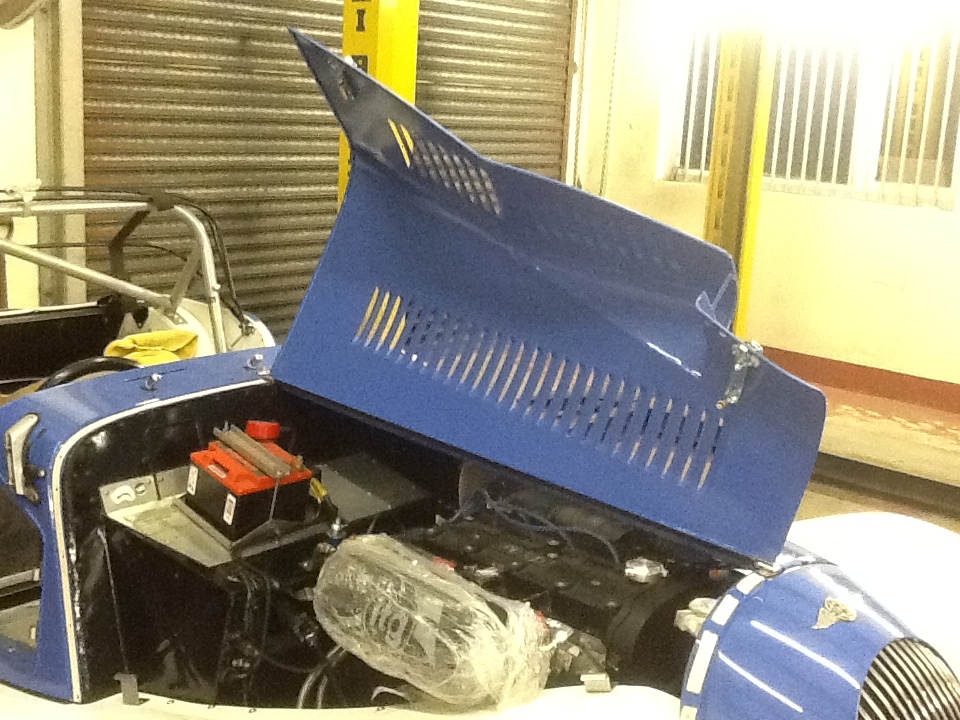
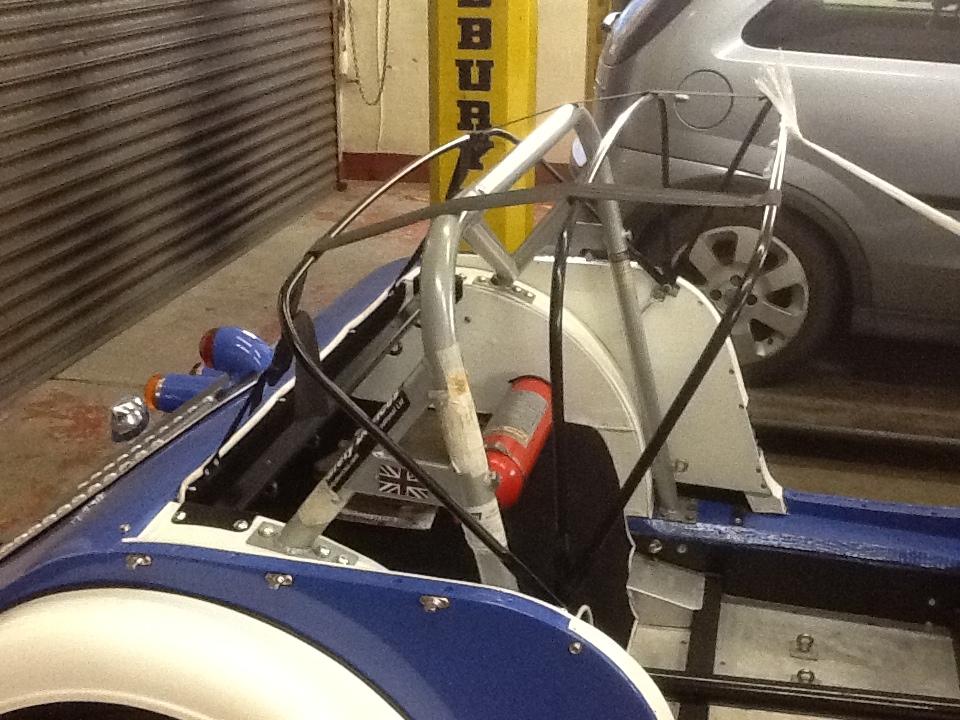
Having mounted the Omex 600 there were a couple of things that were outstanding. Firstly there is the 12v relay feed to power the injectors and also the connection of the injector pump control line from the ECU to the fuel pump. This enables the ECU to auto prime the fuel system as long as the emergency fuel switch is thrown.


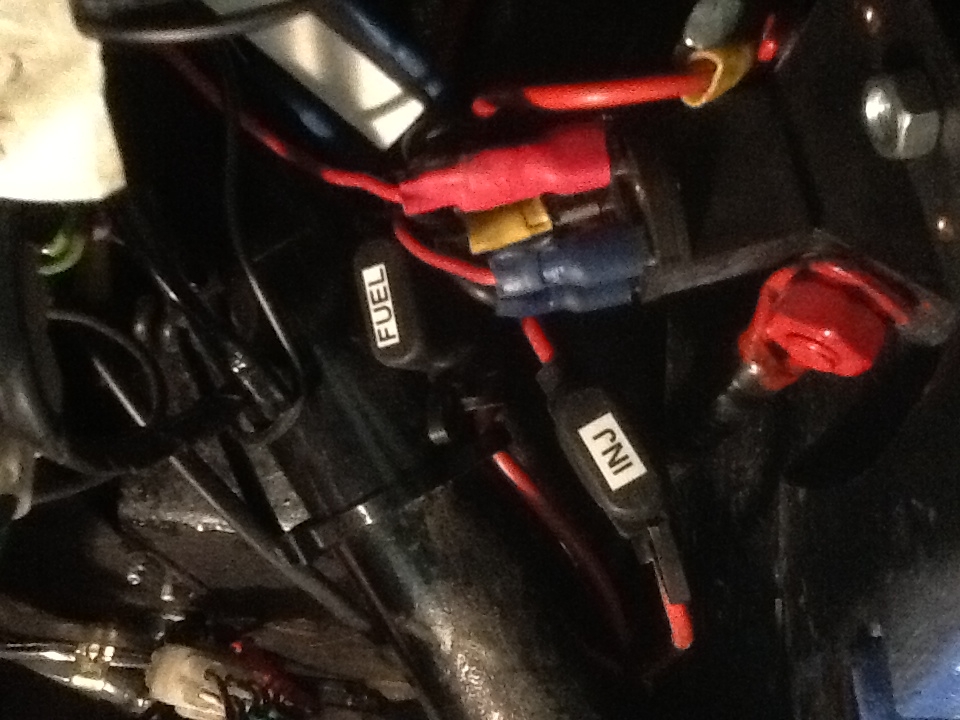
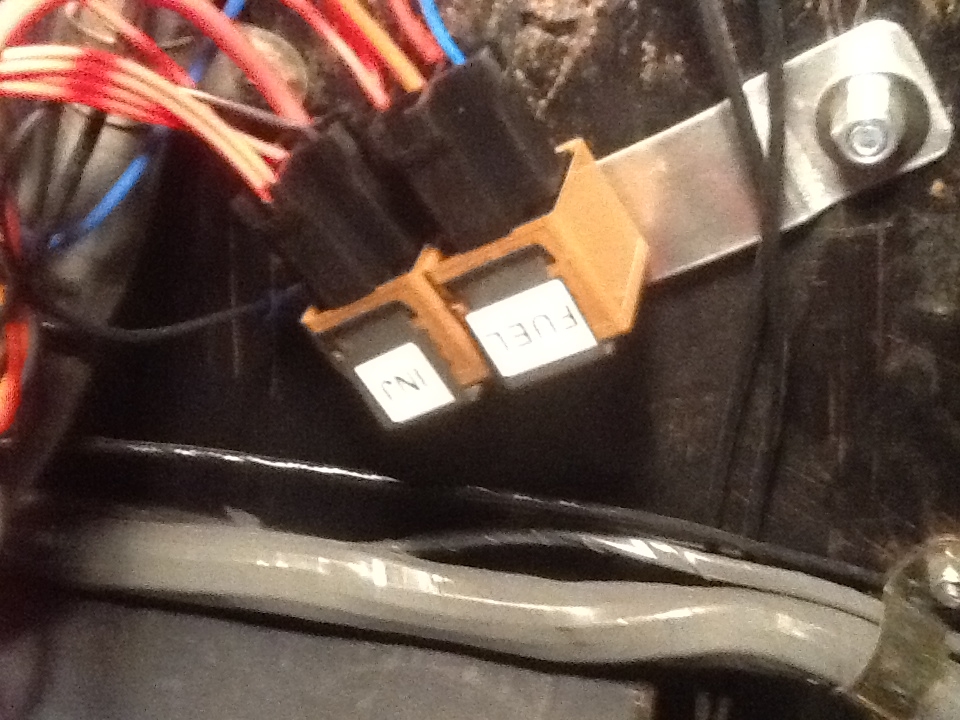
Both 12v feeds we felt needed to be fused - coming off the master electrical switch (the red key). Its always good to label things so you know what they are later.


Making up the wiring feeds to power up the relays


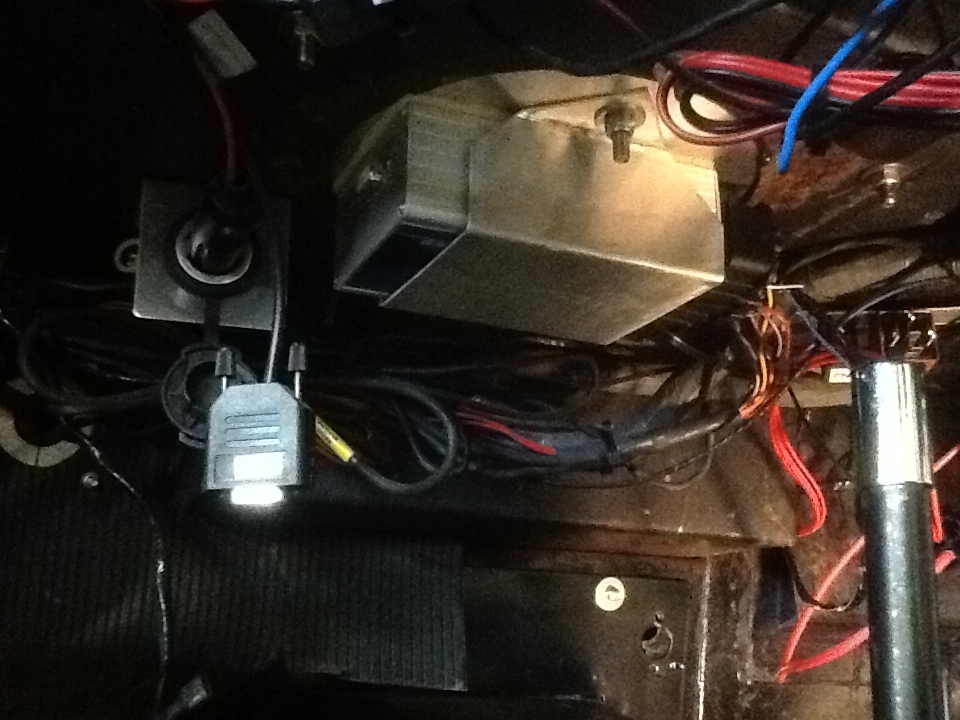
Sorting out the relay bracket


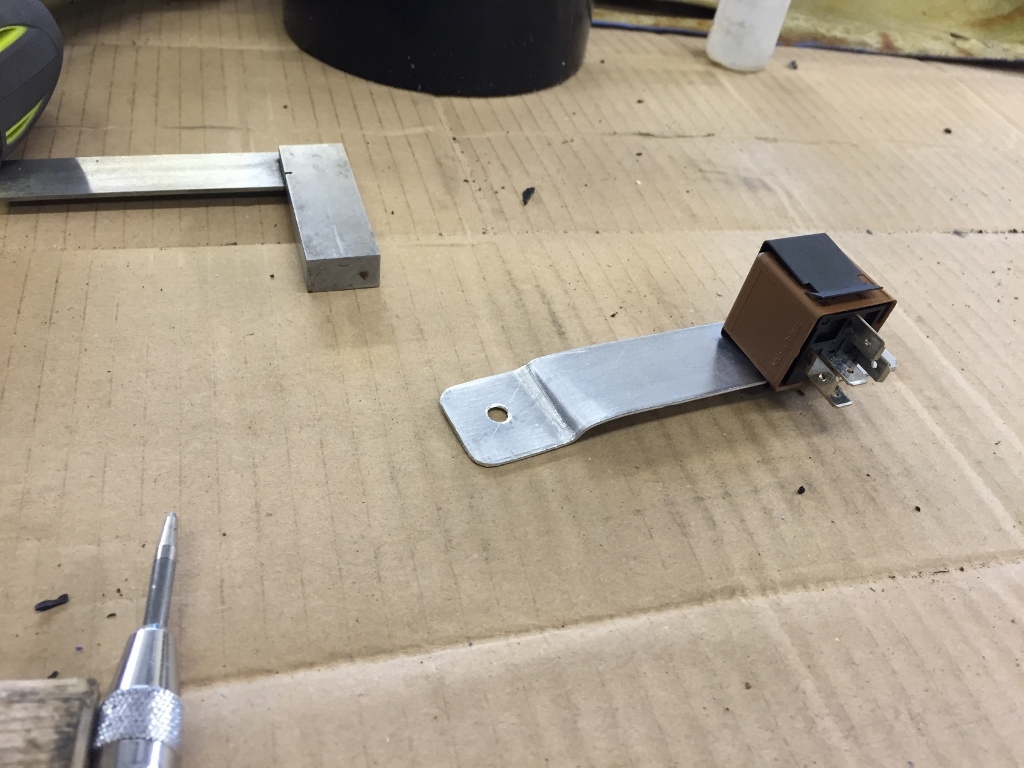
A couple of hrs later all the wiring is in and its time to be tested.


This is the first time the electricals have been fired up in two years and we've made a lot of changes. So we flip the master switch and twist the key... nothing... !! Doh!

We realise that the relays are diode relays and may not be powered up given the feed direction. We flip the wires and boom! On twist of the key, the pumps fire up for two seconds and go silent as needed. The DL1 fires up and the Dash comes on a reads out the relevant sensor info. Fantastic, electricals work.

Door jam
The original aluminium door jam finishes were toast and are not available any more. So what to do... the aluminium ones didn't last so well so we decided to look at a stainless steel option. We sorted out some thin stainless and had it put through a brush effect finisher. Following a lot of cutting, bending and fettling we managed to get them fitted to both sides. We used beading rubber to provide a finisher for the inside edge and help with draft exclusion.


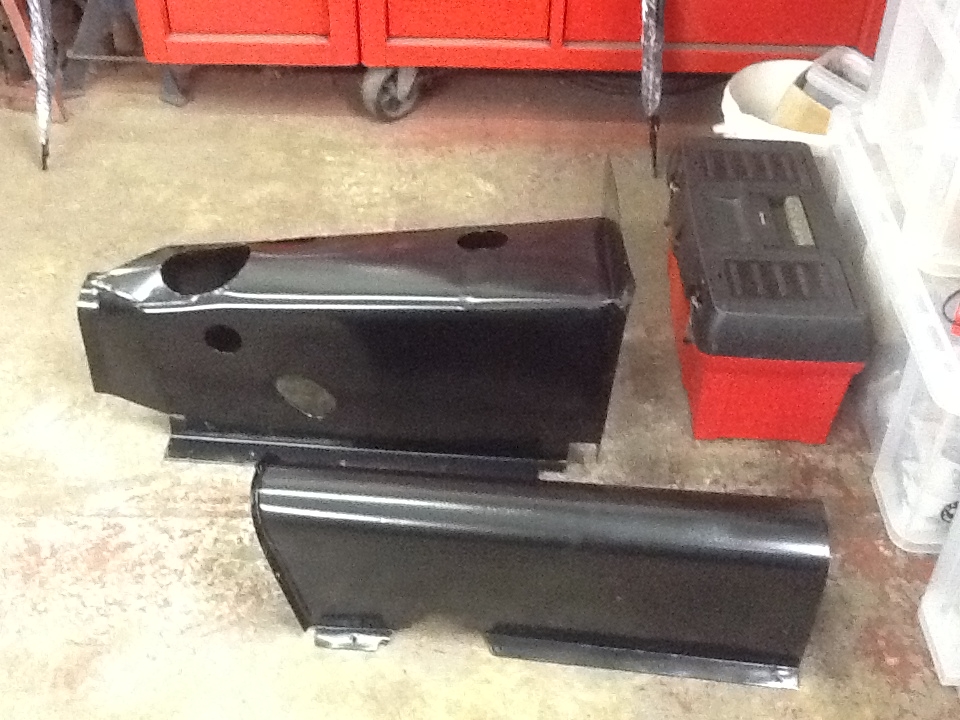
Fitting the trans tunnel
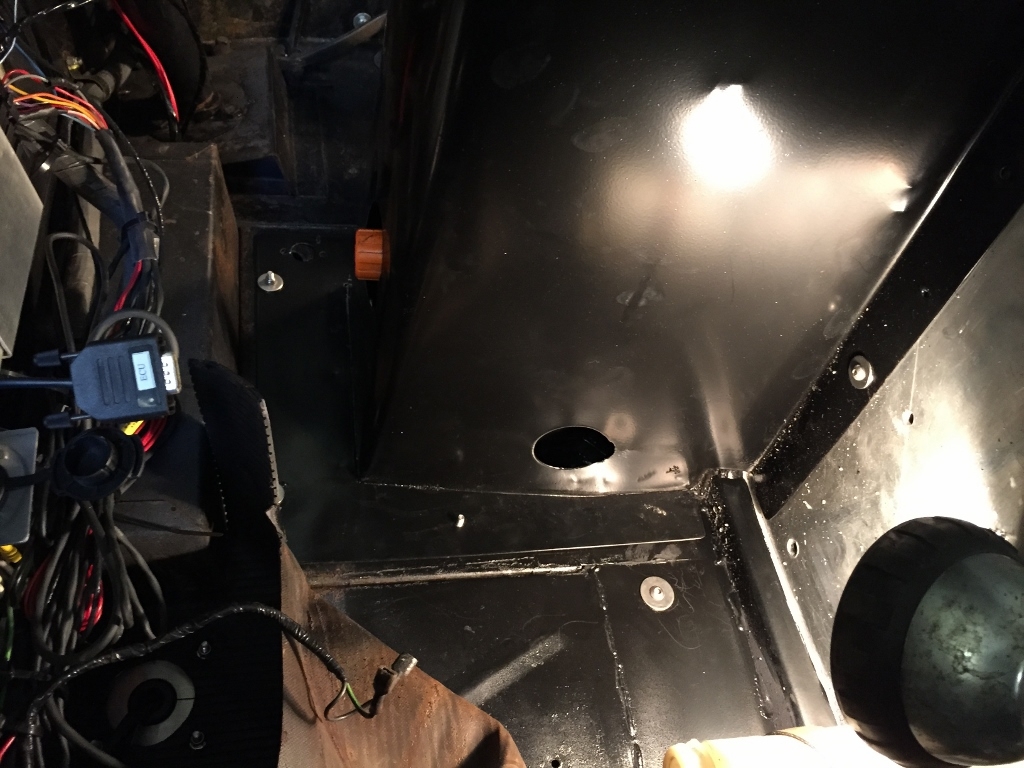
Having had the trans tunnel powder coated it needs to be fitted.. we did some preliminary fitting to make adjustments for the 6mm drop due to the use of Aluminium for the floor rather than plywood sheet.

The remaining adjustments that needed to be made was related to the bulkhead holes. These were obviously too high up now so there was a bit of trial fitting and drilling required.


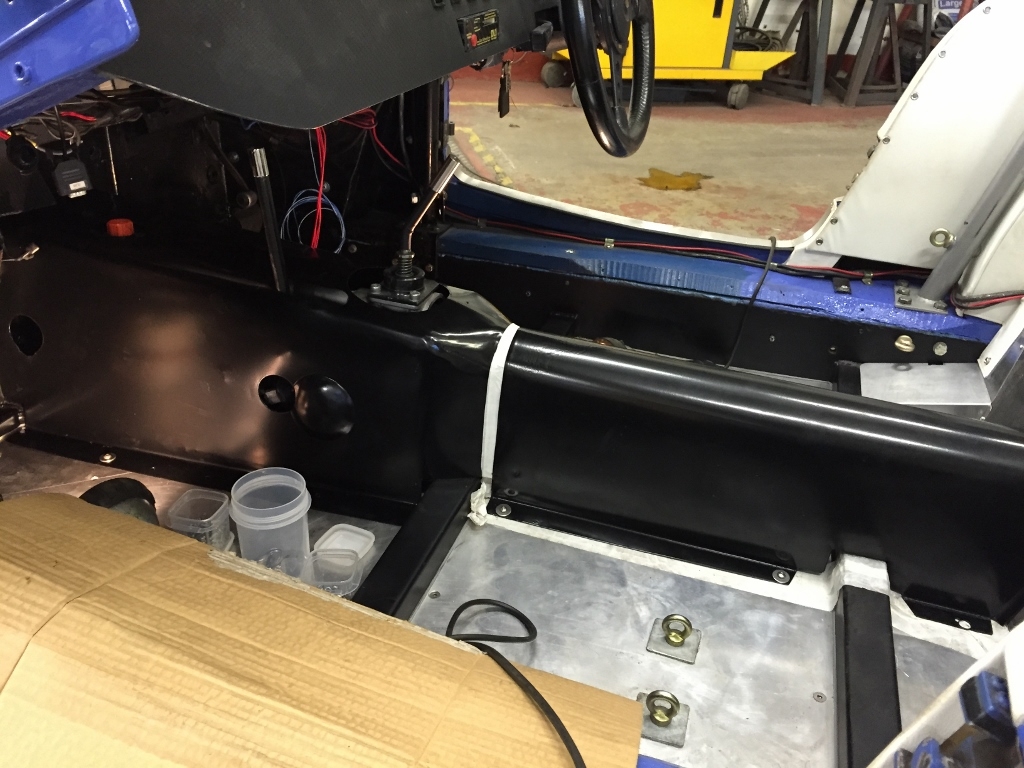
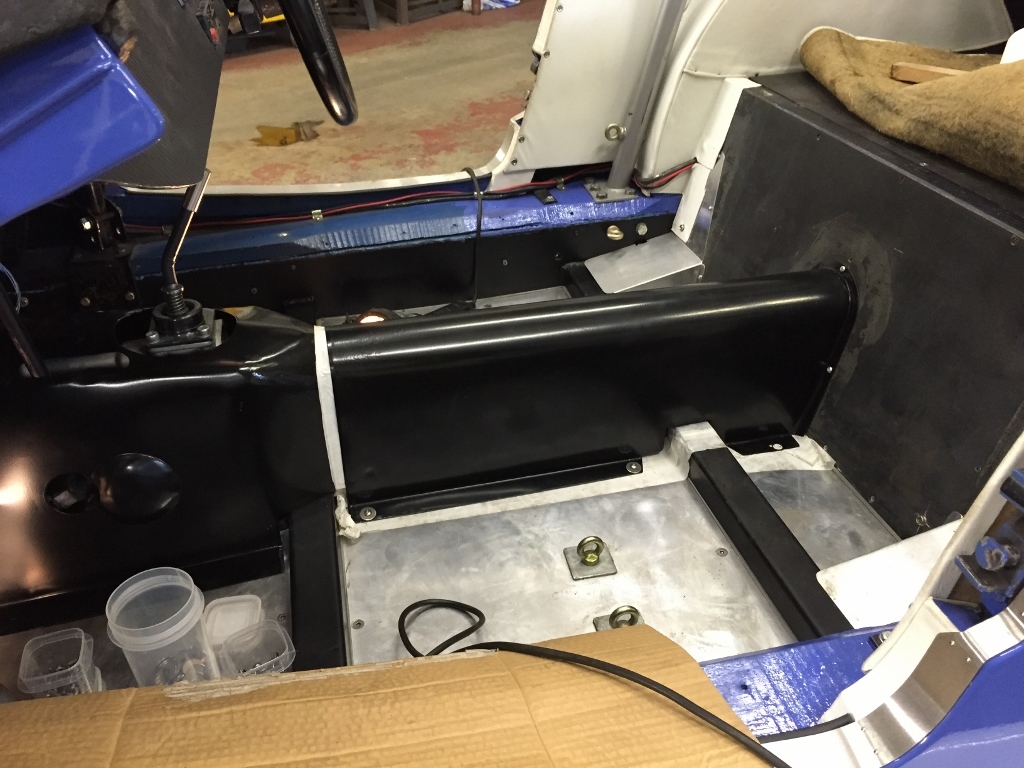
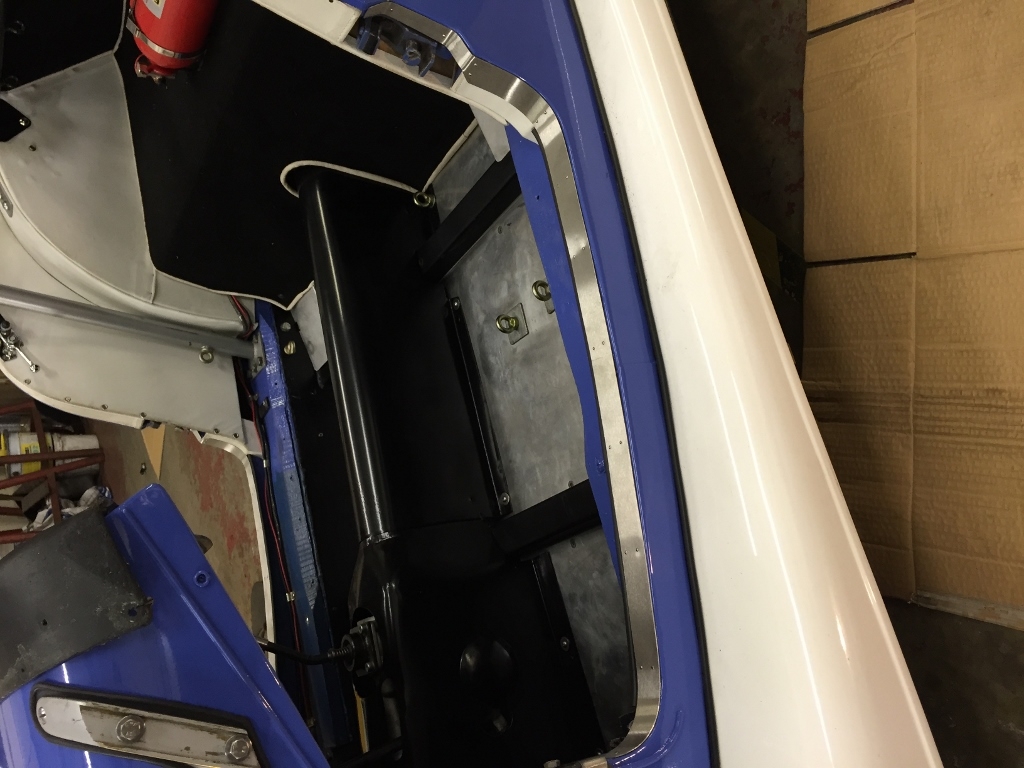
The transmission tunnel fits nicely and looks smart in black.
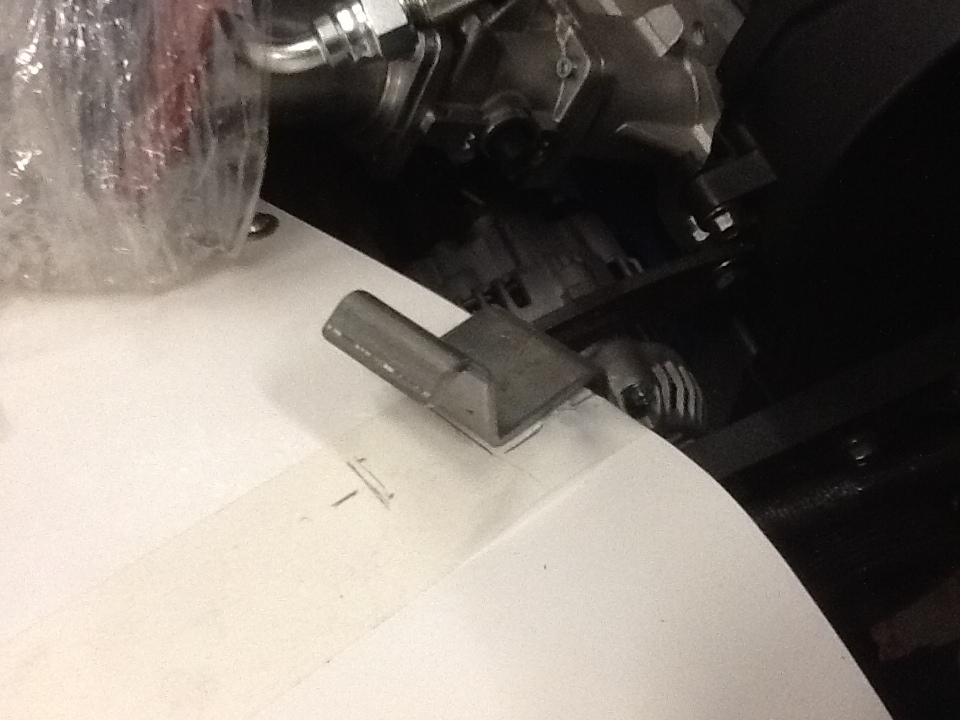
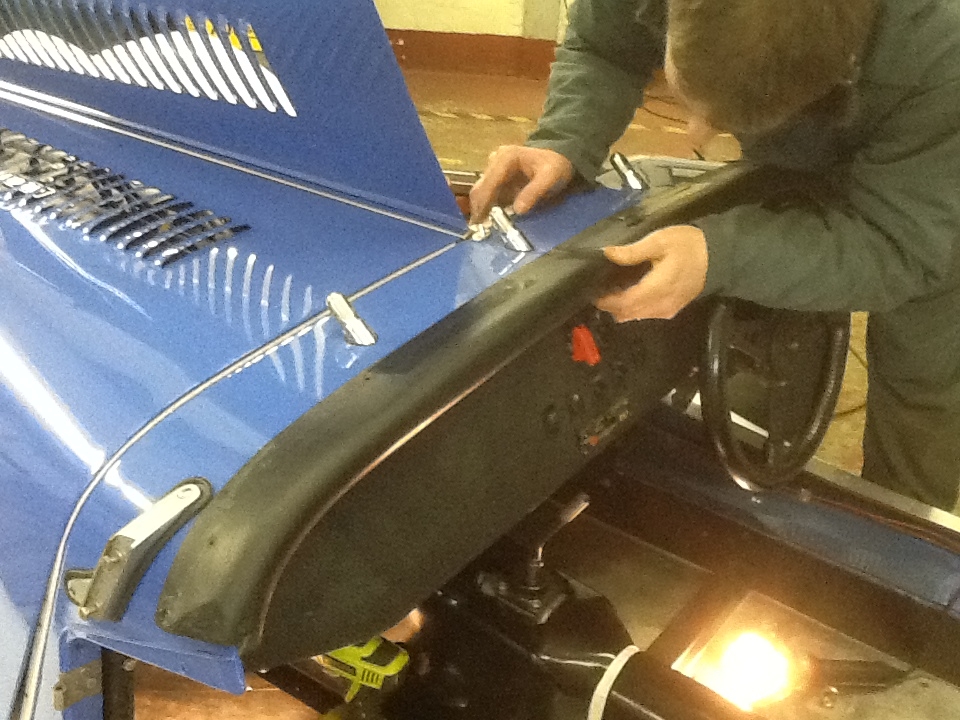


Dash Pad

I'm keen to keep the dash pads in both cars so having stripped away the white leather it will be re-covered. However there are some adjustments to the pad to help the fitment when it gets all put back together. You can see in this shot, we've cut out the holes for where the Brooklands screen mounts go, I've drilled out the original self tapper holes and put advils in. I've sourced suitable stainless Philips screw head bolts to match up to the screen mounts.


The dash pad all lines up with a bit of manipulation.


The seats

Finally there are the seats... when we originally built this car Sparco were unable to supply a second set of pro alloy mounts so we ended up fabricating a suitable set of mounts to deal with the constraining factors of a Morgan.


Sparco still make the mounts but they are a slightly different size and design. The overall concept is the same just not quite in several ways.


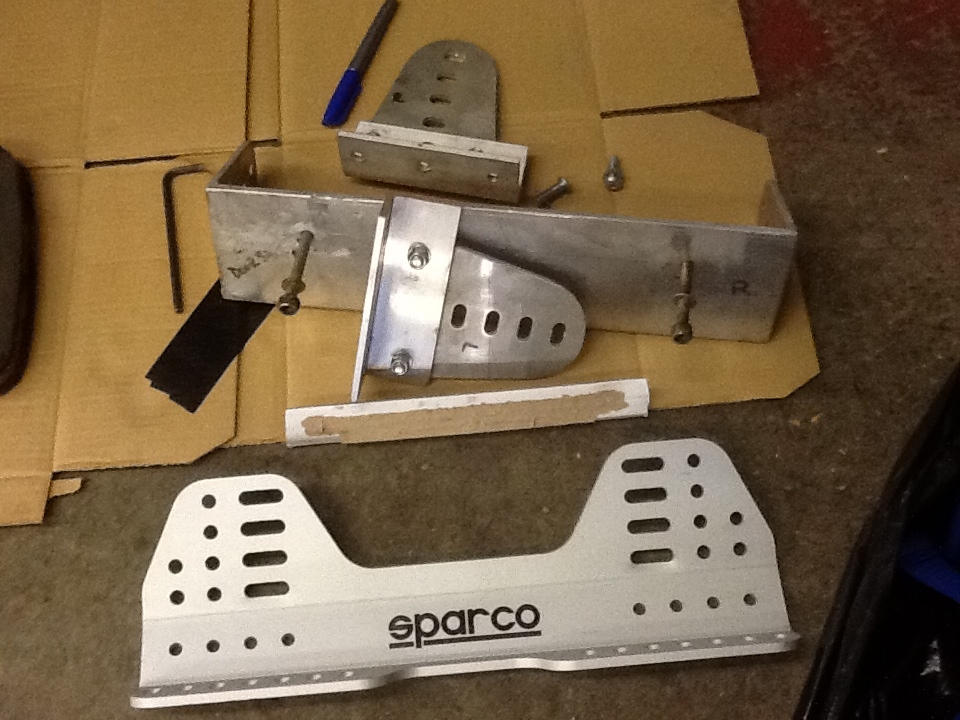
With a bit of compare and contrast you can see the comparisons from the original brackets and the new style.


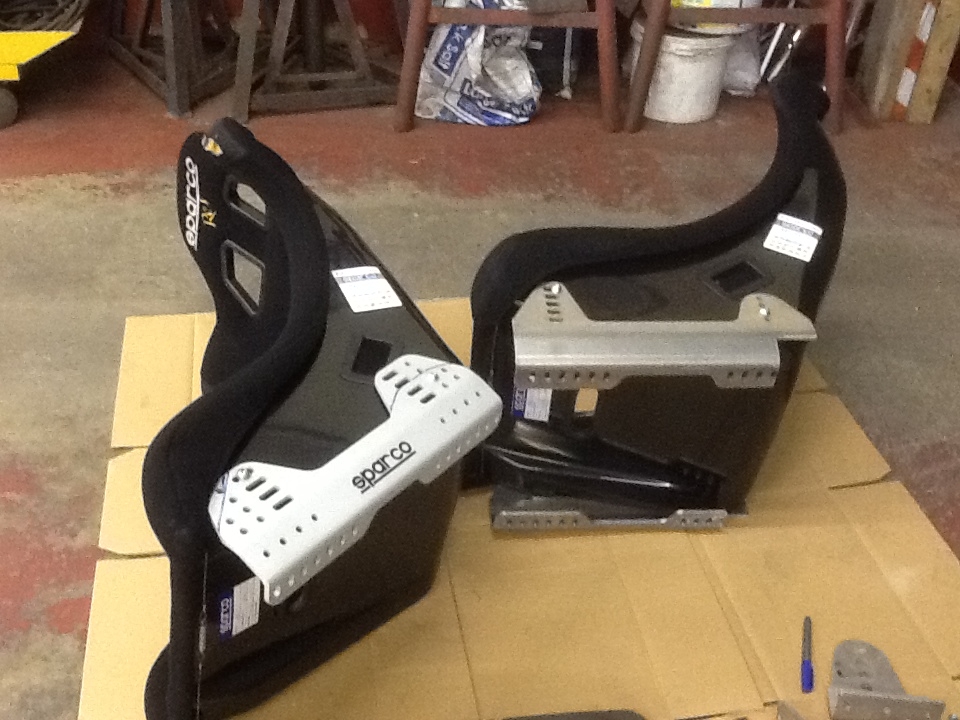
Personally I prefer the originals however these will also work.

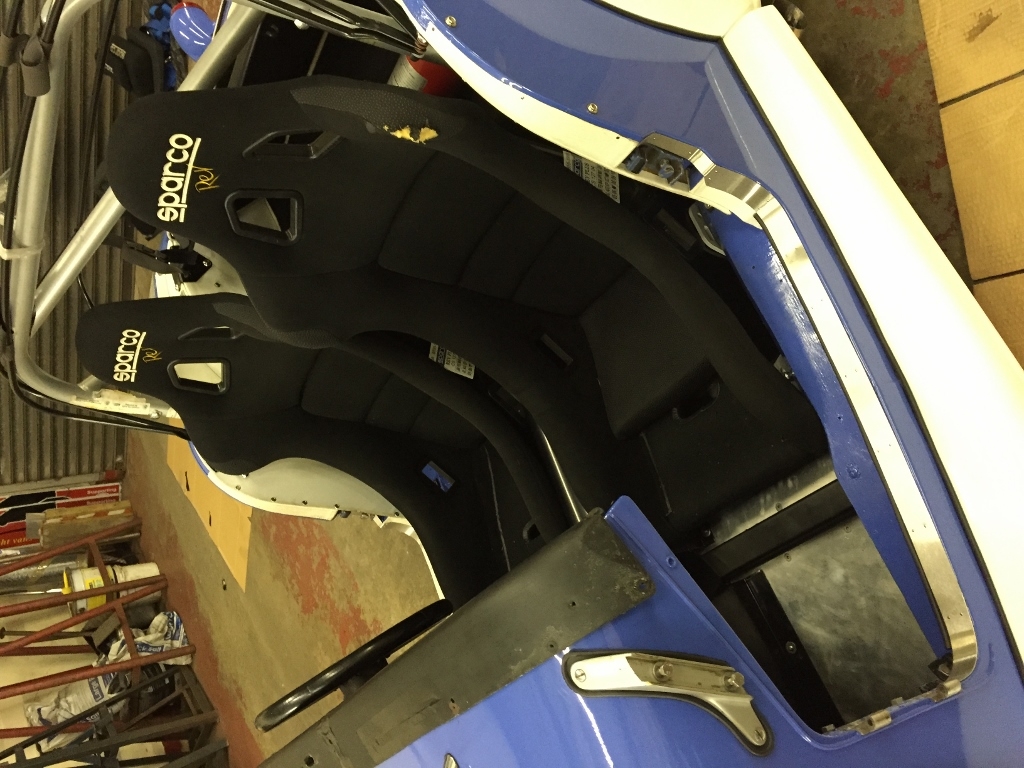
This is not quite final fit but its getting there
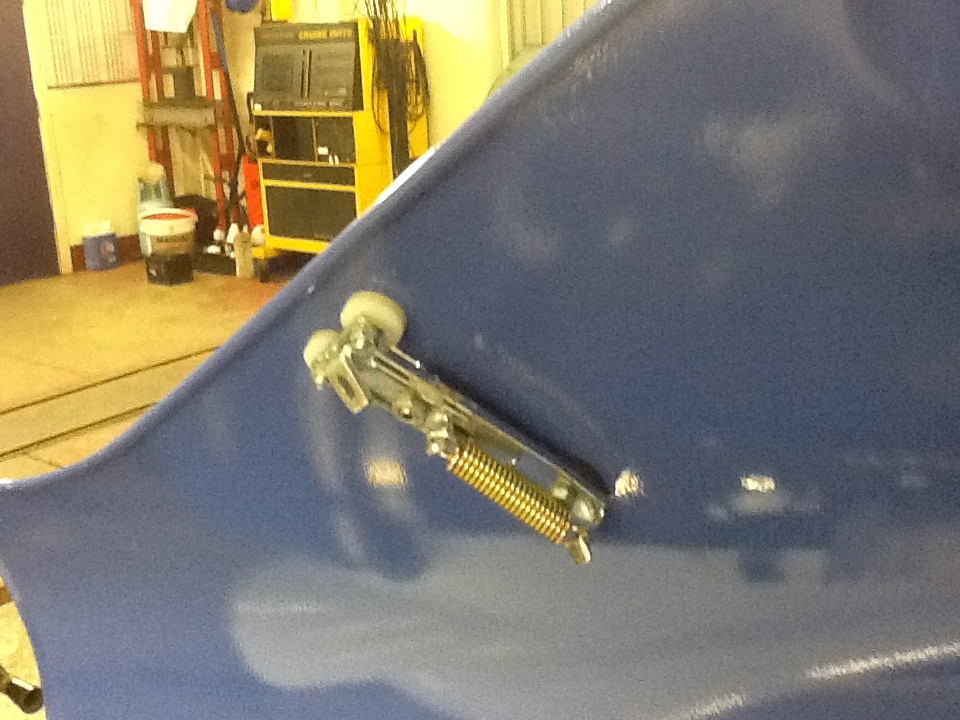
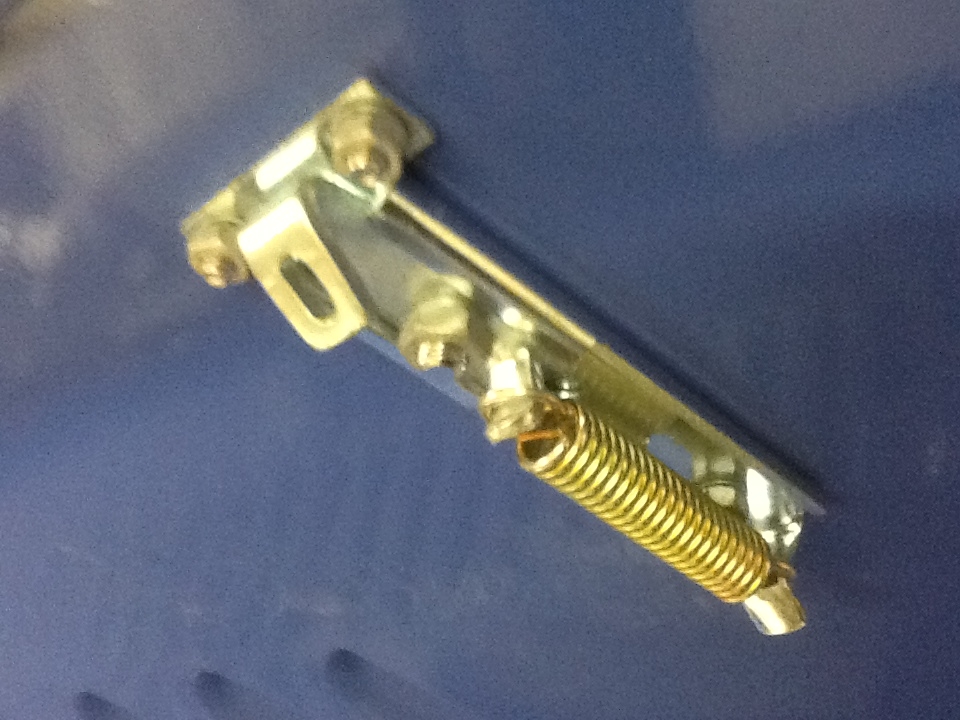
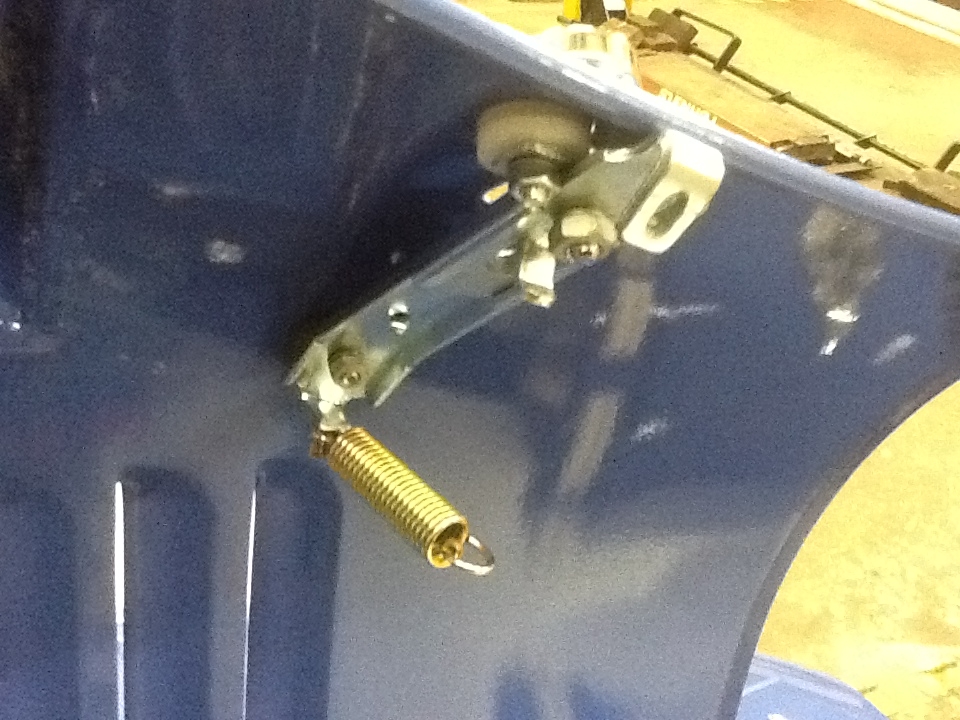
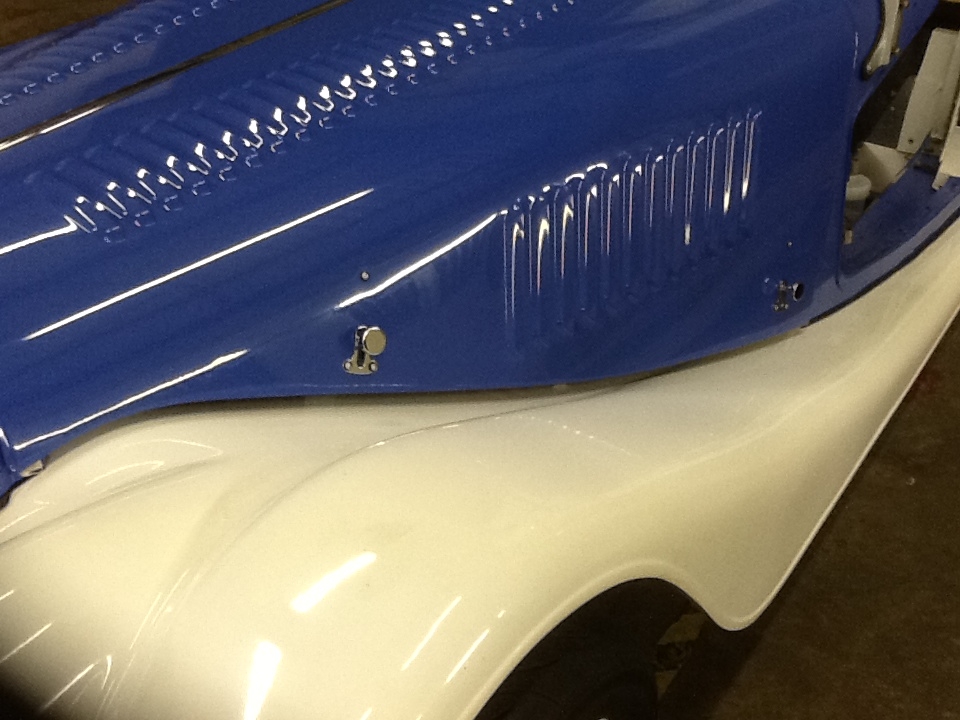


Wing brackets
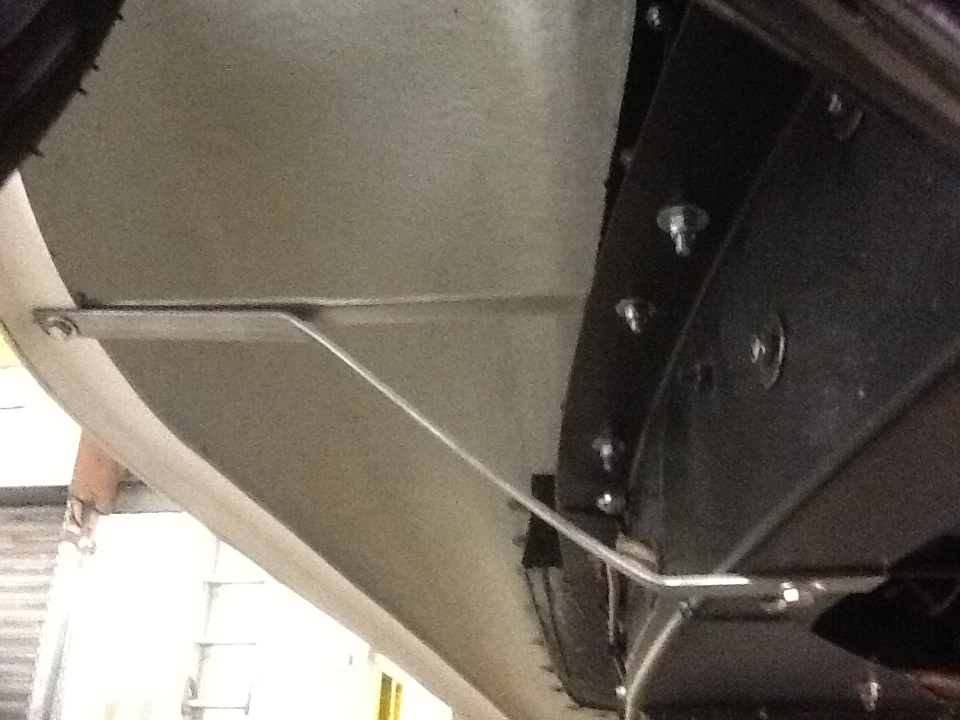
Finally the wing brackets, we have the originals of these however having stainless bar of a suitable size on the shelf we quickly fabricated new ones, these will probably outlive the car.


We've also sorted all the rear lights electricals, the horn and the cooling fan otter switch (we did have a choice for the ECU to control this on the Omex 600 but the 200 does not have this function so otters all round to keep things simple).


Joined: Jan 2012
Posts: 14,976
Likes: 1
Member of the Inner Circle
Offline
Member of the Inner Circle
Joined: Jan 2012
Posts: 14,976
Likes: 1
Great to read as ever!


Richard
1976 4/4 4 Seater
Page 35 of 41 1 2 33 34 35 36 37 40 41

Moderated by  TalkMorgan 

Link Copied to Clipboard
Powered by UBB.threads™ PHP Forum Software 7.7.5