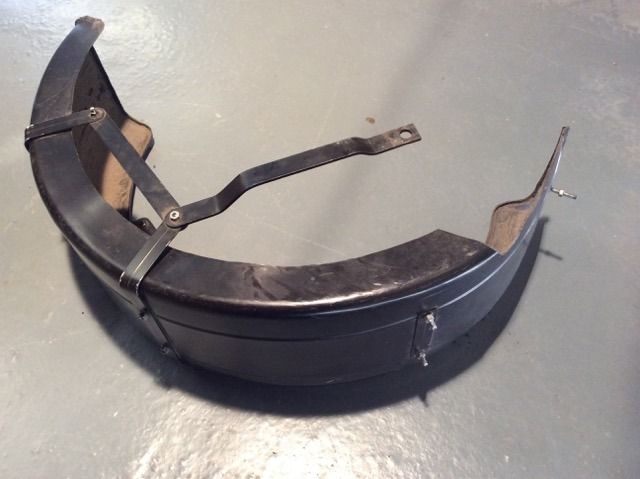
As requested I have taken some photos of the rear mudguard arrangement on my M3W with a brief description how it was made up.
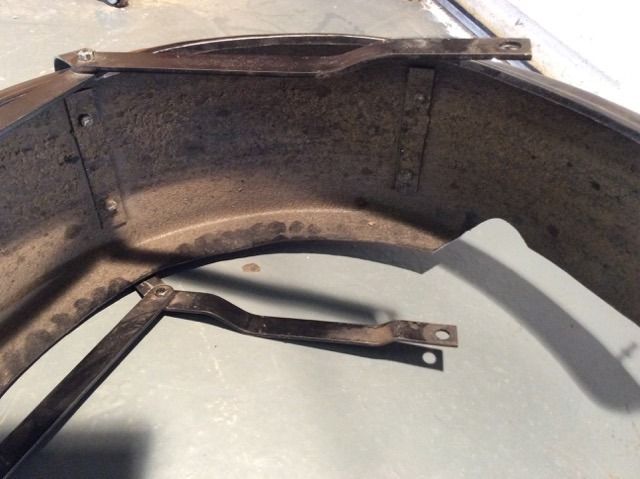
Two top brackets
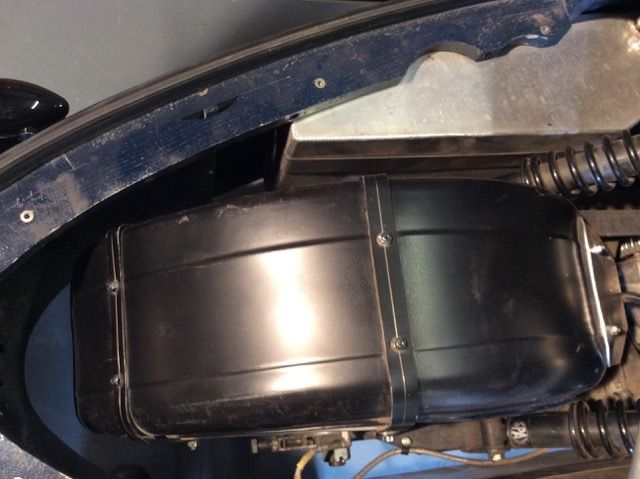
Back support strap between top brackets
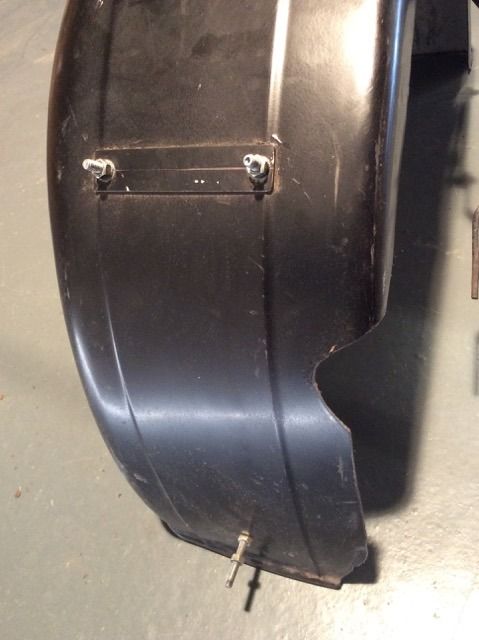
Fixing to original MGuard
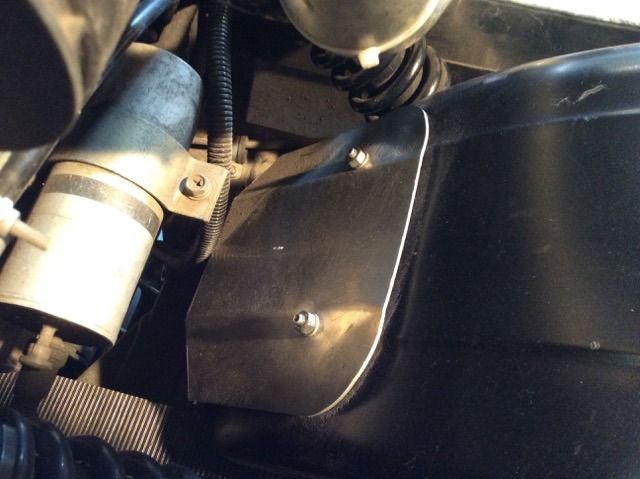
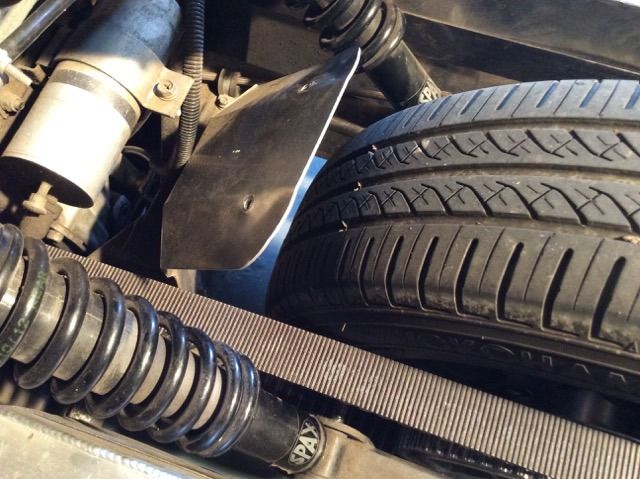
Right support bracket
Left support bracket
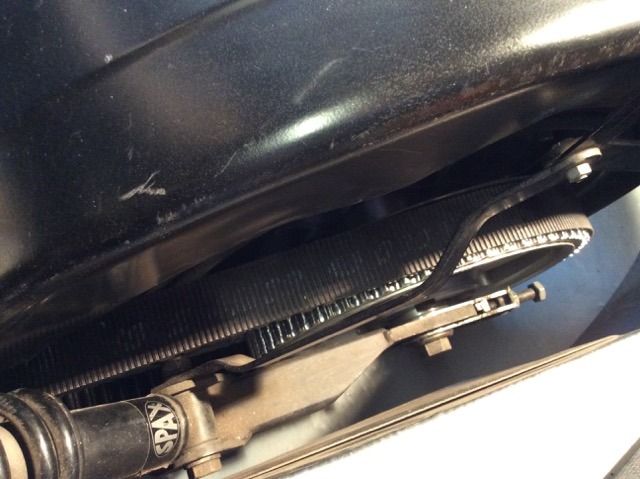
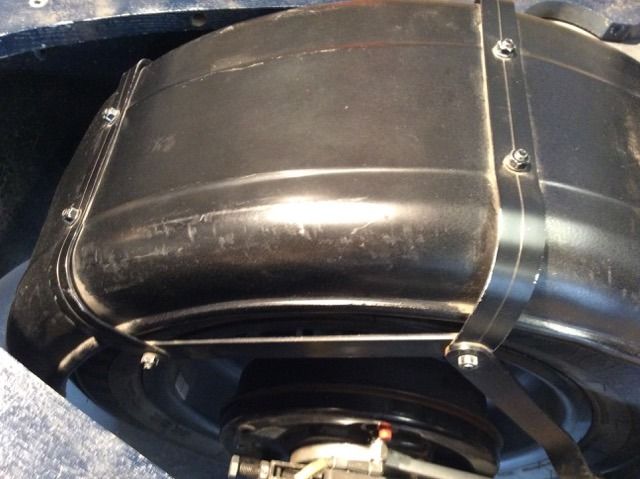
Top and bottom fixing - cut out for belt
Drilled and bent original MGuard
NOTE the underside plates for strenght
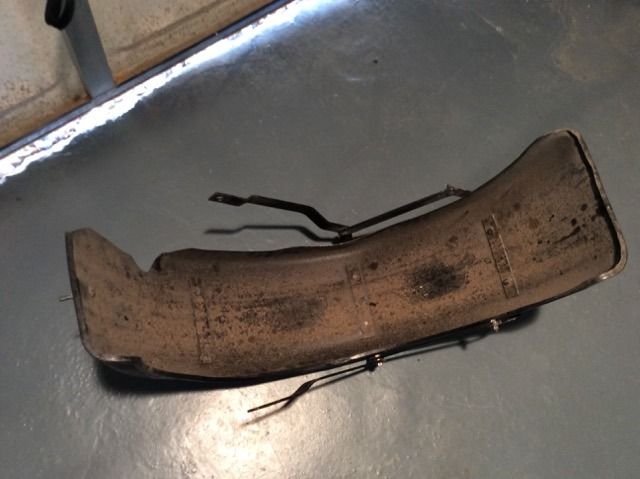
I used the Indespension trailer mudguard part MG008 and 24x2mm aluminum strip from B&Q
1 Remove the existing mudguard and drill a couple of holes on the top edge and one on the bottom. I used 5mm bolts so 5.5mm holes are good. See photos.
2 Offer up the new mudguard and cut it to clear the belt.
3 Slightly flatten the original Mguard and re-install it. Insert the new Mguard, get it into the desired position and mark through the two holes onto the new Mguard. Drill the two holes in the new Mguard, make the aluminum strengthening straps for the top and underside of the new guard. Bolt these in place and leave the screws long enough so that they can be bolted onto the original guard.
4 Make the two top brackets and plates for the underside of the Mguard. Drill and fix these.
5 Mount the new Mguard into position using the two studs, bend the original Mguard to get a close fit. From there on it is a case of making up the brackets as shown in the photos.
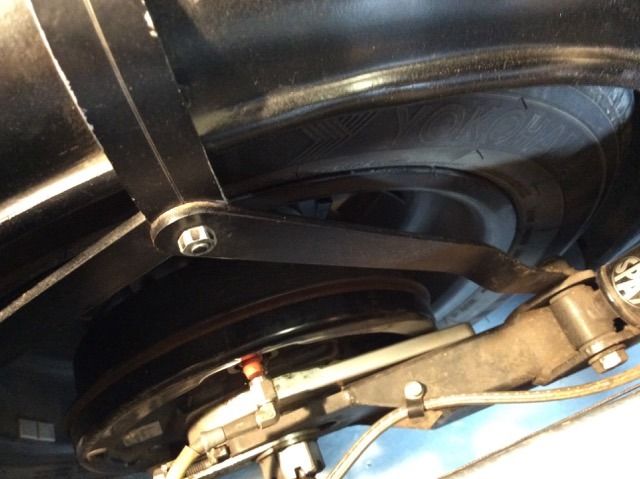
6 The two back side support straps should be marked out with the guard slightly stressed, (the curvature of the guard reduced to follow the curve of the tyre better) this when bolted up increases the stiffness of the new Mguard considerably.
7 The third bolt at the bottom of the original Mguard/ new Mguard is a bit awkward to mark out and maybe unnecessary but it does make the Mguard nice and secure.
The mudguard can be removed with the brackets fixed in the assembled position as shown in the last few photos.


