|
3 members (+8Rich, Mr K, Grumpy2),
423
guests, and
93
robots. |
|
Key:
Admin,
Global Mod,
Mod
|
|
|
Forums39
Topics49,859
Posts837,483
Members9,596
| |
Most Online1,063
Jun 14th, 2026
|
|
|
There are no members with birthdays on this day. |
|
|
|
Joined: Dec 2008
Posts: 22,358 Likes: 353
Roadster Guru Member of the Inner Circle
|
OP

Roadster Guru Member of the Inner Circle
Joined: Dec 2008
Posts: 22,358 Likes: 353 |
After five years it's time to change the fluid - as part of this year's service which I'm doing in bits when time permits. The brake fluid change and service will follow in a later post. First the equipment. An old bleed tube, which is nothing more than what looks like bunsen burner gas pipe with a screw in the end and a slit at the end along the sidewall. This is so that the fluid & air can escape through the slit, but no air gets back in. Like breathing out through closed lips. I also have a Waitrose olive container with a hole in the lid for the tube. This is to collect the old fluid - and it won't spill with the lid on. Finally a small top from an aerosol can to act as pourer.  This job is messy. Brake fluid can also damage paintwork and there isn't much room to do it. First thing was to remove the black dustcap on the bleed nipple and the insulating tube from the master cylinder. Next I put some newspaper underneath to catch the drips. There will always be drips.  The way I do it is this - if you first empty the master cylinder and refill with new fluid, you don't have to pump so much old fluid through. So I have a "Fluid Transfer Tool" from Agriemach.......You can use the wife's chicken baster at your peril. You can see how cloudy the old fluid is in this shot.  It took three fills to empty the master cylinder.  You won't get air in the system by doing this, as the air will rise to the top as you fill with new fluid. Next I loosened the bleed nipple (11mm ring spanner). Make sure that the bleed tube is a good fit, because the hydraulic pressure can blow it off with the risk of a small jet of fluid, which may go anywhere. Mine popped off a couple of times - so I got my drips. After a few pumps, clean fluid started to emerge - it probably took about 15 pumps, and several top ups of new fluid. Once it runs clean, tighten the bleed nipple, wipe down and refit the dust cover. Check the master cylinder level and replace the cap. Check that it works OK. I used Duckhams Dot4 for this job, and it took about 500ml. The next picture shows the clean fluid which eventually emerged - which is significantly cleaner and lighter than the old fluid.  This is nearly clear. And don't panic, I'm not reusing fluid, this is just to illustrate how clear the new fluid is - like white wine.........of current vintage   Looking at the state of the old fluid, I really need to get the brakes done, but it will have to wait a while longer.
DaveW
'05 Red Roadster S1
'16 Yellow (Not the only) Narrow AR GDI Plus 4
|
|
|
|
|
Joined: Jun 2008
Posts: 1,597
Talk Morgan Enthusiast
|
|
Talk Morgan Enthusiast
Joined: Jun 2008
Posts: 1,597 |
Another top post to save for a rainy day.
In anticipation of the brake fluid post, my friend changed his brake fluid recently on a 04 Roadster and it was described as water, such was the deteriation.
|
|
|
|
|
Joined: May 2008
Posts: 1,103 Likes: 2
Has a lot to Say!
|
|
Has a lot to Say!
Joined: May 2008
Posts: 1,103 Likes: 2 |
Nice one Dave....hurry up and doing the brakes I have that on my list to do (and now includes the Clutch fluid!)
Is it possible to do the clutch on your own or do I need to 'be nice' to Mrs. H. for assistance?
Keith
Car 54 - 'Le Mans 62' 4/4 Supersport
OxMog Member (and associated with CranMog and SwanMog)
|
|
|
|
|
Joined: Dec 2008
Posts: 22,358 Likes: 353
Roadster Guru Member of the Inner Circle
|
|
OP
Roadster Guru Member of the Inner Circle
Joined: Dec 2008
Posts: 22,358 Likes: 353 |
If you can get assistance Keith, and by that I mean MrsH pressing the clutch pedal - you can hold the bleed tube in place and avoid unexpected spurts of fluid. Just remember to keep the master cylinder topped up, and keep plenty of rags handy and some water, just in case the fluid gets on the paint. Maximum care is required on this job. My brakes are listed for early July, because the next three weekends are spoken for, but not long to wait.
DaveW
'05 Red Roadster S1
'16 Yellow (Not the only) Narrow AR GDI Plus 4
|
|
|
|
|
Joined: May 2009
Posts: 2,190
South Wales Correspondent Talk Morgan Expert
|
|
South Wales Correspondent Talk Morgan Expert
Joined: May 2009
Posts: 2,190 |
If you can get assistance Keith, and by that I mean MrsH pressing the clutch pedal - you can hold the bleed tube in place and avoid unexpected spurts of fluid. Just remember to keep the master cylinder topped up, and keep plenty of rags handy and some water, just in case the fluid gets on the paint. Maximum care is required on this job. My brakes are listed for early July, because the next three weekends are spoken for, but not long to wait. Ha! have just out-Wellingsed the master. car boot sale yesterday found a Draper 'brake bleed' kit. All the Wellings bits in one kit for princely sum of a quid! I can now eat my Waitrose olives at my leisure. G Dave, I know it is a fleeting victory! gg
GLLHG
|
|
|
|
|
Joined: Dec 2008
Posts: 22,358 Likes: 353
Roadster Guru Member of the Inner Circle
|
|
OP
Roadster Guru Member of the Inner Circle
Joined: Dec 2008
Posts: 22,358 Likes: 353 |
I bought an Eesibleed way back when I needed to dry fill the MGB system. It came with a vast array of master cylinder caps and the only one which was damaged was the MGB cap.............
So I had to do a DW improvisation, and modified a standard cap. But I never felt happy using it. It uses air pressure from the spare wheel, but even with 3 - 5 psi, a small leak could spray fluid everywhere, which is not good. So I favour the old fashioned way.
I do need a new tube though.
DaveW
'05 Red Roadster S1
'16 Yellow (Not the only) Narrow AR GDI Plus 4
|
|
|
|
|
Joined: May 2009
Posts: 2,190
South Wales Correspondent Talk Morgan Expert
|
|
South Wales Correspondent Talk Morgan Expert
Joined: May 2009
Posts: 2,190 |
I bought an Eesibleed way back when I needed to dry fill the MGB system. It came with a vast array of master cylinder caps and the only one which was damaged was the MGB cap.............
So I had to do a DW improvisation, and modified a standard cap. But I never felt happy using it. It uses air pressure from the spare wheel, but even with 3 - 5 psi, a small leak could spray fluid everywhere, which is not good. So I favour the old fashioned way.
I do need a new tube though. Dave, I agree about 'easibleed' This Draper thing was just a proprietary version of what we have all set up- no air pressure via spare wheel. Re tube- what's wrong with traditional method of acquisition? Blag it from a school/college chem lab!  G
GLLHG
|
|
|
|
|
Joined: Dec 2008
Posts: 22,358 Likes: 353
Roadster Guru Member of the Inner Circle
|
|
OP
Roadster Guru Member of the Inner Circle
Joined: Dec 2008
Posts: 22,358 Likes: 353 |
Post Photobucket reboot from June 2010:After five years it's time to change the fluid - as part of this year's service which I'm doing in bits when time permits. The brake fluid change and service will follow in a later post. First the equipment. An old bleed tube, which is nothing more than what looks like bunsen burner gas pipe with a screw in the end and a slit at the end along the sidewall. This is so that the fluid & air can escape through the slit, but no air gets back in. Like breathing out through closed lips. I also have a Waitrose olive container with a hole in the lid for the tube. This is to collect the old fluid - and it won't spill with the lid on. Finally a small top from an aerosol can to act as pourer. 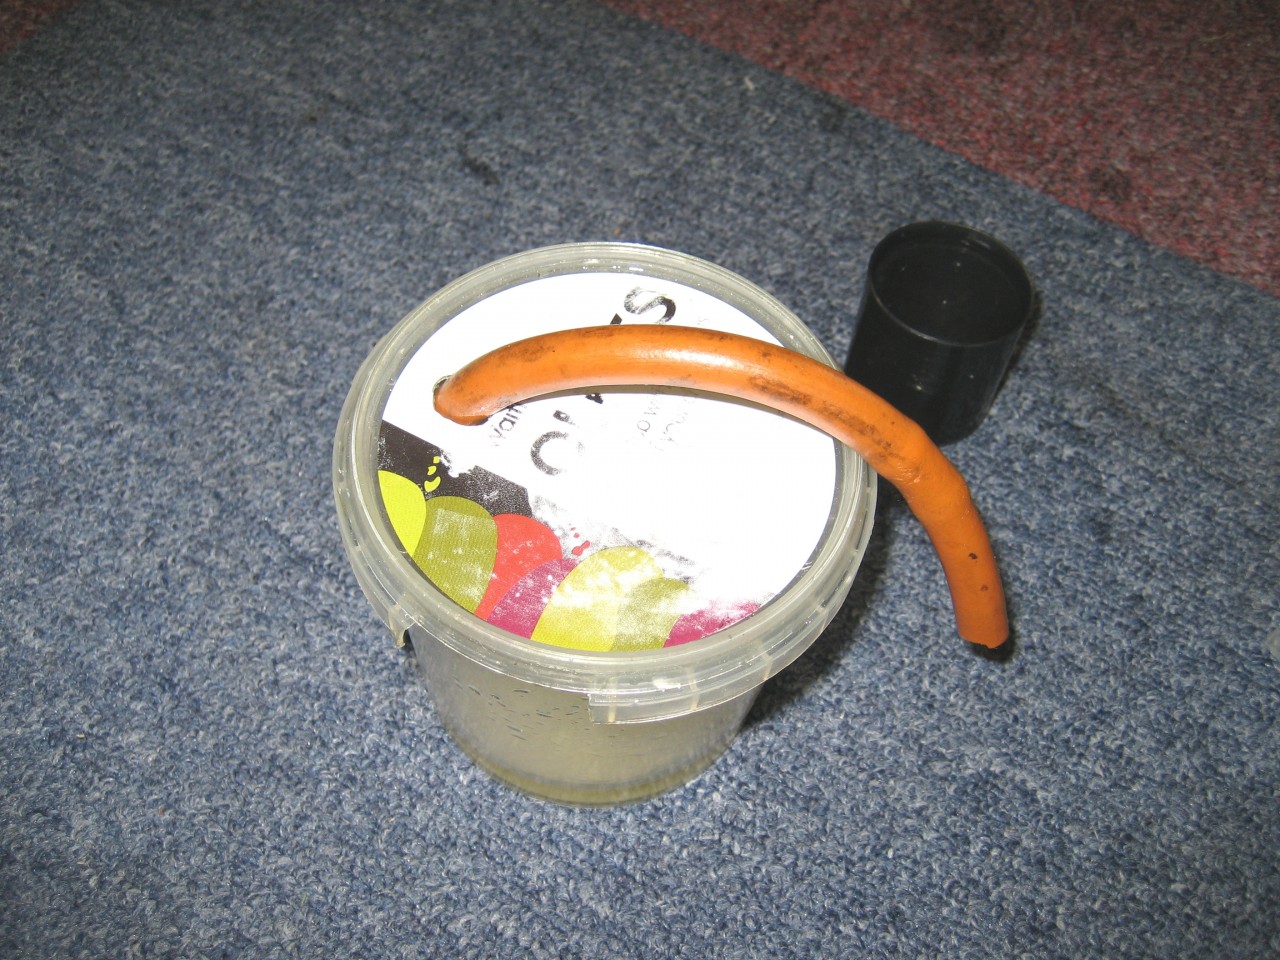 This job is messy. Brake fluid can also damage paintwork and there isn't much room to do it. First thing was to remove the black dustcap on the bleed nipple and the insulating tube from the master cylinder. Next I put some newspaper underneath to catch the drips. There will always be drips. 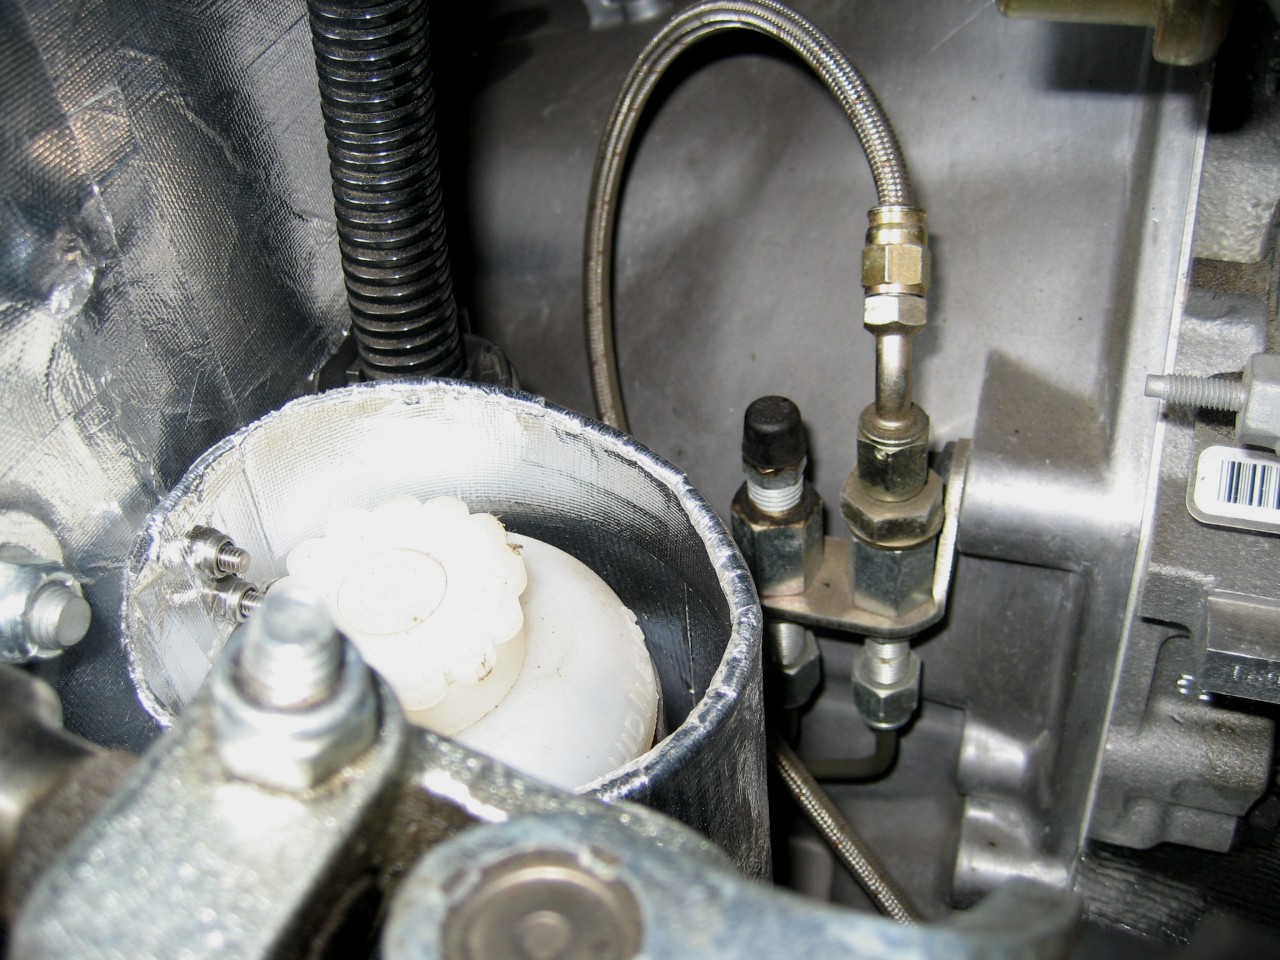 The way I do it is this - if you first empty the master cylinder and refill with new fluid, you don't have to pump so much old fluid through. So I have a "Fluid Transfer Tool" from Agriemach.......You can use the wife's chicken baster at your peril. You can see how cloudy the old fluid is in this shot. 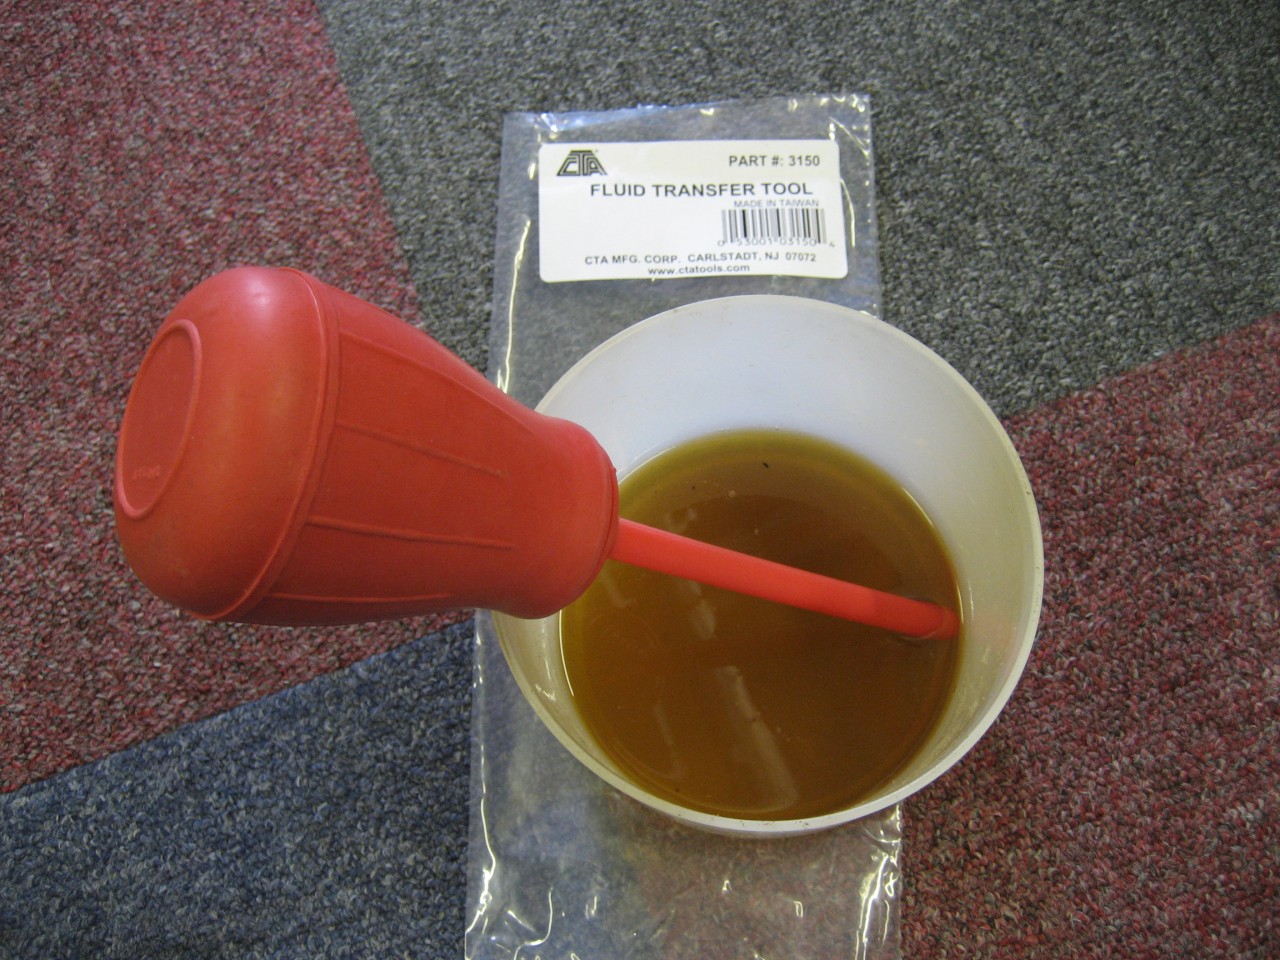 It took three fills to empty the master cylinder. 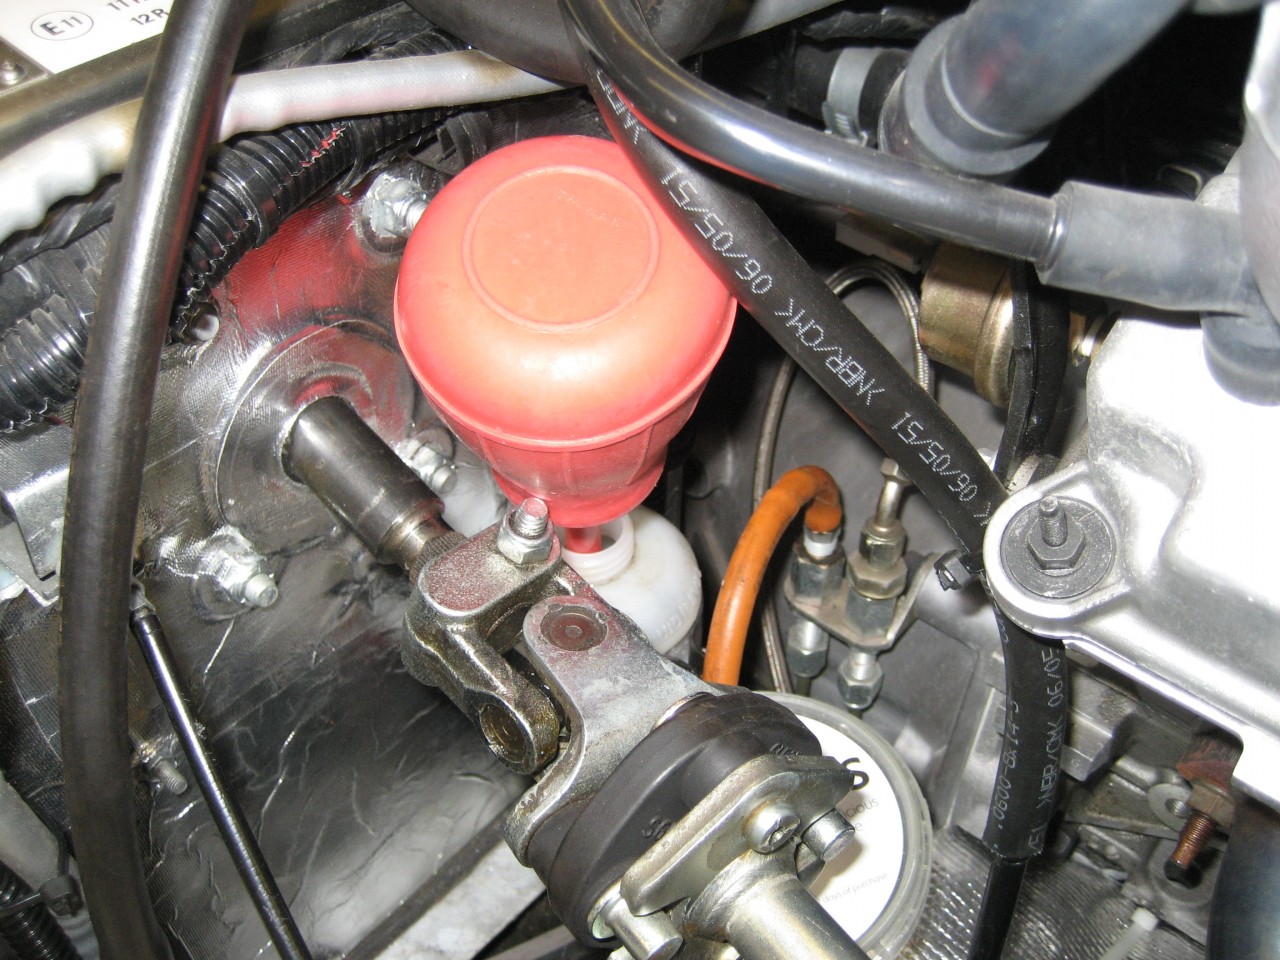 You won't get air in the system by doing this, as the air will rise to the top as you fill with new fluid. Next I loosened the bleed nipple (11mm ring spanner). Make sure that the bleed tube is a good fit, because the hydraulic pressure can blow it off with the risk of a small jet of fluid, which may go anywhere. Mine popped off a couple of times - so I got my drips. After a few pumps, clean fluid started to emerge - it probably took about 15 pumps, and several top ups of new fluid. Once it runs clean, tighten the bleed nipple, wipe down and refit the dust cover. Check the master cylinder level and replace the cap. Check that it works OK. I used Duckhams Dot4 for this job, and it took about 500ml. The next picture shows the clean fluid which eventually emerged - which is significantly cleaner and lighter than the old fluid. 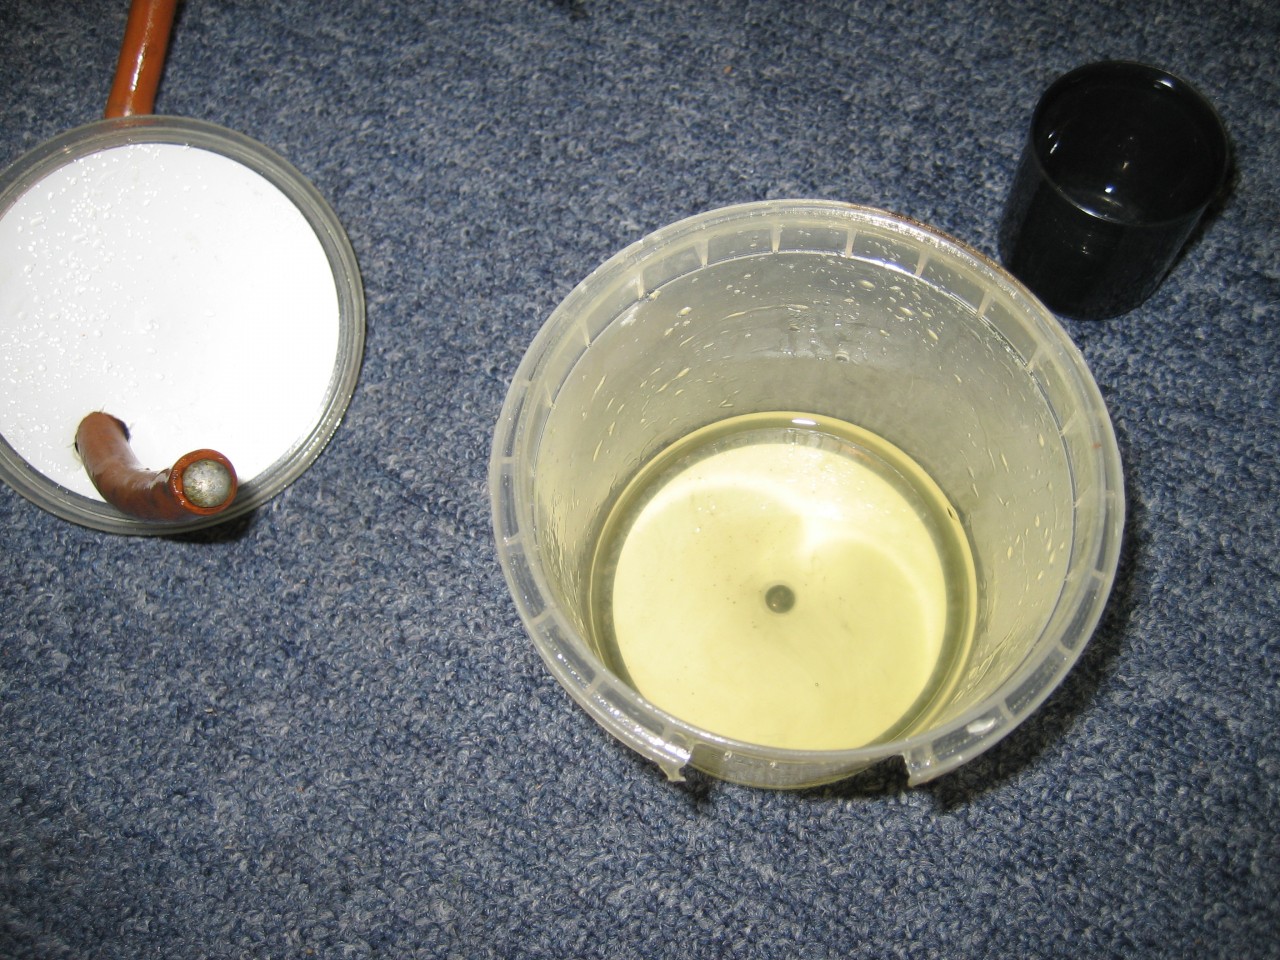 This is nearly clear. And don't panic, I'm not reusing fluid, this is just to illustrate how clear the new fluid is - like white wine.........of current vintage. 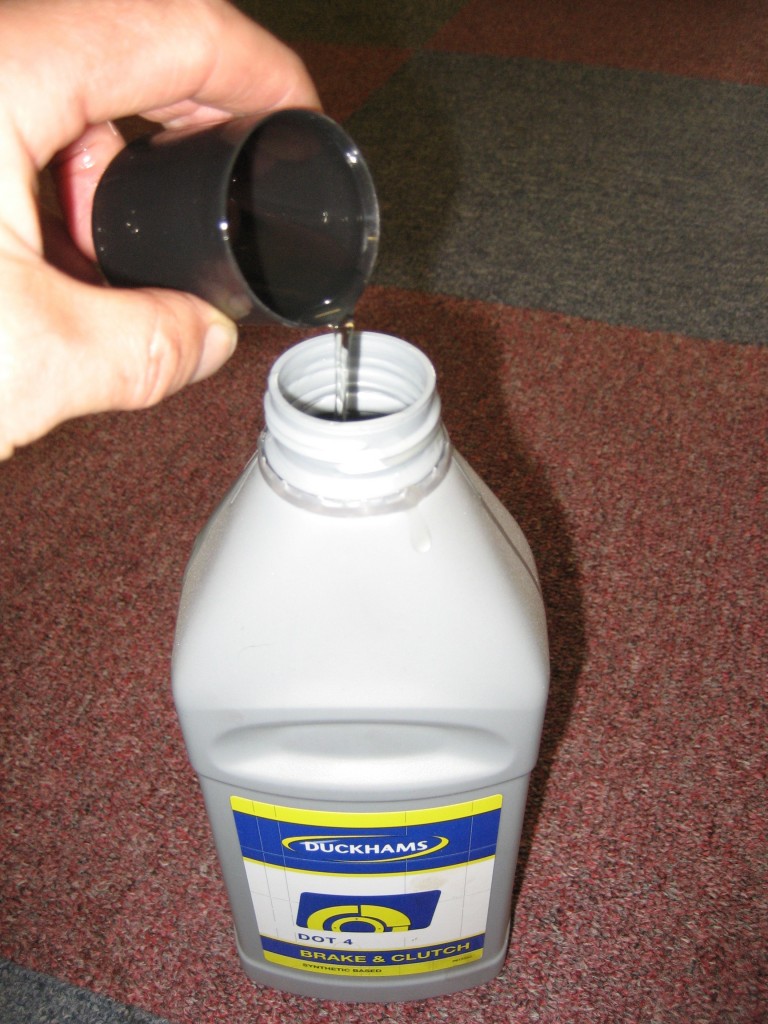 Looking at the state of the old fluid, I really need to get the brakes done, but it will have to wait a while longer.
DaveW
'05 Red Roadster S1
'16 Yellow (Not the only) Narrow AR GDI Plus 4
|
|
|
|
|
Joined: Aug 2020
Posts: 502
Talk Morgan Regular
|
|
Talk Morgan Regular
Joined: Aug 2020
Posts: 502 |
Reserecting an old thread. There are a number of kits that make bleeding brakes easier by pressurising the system and the opening each nipple to drain out the fluid. Could the same kit be used to bleed the clutch as well, in particular S1 Roadster?
2004 Series 1 Roadster
|
|
|
|
|
Joined: Jul 2019
Posts: 5,442 Likes: 468
Charter Member
|
|
Charter Member
Joined: Jul 2019
Posts: 5,442 Likes: 468 |
I have in the recent past replaced two calipers on a non Morgan ABS system. I crimped the brake hoses on removal of the calipers and on caliper replacement I removed the cap from the master cylinder, I did not touch the brake pedal at any time until the bleeding was finished, Having loosened each of the bleed valves in turn, gravity seemed to perform the bleeding task rather well, leaving no evidence of air in the system or brake imbalance. All that typed inclines me to suspect bleeding a clutch by similar method may well be possible..?
|
|
|
|
|