Wales
by Joske Vermeule, September 1
|
|
|
|
|
|
|
|
|
|
|
Forums39
Topics49,866
Posts837,588
Members9,596
| |
Most Online1,063
Jun 14th, 2026
|
|
|
There are no members with birthdays on this day. |
|
|
|
Joined: Dec 2008
Posts: 22,364 Likes: 353
Roadster Guru Member of the Inner Circle
|
OP

Roadster Guru Member of the Inner Circle
Joined: Dec 2008
Posts: 22,364 Likes: 353 |
Post Photobucket reboot from December 2009 continued...........I managed to make a start on the offside today, and the first job was some radiant heat protection for the alternator. The front manifold is very close to the back of the alternator, around half an inch/ a centimetre or so.    I used a rectangle of stainless steel, curved to mirror the pipe shape - with an aluminium bracket fixed with two allen bolts. It was easier to use aluminium for the bracket as it's much easier to work. The bracket must be an odd shape to make this fit. It is covered both sides with the Reflect-a-Cool self adhesive foil...... This is it:   And here it is fitted with a brass nut, washer & lock washer.   There is more to come on this side >>>>>>>>>>>>>>>>>>>>>>
DaveW
'05 Red Roadster S1
'16 Yellow (Not the only) Narrow AR GDI Plus 4
|
|
|
|
|
Joined: Dec 2008
Posts: 22,364 Likes: 353
Roadster Guru Member of the Inner Circle
|
|
OP
Roadster Guru Member of the Inner Circle
Joined: Dec 2008
Posts: 22,364 Likes: 353 |
Post Photobucket reboot from December 2009 continued...........Next I intended to remove the master cylinder heat shield to smarten it up, but a look underneath put me off. It seems that the brake pipe may have been connected after the shield was fitted. You can see how it fits here:  The brake pipe is closer than it looks, so I've fitted a plastic edge trim to the aluminium (not fitted here), although I don't think that it will chafe. Lower down the pipe touched the body on the corner of the metal here:  The clutch slave cylinder lower fixing is in view here. Neoprene provides a cushion and a quick fix:  Here is the brake master cylinder heat shield from the top, as it comes with frayed edges:   And later with Reflect-a-cool added to tidy it up, and provide a bit more insulation:   Finally for today, as it's too cold to stay long in the garage. a photo of the starter motor:  Jaguar eh???? Mmmm. More to follow >>>>>>>>>>>>>>>>>
DaveW
'05 Red Roadster S1
'16 Yellow (Not the only) Narrow AR GDI Plus 4
|
|
|
|
|
Joined: Dec 2008
Posts: 22,364 Likes: 353
Roadster Guru Member of the Inner Circle
|
|
OP
Roadster Guru Member of the Inner Circle
Joined: Dec 2008
Posts: 22,364 Likes: 353 |
Post Photobucket reboot from December 2009 continued...........Well, a bit more progress yesterday on insulating the drivers side bulkhead. This is how it looked: You can see a small grommet left of the column. There were four small holes in the bulkhead, into which I fitted these grommets (from my grommet jar)...............  You can also see how tricky this side is. The easiest way is to fit small pieces in an overlapping tile effect.  While I was under there I also added some rubber caps to the three starter connectors - to reduce the likelyhood of shorts.  There's still a bit more to do but that was all I could manage in the time available - and the fact that it was ffffffreezing More to follow >>>>>>>>>>>>>>>>>>>
DaveW
'05 Red Roadster S1
'16 Yellow (Not the only) Narrow AR GDI Plus 4
|
|
|
|
|
Joined: Dec 2008
Posts: 22,364 Likes: 353
Roadster Guru Member of the Inner Circle
|
|
OP
Roadster Guru Member of the Inner Circle
Joined: Dec 2008
Posts: 22,364 Likes: 353 |
Post Photobucket reboot from December 2009 continued...........Slow progress on this due to   But I snatched an hour or so over the weekend. Next on my list was the clutch master cylinder. Although it's not close to the manifold, there's no harm in adding some protection from the radiated heat. This is much more relevant to the Plus 8 where the manifold is closer. My requirement was for a push fit guard. thinking First a brown paper template...... 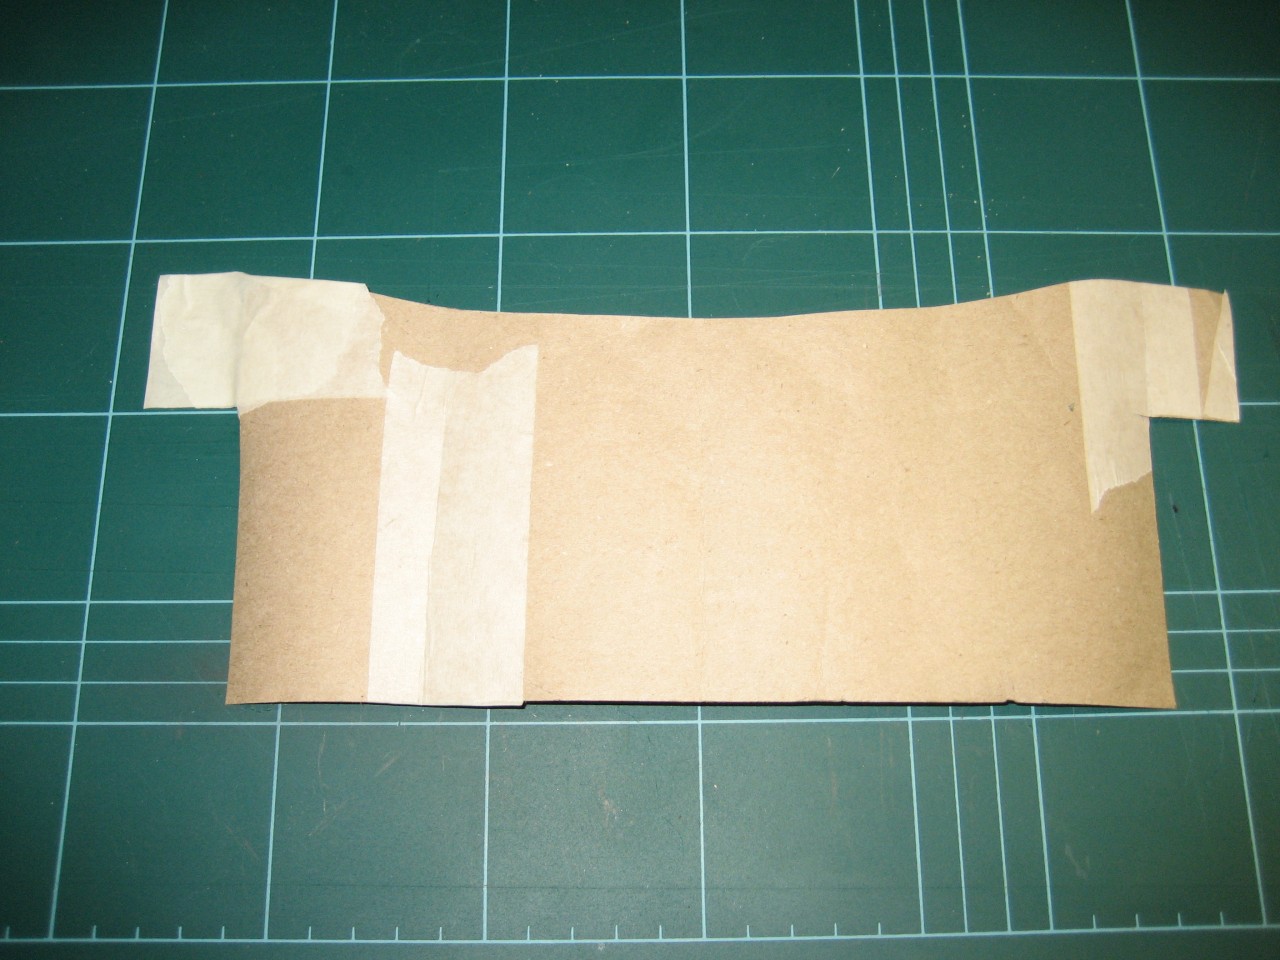 Then using an offcut of aluminium sheet.......covered in Agriemach 'reflect a cool' - with an extra layer of woven insulating mat on the forward facing edge. Curving the aluminium is a bit time consuming. Once completed it's drilled and secured with two stainless allen bolts & locknuts. The slot allows it to 'slot over' the bracket...... Fitting was trial & error in the usual way and it just fits through the gap above the steering column. 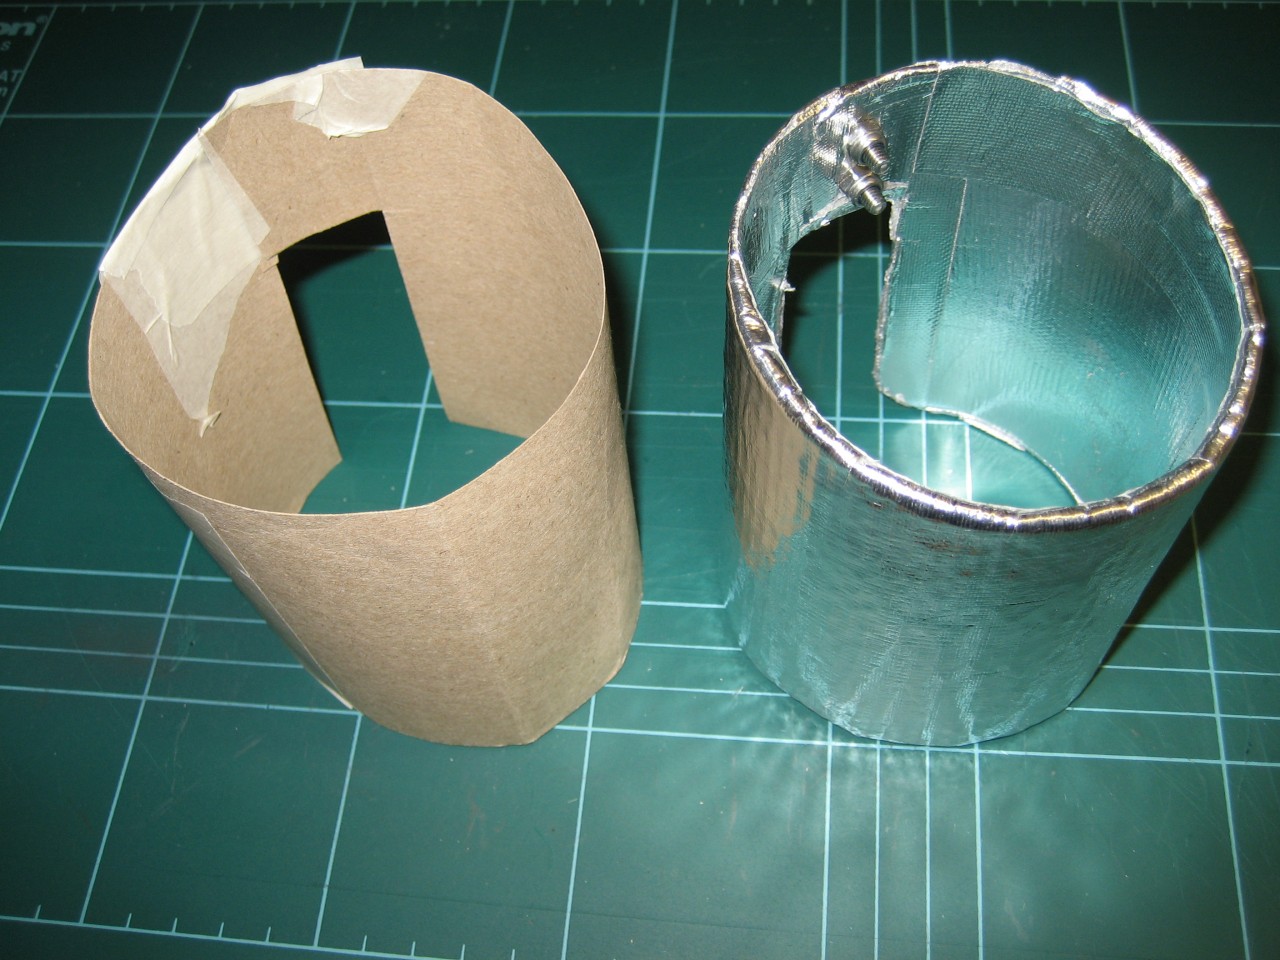 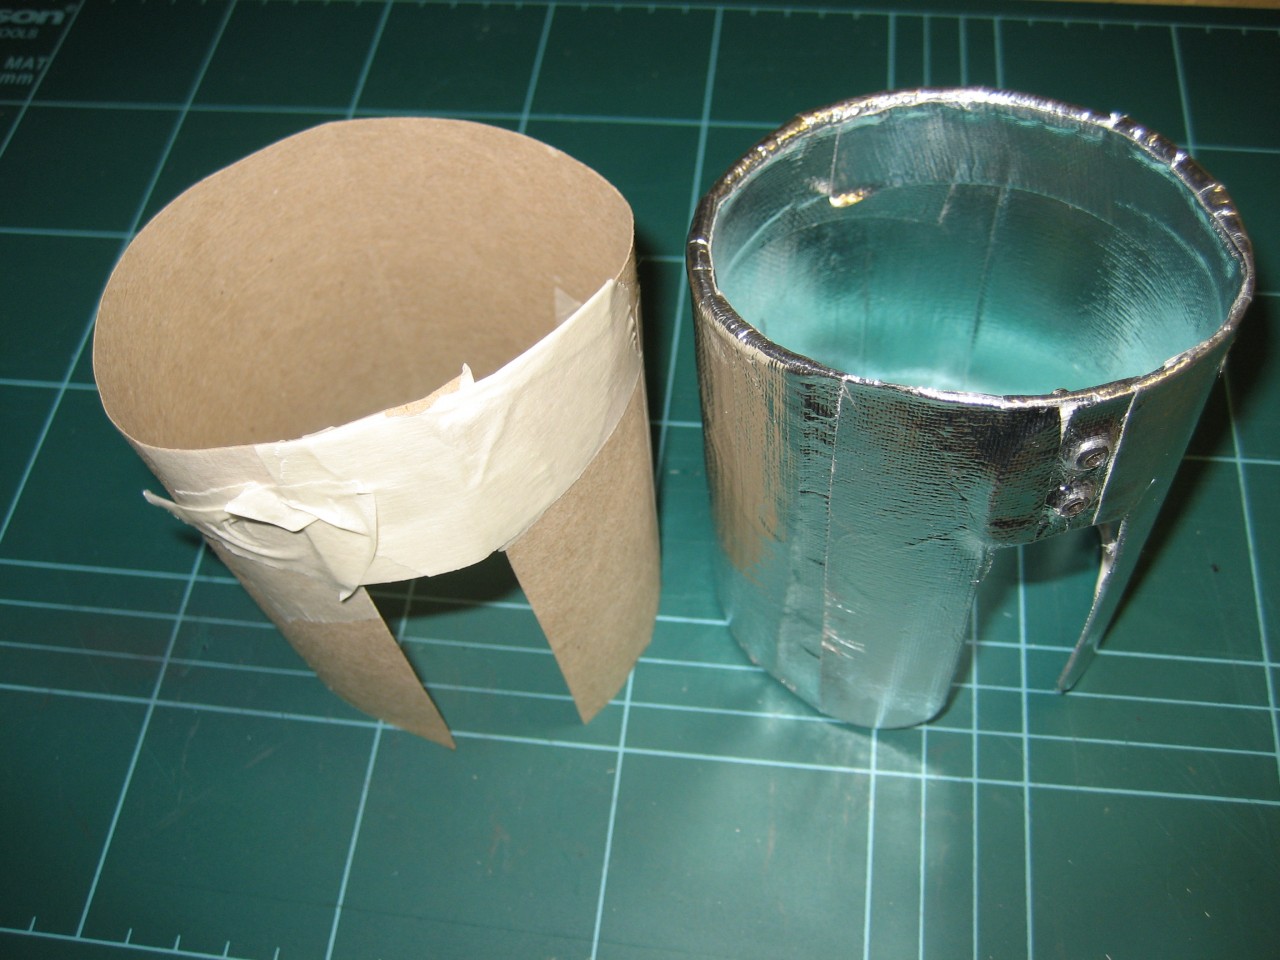 Slotted over....... 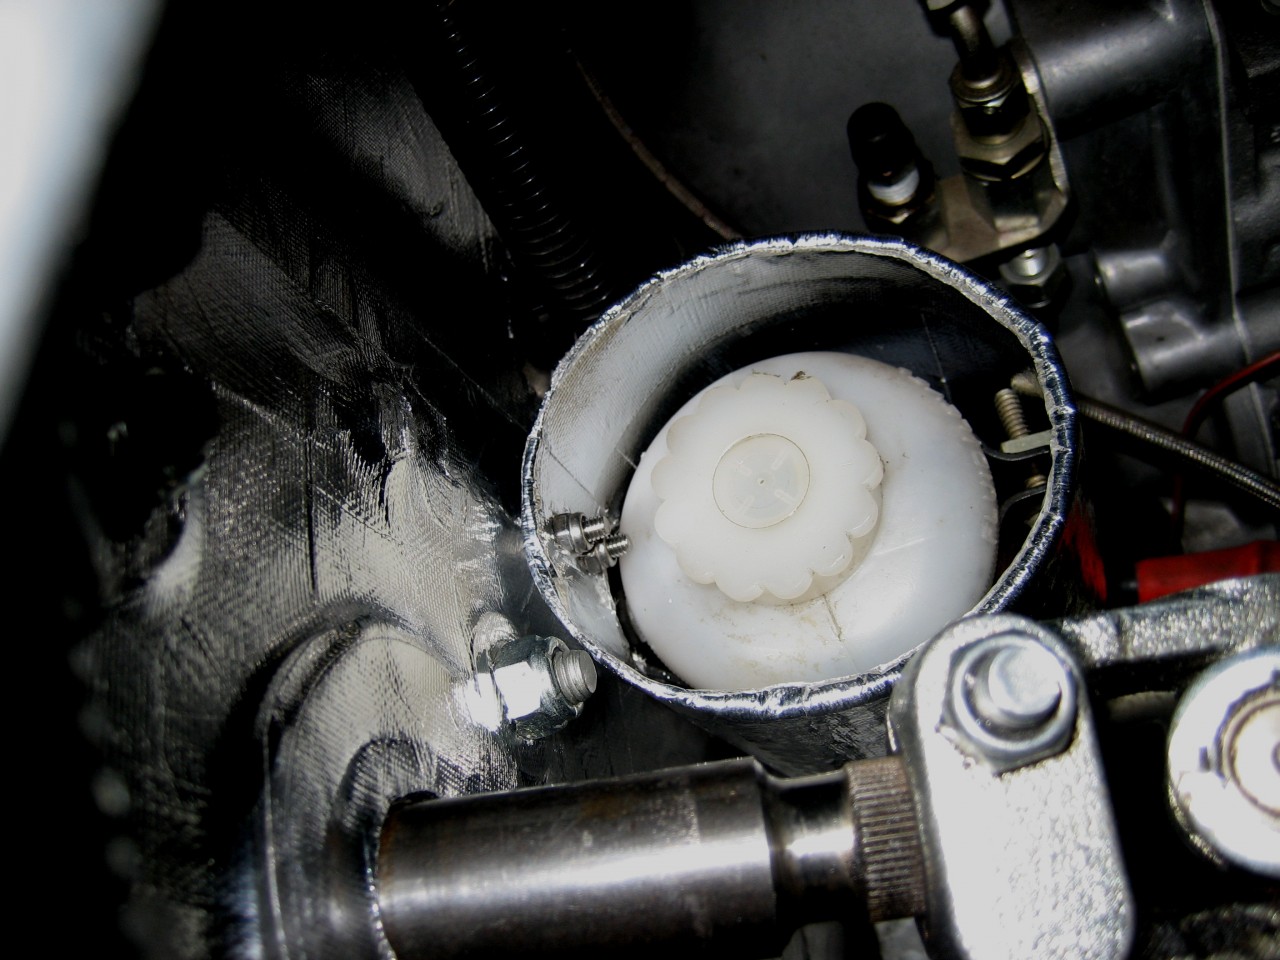 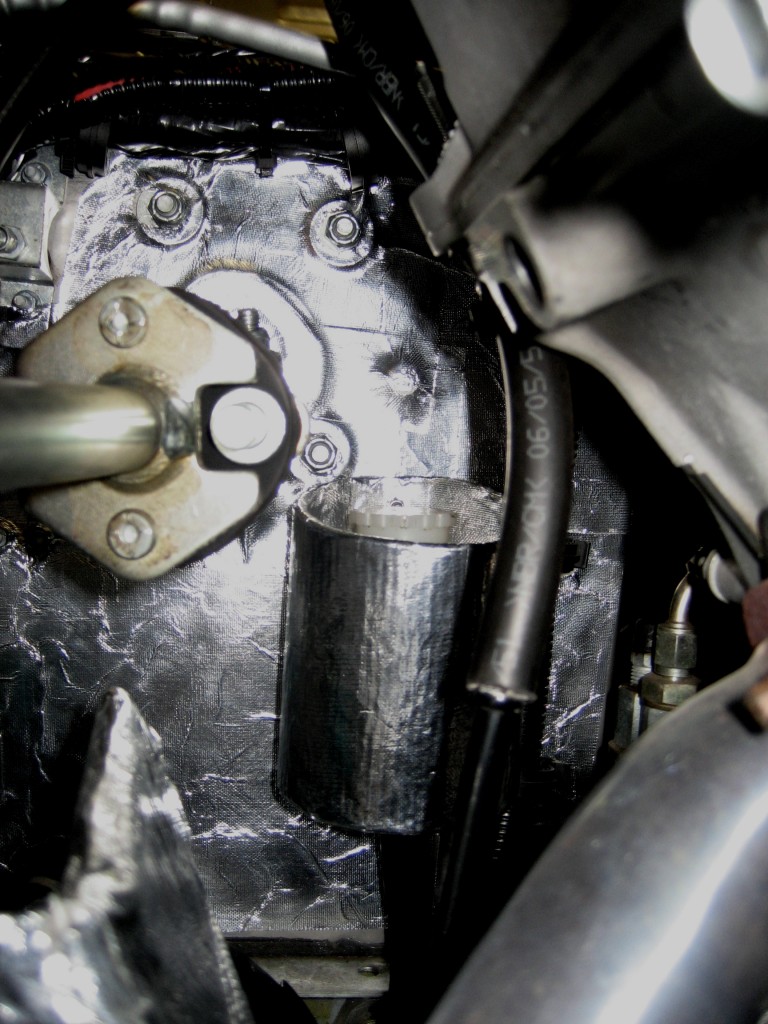 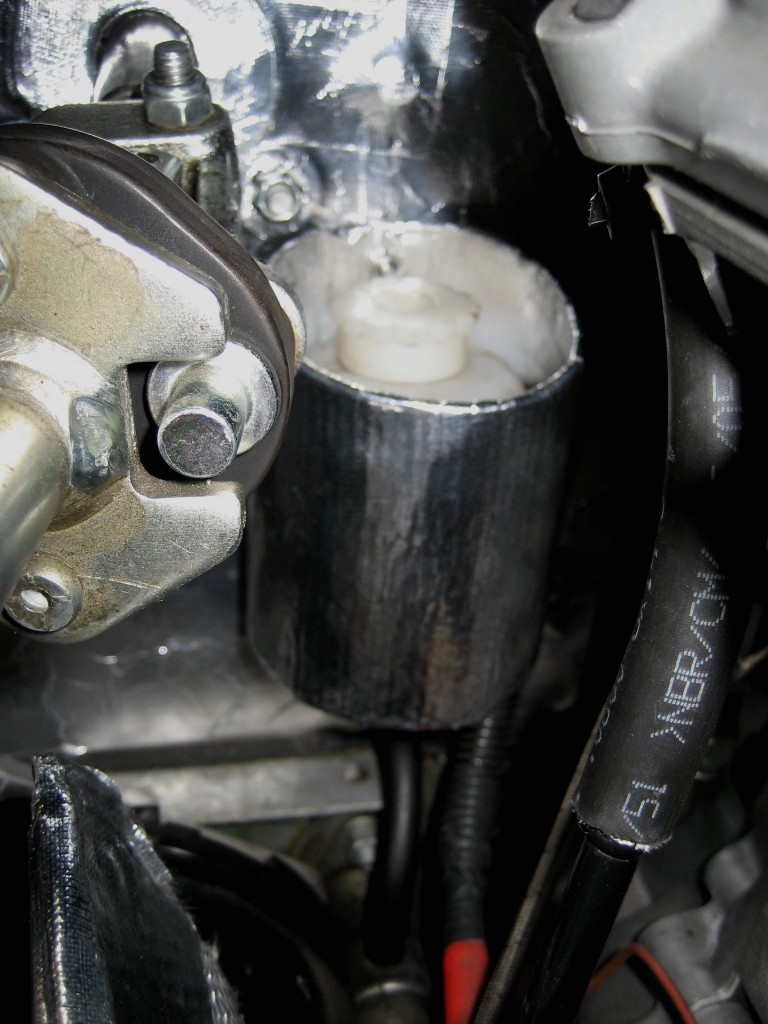 One final job to do in this section but this must wait a bit longer. More to follow >>>>>>>>>>>>>>>>
DaveW
'05 Red Roadster S1
'16 Yellow (Not the only) Narrow AR GDI Plus 4
|
|
|
|
|
Joined: Dec 2008
Posts: 22,364 Likes: 353
Roadster Guru Member of the Inner Circle
|
|
OP
Roadster Guru Member of the Inner Circle
Joined: Dec 2008
Posts: 22,364 Likes: 353 |
Post Photobucket reboot from December 2009 continued...........Right then. Today was a balmy 10degrees C in the garage after I had the heater on. sunny So I could get on with the remaining jobs. First a small diversion......... Those red & green wires are untidy. It's where there is a join in the loom and usually such joins are left visible, but not quite as visible as this. 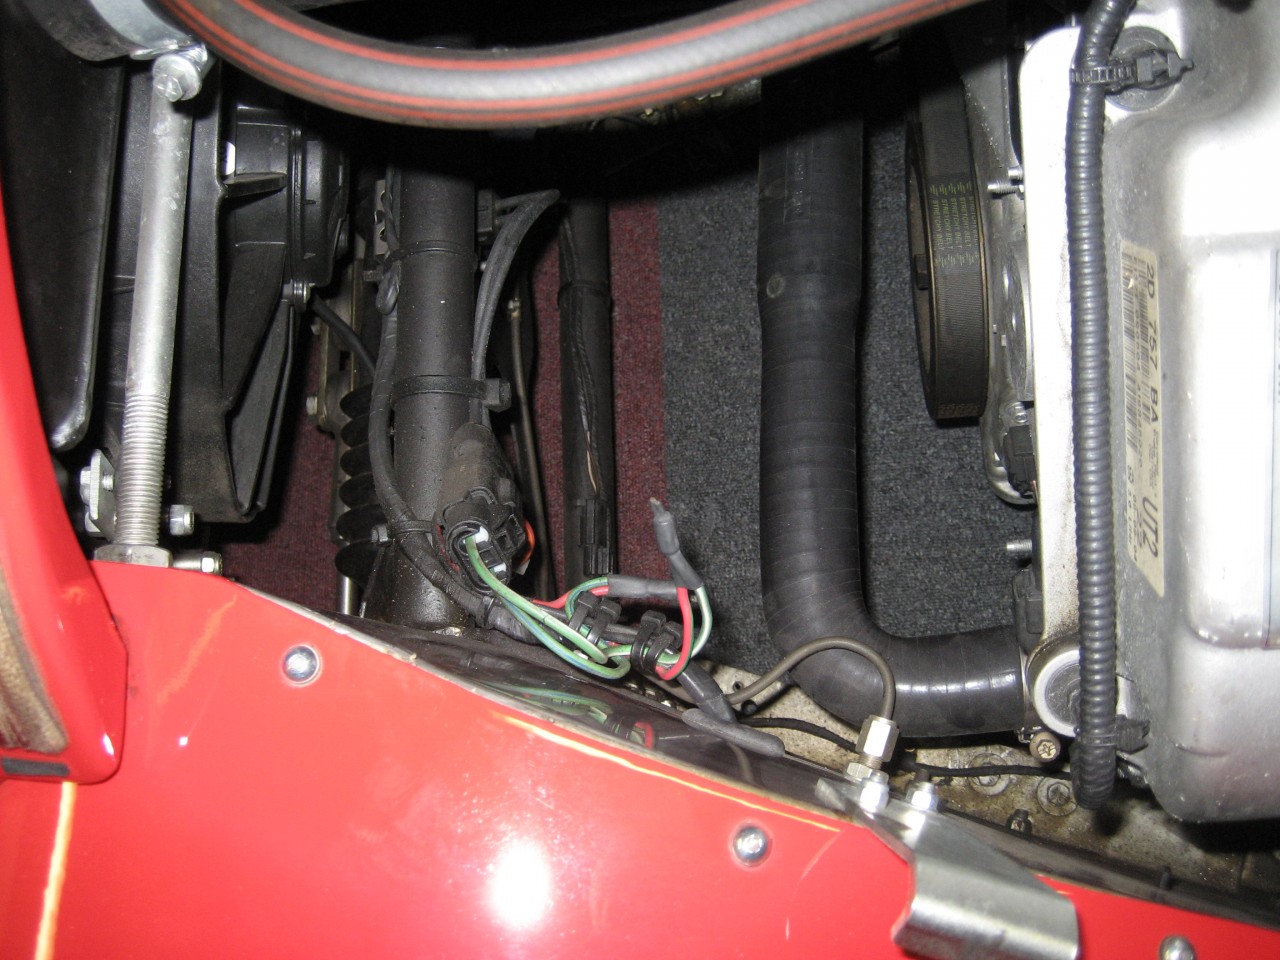 Here's a much closer look.......... 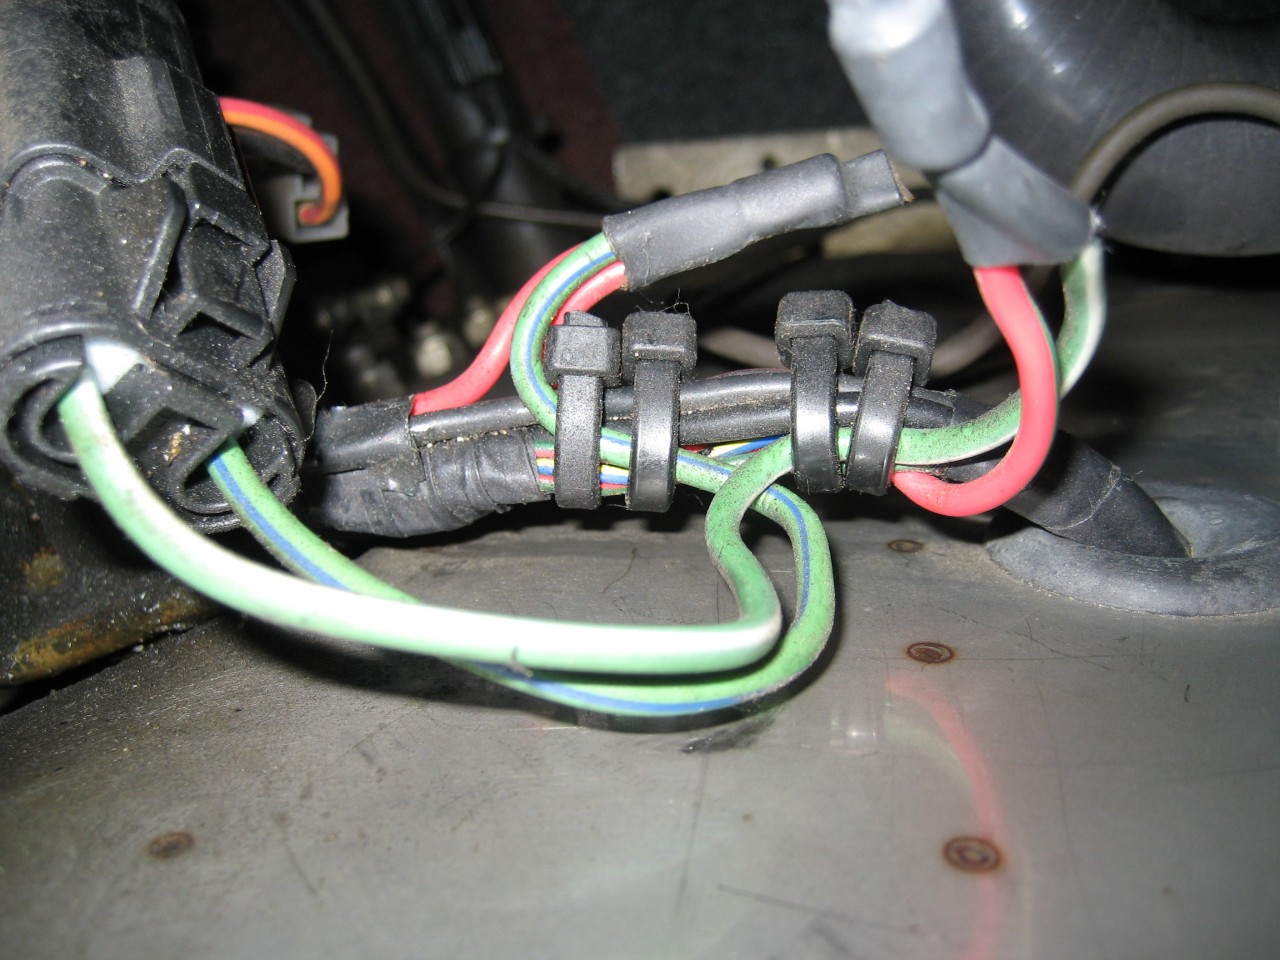 Four cable ties?????? I reckon that may be the way this is made.......... But I can do a bit better. Cutting cable ties is fiddly but I have the perfect tool. A Xuron track cutter. This tool is sold to cut model railway track, but is perfect for cable ties, having a very precise cutting blade, so no damage to the surroundings. 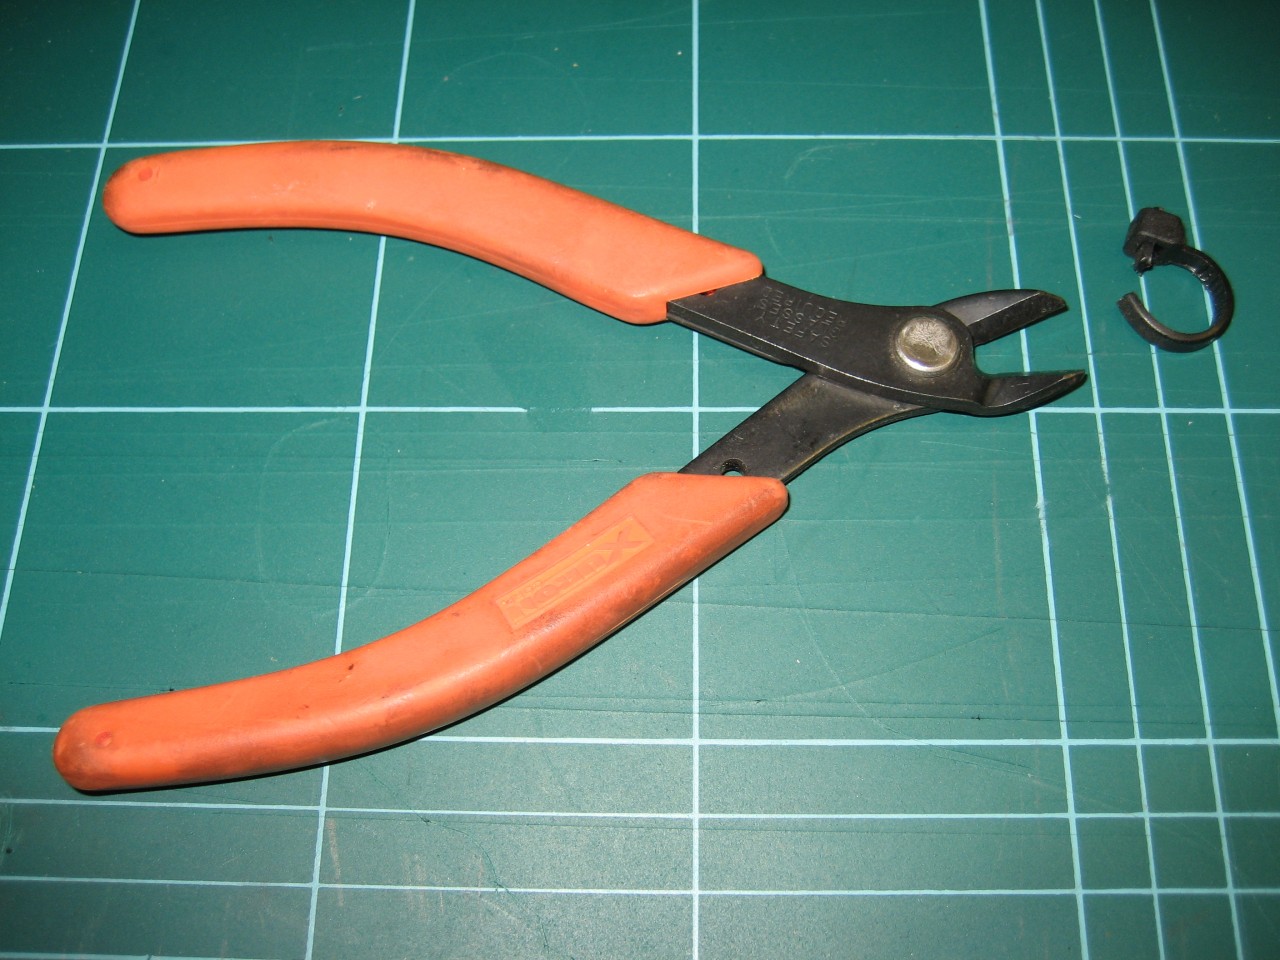 Then I used some loom tape, (which is not self adhesive) to bind the loom and make it a bit tidier. The convention seems to be to leave the join visible, so that's what I did. The end of the tape is secured with a tiny blob of superglue. 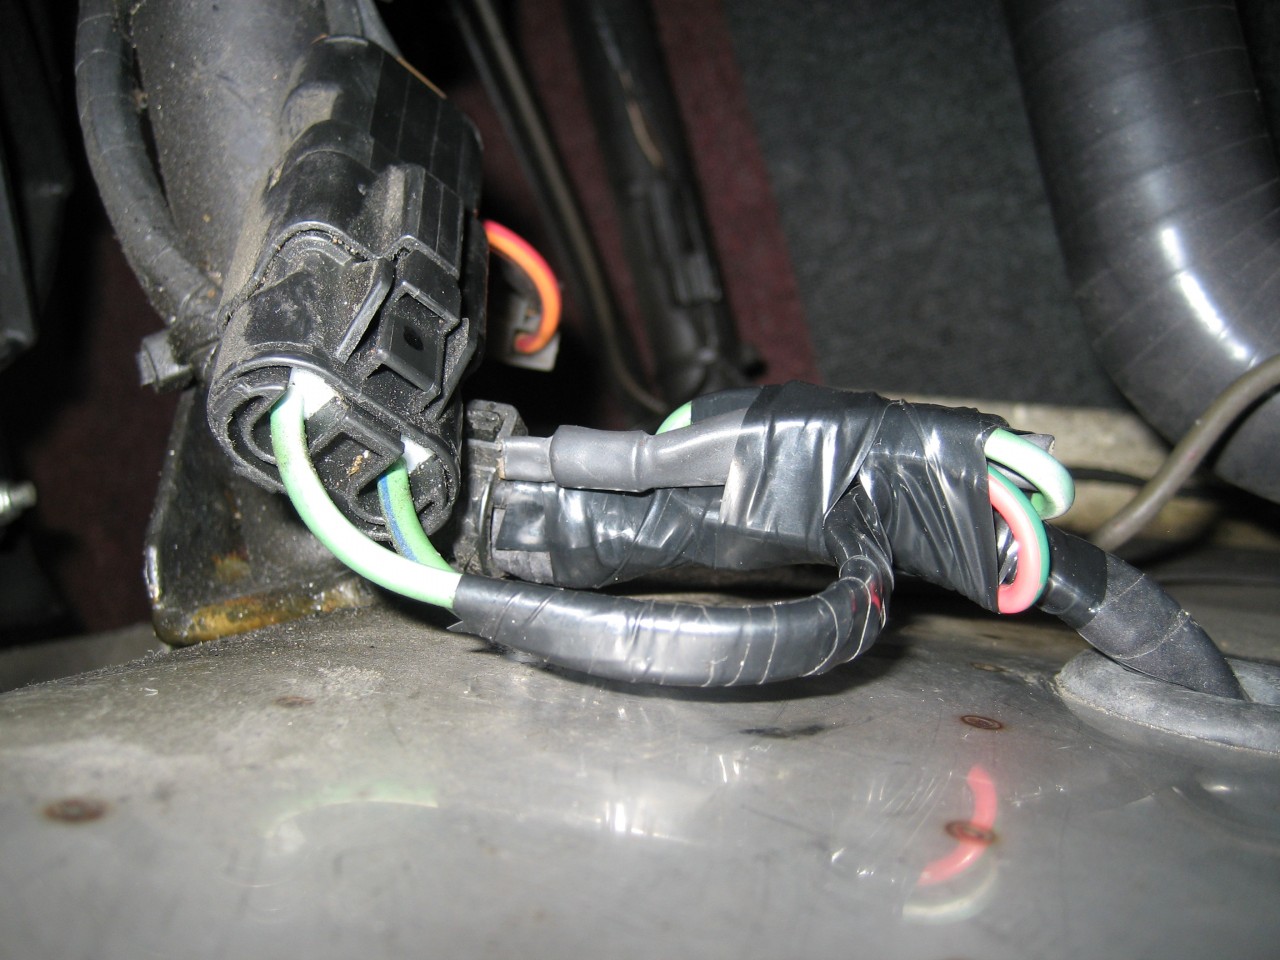 So, back to the final piece of insulation. I was planning on making a starter motor shield in the style of the one sold by Agriemach. This would have looked like a tube with a covered end. But looking underneath, not only is access tricky, but a cable comes off the solenoid in the forward direction, so the closed tube plan is difficult. In the end I settled on a simple 'blanket' fix, which means that the air can still get to the lower half, which might actually be a better idea. So first the brown paper template: 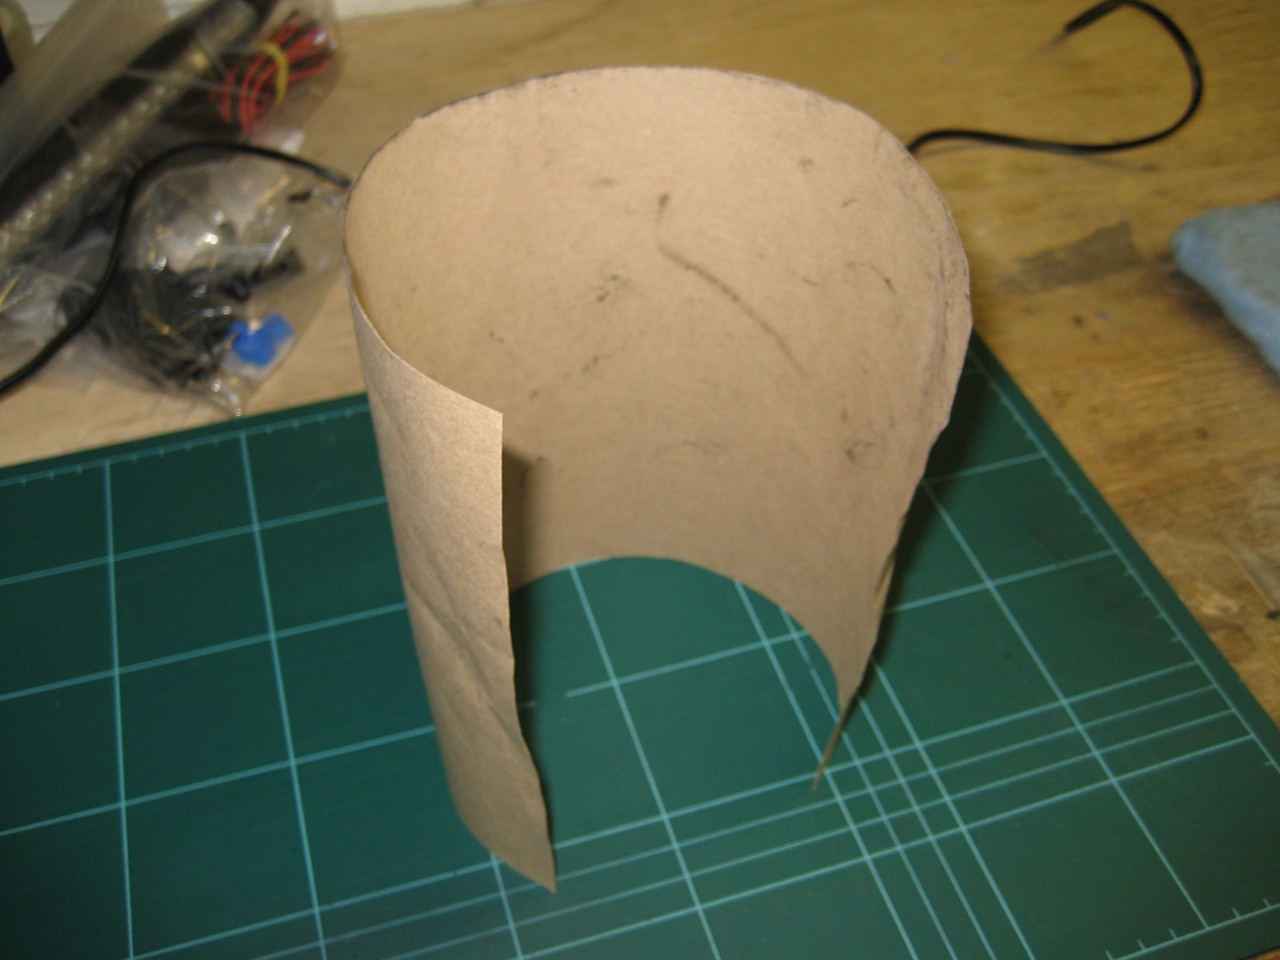 This is 'before'....... Then with the cut piece of insulation fitted - held with a cable tie......... 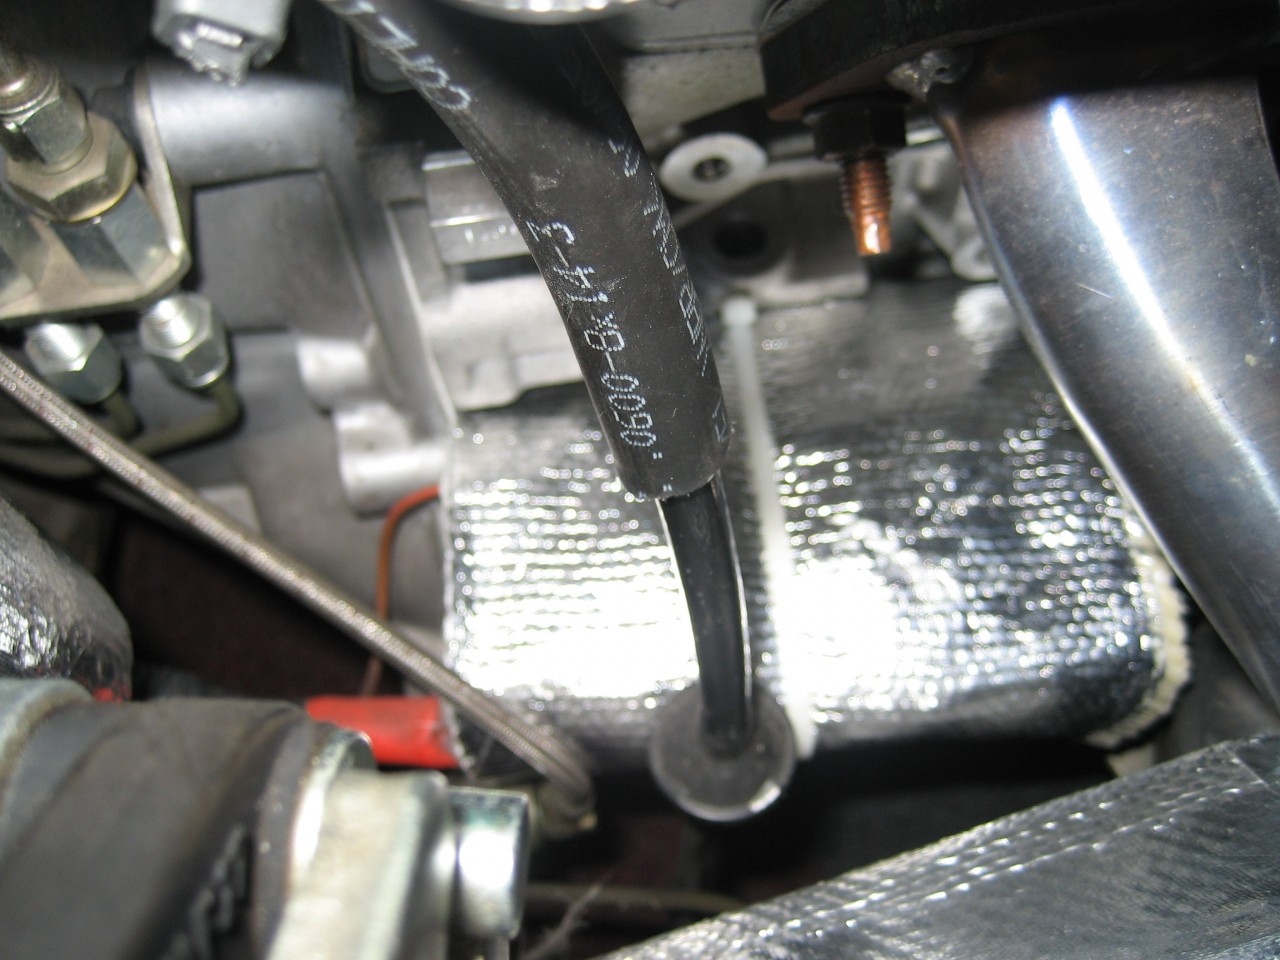 Underneath........ 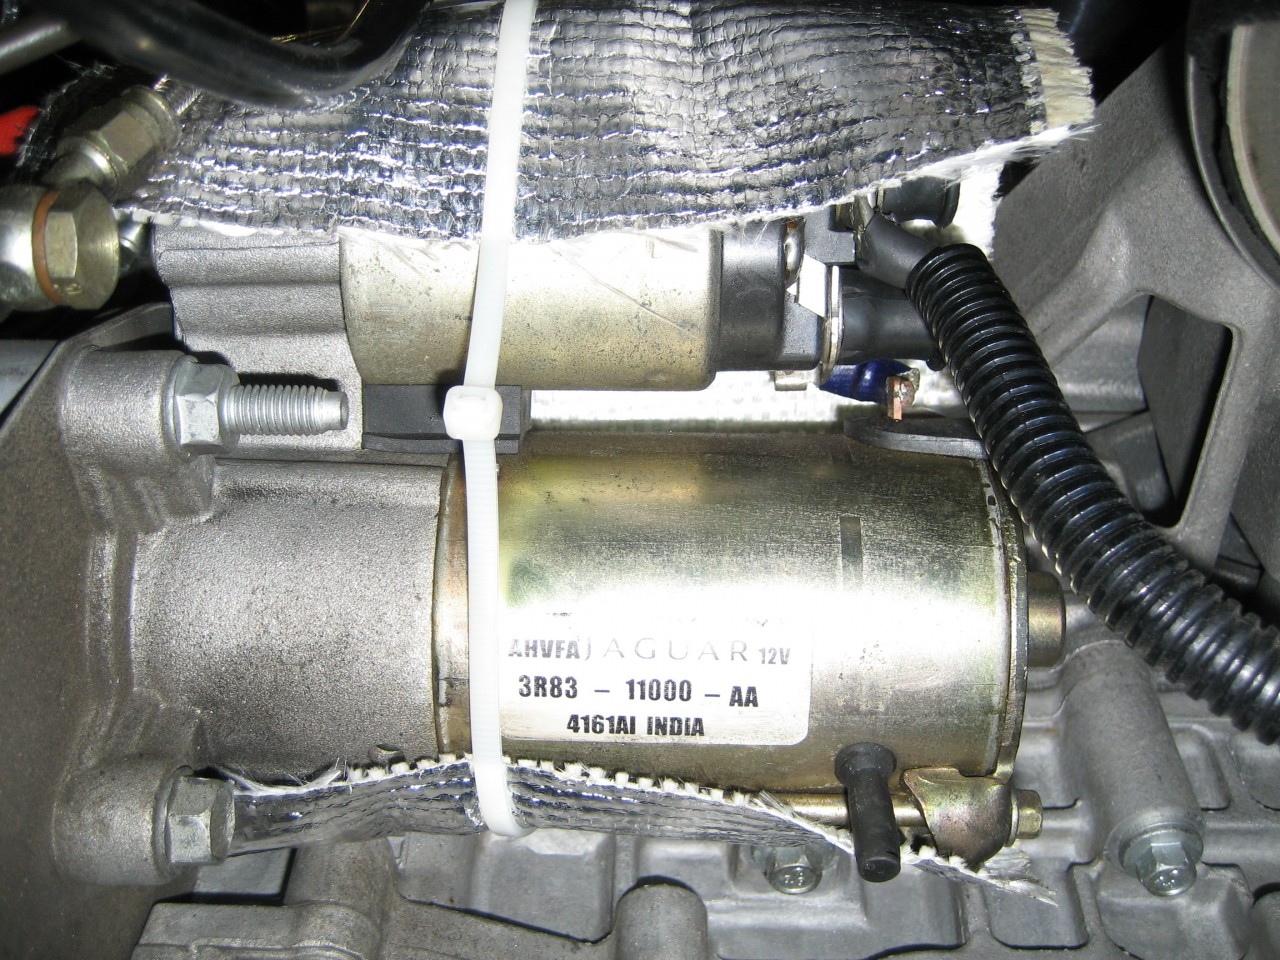 And from the front, which also shows the rubber covers I recently fitted to the starter terminals. 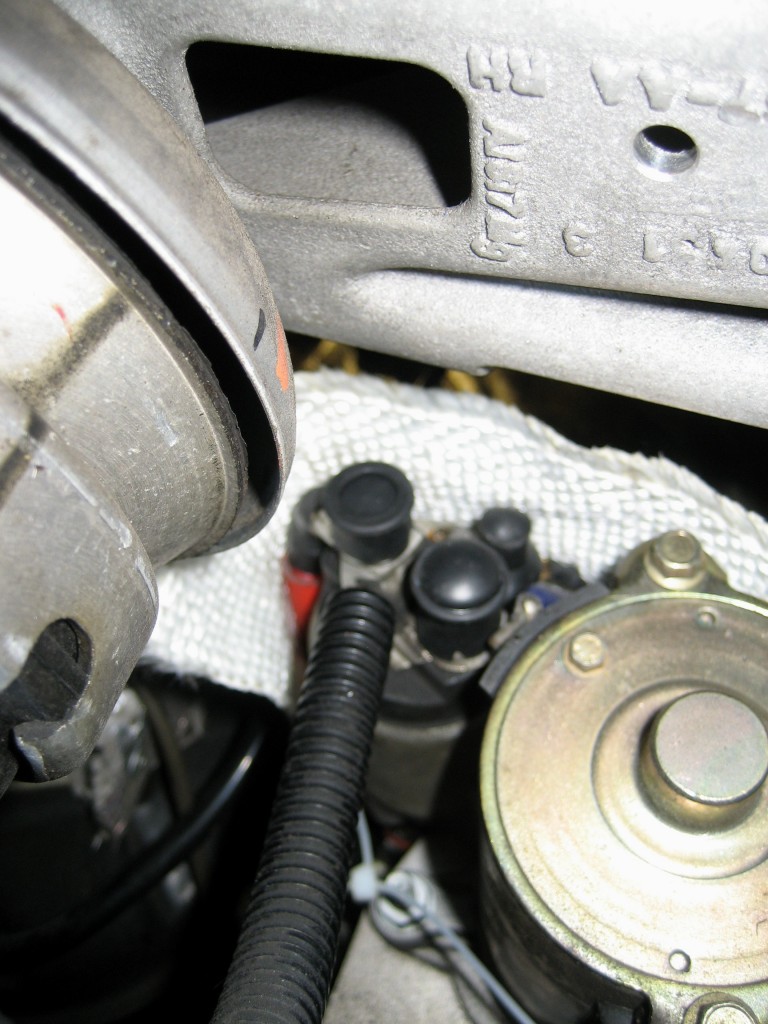 So as far as the underbonnet goes, that's all for now. More to follow >>>>>>>>>>>>>>>>>>>
DaveW
'05 Red Roadster S1
'16 Yellow (Not the only) Narrow AR GDI Plus 4
|
|
|
|
|
Joined: Dec 2008
Posts: 22,364 Likes: 353
Roadster Guru Member of the Inner Circle
|
|
OP
Roadster Guru Member of the Inner Circle
Joined: Dec 2008
Posts: 22,364 Likes: 353 |
Post Photobucket reboot from December 2009 continued...........I was back on the heat management trail today. But first the three electric connectors which on the Series1 Roadster are, at least, fixed to the front of the offside cam cover. But with the wires sloping down into the connectors, if any water gets on the wires...........it will run into the connectors. Here it is as standard............  I've considered all sorts of fixes involving stainless steel and neoprene, but its a bit of a stumper. So for now I've fashioned a piece of high density neoprene just to act as a deflector. I've also added a bit more loom tape to tidy those wires up. It makes quite a difference.  Next is the top hose and stainless pipe which runs down the centre of the "Vee". This pipe is very close to the 'distributor/coil pack'. Electronics don't like heat, so I've made a simple shield from aluminium, and covered it in my favoured foil.  This next photo is taken with the air filter removed, and the foil looks a bit messy, but the curve is there to accommodate the air filter. Note how close the tube is to the HT leads.  I'll cover the air filter next on a separate post. More to follow >>>>>>>>>>>>>>
DaveW
'05 Red Roadster S1
'16 Yellow (Not the only) Narrow AR GDI Plus 4
|
|
|
|
|
Joined: Dec 2008
Posts: 22,364 Likes: 353
Roadster Guru Member of the Inner Circle
|
|
OP
Roadster Guru Member of the Inner Circle
Joined: Dec 2008
Posts: 22,364 Likes: 353 |
Post Photobucket reboot from December 2009 continued...........I managed a bit of fine tuning over the weekend, but not really much time. I wanted to replace the 3 nuts each side between manifold and catalyst, so that I could apply a bit of Coppaslip. This is as a precaution for future removal, because these manifold nuts can be really tricky to get off after few years. I resisted using stainless nuts because these can semi weld themselves to the studs when really hot, so I stuck with plated nuts, and new washers and lockwashers. The nearside is easy with good access. Even so these nuts take a bit of starting and are stiff to get off. 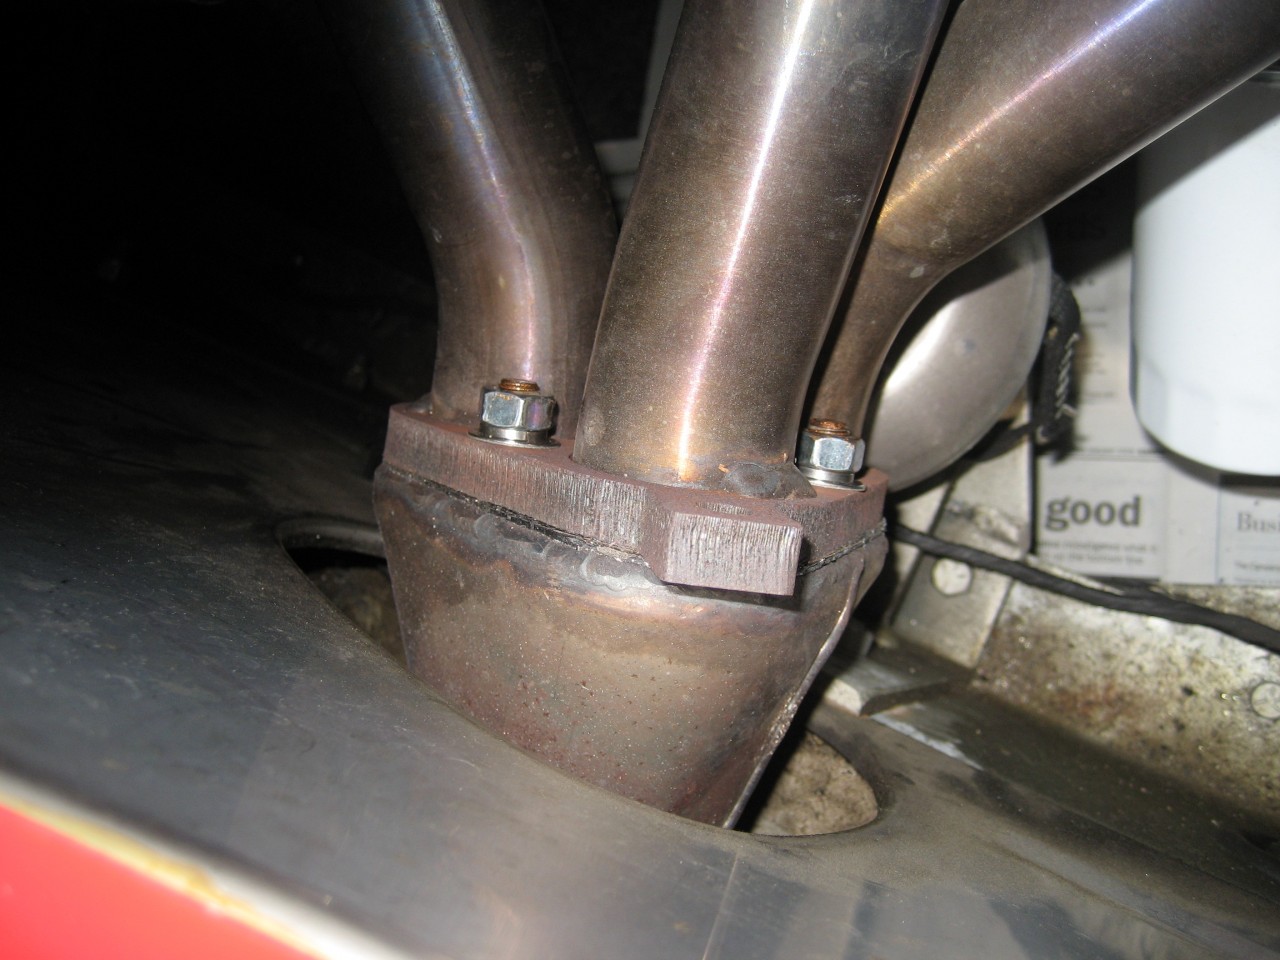 Offside is much harder to access. The top one is OK, but the forward nut must be accessed from below, and the alternator gets in the way. The rearward nut is blocked by the master cylinder heat shield. Initially I tought this couldn't be removed without disconnecting the rear brake pipe on the m/cyl, but with a bit of jiggery pockery it can be done. The upper fixing is an 8mm nut on a crosshead setscrew through the inner wing. The lower fixing on the m/cyl is a 13mm nut. Once released the heat shield can be manipulated through the gap around the steering column, but it's tight. Only then can you get a spanner on that manifold nut. 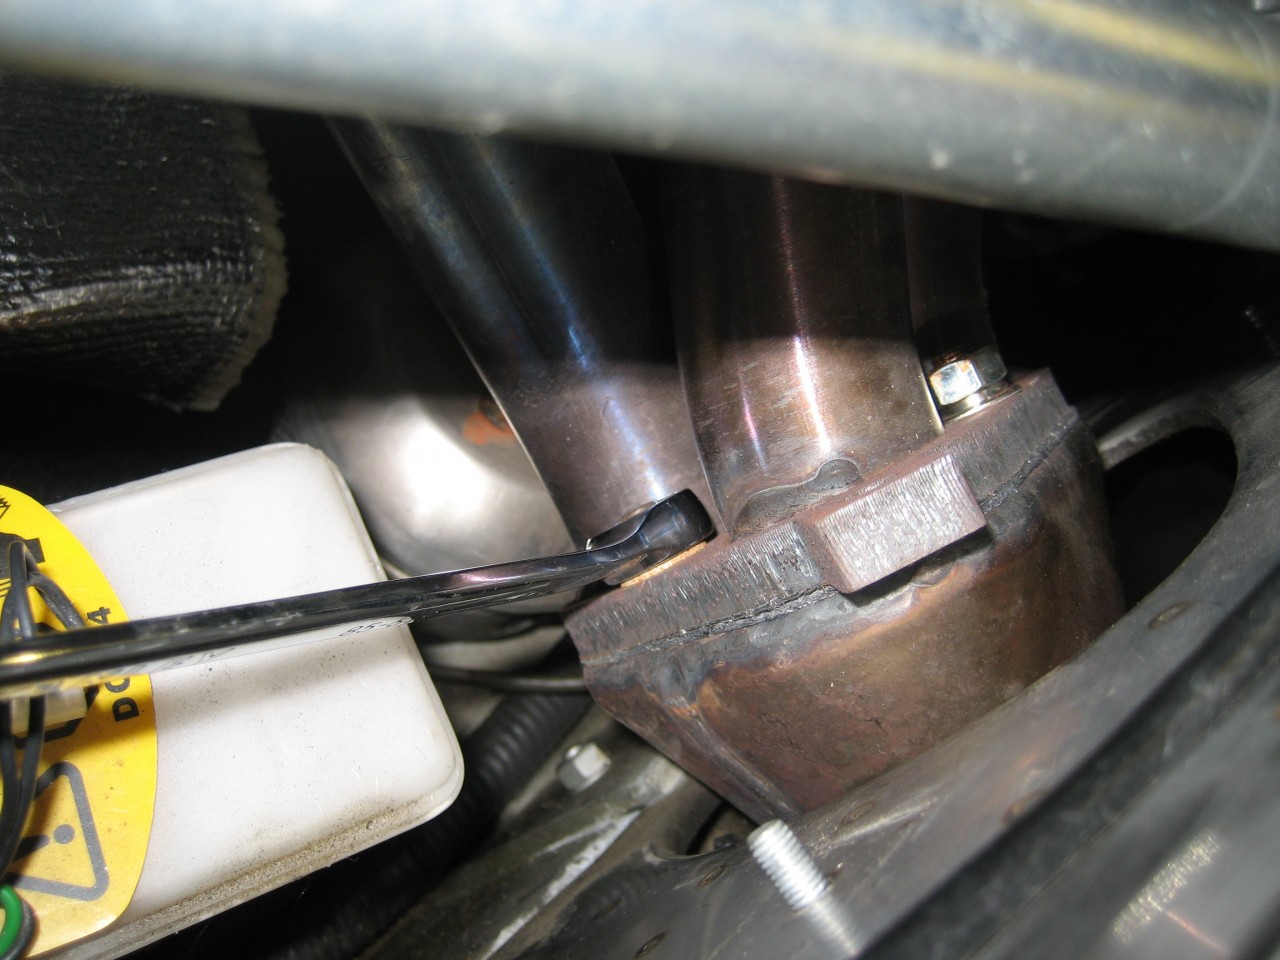 And here's the job done...... 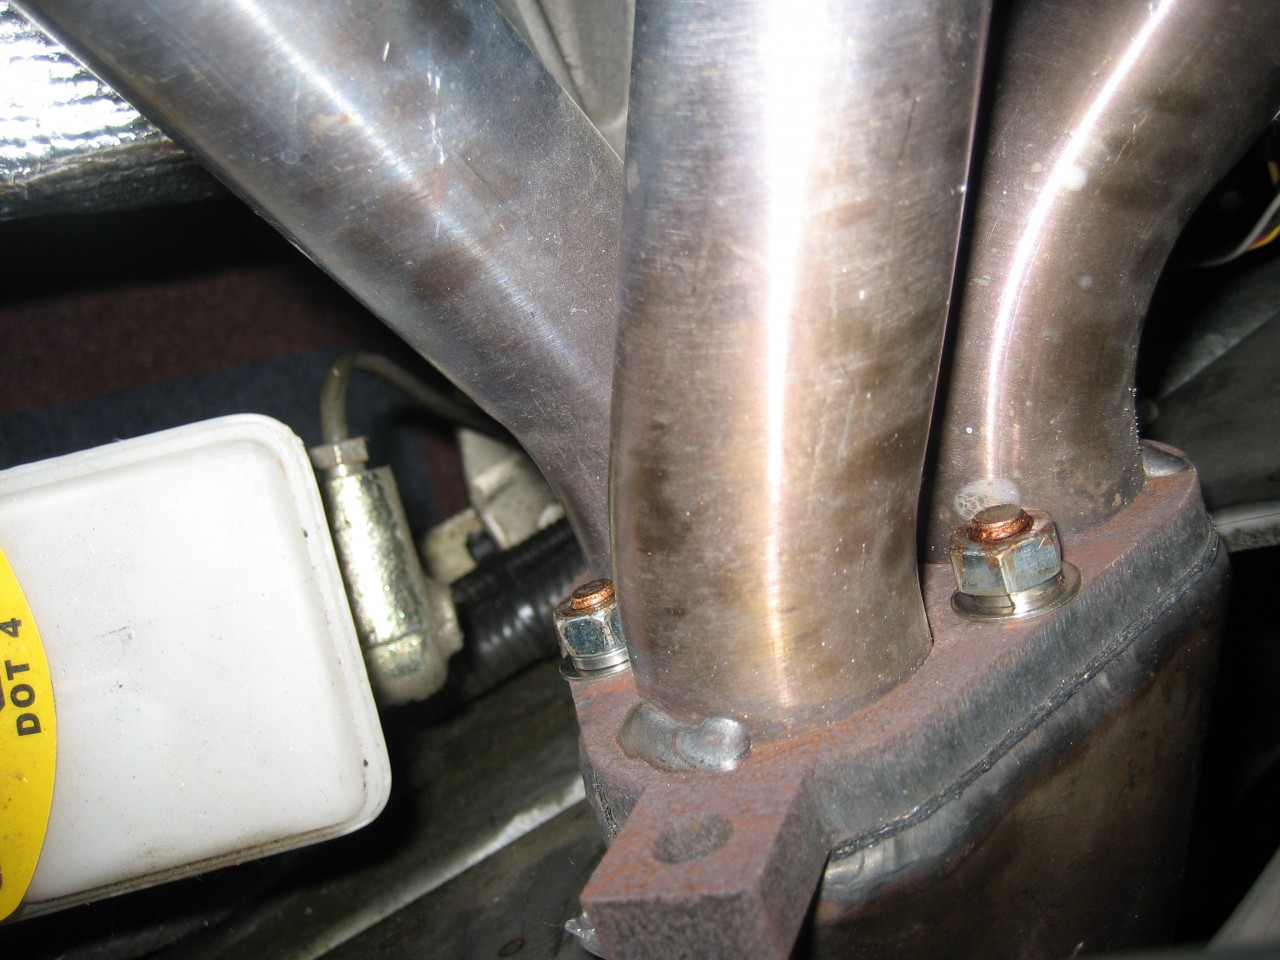 One more thing. The fuel pipes rise vertically against the bulkhead in the rear offside corner. In doing so they pass the bulkhead flange which is an edge of stainless steel. Mine were touching, so I've inserted a neoprene U channel as protection. It's just visible here: 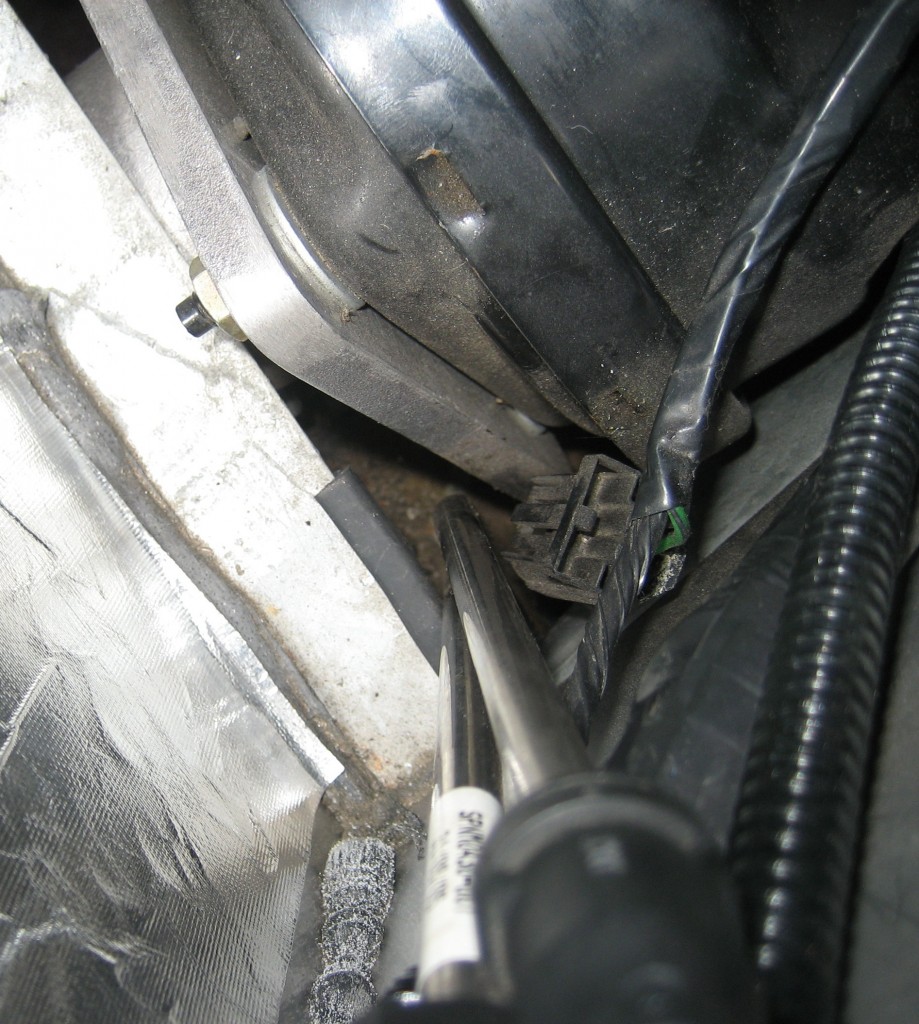 The pipes are tight, but we don't want any chafing do we? Next on the list is to add some heat protection to the fuel pipes under the offside running board, but that means the exhaust will have to come off again on that side, so I need more time....... 
DaveW
'05 Red Roadster S1
'16 Yellow (Not the only) Narrow AR GDI Plus 4
|
|
|
|
|
Joined: May 2015
Posts: 327
Learner Plates Off!
|
|
Learner Plates Off!
Joined: May 2015
Posts: 327 |
The proximity of that primary to the back of the alternator is frightening Dave, its a wonder you haven't had any issues.
The lucas acr 15/17 on my kent engined 7 ģave me problems. The number 1 primary did like to melt the alternator plug and wiring over a period of time. I wrapped the 4 primaries with exhaust wrap right out to the side exit from the engine bay, seemed to solve the problem.
|
|
|
|
|








