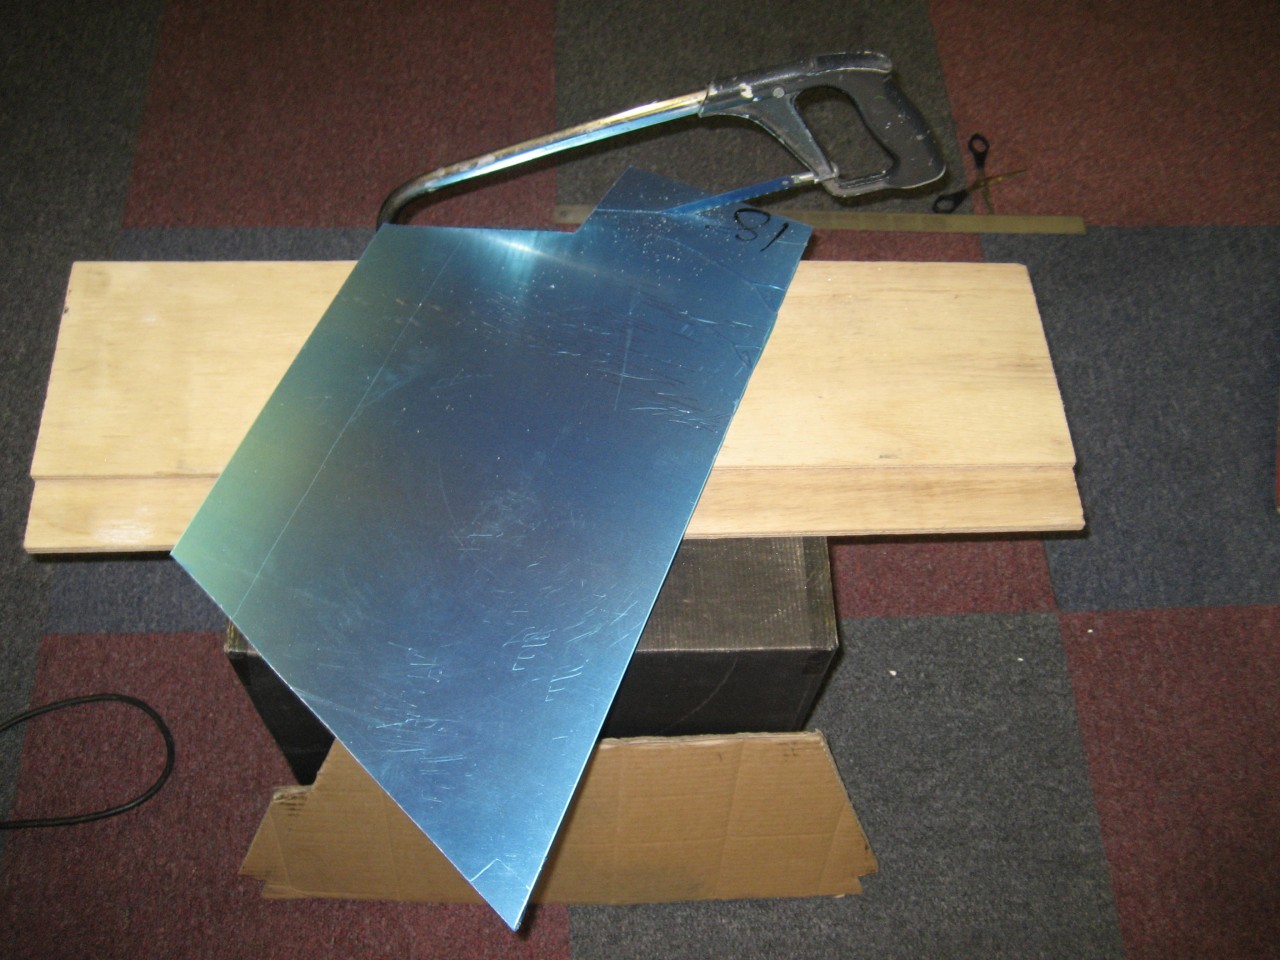
Post Photobucket reboot from March 2010: Continued This is where the work started. The cardboard template is visible leaning against my 'bench' which today was a wine box. The blue colour is the protective layer, but with aluminium sheet, the other side is always scratched............
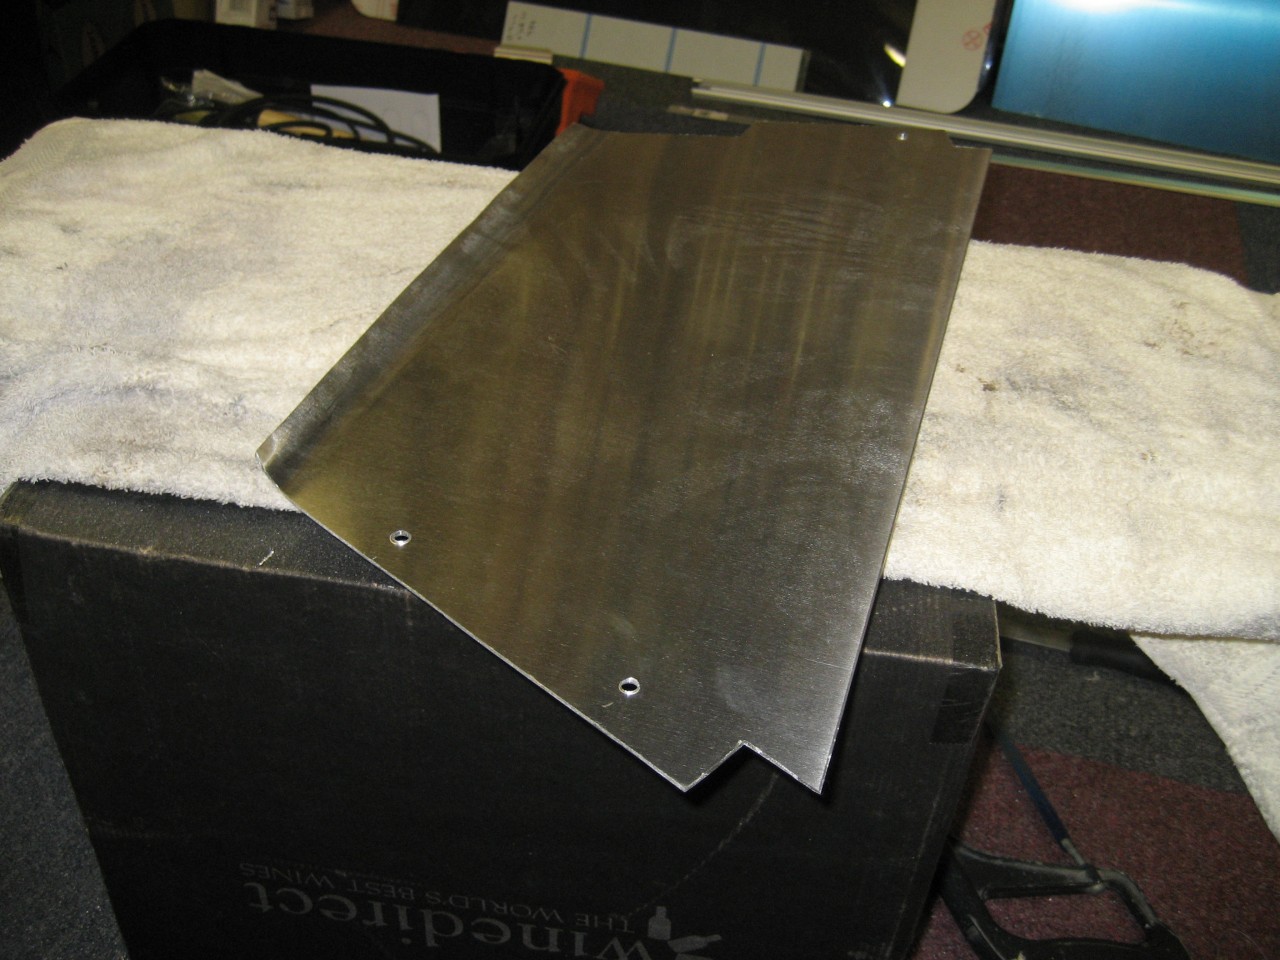
This is it drilled and finished. I beat a curve into the leading edge over the edge of my real bench using my Thor leather hammer.Notice how sharply this tapers to fit inside the chassis rails.
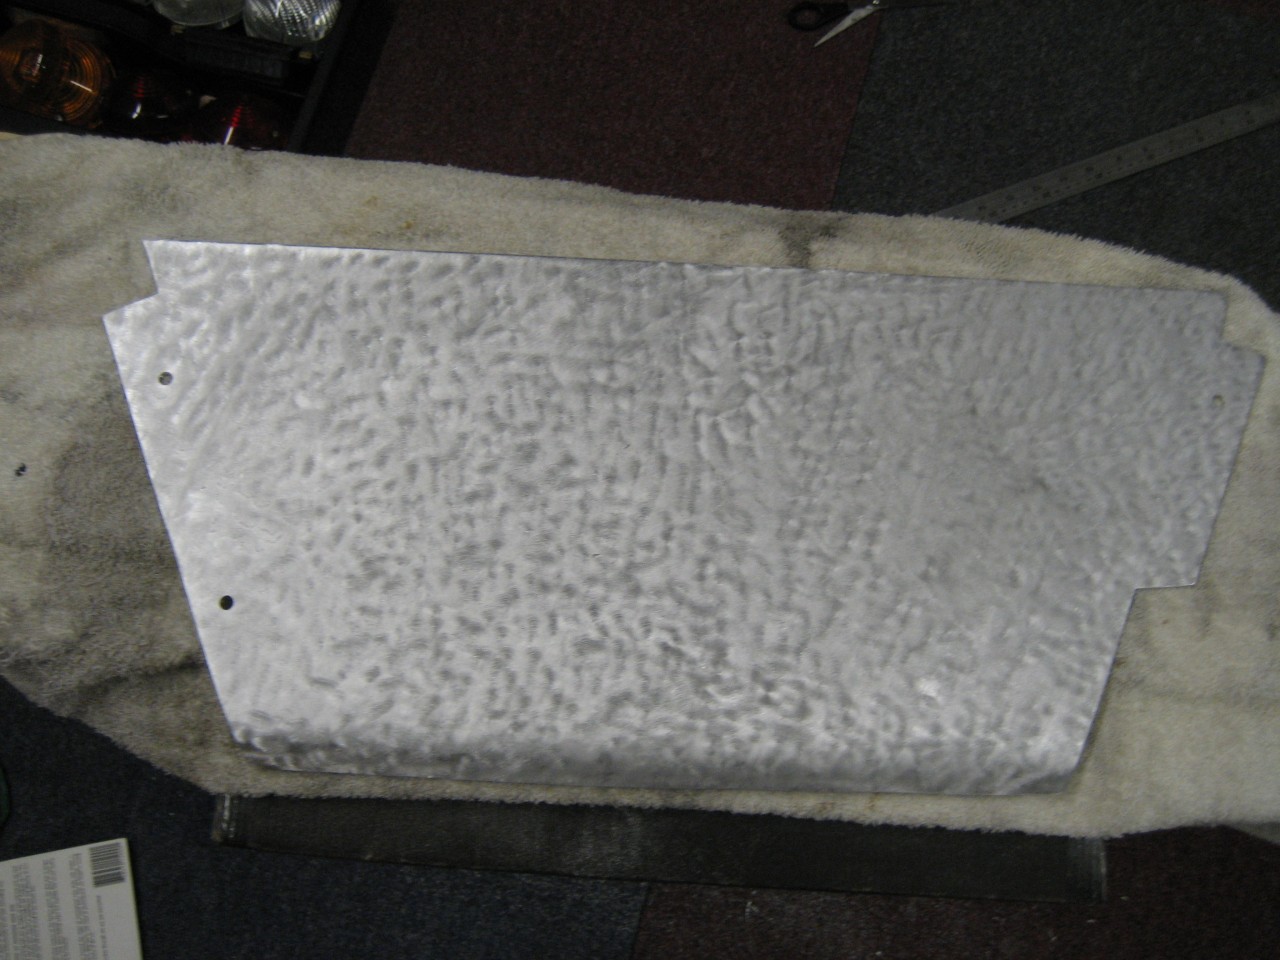
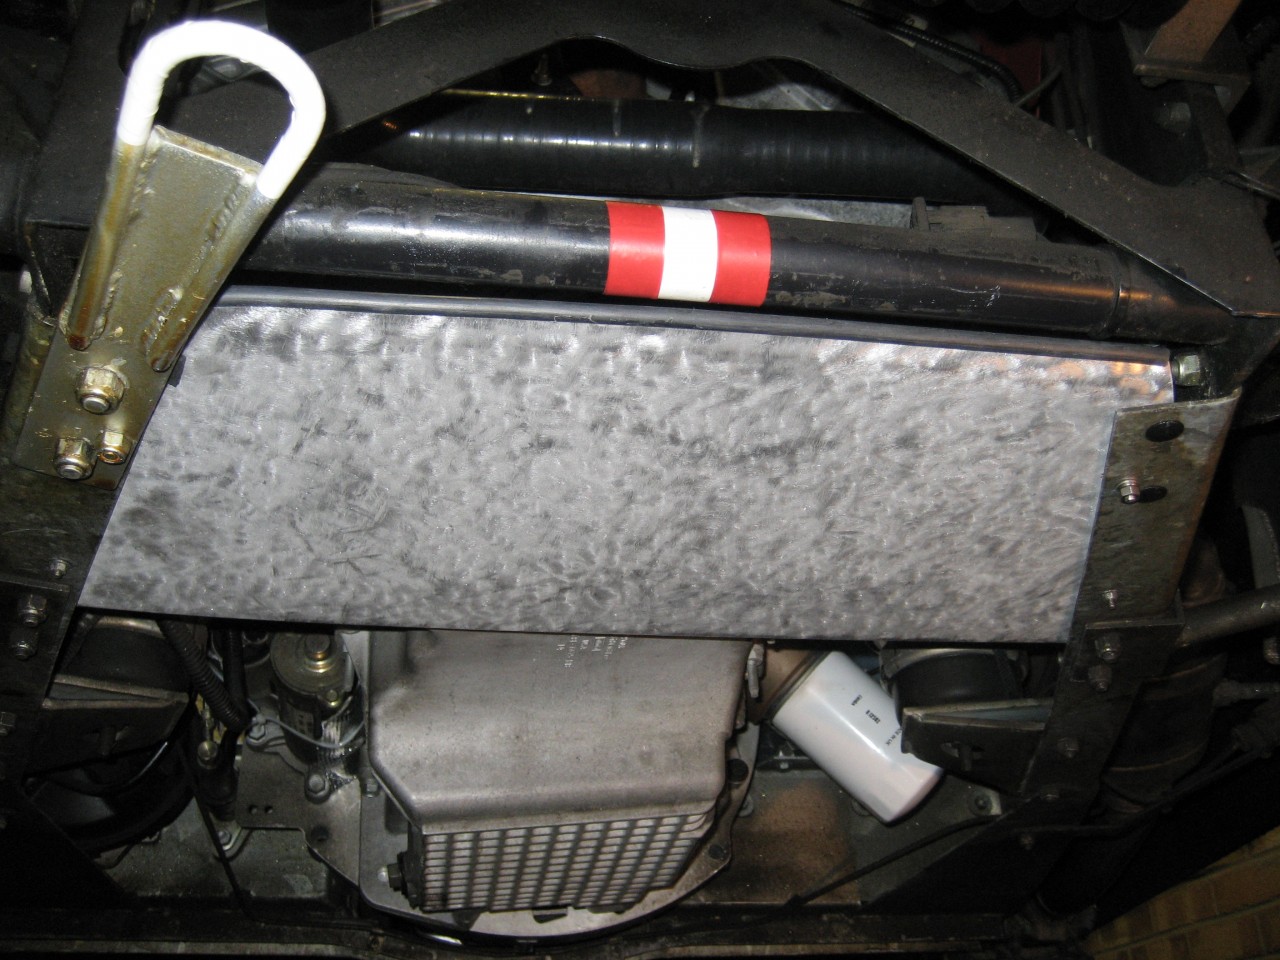
The scratched inner surface - which will be under the Mog I treated to some swirls from the electric drill and a wire brush attachment. Not exactly machine turned, but it covers the marks. This photo makes it look like a lambswool cover. The cut-out for the towing eye is lower left.
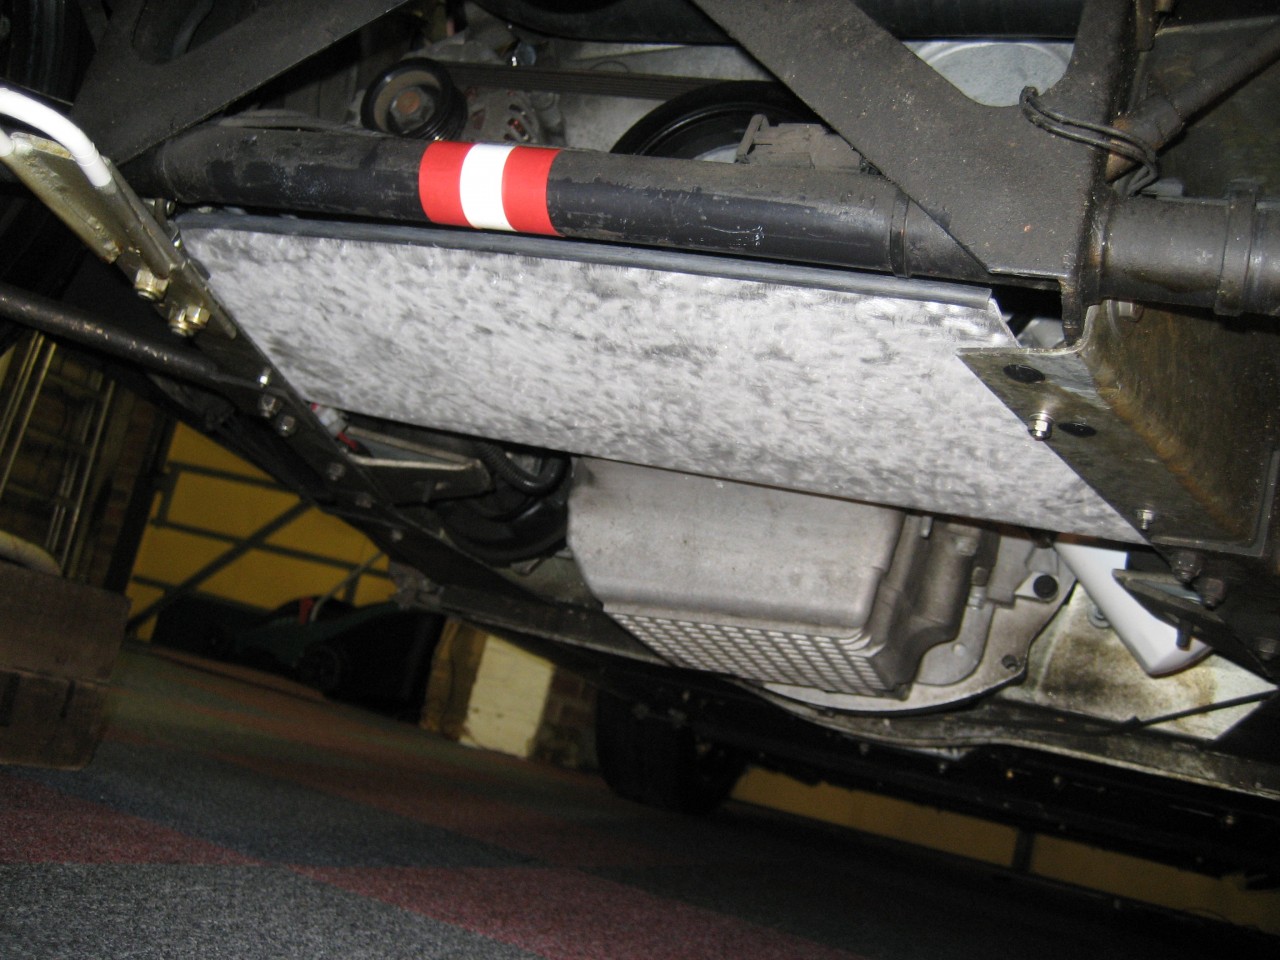
And here it is fitted........there is an extra bolt on the front nearside, using one of the spare holes. The other two are grommeted. I've added a neoprene strip to the front edge.
The red and white band is a marker for the centreline for jacking. I've had to make a new jack adaptor.
It's been a busy day..........
The towhook is white, just in case I go out in the dark....
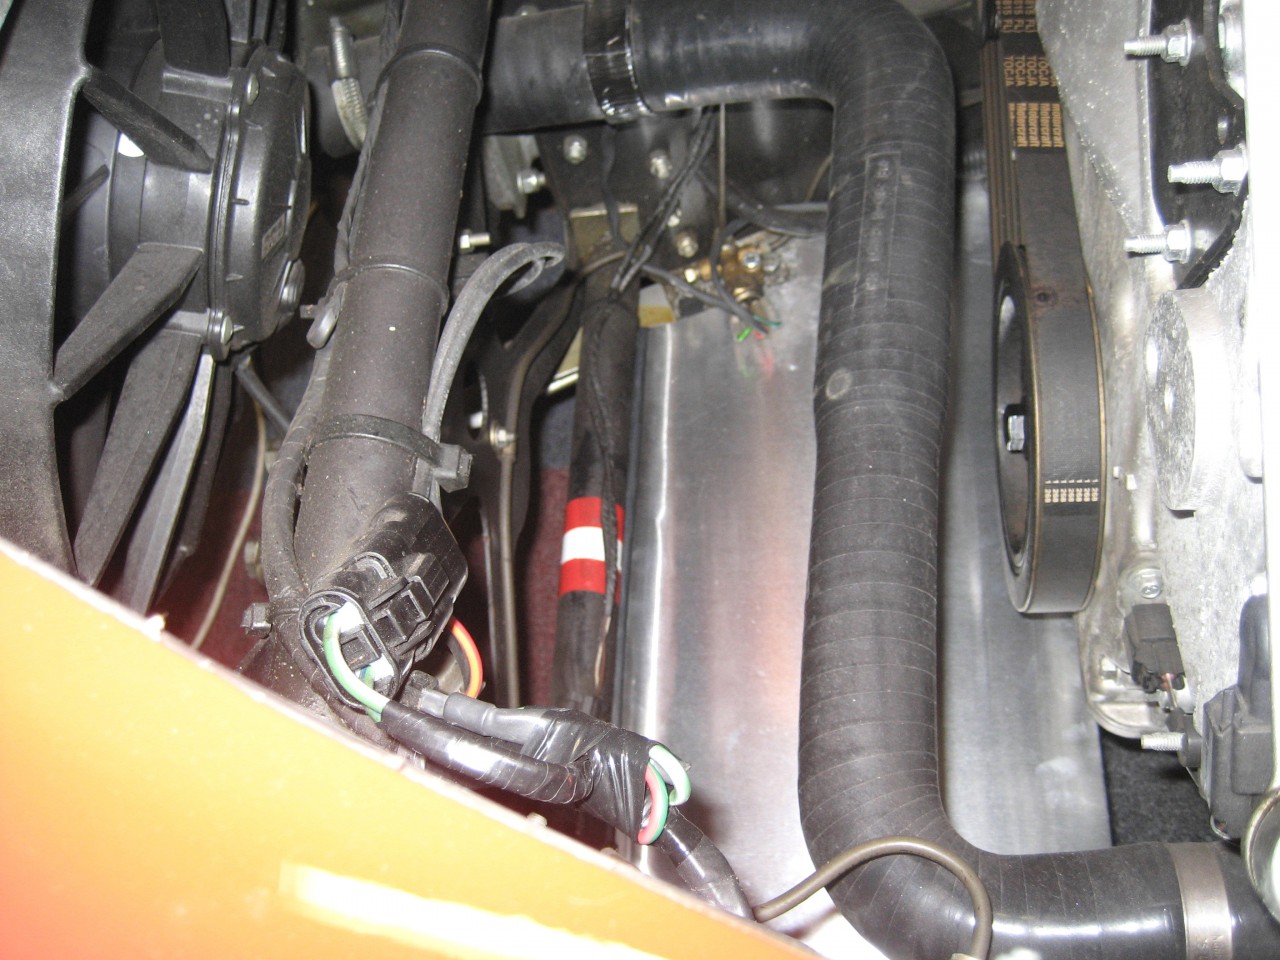
And from above - shiny side up. Compare with the first photo.

Tomorrow I will continue, after Cerealsurfer asked me if I would be joining this up to the front spoiler.
It got me thinking again.......
The trouble is I ran out of time today, and this did not go as well as you might think from the pictures......
Sometimes it can be infuriating.
At least I've widened the drive by two inches...... HA!
(That involved wielding a concrete cutter..............)
More to follow >>>>>>>>>>>>>>>>>>>>>>>>>









