Post Photobucket reboot from December 2009 continued...........Right then. Today was a balmy 10degrees C in the garage after I had the heater on. sunny
So I could get on with the remaining jobs.
First a small diversion.........
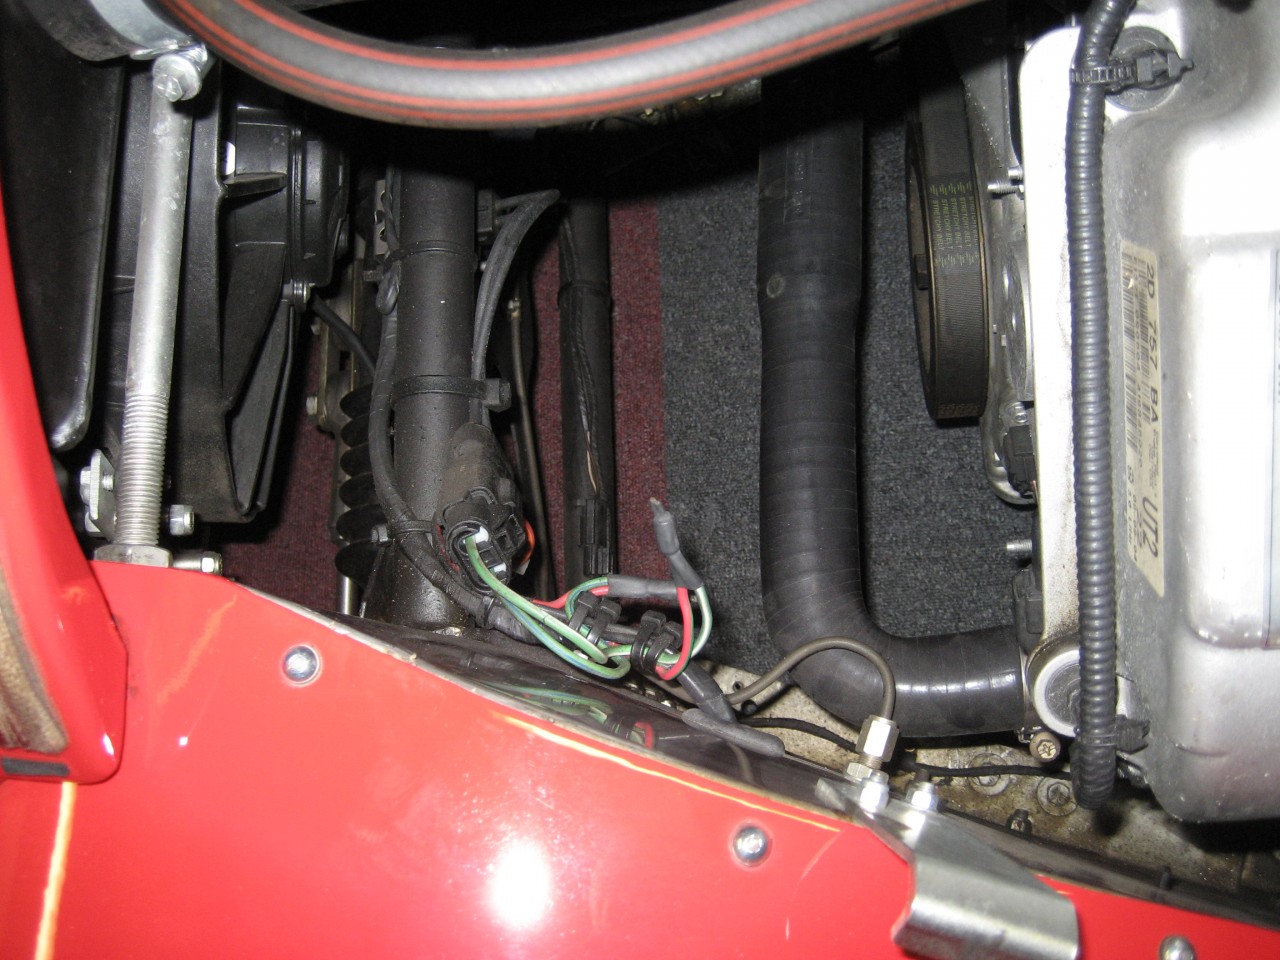
Those red & green wires are untidy. It's where there is a join in the loom and usually such joins are left visible, but not quite as visible as this.
Here's a much closer look..........
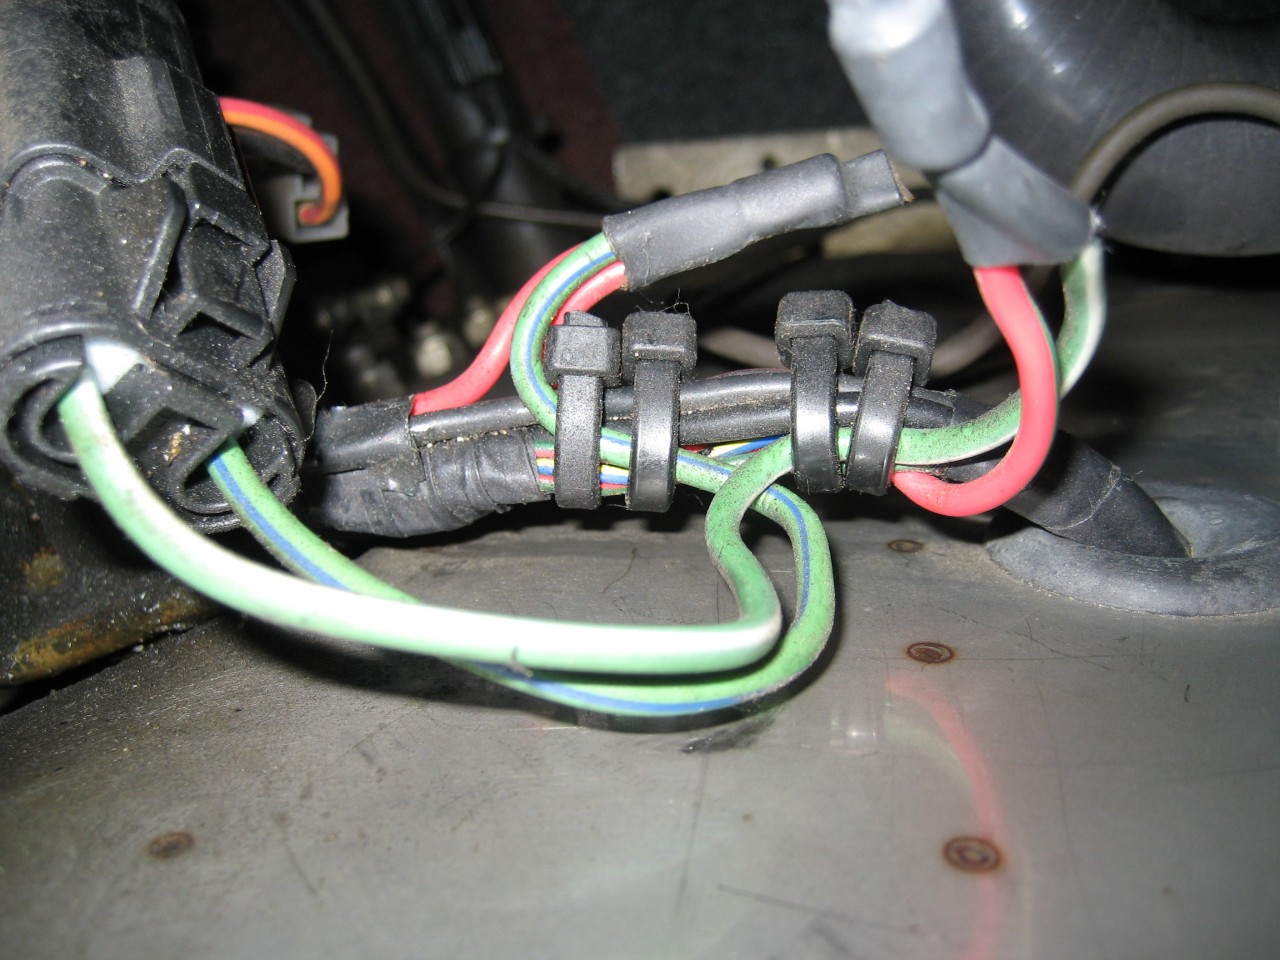
Four cable ties??????
I reckon that may be the way this is made..........
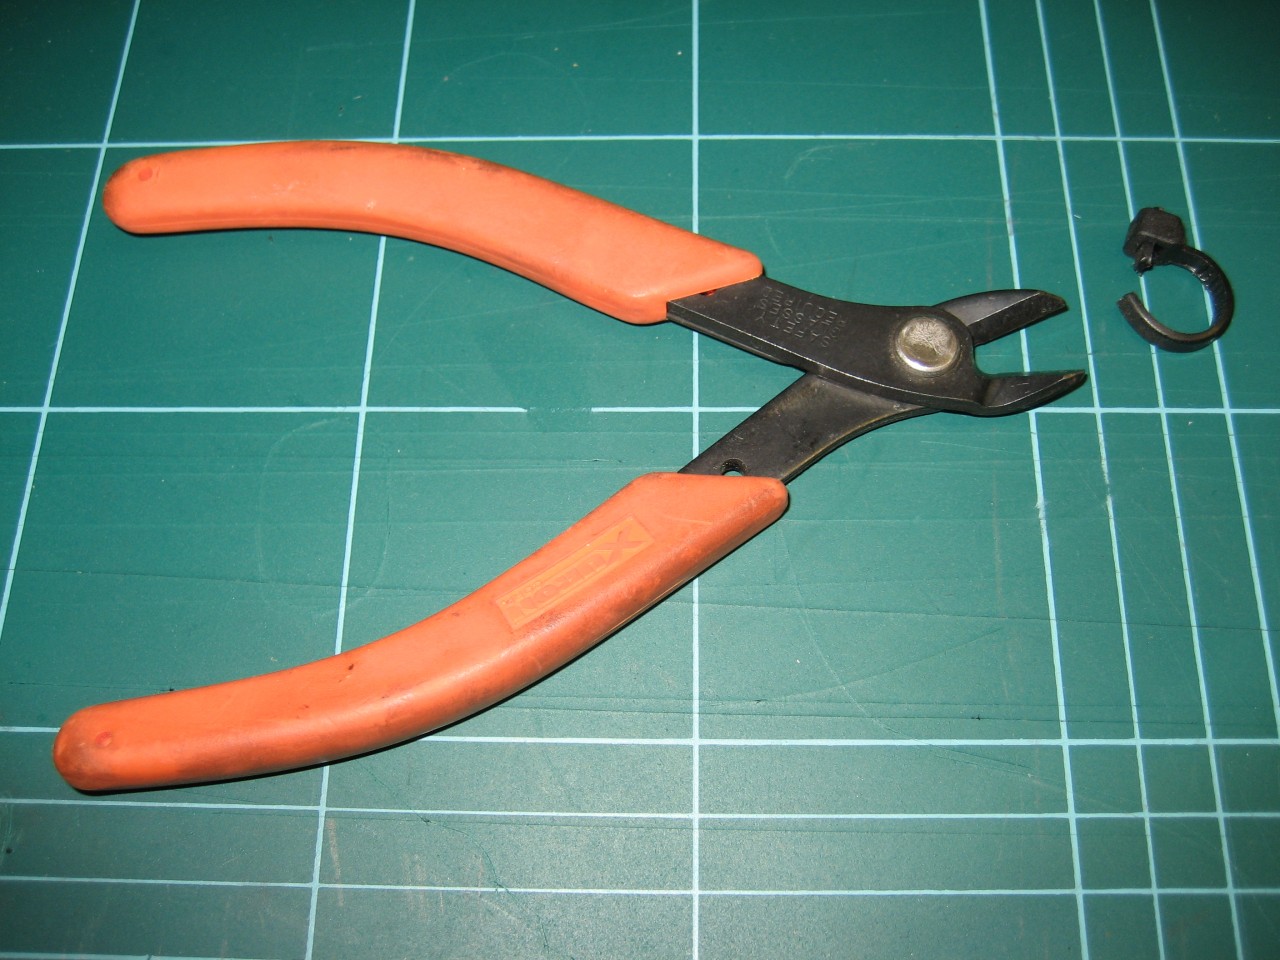
But I can do a bit better. Cutting cable ties is fiddly but I have the perfect tool. A Xuron track cutter. This tool is sold to cut model railway track, but is perfect for cable ties, having a very precise cutting blade, so no damage to the surroundings.
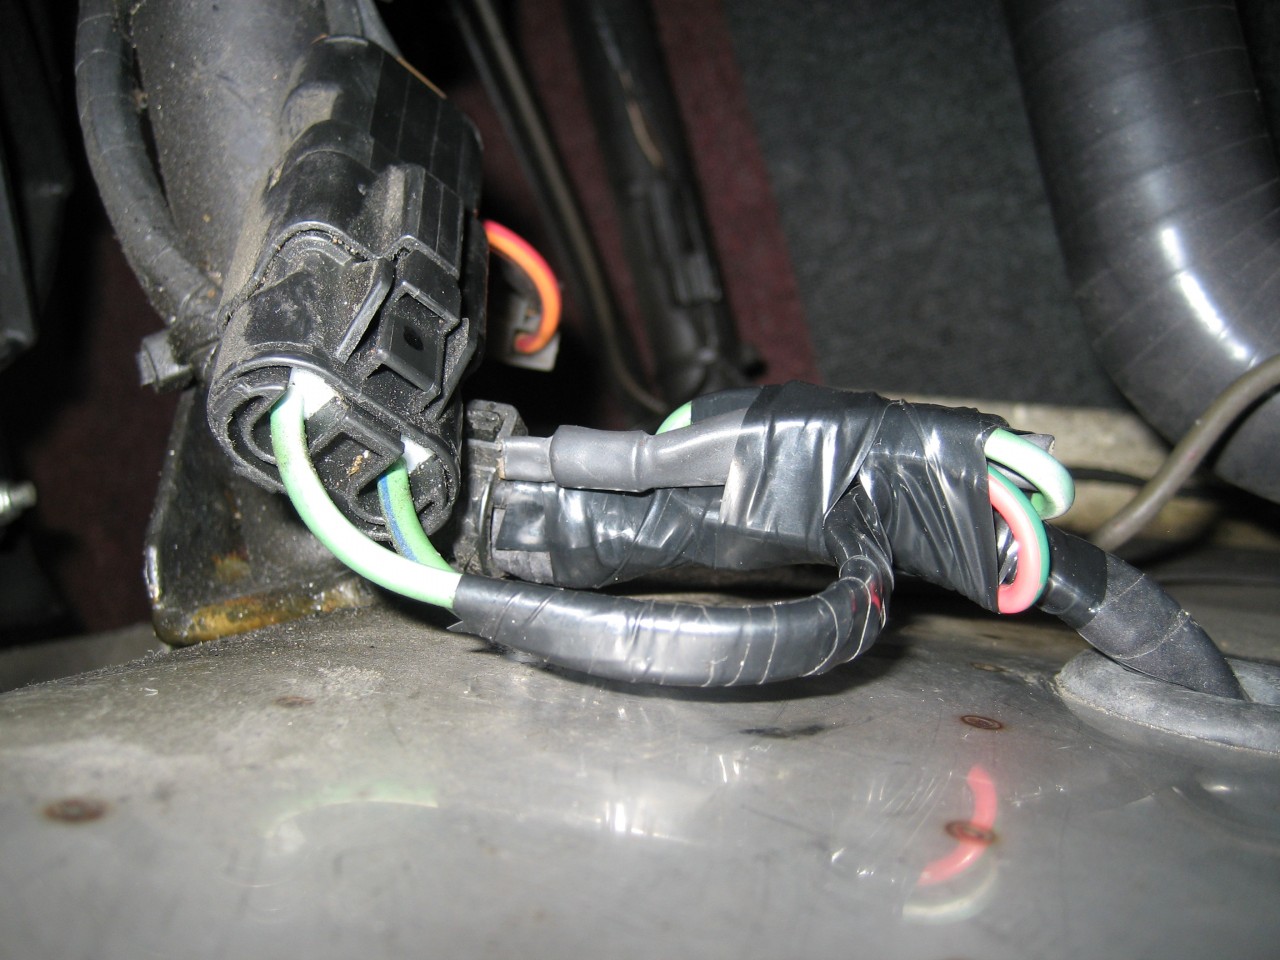
Then I used some loom tape, (which is not self adhesive) to bind the loom and make it a bit tidier. The convention seems to be to leave the join visible, so that's what I did. The end of the tape is secured with a tiny blob of superglue.
So, back to the final piece of insulation. I was planning on making a starter motor shield in the style of the one sold by Agriemach. This would have looked like a tube with a covered end. But looking underneath, not only is access tricky, but a cable comes off the solenoid in the forward direction, so the closed tube plan is difficult. In the end I settled on a simple 'blanket' fix, which means that the air can still get to the lower half, which might actually be a better idea.
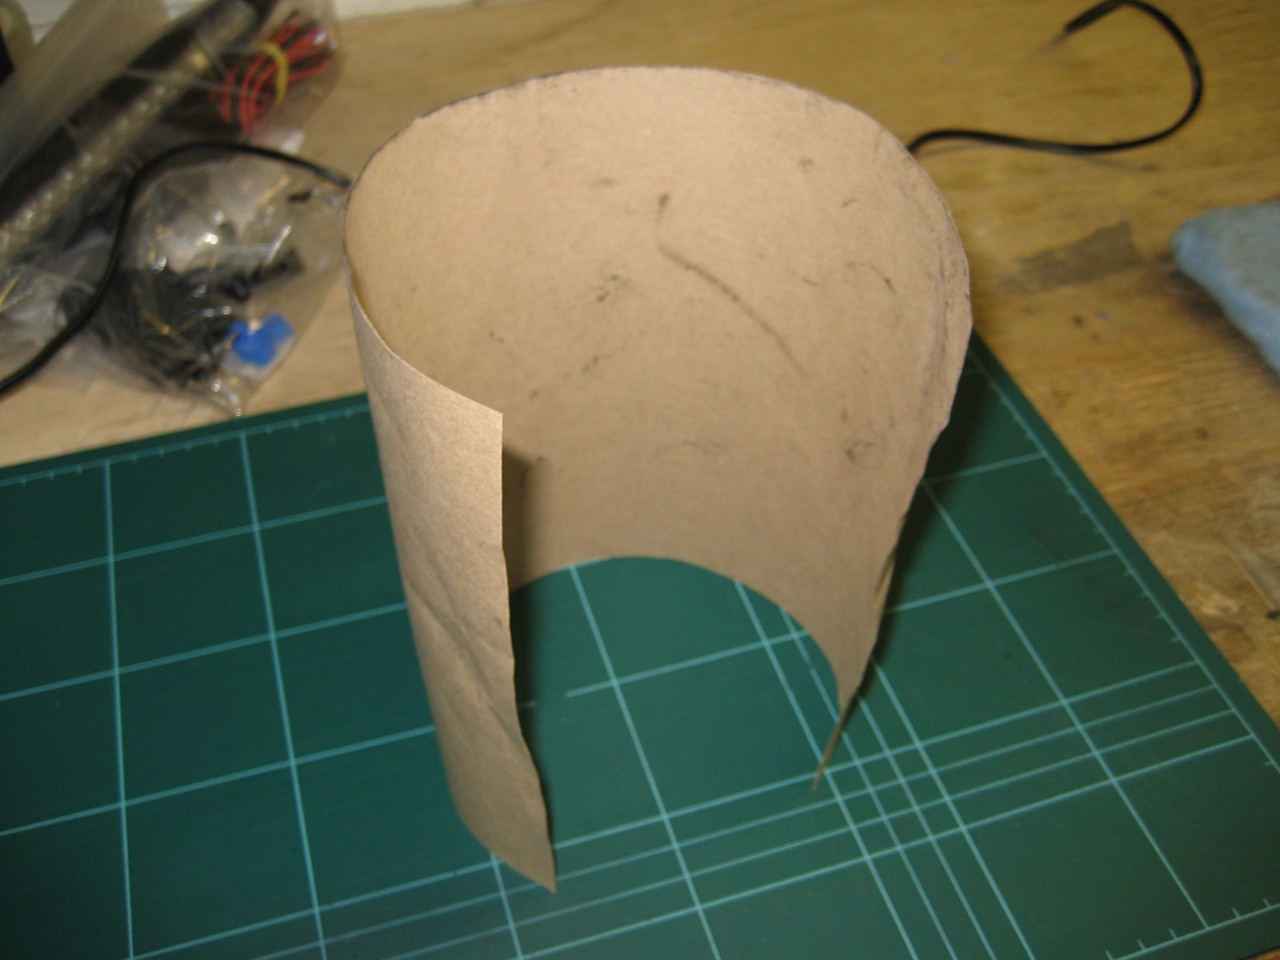
So first the brown paper template:
This is 'before'.......

Then with the cut piece of insulation fitted - held with a cable tie.........
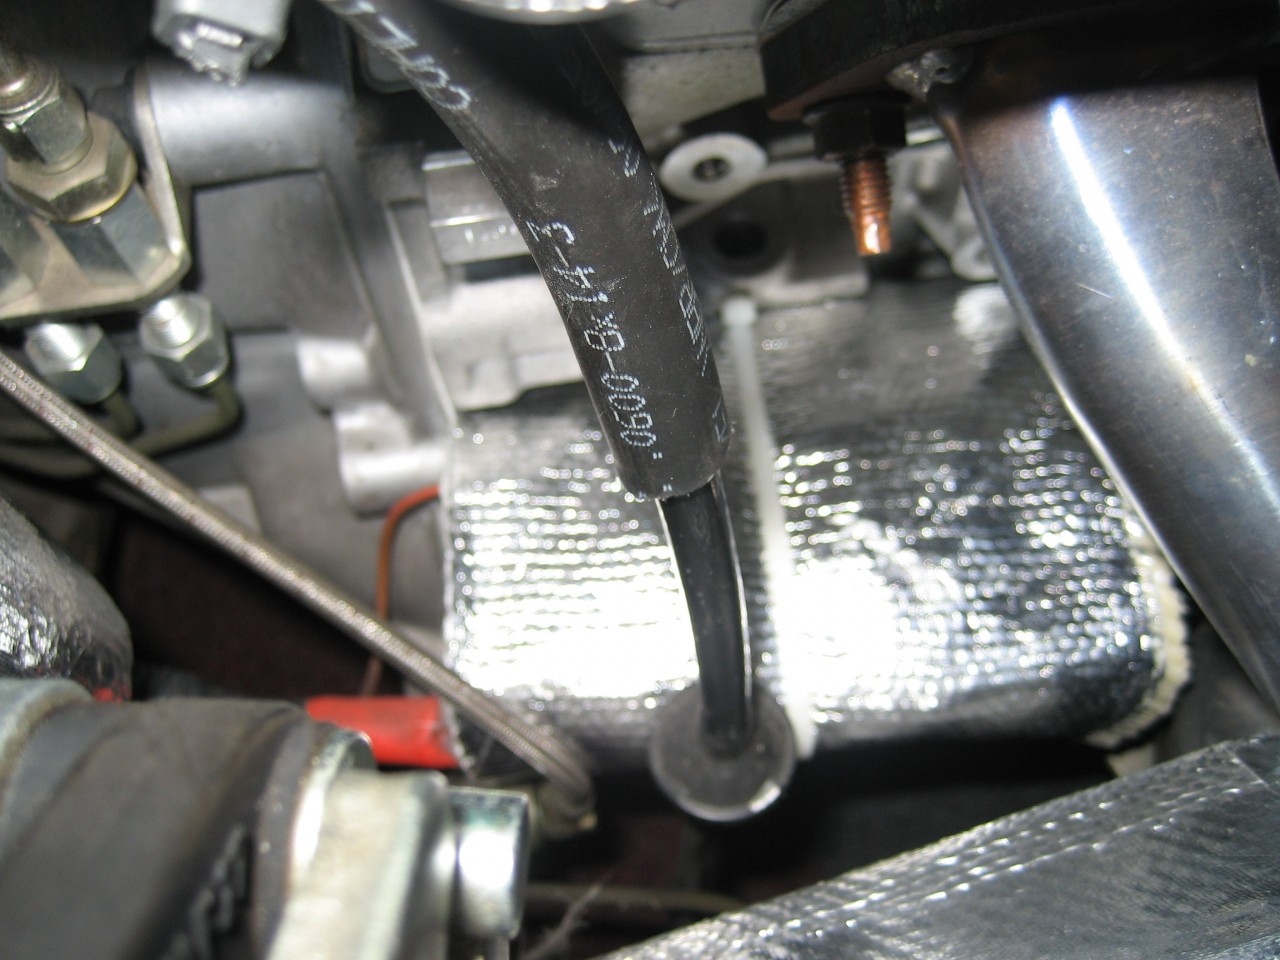
Underneath........
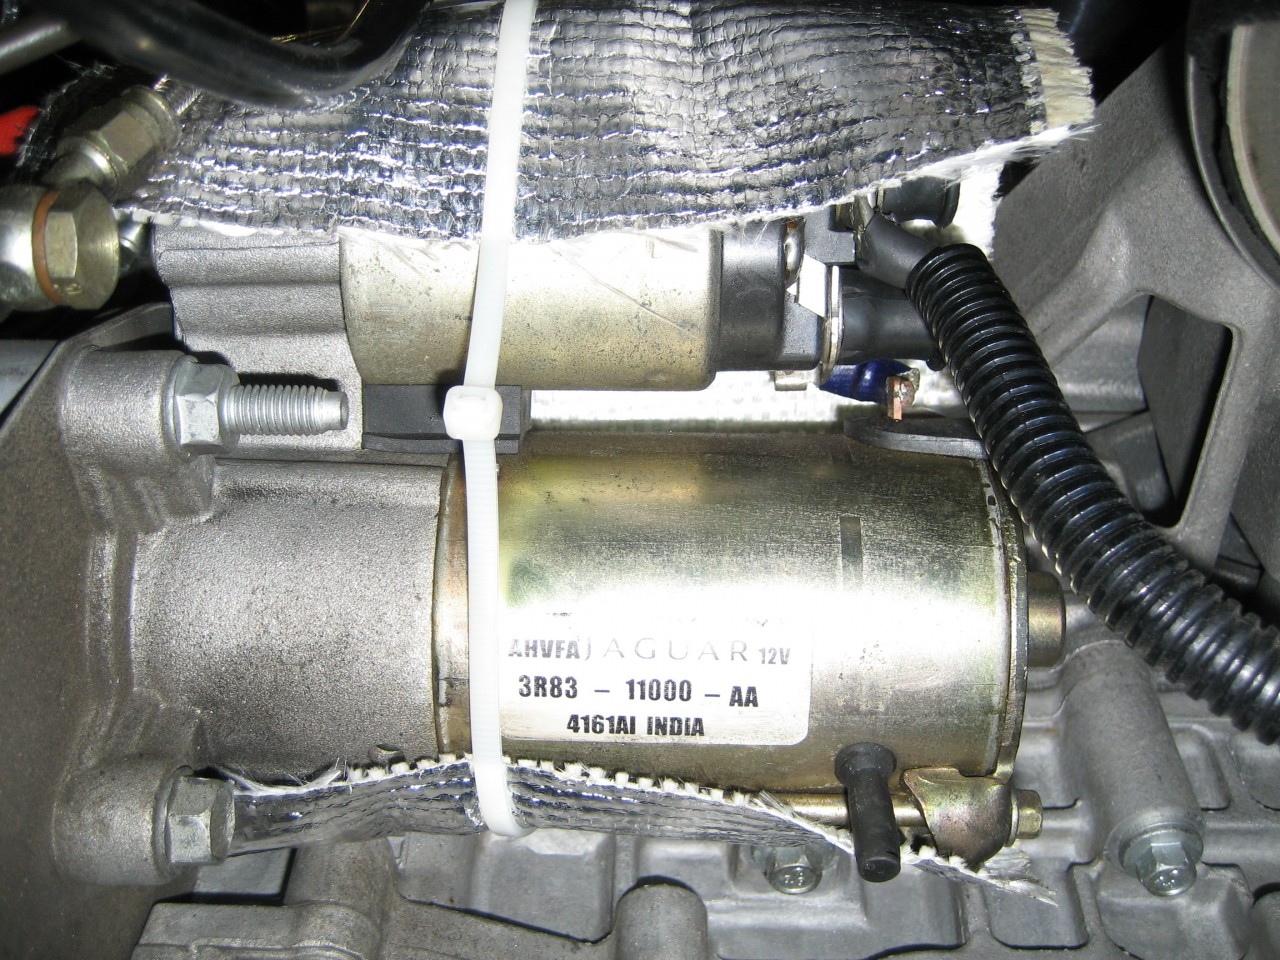
And from the front, which also shows the rubber covers I recently fitted to the starter terminals.
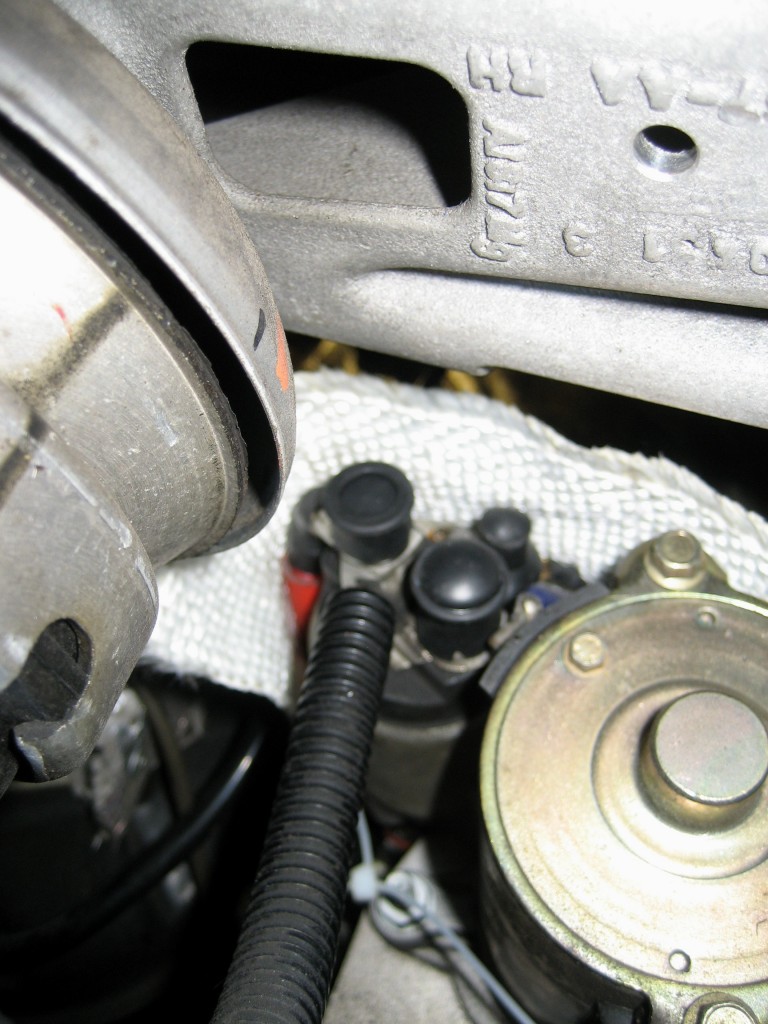
So as far as the underbonnet goes, that's all for now.
More to follow >>>>>>>>>>>>>>>>>>>









