Well I've just had a couple more days fighting with the seats, but more of that in a minute.
First the rear valance. It has a cut out at each end where the exhaust bracket locates. This is much neater than in 2012:
This is the side which doesn't get used on a Plus 4.
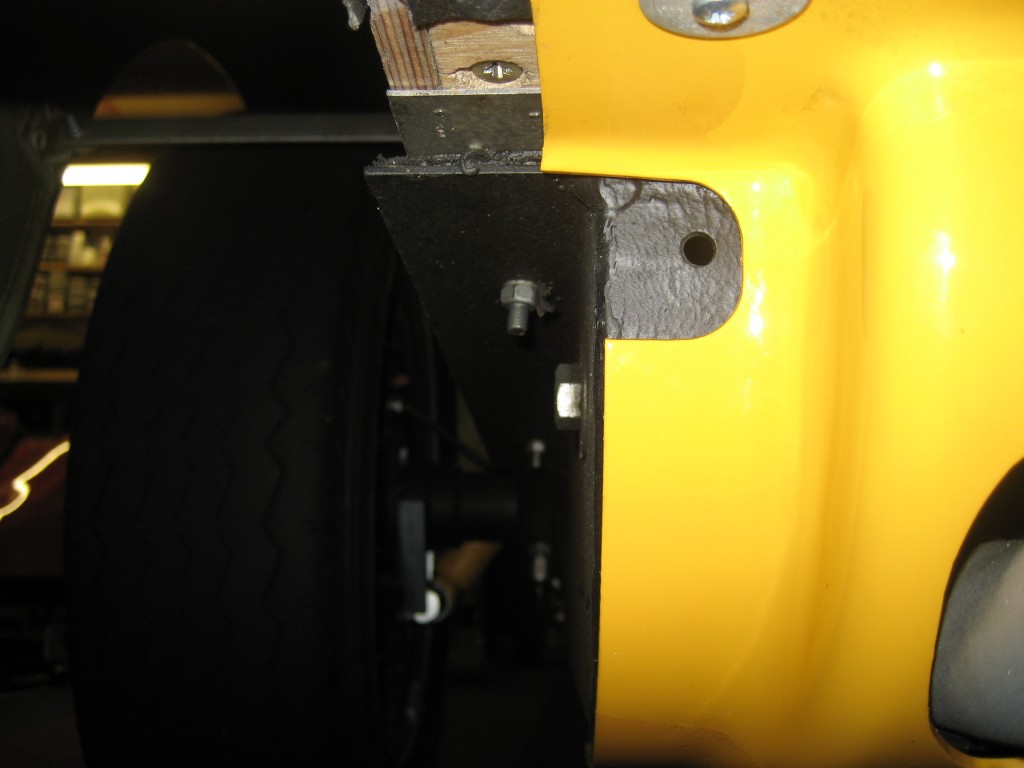
Obviously I don't like a cut out, and on Bumble I added some aluminium covers. They don't have to be too fancy because they are well hidden.
This is the shaped aluminium.
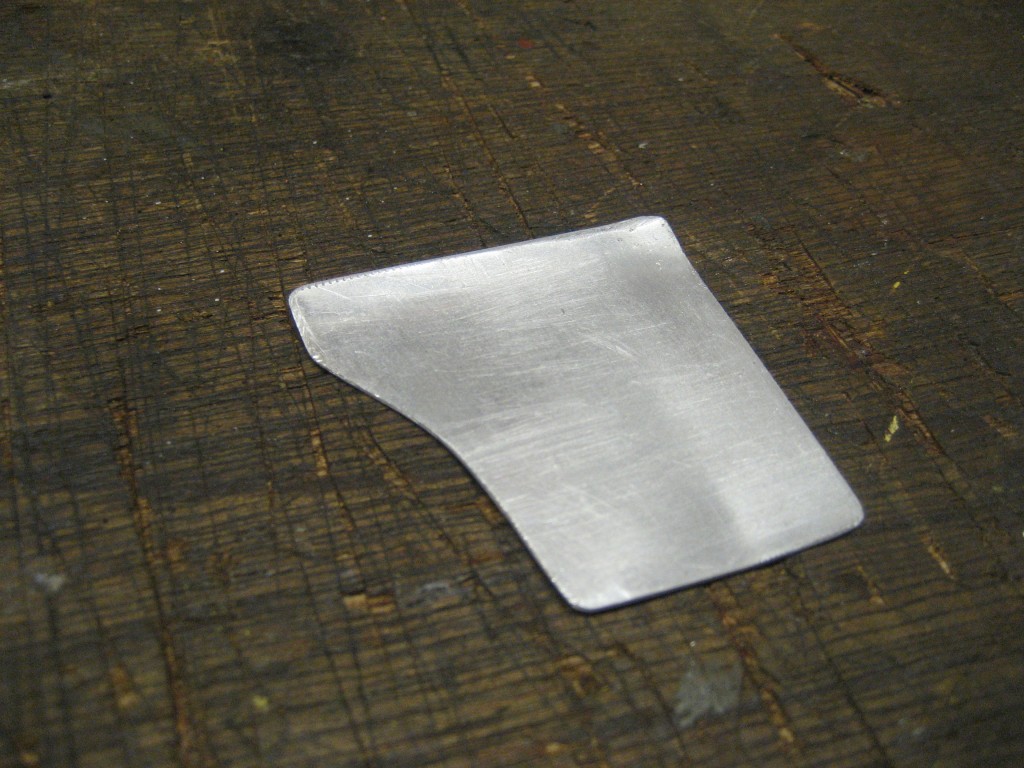
Now painted. The drawing pins are for later use!

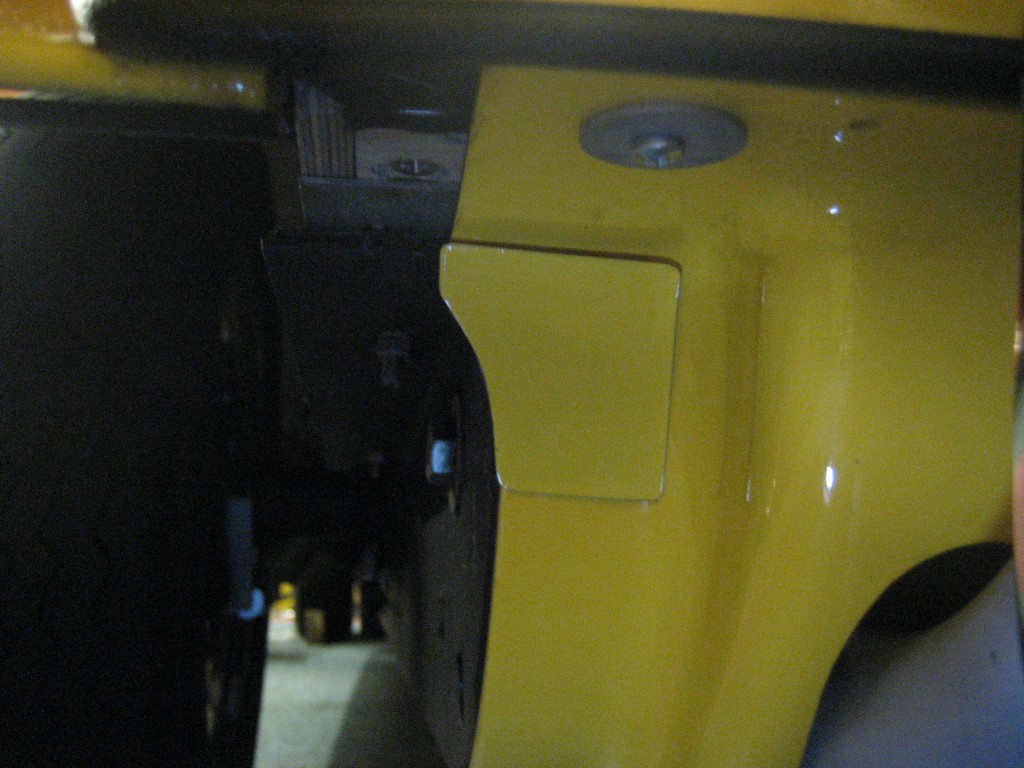
And fitted with DST. The other side will follow but with the exhaust bracket it gets cut out with a hacksaw by the look so needs a bit more work.
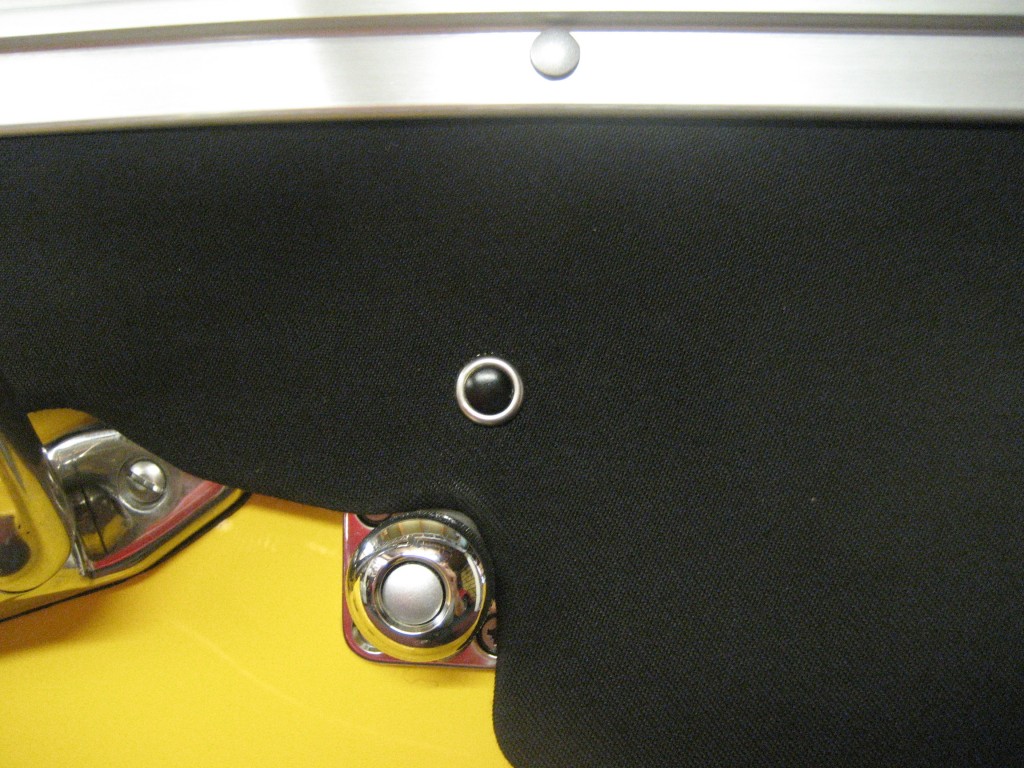
I use the painted drawing pins with the points cut off and stuck with double sided tape here, after fixing the cross-head screws with Loctite:
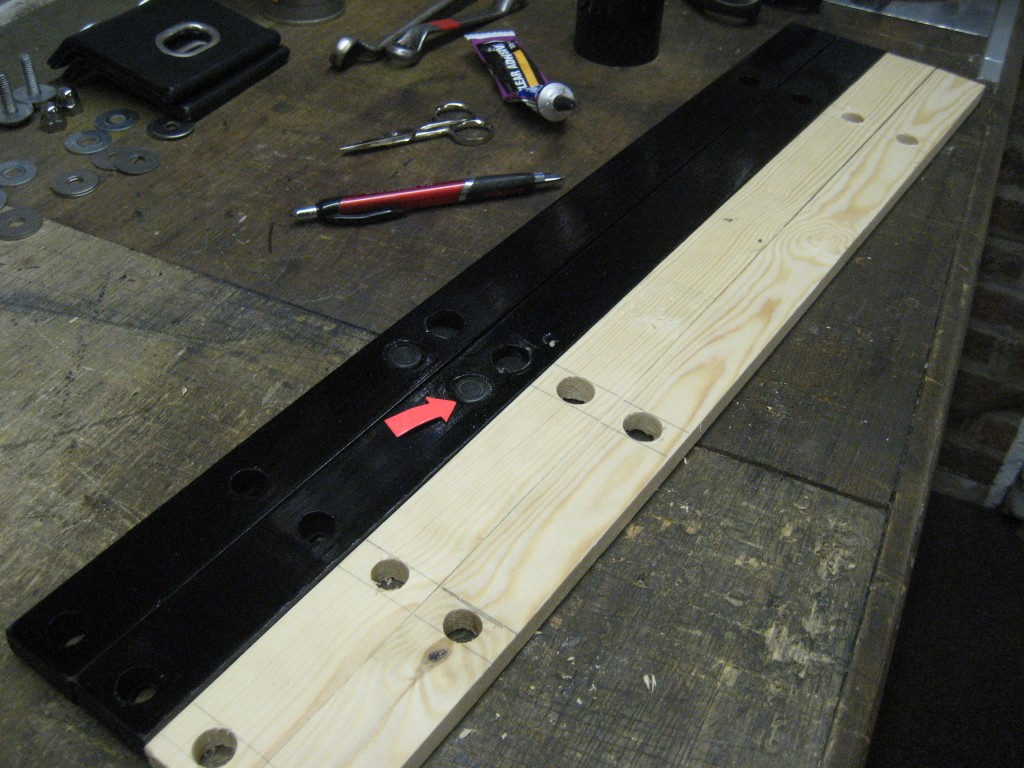
And so to the seats. I like to fit wooden spacers, to accept the protruding nut and to lift the seat a fraction. These are only a half inch. I made them up well in advance, only to discover that the Sports seats have the protruding nuts in a slightly different place, which meant more work.
The seat can be lifted and tucked, reclined, into this position. Safer than lifting it out. The protruding silver nuts are evident.

This was the carpet - still showing footprints from the factory.

The carpet will stick to the floor under the runners so I add some gaffer tape to protect the pile.
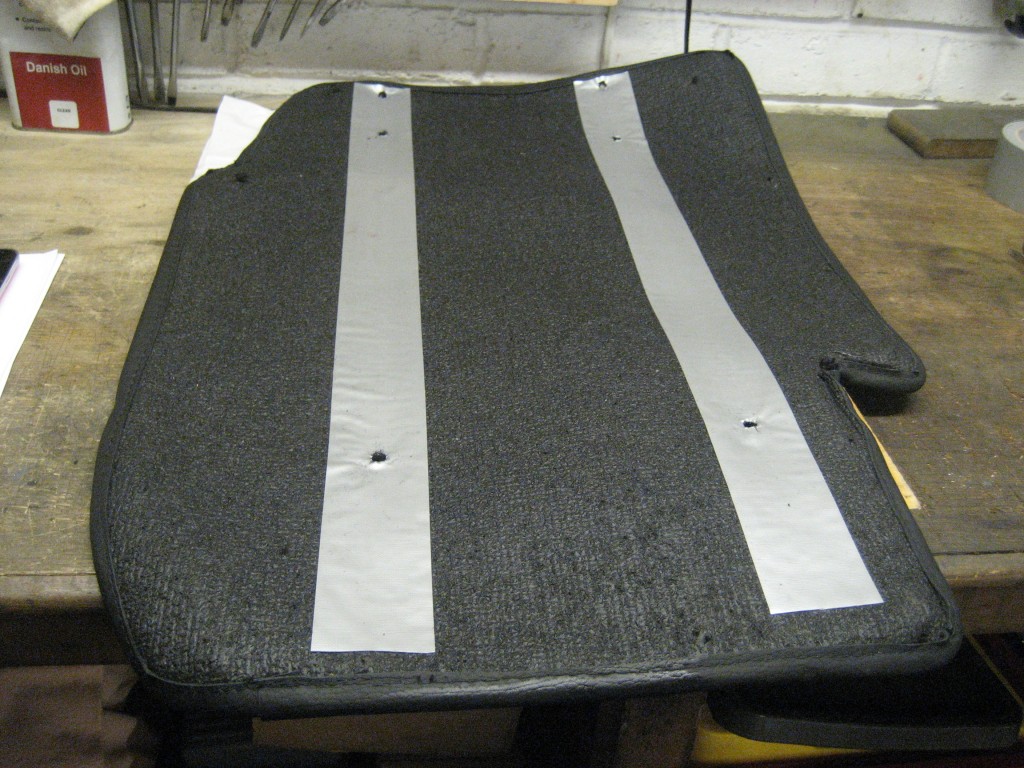
The carpet is tacked to the floor, I expect so that when the seat mounting holes are drilled it doesn't move.
The floor needed a good vac and I gave it a coat of Danish oil.
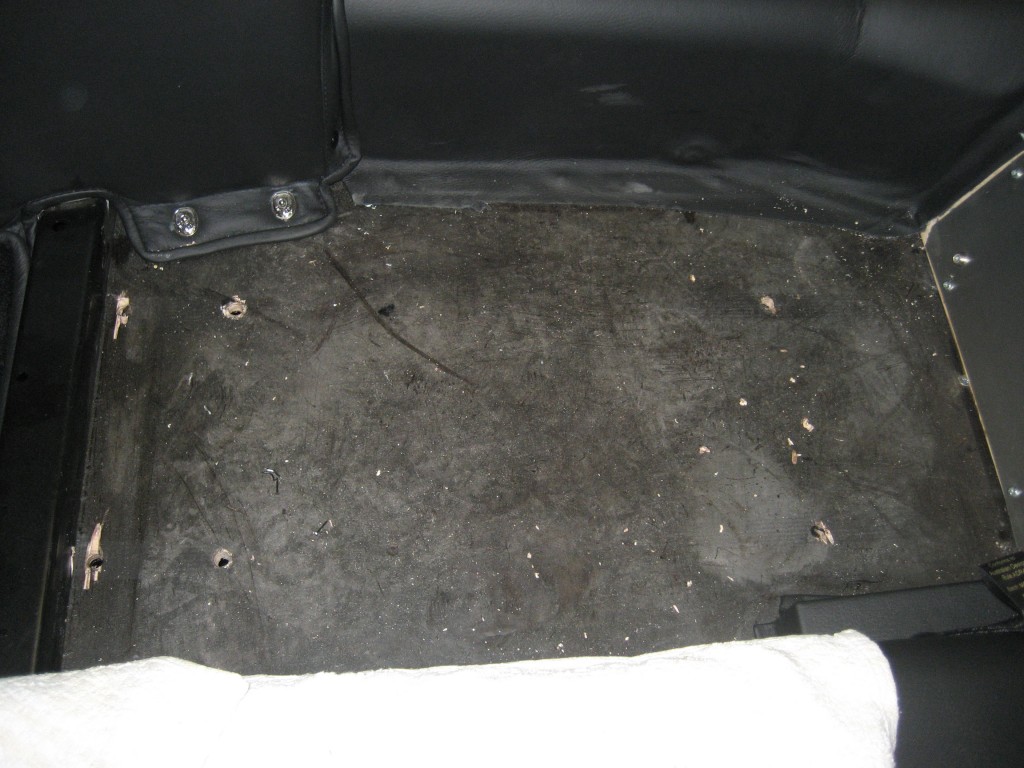
Much better now!
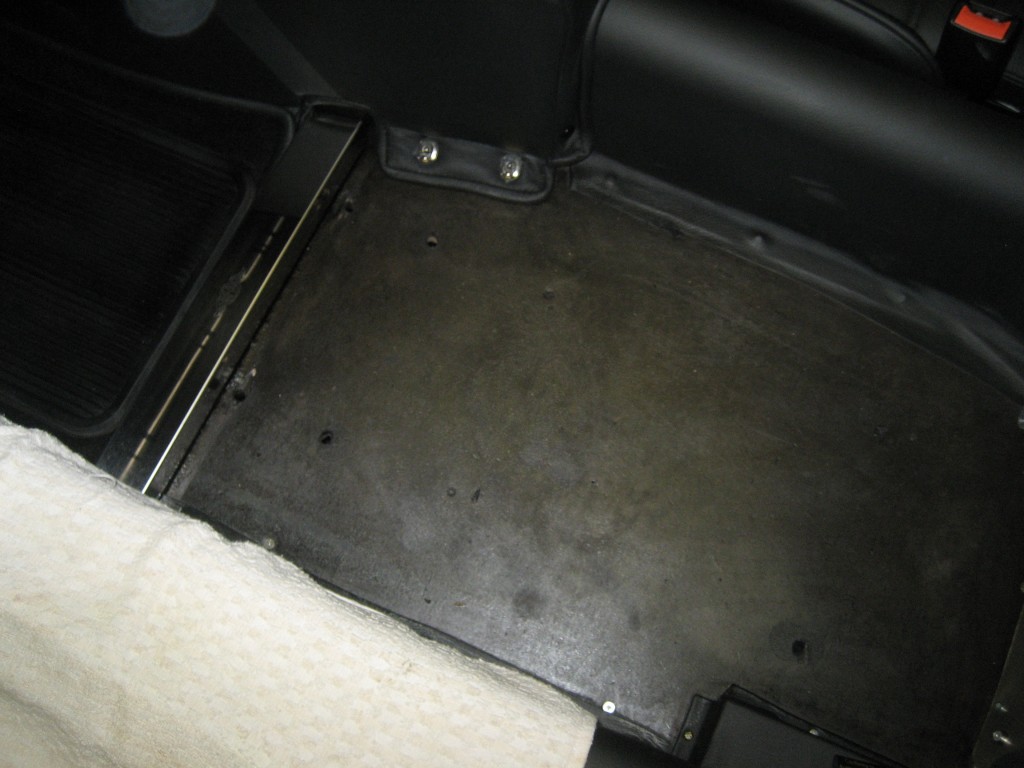
This is the spacer, before I discovered that the hole for the protruding nut was in the wrong place......
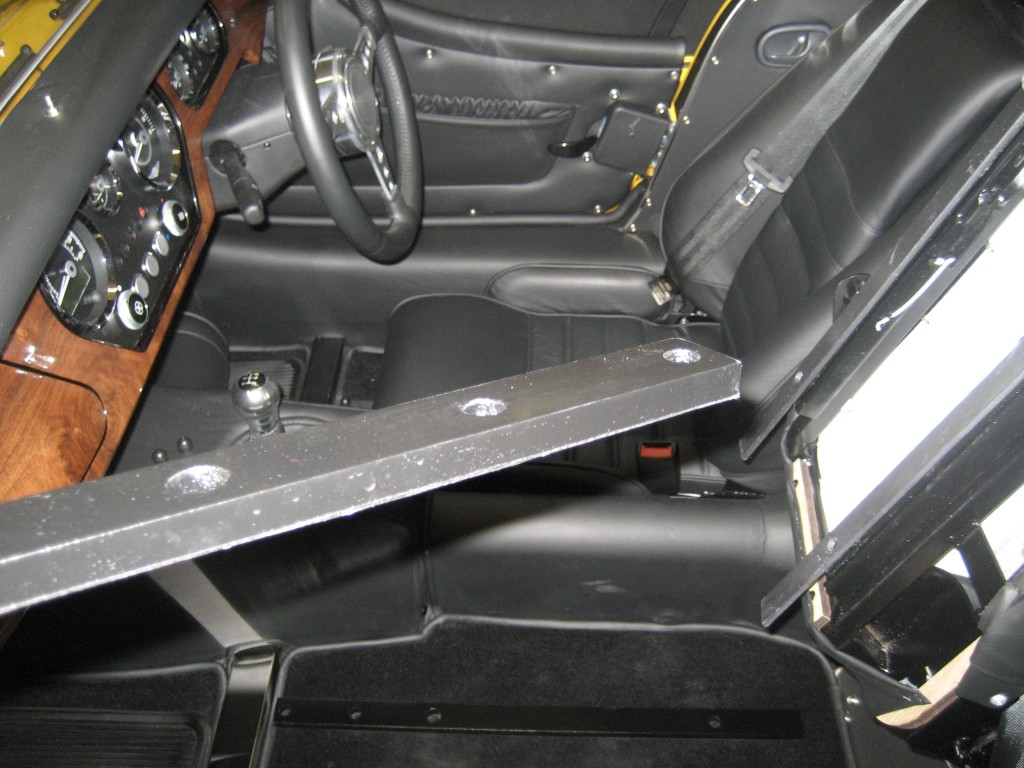
In the end I made up a couple of new spacers, and used two of my originals. The red arrow shows where the protruding nut lies with standard recliners, and the new holes show where the sports seat protruding nuts are.........
This is the passenger side completed with the HoE cross-member cover. I've touched up some chips in the chassis paint and given it a coat of Tectyl 506 under this cover.

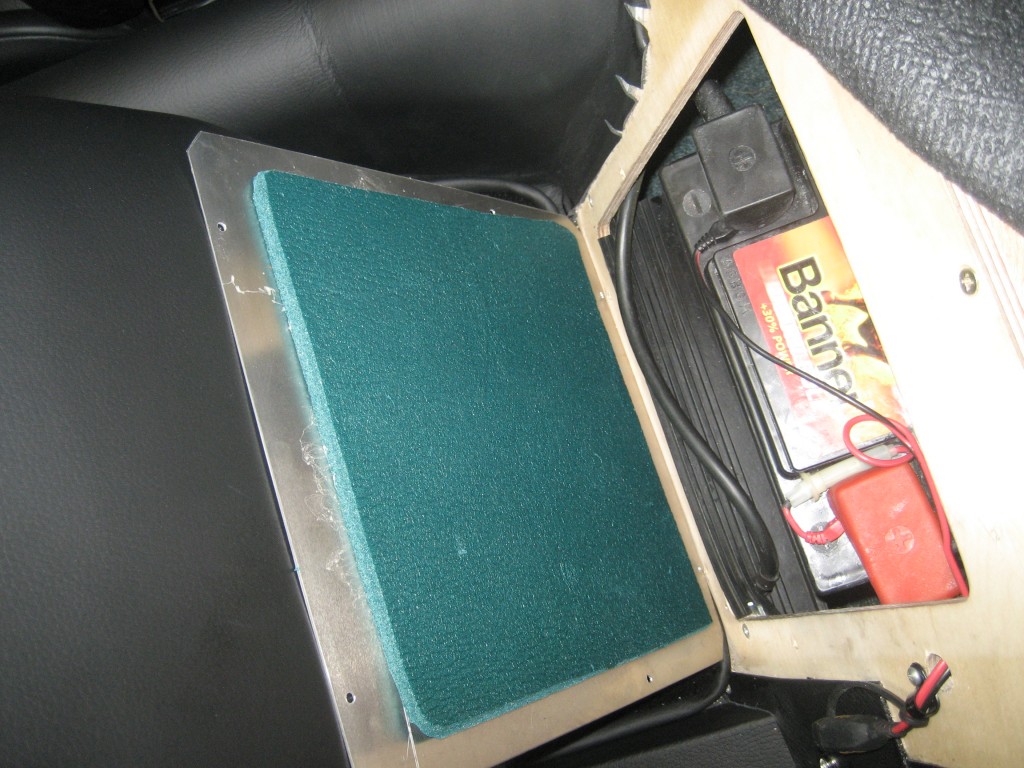
While I was on this side, I added a rubber seal at the battery base - visible here. It stops road dirt splashing up.

Another mod is to add some camping mat to the inside of the cover - insulation and keeps the road dirt out.
You can also see the battery conditioner cable work in progress.....
And here it's all back together.

The driver's side was much the same:
You also have to disconnect the seat belt sensor, wire which is fiddly.

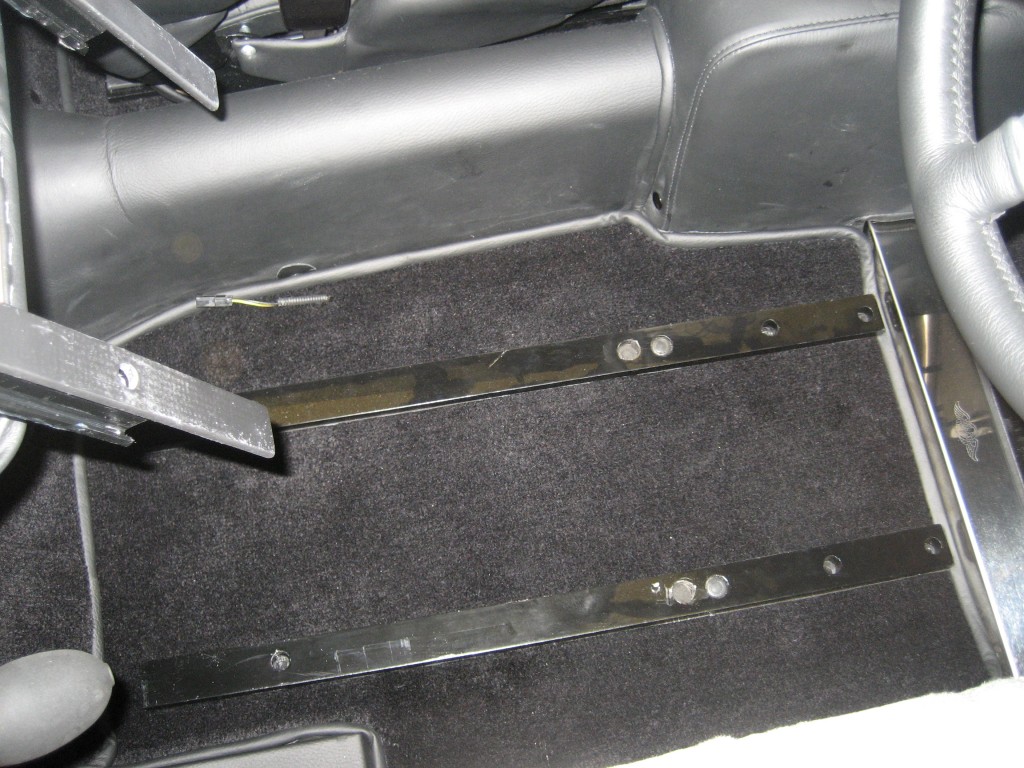
But it all looks much better when back together. Fitting seat spacers means that longer bolts are needed, and even with my extensive stock of different lengths, I still had to order some extra bolts. They are UNF, and the rears are much longer as they pass through the cross-member which takes the seat belts and rear suspension front spring mounts. At the front, the first pair of mounting bolts pass through the cross-member, and the second pair just go through the wooden floor. Sometimes they can be difficult to locate and today they put up a bit of a fight.

But now this part of the fettle is complete. Time for a glass.










