Today I looked at the windstop. My existing brackets don't fit the sports seats which have much fatter head restraints. So I needed some spacers. Luckily there were enough bits & pieces on the shelf to sort it out.
First I refurbed the old brackets:

Then to get the distance I used two long nuts locked together:

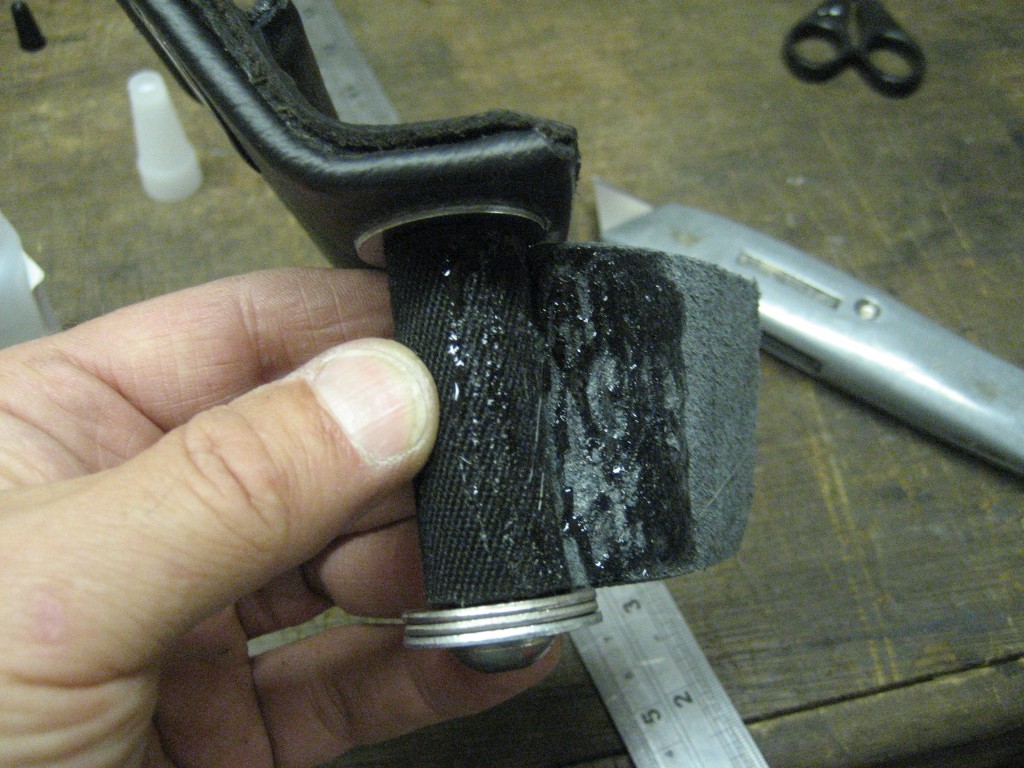
But this isn't pretty, so first I wrapped the nuts in mohair to make them into cylinders, then covered them in leather. They came out well.

Here the first tube is mohair, the one behind is leather:
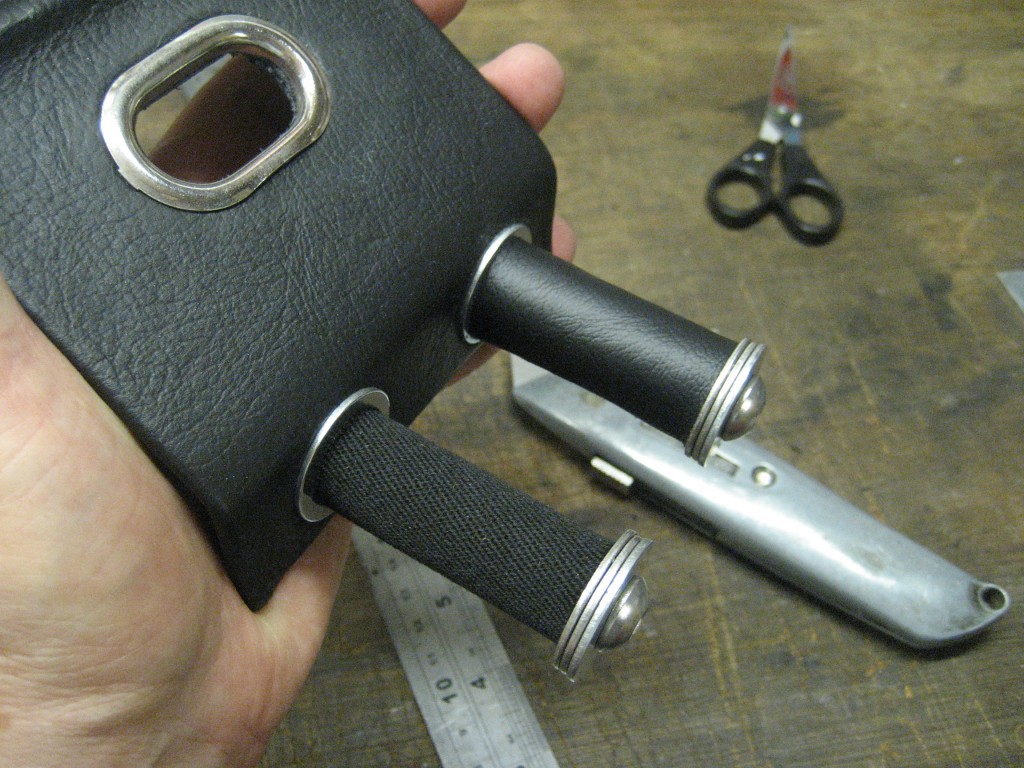
Put together with contact adhesive, the edges stuck with superglue.
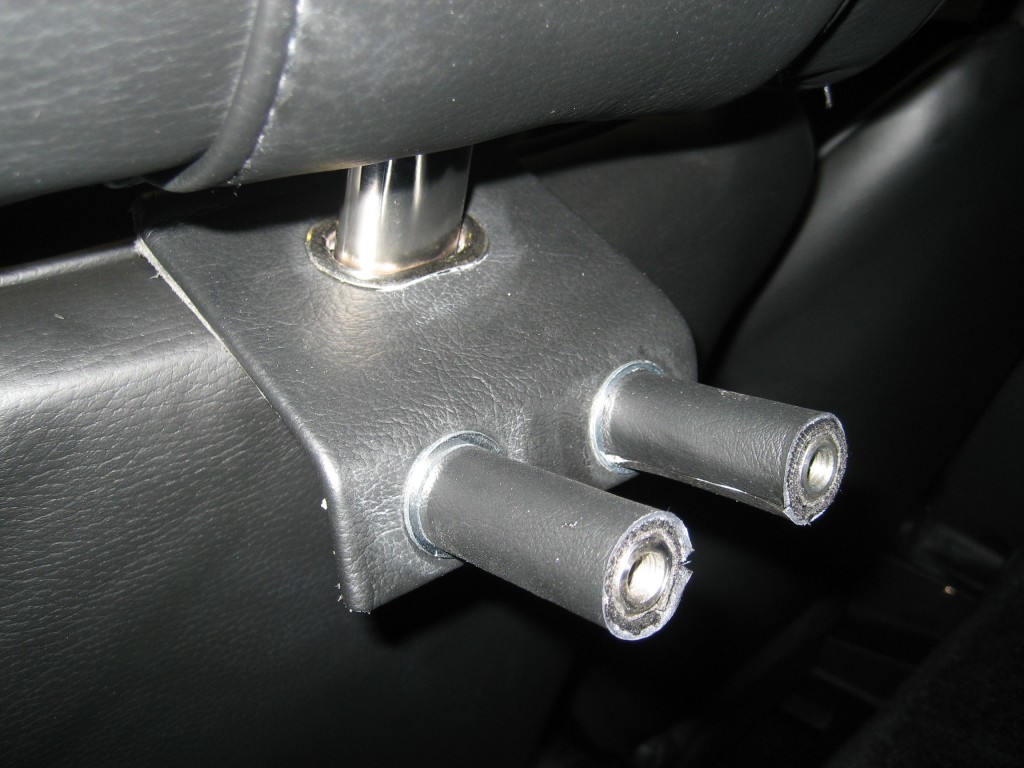
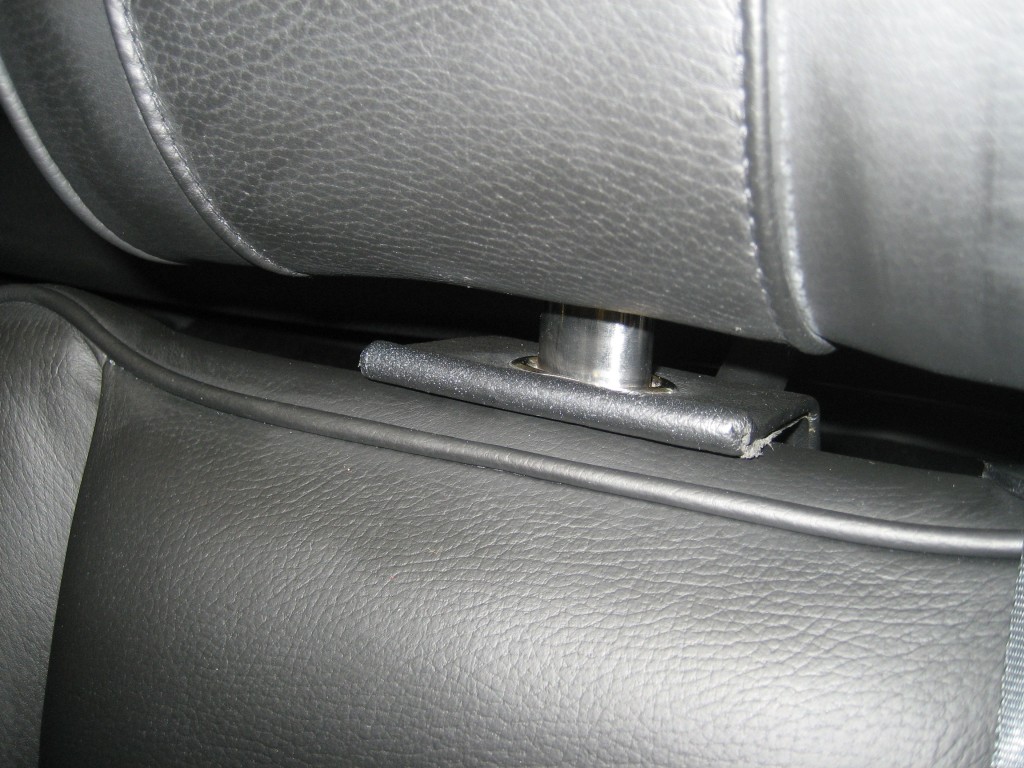


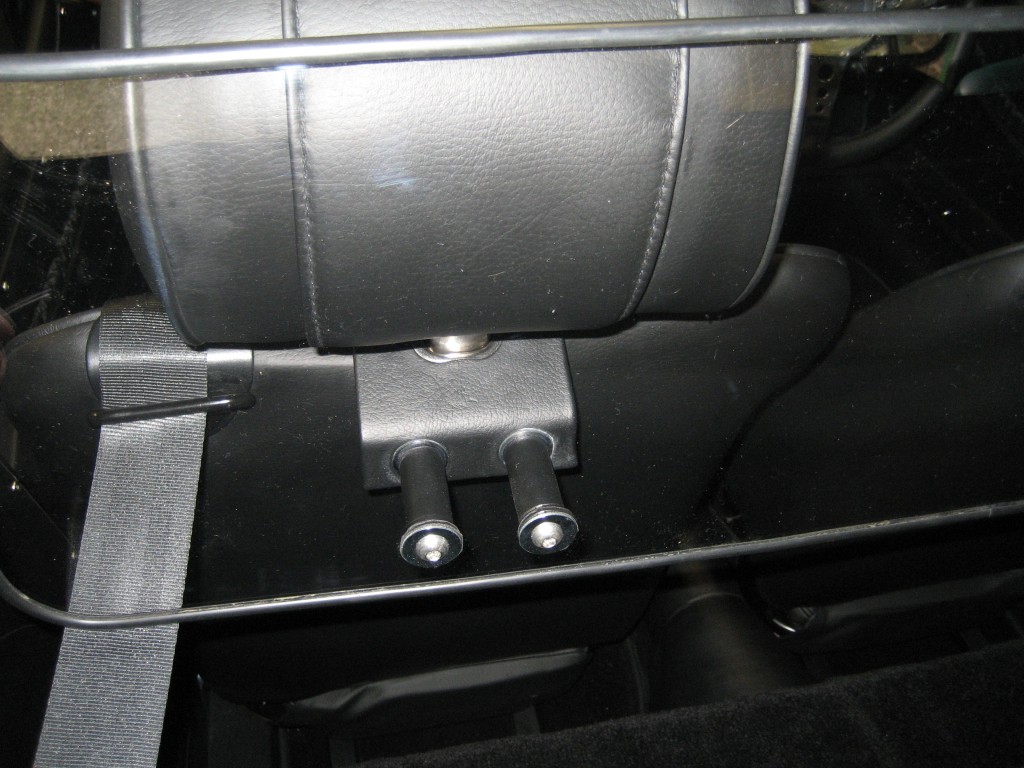

I'm quite happy with that although when I get round to replacing the perspex, I'll go slightly higher. It does make a difference and keeps MrsW smiling.
UPDATE: No image but I've replaced this perspex with a grey tinted enlarged windstop which looks good without the neoprene edging.
Final job today was to look at a second heat shield between the cat and the brake master cylinder. When we got home from Shelsley on Saturday, the master cylinder was too hot to touch.
First came a cardboard template:

There's a convenient threaded hole on the cat..........

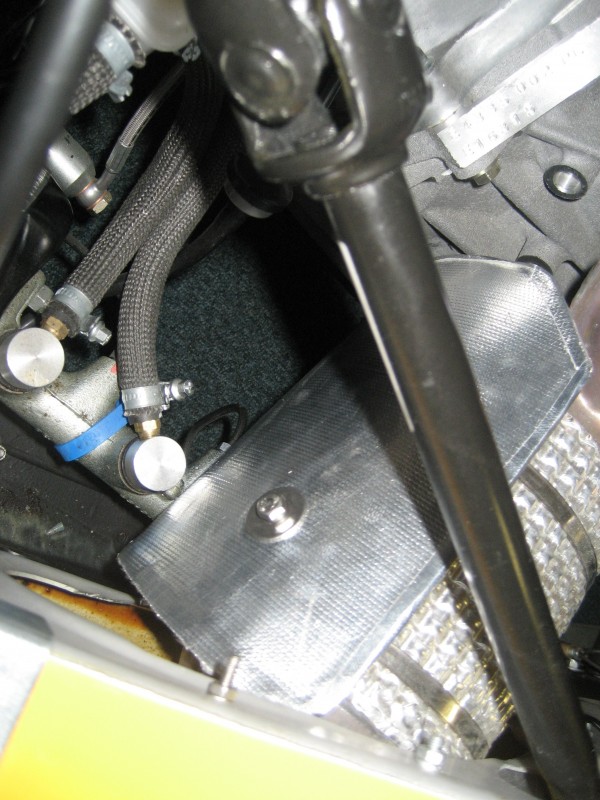
The aluminium plate is covered with heat resistant weave & Reflect-a-Cool, so we'll see how this works out.
Finally - I have some chafing in an unusual place. I saw this when we arrived home after picking the car up, and I thought it was a paint defect, but no. The Shelsley trip has chafed the paint down to the metal. So another fix to sort out!
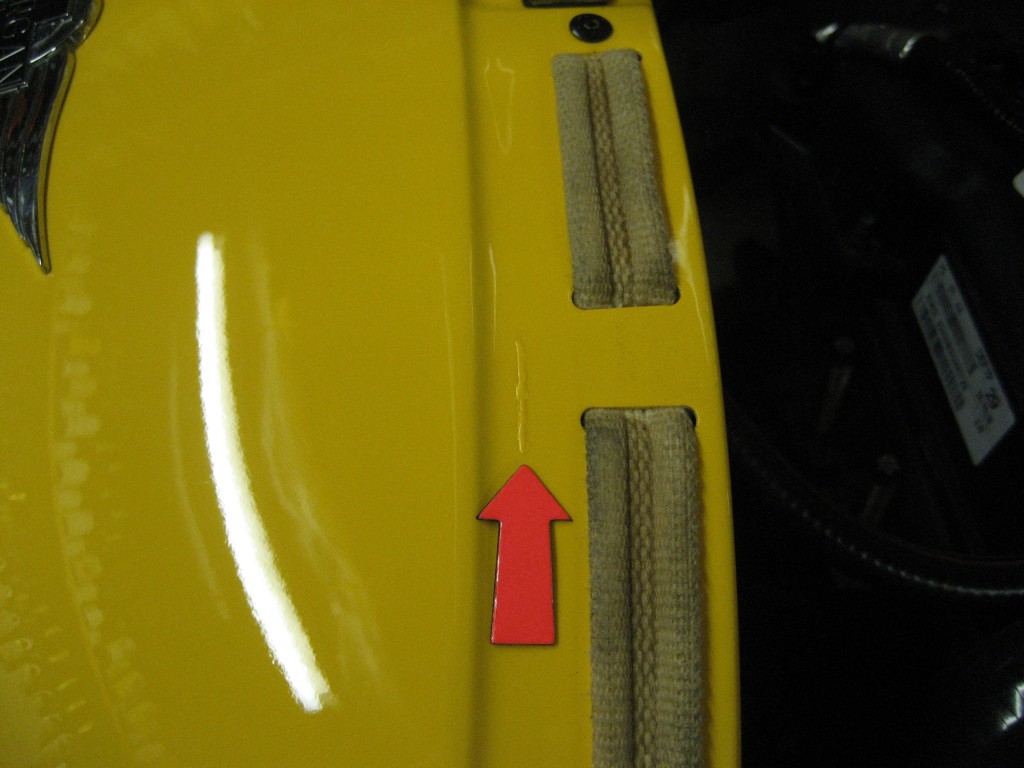
UPDATE: The only way I could stop this was by adding a continuous strip of self adhesive neoprene (well, sponge) along the front edge of the bonnet. I did both sides to balance it up.
This is the end of the early stages re-boot. With 124 images, this has been an epic job. There are four more How To's in the latest group, and so I'll be busy for a while yet!











